Zodiac Cancer nail designs are all about embracing your nurturing, intuitive, and deeply emotional Crab spirit with soft colors, symbolic imagery like the crab and moon, and a touch of dreamy elegance. These styles focus on comfort, protection, and a touch of ethereal beauty, perfect for expressing your inner Cancer.
Feeling a little lost when it comes to rocking your Cancerian pride on your fingertips? You’re not alone! Sometimes, translating your water sign’s gentle essence into dazzling nail art can feel like a puzzle. But don’t worry, we’re here to make it super simple and fun. We’ll dive into easy-to-do styles that capture the loving, creative, and protective vibes of Cancer. Get ready to transform your nails into tiny works of art that truly reflect your beautiful zodiac sign, no matter your skill level!
Understanding the Cancer Vibe: What Makes These Designs Special?
Cancer, the fourth sign of the zodiac, is ruled by the Moon and represented by the Crab. This means Cancers are known for being nurturing, imaginative, deeply emotional, and valuing home and family above all else. They have a sensitive and intuitive nature, often creating a cozy and protective shell for themselves. When we translate this into nail designs, we’re looking for styles that evoke these qualities.
Think about the gentle ebb and flow of the ocean, the soft glow of the moon, and the comforting embrace of home. These are the feelings we want to capture. Our Zodiac Cancer nail designs will focus on:
- Watery Elements: Blues, greens, silvers, and pearlescent finishes that remind us of the sea.
- Lunar Phases: Symbolism of the moon, from new beginnings to full illumination.
- The Crab Symbol: A subtle or bold nod to the creature that represents this sign.
- Comfort & Coziness: Soft textures, rounded shapes, and tones that feel warm and inviting.
- Emotional Depth: Designs that feel meaningful and personal.
Essential Cancer Nail Colors: Painting with Emotion
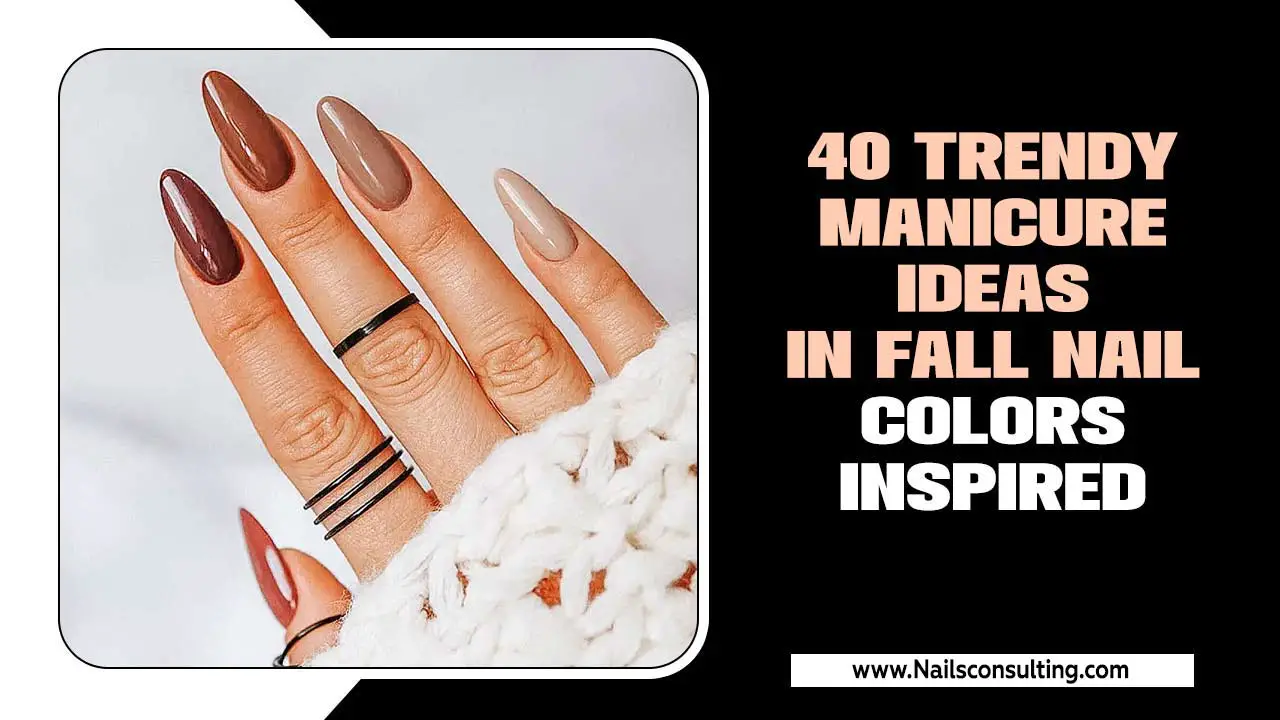
The colors you choose are the foundation of your Zodiac Cancer nail design. Cancers are deeply connected to their emotions and their environment, so the right palette can truly amplify their natural radiance. We’re talking about colors that feel soothing, reflective, and a little bit mystical.
| Color Family | Shade Examples | Vibe It Evokes |
|---|---|---|
| Ocean Hues | Misty blues, seafoam greens, deep aquamarines, silver | Calmness, intuition, depth, fluidity |
| Lunar Shades | Pearlescent white, shimmery silver, soft grays, lavender | Mystery, magic, new beginnings, reflection |
| Earthly Comforts | Soft corals, creamy beiges, warm nudes, blush pinks | Nurturing, homey, gentle, loving |
| Celestial Accents | Gold, soft yellow, muted rose gold | Moon glow, preciousness, inner light |
When selecting your polishes, don’t be afraid to experiment with finishes! A pearly sheen can mimic the moon’s glow, while a subtle shimmer can look like dappled moonlight on water. Even matte finishes can provide a soft, comforting feel.
Color Combinations for Cancer Vibes
Mixing and matching these colors can create stunning looks. Here are a few ideas to get you started:
- Moonlit Ocean: A base of pearly white with abstract waves of misty blue and silver.
- Crab Shell Chic: A creamy nude or soft coral base with delicate gold accents.
- Dreamy Nebula: Swirls of lavender, soft gray, and shimmering white for a celestial effect.
- Serene Seafoam: A gradient of seafoam green fading into a light aqua, perhaps with tiny silver star accents.
Essential Zodiac Cancer Nail Design Styles
Now for the fun part – translating these feelings and colors into beautiful nail art! We’ve curated a selection of styles that are perfect for every Cancer, from minimalist mavens to those who love a bit more sparkle.
1. The Lunar Lover: Moon Phases & Celestial Dreams
Given the Moon rules Cancer, lunar-inspired designs are a natural fit. These designs tap into the Moon’s ever-changing nature, symbolizing intuition, cycles, and a touch of mystery.
- Simple Moon Arc: Paint your nails a soft, dreamy color (like lavender or pearly white). On one accent nail, draw a delicate silver or gold crescent moon. This is perfect for beginners!
- Full Moon Glow: Use a matte or slightly shimmery base color. On one or two nails, create a simple, solid circle representing a full moon. You can use a luminous white or even a soft yellow.
- Lunar Gradient: Blend soft grays and whites to create a gradient effect that mimics the cloudy sky on a moonlit night. Add tiny silver dots for stars.
- Phases of the Moon: On separate nails, paint different phases of the moon – crescent, half, gibbous, and full. This tells a beautiful story of growth and change.
Pro Tip: For crisp moon shapes, use nail art brushes or stencils. A dotting tool is fantastic for creating perfect circles!
2. The Nurturing Crab: Subtle & Sweet Symbolism
The crab is the symbol of Cancer, representing protection, emotional depth, and resilience. You can incorporate this powerful symbol in a way that feels personal and aesthetically pleasing.
- The Tiny Crab: On an accent nail, use a fine-tip brush and a contrasting color (or even a metallic polish like gold or silver) to draw a minimalist crab. Think simple lines for claws and a small body.
- Crab Claw Accent: Instead of a full crab, try focusing on just the claws. Draw a few delicate, curved lines that suggest pincers extending from the cuticle or the tip of the nail.
- Textural Shells: Mimic the layered, protective shell of a crab. This could be done with subtle textured polishes, a subtle matte-meets-gloss effect, or by layering different shades of a single color (like different blues or greens) to create depth.
- Under the Sea: Combine crab imagery with watery elements. Imagine tiny crabs peeking out from behind seaweed designs or nestled on sandy-colored nails.
DIY Tip: If drawing a crab feels daunting, look for nail art stickers or water decals featuring crab designs. These are super easy to apply!
3. The Ocean Whisperer: Fluidity & Watery Textures
As a water sign, Cancer is deeply connected to the ocean. These designs capture the soothing, dynamic, and sometimes mysterious beauty of the sea.
- Marble Waves: Create a beautiful marble effect using shades of blue, green, and white or silver. This mimics the movement of water. You can find easy marble tutorials online!
- Sea Glass Shimmer: Use sheer, milky polishes in seafoam green, pale blue, or aqua. Apply a few thin coats for a translucent, sea-glass effect. A touch of iridescent glitter can enhance this.
- Ocean Ombre: Blend shades of blue and green from cuticle to tip for a beautiful, flowing gradient. You can also blend from light to dark to mimic the ocean’s depth.
- Water Droplets: Using a clear or iridescent polish, carefully place small, rounded “droplets” onto a finished nail for a fresh, dewy look. This can be done with the tip of a gel or acrylic tool, or even a toothpick!
4. The Cozy Homebody: Comfort & Gentle Elegance
Cancers are home-loving and value comfort and security. These designs focus on soft colors, gentle patterns, and a sense of warmth—think of your favorite cozy sweater or a warm hug.
- Blush & Beige Classics: Simple, clean nails in soft blush pinks, creamy beiges, or warm nudes are incredibly chic and comforting. Add a French tip in a slightly deeper, complementary shade for an elegant touch.
- Soft Swirls: Use pastel colors like baby pink, mint green, or soft yellow to create gentle, abstract swirls. This feels organic and comforting.
- Cozy Texture: Experiment with matte top coats for a velvety, soft finish. You can also add a subtle velvet flocking powder to a few nails for a truly unique, cozy texture.
- Subtle Florals: Delicate, hand-painted floral motifs in soft colors can evoke a nurturing and gentle feel, reminiscent of a beloved garden.
Applying Your Cancer Nail Designs: A Beginner’s Guide
Ready to create your Cancerian masterpiece? Here’s a simple breakdown to get you started, focusing on ease and achievable results.
Step 1: Prep Work is Key
Good nail art starts with well-prepared nails. This is crucial for longevity and a smooth finish!
- Cleanse: Remove any old polish or oils.
- Shape: File your nails into your desired shape. Soft, rounded shapes often complement the Cancer energy. For a guide on shaping, check out NailPro’s guide to nail shaping.
- Cuticle Care: Gently push back your cuticles.
- Buff: Lightly buff the nail surface to create a smooth canvas.
- Clean Again: Wipe away any dust with a lint-free wipe and rubbing alcohol or a specially designed nail cleanser.
Step 2: Base Coat Protection
Always apply a base coat. This protects your natural nail from staining and helps your polish adhere better. Let it dry completely.
Step 3: Apply Your Color
Apply your chosen base color(s). Most polishes require two thin coats for full opacity. Allow each coat to dry somewhat before applying the next, or before moving on to nail art.
Step 4: Nail Art Time!
This is where the magic happens. Here are some easy techniques:
- Moon Phase: Use a small, round brush or a dotting tool to draw your moon shape. For crescent and full moons, you can also use the edge of a sticky note or a small circular object as a guide, then carefully trace around it with polish.
- Crab Icon: With a fine-tip nail art brush, draw simple lines for the crab’s body and claws. Start with a small oval or circle, then add curved lines for the legs and pincers.
- Marble Effect: Drop contrasting polish colors onto a piece of plastic wrap or foil. Swirl them gently with a toothpick, then press your nail onto the polish. Quickly transfer it and clean up the edges.
- Stencils or Decals: For super-easy designs like stars, moons, or even crabs if you’re nervous about freehanding, use nail stencils or water decals. Apply your base color, let it dry, place the stencil or decal, paint over it (if using a stencil), remove, and seal. For decals, follow the package instructions – usually, you dip them in water briefly.
Step 5: Don’t Forget the Details
Add any small accents like dots, lines, or glitter. Remember, Cancerian details are often soft and ethereal – think small and subtle!
Step 6: Top Coat: Sealing the Deal
Once your nail art is completely dry, apply a generous layer of top coat. This protects your design, adds shine, and helps your manicure last longer. A quick-dry top coat is a lifesaver for busy schedules!
Essential Tools for Your Cancer Nail Designs
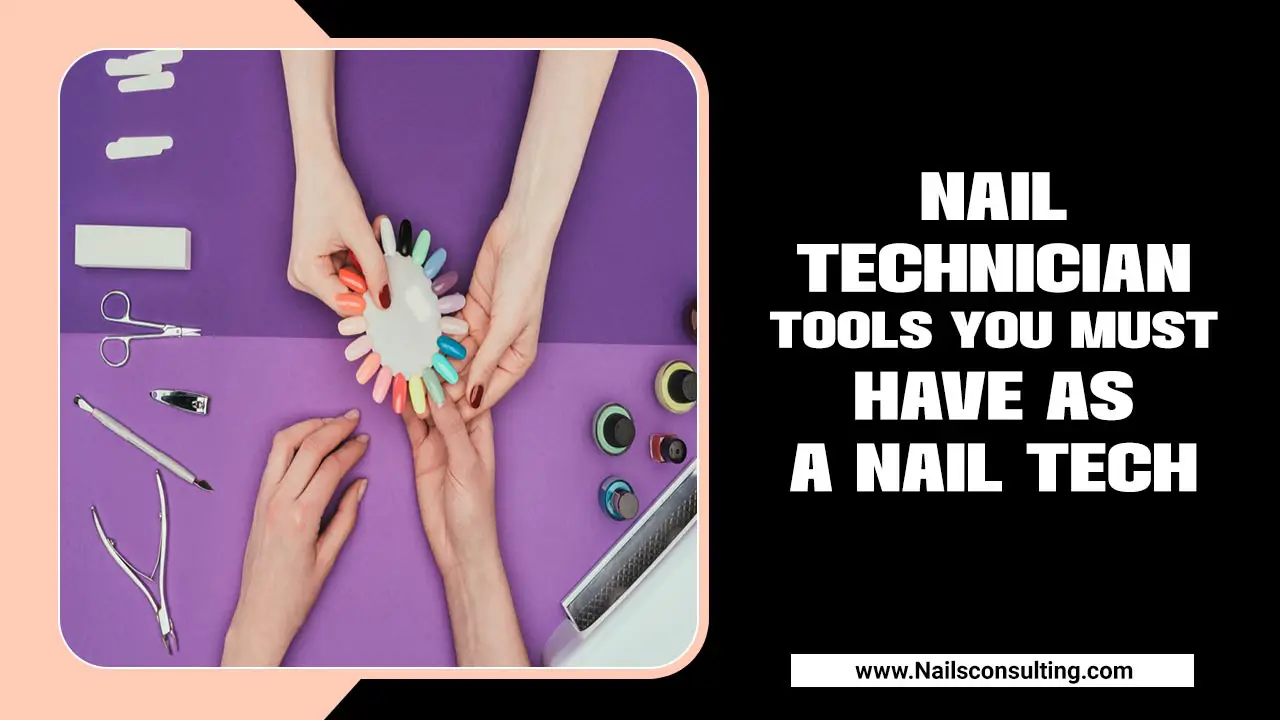
You don’t need a professional salon to create beautiful Zodiac Cancer nail designs. A few key tools can make all the difference, enabling you to bring your creative vision to life with ease and precision.
| Tool | Why It’s Great for Cancer Designs | Where to Find |
|---|---|---|
| Nail Art Brushes (various sizes, especially fine-tip) | Perfect for delicate lines, curves, drawing crabs, or adding small details like stars. A fine-tip brush is your best friend for precision. | Online retailers, beauty supply stores |
| Dotting Tools (various sizes) | Ideal for creating perfect circles (for full moons), evenly spaced dots (stars), or adding small embellishments. Easy for beginners to control. | Online marketplaces, beauty stores |
| Nail Stencils / Stickers | Take the guesswork out of intricate designs. Lunar phases, stars, or even pre-made crab outlines make application foolproof. | Drugstores, beauty supply stores, online retailers |
| Tweezers | Essential for picking up and accurately placing nail art stickers, rhinestones, or glitter. | Drugstores, beauty supply stores |
| Clear Top Coat | Not just for sealing! A good, shiny top coat brings depth and vibrancy to colors, making water effects shimmer and moon designs glow. A quick-dry formula is a bonus. | Anywhere nail polish is sold |
| Matte Top Coat | Offers a sophisticated, soft, and cozy finish that’s perfect for Cancers who prefer understated elegance or want to mimic the texture of a calming shell. | Beauty supply stores, online retailers |
| Rubbing Alcohol or Nail Cleanser | Crucial for cleaning the nail plate before applying polish and for cleaning up any stray polish during the art process. | Pharmacies, supermarkets |
| Thin Paper/Plastic Sheet (for marbling) | A clean surface for creating your marble patterns before transferring them to the nail. Even a plastic baggie can work! | Household items |
Having these tools on hand will transform your DIY nail art experience, making even complex-looking Cancerian designs achievable and enjoyable. Remember, practice makes perfect, and these tools are designed to help you along the way!
Pro Tips for Lasting Cancer Nails
Want your beautiful Zodiac Cancer nail designs to stand out and last? Here are a few extra tips from the pros to keep your nails looking gorgeous and your Cancerian spirit shining bright:
- Thin Coats are Best: Whether it’s your color or your top coat, applying multiple thin coats is always better than one thick, gloppy one. Thin coats dry faster and are less likely to bubble or smudge later.
- Cap Your Free Edge: After applying your final color coat and your top coat, run your brush along the very tip (the free edge) of your nail. This creates a seal that helps prevent chipping, especially important for Cancers who might be more hands-on and protective.
- Hydrate, Hydrate, Hydrate: Cancers can be sensitive, and so can your nails and cuticles! Keep a good cuticle oil or hand cream handy and use it regularly. Healthy cuticles make for a smoother canvas and a more polished overall look. For instance, understanding the importance of skin barrier repair can help inform cuticle care best practices.
- Give Your Nails a Break: If you notice your nails becoming weak or brittle, consider taking a short break from polish. Using a strengthening base coat during this time can be beneficial.
- Clean Up Smudges Immediately:

