World Cup nail designs are a fun way to show your team spirit! Get inspired with easy-to-follow ideas, top design trends, and tips for creating a winning look at home.
The World Cup is almost here, and that means it’s time to get your game face on! But why stop at your outfit? Your nails can be a canvas for expressing your passion for your favorite team. If you’re wondering how to get those perfectly spirited nails without spending a fortune or needing pro skills, you’re in the right place! We’ll walk you through simple yet stunning World Cup nail designs that anyone can do. Get ready to cheer your team on with fabulous fingertips!
Your Ultimate Guide to World Cup Nail Designs
Showcasing your team pride during the World Cup doesn’t have to be complicated. Whether you’re a nail art novice or just looking for quick and easy ideas, we’ve got you covered. From simple color blocks to iconic symbols, these World Cup nail designs will make your manicure a total winner. Let’s dive into the essential ideas to get your nails game-ready!
Why World Cup Nail Designs Are a Slam Dunk
Nail art is a fantastic form of self-expression, and there’s no better time to get creative than during a major sporting event like the World Cup. It’s a fun way to:
- Show Your Team Spirit: Wear your heart (and your team’s colors) on your nails!
- Spark Conversation: Your unique manicure can be a great icebreaker.
- Boost Your Confidence: Feeling good from your head to your toes (and fingertips!) is empowering.
- Experiment with Color: The World Cup opens up a whole new palette of vibrant colors.
Essential Tools for Your World Cup Manicure
Before we start creating masterpieces, let’s gather our tools. You don’t need a professional salon to achieve amazing results. Here are some basics that will make your World Cup nail design journey much smoother:
- Nail Polish: The core of any manicure! Stock up on your team’s colors and some neutrals or metallics.
- Top Coat: Essential for sealing your design, adding shine, and making your manicure last longer.
- Base Coat: Protects your natural nails from staining and helps polish adhere better.
- Nail File & Buffer: For shaping your nails and smoothing the surface.
- Cuticle Pusher/Orange Stick: To gently tidy up your cuticles.
- Thin Nail Art Brush or Toothpick: For drawing fine lines, dots, or simple details.
- Dotting Tool: Creates perfect dots of various sizes.
- Tape (e.g., Scotch tape or striping tape): For sharp, clean lines and geometric designs.
- Cotton Swabs and Nail Polish Remover: For cleaning up any mistakes.
- Tweezers: Helpful for applying small nail art elements like rhinestones or glitter.
Looking for high-quality nail care tools? Check out recommendations from reputable sources like the Nail Magazine’s Tools & Equipment section for professional insights, even if you’re a beginner.
Beginner-Friendly World Cup Nail Design Ideas
Think intricate nail art is beyond your reach? Think again! These designs are perfect for beginners and can be adapted to any team’s colors. Let’s get creative!
1. The Classic Color Block
This is the simplest yet most effective way to show your team colors. It’s all about clean lines and bold color. Here’s how:
- Prep: Start with clean, filed nails. Apply a base coat and let it dry completely.
- Base Color: Apply one of your team’s main colors to all nails. Let it dry thoroughly.
- Accent Nail: Choose one nail (usually the ring finger) for a second team color. Apply it evenly.
- Optional Stripes: Once the accent color is dry, use thin nail art tape or a fine brush to add thin stripes of the base color or a contrasting color.
- Finish: Apply a generous layer of top coat to seal everything and add shine.
Tips for a Perfect Color Block:
- Make sure each layer of polish is completely dry before adding the next color or tape. This prevents smudging.
- Use precise strokes for a crisp finish.
- Experiment with different color combinations from your team’s palette.
2. Sporty Stripes & Chevrons
Stripes and chevrons add a dynamic feel to your nails, mimicking the lines on a sports field or jersey. They are surprisingly easy to achieve!
How to Create Stripes:
- Base Color: Apply your chosen base color (e.g., white, black, or a team color) to all nails. Allow it to dry fully.
- Apply Tape: Once dry, carefully apply nail art striping tape or regular Scotch tape cut into thin strips across your nails. Press down firmly to create a seal.
- Apply Second Color: Paint over the taped sections with another team color.
- Remove Tape: While the second color is still slightly wet (not fully dry, but not wet enough to run), carefully peel off the tape using tweezers. This creates a clean line.
- Top Coat: Once completely dry, seal with a top coat.
How to Create Chevrons:
- Base Color: Apply your base color and let it dry.
- Tape Placement: This is slightly trickier. You’ll need to strategically place tape to create an upside-down ‘V’ shape. The easiest way is often to paint a full nail with one color, let it dry, then tape off half the nail at an angle. Paint the exposed half with another color. Once dry, remove the tape. Then, repeat the process on the other side of the ‘V’ with a third color if desired.
- Alternative Chevron: Use a chevron stencil or a very fine brush to freehand the V-shape.
- Finish: Apply a top coat.
3. Dotty for the Win!
Polka dots are classic, cute, and incredibly easy to do with a dotting tool or even the end of a toothpick. Perfect for a playful team spirit manicure.
- Base: Apply a base coat, then your primary team color. Let it dry thoroughly.
- Dotting: Dip your dotting tool (or toothpick) into a contrasting team color and place dots onto your nails. You can make them all the same size or mix it up!
- Placement: Create a pattern, like a full nail of dots, dots along the smile line (like a French tip), or just a few scattered dots.
- Top Coat: Seals your polka dots perfectly.
4. Glitter Bomb Your Nails
Glitter adds instant sparkle and excitement, making it ideal for celebrating victory! You can use glitter polish or loose glitter.
Using Glitter Polish:
- Base: Apply a base coat and then one or two coats of your team’s color.
- Glitter Layer: Apply a coat of glitter polish in a coordinating team color, or a metallic silver/gold. You can apply it to all nails or just one or two as an accent.
- Build Intensity: For more glitter, apply a second coat.
- Top Coat: A good top coat is crucial to smooth out the glitter texture.
Using Loose Glitter:
- Base: Apply a base coat and your team color polish.
- Apply Glitter: While the polish is still wet, gently sprinkle loose glitter over the nail. Alternatively, apply a thin layer of clear polish and then dip your nail into the glitter.
- Tap Off Excess: Gently tap off any excess glitter.
- Second Color Layer (Optional): You can use a second color of glitter this way.
- Seal It: Apply a generous top coat to encapsulate the glitter and create a smooth finish. You might need two coats of top coat for a really smooth surface.
5. Simple Flag Accent Nails
Bring your team’s flag to life on one or two nails! This can be simplified for beginners.
Easy Flag Design Idea:
- Base: Paint your nails with a base color that dominates your team’s flag or a neutral like white or cream. Let dry.
- Color Blocks: Using fine brushes or tape, carefully paint the geometric shapes and colors of your team’s flag onto an accent nail. Don’t worry about perfection; focus on getting the main colors and shapes right.
- For Example (Simplified): If your team’s flag is red and white stripes, paint alternating red and white stripes with a thin brush. If it has a blue star on a yellow background, paint a blue star shape on a yellow nail.
- Top Coat: Secure your flag art with a top coat.
6. The “Team Colors” Ombre
An ombre (or gradient) effect blends two or more colors smoothly. It looks sophisticated but is surprisingly easy!
- Base: Apply a base coat and then one of your team’s lighter colors. Let it dry.
- Sponge Technique: Get a makeup sponge (the triangular ones work well). Apply stripes of your two chosen team colors side-by-side onto the sponge.
- Dab onto Nail: Gently dab the sponge onto your nail. You may need to reapply polish to the sponge and dab again to build up the color intensity.
- Blend Edges: Use a fine brush dipped in nail polish remover to clean up any harsh lines around your cuticle and sidewalls.
- Top Coat: Apply a top coat to make the gradient smooth and vibrant.
Tip: Using colors that are similar in tone or a light neutral with a bright team color works best for beginners.
Intermediate World Cup Nail Design Ideas
Feeling a bit more confident? Ready to step up your game? These designs add a little more detail but are still totally achievable.
7. Football/Soccer Ball Accents
A simple football or soccer ball motif can be a fun nod to the sport itself.
- Base: Paint your nails in a team color or white.
- Draw the Ball: On an accent nail, use a black or dark blue fine brush or dotting tool. Draw a circle. Then, carefully draw a hexagonal pattern within the circle, or a simplified version of the classic black and white pentagon/hexagon pattern.
- Alternative: Use a white base and paint a black circle. Then, use a tiny white dotting tool to create small white dots inside the black circle to mimic the texture.
- Top Coat: Seal it in.
8. Team Logos (Simplified)
Attempting intricate logos can be tough, but you can simplify them into recognizable elements.
- Focus on Key Shapes: If your team’s logo has a prominent shape (like a star, shield, or a specific letter), focus on replicating that shape in the team’s colors.
- Use Stencils or Decals: For a truly perfect logo, consider using nail art stencils or water decal “stickers” that feature your team’s emblem. These are widely available online and make achieving professional results easy.
- Color Blocking within a Shape: If the logo has distinct color sections, use tape or a fine brush to block them out on an accent nail.
9. The “Victory!” French Tip
Give the classic French manicure a World Cup twist!
- Base: Apply a sheer nude or your team’s primary color as the base.
- Custom Tip: Instead of white, use a bold team color for the tip of your nail. You can paint this freehand with a fine brush, use French tip guides, or even use tape.
- Add Detail: On one or two nails, you could add a small glitter stripe just below the colored tip, or a tiny dot of another team color at the apex of the smile line.
- Top Coat: Finish with a clear top coat.
Advanced World Cup Nail Designs
For those who love a challenge and want to create a real masterpiece. These might take a little more patience but the results are spectacular!
10. Team Flag Full Nail Art
Paint the entire flag design across multiple nails or create a detailed representation on a single accent nail.
- Planning is Key: Look closely at your team’s flag. Break down the design into simple shapes and colors.
- Use Fine Brushes: This is where a set of fine detail brushes really shines.
- Layering Colors: Apply colors in layers, allowing each to dry before adding the next, especially for intricate patterns.
- Patience is a Virtue: Don’t rush this. Take breaks. Clean up mistakes carefully with a small brush and remover.
11. Jersey Number/Name Accent
If your favorite player has an iconic number or name, why not put it on your nails?
- Base Color: Paint your accent nail in the primary color of the team’s jersey.
- Paint the Number/Name: Using a contrasting color (often white or black like jersey lettering), carefully paint the player’s number or initials with a fine brush.
- Add a Stripe: You can add a thin stripe of another team color to mimic the jersey design.
- Top Coat: Seal your tribute.
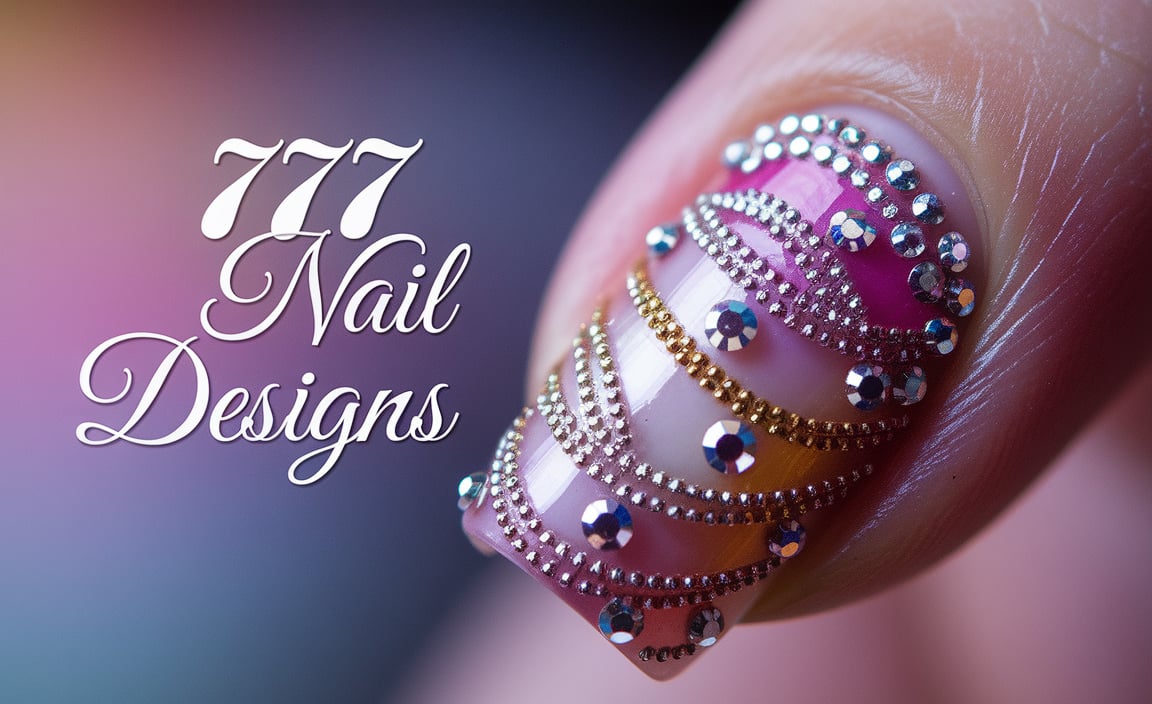
12. Nail Art Studs & Jewels
Add 3D elements for a truly statement-making look.
- Choose Your Elements: Look for small studs, rhinestones, or glitter shapes in your team’s colors.
- Placement: Apply a small dot of top coat or nail glue to the nail where you want to place the stud.
- Apply with Tweezers: Use tweezers to carefully pick up the stud and place it onto the dot of top coat/glue.
- Encapsulate: Once dry, carefully apply a top coat around the stud without flooding over it, to help secure it. A thicker gel top coat can sometimes help for better adhesion.
Important Note on Nail Jewels: For longevity, especially with larger gems, consider using a dedicated nail art glue rather than just top coat. Also, be mindful that 3D embellishments can sometimes snag on things.
Tips for Long-Lasting World Cup Nails
You’ve put in the effort to create amazing World Cup nail designs – let’s make them last!
- Always Use a Base Coat: It prevents staining and helps polish adhere better.
- Apply Thin Coats: Two thin coats of color are better than one thick, gloopy one. They dry faster and are less prone to chipping.
- Cap Your Edges: When applying your color and top coat, swipe a little polish along the free edge (the tip) of your nail. This seals the polish and helps prevent chipping.
- Don’t Skip the Top Coat: A good quality top coat adds shine, protects your design, and adds durability. Reapply every 2-3 days if needed.
- Be Gentle: Avoid using your nails as tools (opening cans, scraping, etc.). This is the fastest way to chip any manicure.
- Moisturize: Keep your cuticles and hands moisturized. Healthy skin around your nails makes your manicure look better and last longer.
Choosing Your Team’s Colors Wisely
The core of any World Cup nail design is the color palette. Here’s how to pick the best shades:
- Primary Colors: Most national team colors are straightforward – think red, white, blue, green, yellow.
- Secondary Colors: Many flags also incorporate secondary colors like gold/silver (for metallic accents) or black/white.
- Neutrals: Having a good nude, white, or black polish on hand is always useful for creating contrast, drawing details, or as a base.
Example Color Combinations (Based on Popular Nations):
Here’s a quick look at how you can translate team colors into nail art ideas:
| Team/Country | Primary Colors | Secondary/Accent Colors | Design Idea Examples |
|---|---|---|---|

