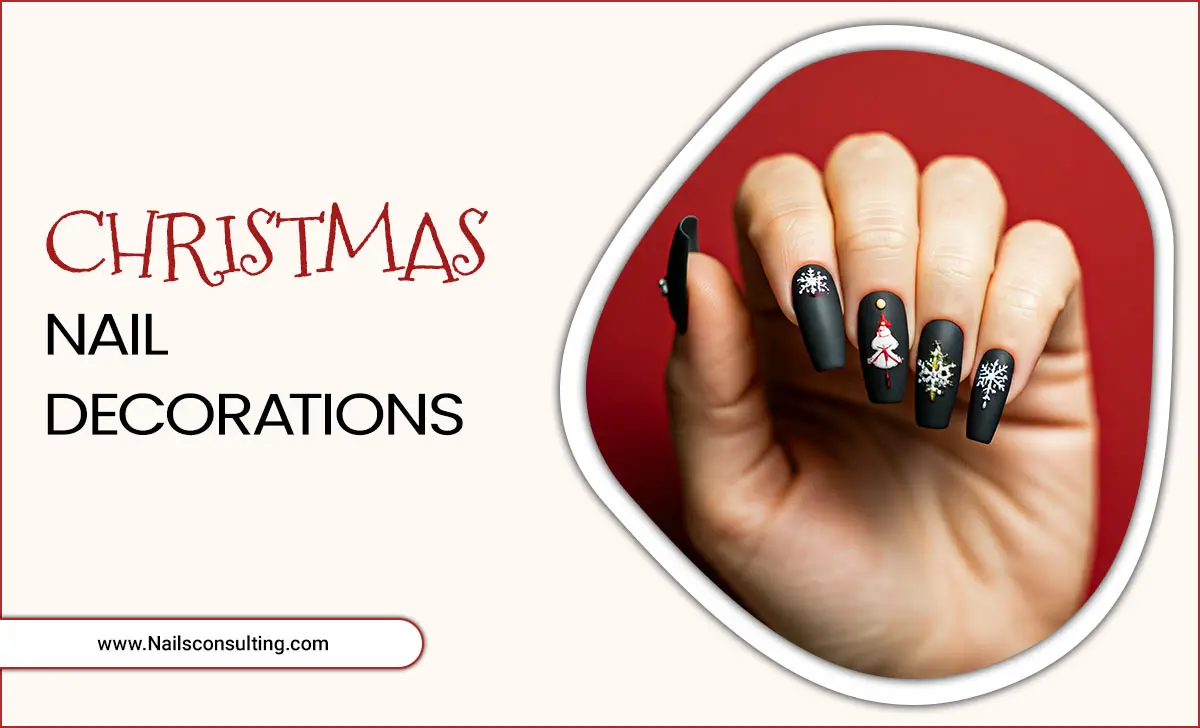
Winter nail designs are your fun, easy way to add sparkle and style to your cold-weather look. This guide breaks down simple ideas, essential tools, and quick tips so anyone can rock a festive manicure, from cozy sweaters to holiday parties.
The chill is in the air, and it’s time to swap out those summery shades for something a bit more cozy and festive! Winter is a perfect season to experiment with nail art, but sometimes the thought of creating intricate designs can feel a little overwhelming. Don’t worry, though! Whether you’re a complete beginner or you’ve dabbled in nail art before, this guide is here to make your winter manicure dreams a reality. We’ll walk you through everything you need to know to create gorgeous winter nail designs that will make your hands the star of any winter gathering. Get ready to embrace the season with beautiful nails!
This guide is your friendly roadmap to stunning winter nail designs. We’ll cover everything from understanding the must-have colors and themes to simple techniques suitable for everyone. You’ll find easy-to-follow steps, helpful lists of tools, and tips to make your DIY manicures last. Plus, we’ve got answers to your burning questions in our FAQ section. Let’s get those nails winter-ready!
Why Winter is the Perfect Time for Nail Art
Winter brings a unique vibe that’s just begging to be expressed on your fingertips. Think cozy evenings by the fire, sparkling holiday decorations, and the beauty of a frosty landscape. These elements translate beautifully into nail art. It’s a fantastic way to boost your mood, add a pop of personality to your winter outfits, and get into the festive spirit. Unlike summer, when bright and bold might be the go-to, winter allows for richer colors, subtle textures, and designs that evoke warmth and comfort.
Essential Winter Nail Colors
Choosing the right colors is the first step to a perfect winter nail design. Think about the colors that make you feel warm and festive.
- Deep Reds: Think cranberry, burgundy, and classic crimson. These are sophisticated and always a hit for holidays.
- Emerald Greens: Rich, jewel-toned greens evoke the holiday tree and add a touch of luxury.
- Midnight Blues: Dark navy, royal blue, and even deep teal can mimic the winter night sky.
- Warm Neutrals: Creamy whites, cozy beiges, and soft grays provide a perfect canvas for more detailed designs.
- Metallics: Gold, silver, and rose gold are fantastic for accents, glitter, or full-on festive shine.
- Cozy Pinks: Soft blush, dusty rose, and even muted mauves can add a touch of warmth and femininity.
Easy Winter Nail Themes and Ideas for Beginners
You don’t need to be a professional nail artist to create beautiful winter designs. Here are some simple themes and ideas perfect for beginners:
1. Cozy Sweater Nails
This design mimics the texture of your favorite cozy sweater.
What You’ll Need:
- A base coat
- Your chosen nail polish colors (matte finishes work wonderfully)
- A top coat
- Optional: Small dotting tool or toothpick
Steps:
- Apply a base coat to clean, dry nails. This protects your natural nails and helps polish adhere better.
- Paint your nails with your main color. Two thin coats are usually better than one thick one for a smooth finish. Let them dry completely.
- For the “cable knit” look, you can use a slightly lighter or darker shade of your main color. With a thin brush or a dotting tool, draw thin, squiggly lines that mimic yarn. Think of creating small “V” shapes or horizontal lines close together.
- Alternatively, for a simpler textured look, apply a matte top coat over fully dried polish. This instantly gives a soft, velvety finish reminiscent of a sweater.
- Let the design dry thoroughly, then apply a final top coat to seal it in and add shine (or keep it matte if you prefer!).
2. Snowflake Sparkle
A touch of winter magic with simple snowflakes.
What You’ll Need:
- Base coat
- Your main nail polish color (a dark blue or black works great for contrast)
- White or silver nail polish
- A fine-tipped nail art brush or a dotting tool
- Top coat
- Optional: Glitter polish
Steps:
- Apply your base coat and then your main color. Let it dry completely.
- For simple snowflakes, use your dotting tool or the tip of your brush. Dab four small dots to form a cross. Then, add smaller dots at the end of each “arm” of the cross.
- If you’re feeling a little more adventurous, you can use your fine brush to draw thin lines radiating from a center dot.
- Alternatively, simply use a white or silver polish to draw tiny dots randomly across your nails for a “snowy” effect.
- For extra sparkle, add a layer of glitter polish over your design or on accent nails.
- Finish with a top coat to protect your beautiful snowflakes.
3. Simple Glazed Donut Nails (Winter Edition)
This trend is still popular and easy to adapt for winter.
What You’ll Need:
- Base coat
- A sheer milky white or very light pink polish
- A chrome powder kit (available online or at beauty stores)
- A specific no-wipe chrome top coat
- Regular top coat
Steps:
- Apply your base coat and then a thin layer of your milky polish. Let it dry completely. Apply a second coat if needed for opacity.
- Apply the no-wipe chrome top coat to your nails. Cure this layer under a UV/LED lamp according to the product instructions. This step is crucial for the powder to adhere. Don’t skip curing!
- Using the applicator that came with your chrome powder, rub the powder over the cured no-wipe top coat. You’ll see a pearly, opalescent sheen appear.
- Gently brush off any excess powder with a soft brush.
- Apply a regular top coat over your glazed nails to seal in the effect and add shine.
For a winter twist, try using a slightly tinted milky color, like a very pale blue or lilac, as the base!
4. Gradient or Ombre Nails
A smooth blend of colors is always chic.
What You’ll Need:
- Base coat
- Two or three complementary winter colors (e.g., dark blue fading to light blue, or burgundy to a soft pink)
- A makeup sponge (a clean kitchen sponge cut into small pieces works too!)
- Top coat
- Optional: Clean-up brush with nail polish remover
Steps:
- Apply your base coat and let it dry.
- Paint your nails with the lightest color. Let it dry completely.
- On your makeup sponge, paint stripes of your chosen colors, side by side. Work quickly!
- Gently dab the sponge onto your nail. You might need to dab a few times to build up the color blend.
- If polish gets on your skin, use a clean-up brush dipped in nail polish remover to carefully tidy up the edges. Visit Healthline for tips on nail polish removal.
- Apply a top coat to smooth out the gradient and seal the design.
5. Gemstone and Glitter Accents
Add a touch of luxury with subtle sparkle.
What You’ll Need:
- Base coat
- Your chosen nail polish colors
- Glitter polish or loose glitter
- Small nail gems or rhinestones
- Tweezers (for placing small gems)
- Top coat
- Glue for nail art items (optional, for extra hold)
Steps:
- Apply your base coat and your main polish color, letting it dry thoroughly.
- For glitter accents, paint a stripe of glitter polish across one nail, or apply it to the tips like a French manicure. You can also use a clear polish or top coat as a base to adhere loose glitter.
- To add gems, apply a small dot of clear polish or nail glue where you want the gem to sit. Use tweezers to carefully place the gem onto the sticky polish/glue.
- Let everything dry completely.
- Apply a top coat over the entire nail, being careful not to cover the glitter too much if you want it to stay textured. For gems, you might want to apply the top coat around the edges of the gem rather than over the top to keep its sparkle.
Tools Every Beginner Nail Artist Should Have
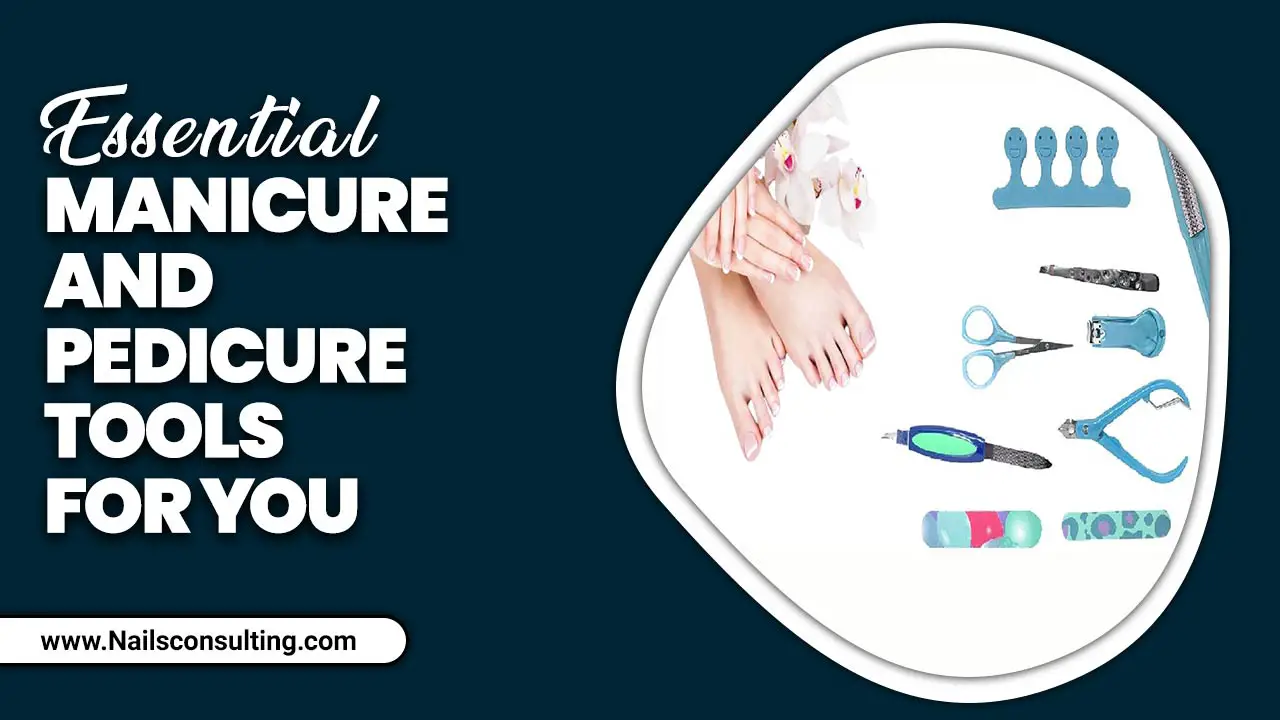
Having the right tools can make a huge difference in achieving professional-looking results at home. You don’t need a lot to start!
| Tool | Why It’s Great for Beginners | Example Use |
|---|---|---|
| Base Coat | Protects natural nails, evens out the surface, and helps polish last longer. | Apply one coat before your colored polish. |
| Top Coat | Seals the design, adds shine or a matte finish, and prevents chipping. | Apply one coat over your dried nail art. |
| Dotting Tools | Perfect for creating uniform dots, flowers, french tips, and simple patterns. They come in various sizes. | Use the larger end for bigger dots for snowflakes, or the smaller end for tiny details. |
| Fine-Tipped Nail Art Brush | Ideal for drawing thin lines, swirls, and intricate details. Synthetic bristles are best. | Draw delicate branches for a winter tree or fine lines for snowflakes. |
| Nail Polish Remover & Cotton Pads/Q-tips | Essential for cleaning up mistakes and removing old polish. | Use a Q-tip dipped in remover to clean up polish from your cuticles. |
| Tweezers | For precisely placing small embellishments like gems, rhinestones, or glitter. | Pick up a tiny stud to place on your accent nail. |
| Makeup Sponge | Great for creating gradient or ombre effects, as well as a stippled look. | Dab different colors onto the sponge for a smooth color transition. |
Advanced Tips for Taking Your Winter Designs Further
Once you’re comfortable with the basics, you might want to try some slightly more complex designs. Here are a few ideas and tips:
- Stencils: Use adhesive nail stencils to create crisp shapes like stars, geometric patterns, or even themed outlines. Apply polish over the stencil and peel it off when the polish is slightly tacky.
- Water Marbling: This technique involves dropping nail polish into water and swirling it to create marbled patterns. It takes practice, but the results are stunning. You can find many tutorials on YouTube to get started.
- 3D Charms: Small metal or acrylic charms can be glued onto nails for a bold, dimensional look. Ensure they are securely attached with strong nail glue.
- Matte vs. Glossy: Experiment with matte top coats on some nails and glossy on others for a sophisticated contrast. This works well with solid colors or simple designs.
- Accent Nails: Don’t feel like you have to do intricate art on every nail. Try a simple solid color on most nails and save the art for one or two accent nails. This is perfect for beginners and busy individuals.
Maintaining Your Winter Manicure
To keep your beautiful winter nail designs looking fresh and chip-free for as long as possible, follow these simple maintenance tips:
- Always use a top coat: Reapply a layer of top coat every 2-3 days. This adds protection and shine, helping to prevent chipping.
- Wear gloves for chores: Protect your nails from harsh chemicals and excessive water when doing dishes, cleaning, or gardening by wearing rubber gloves.
- Moisturize regularly: Dry winter air can wreak havoc on your hands and nails. Use cuticle oil and hand cream daily to keep everything hydrated and healthy. Try to incorporate this into your evening routine.
- Avoid using nails as tools: Resist the urge to use your nails to open cans, scrape off stickers, or pry things open. This is a sure way to cause chips and breaks.
- Be gentle: When performing tasks, try to use the pads of your fingers rather than the tips of your nails.
A Quick Look at Winter Nail Trends
While classic looks are always in, there are always new trends emerging. Here’s a peek at what’s inspiring many this winter:
| Trend | Description | Why It Works for Winter |
|---|---|---|
| Deep Jewel Tones | Rich sapphire blues, emerald greens, amethyst purples, and ruby reds. | These colors are luxurious, sophisticated, and complement winter fashion beautifully. |
| Cozy Knits & Textures | Matte finishes, subtle raised designs mimicking sweater patterns, or suede textures. | Evokes warmth, comfort, and the feeling of cozy winter fabrics. |
| Frosted & Icy Shades | Pale blues, icy whites, silver, and pearlescent finishes that mimic frost or ice. | Captures the beauty of winter landscapes and adds a touch of ethereal sparkle. |
| Minimalist Winter Elements | Subtle single snowflake, a tiny metallic accent, or a thin metallic stripe on a neutral base. | Chic, understated, and easy to achieve, offering a sophisticated winter vibe without being over the top. |
| Dark Florals | While often associated with spring, rich, deep-toned floral patterns on a dark background feel very wintery and chic. | Offers a romantic and slightly moody aesthetic that suits the season. |
Frequently Asked Questions (FAQ)
Q1: How do I make my nail polish dry faster?
A: For a quick dry, use a quick-dry top coat. You can also try dipping your nails into a bowl of ice-cold water for a minute or two after the polish has set slightly (about 2-5 minutes after application). Ensure your polish coats are thin, as thick coats take longer to dry.
Q2: What’s the difference between a regular top coat and a gel top coat?
A: A regular top coat air-dries and is easily removed with nail polish remover. A gel top coat requires curing under a UV/LED lamp and offers a more durable, chip-resistant, high-gloss finish. It’s also harder to remove.
Q3: My nail polish always chips after a day. What can I do?
A: Ensure your nails are clean and free of oils before applying polish. Always use a good base coat and a quality top coat, and don’t forget to “cap” the free edge of your nail with your top coat (painting a thin line along the very tip). Reapplying top coat every few days also helps significantly.
Q4: Can I use regular nail polish for nail art, or do I need special polishes?
A: You can absolutely use regular nail polish for most nail art, especially for beginner designs! For very fine lines or intricate details, nail art pens or polishes with thinner brushes can be helpful, but even a standard polish and a dotting tool will do wonders.
Q5: How do I prevent my nail art from smudging while I’m applying it?
A: Patience is key! Let each layer of polish dry completely before adding the next. Use thin coats. For detailed art, consider using quick-dry drops or sprays. If you’re using a dotting tool or brush, approach your nail gently.
Q6: What is cuticle oil, and why is it important for winter nails?
A: Cuticle oil is a blend of oils and emollients designed to hydrate and nourish the skin surrounding your nails and the nail plate itself. In winter, the dry air can make cuticles dry, cracked, and brittle, which can lead to hangnails and make your manicures look less polished. Regular application of cuticle oil keeps the skin soft, flexible, and healthy, which in turn helps your nail polish applications look smoother and last longer.
Q7: Are there any specific nail shapes that are better for winter nail designs?
A: Not necessarily better, but certain shapes can enhance your designs. Almond and oval shapes tend to elongate the finger and provide a nice canvas for patterns. Squoval or soft square shapes are


