Winter nail art ideas for beginners are simple to achieve with the right tools and techniques! Learn easy techniques like snowflakes, glitter gradients, and cozy patterns to create beautiful, festive nails that are perfect for the season. You’ll discover essential supplies and step-by-step guides that make stunning winter manicures accessible for everyone.
Chilly weather has arrived, and it’s time to switch up your nail game! Are you looking for some fun and festive winter nail art ideas that are super easy for beginners? You’ve come to the right place! Sometimes, creating beautiful nail designs can seem daunting, especially if you’re just starting out. But don’t worry, because winter is the perfect season to experiment with gorgeous, cozy looks without needing a degree in nail art. We’re going to break down everything you need to know, from the must-have tools to simple design concepts that will have your nails looking totally magical. Get ready to impress yourself and everyone around you with these genius essentials!
Your Winter Nail Art Starter Kit: Genius Essentials
Before we dive into the dazzling designs, let’s make sure you have the right tools. Think of these as your trusty sidekicks for creating winter nail art magic. You don’t need a whole professional salon’s worth of equipment to get amazing results. A few key items will go a long way!
Must-Have Tools for Beginner Winter Nail Art
- Base Coat and Top Coat: These are non-negotiable! A good base coat protects your natural nails from staining and helps your polish adhere better. A top coat seals your design, adds shine, and prevents chips.
- Nail Polish in Wintery Shades: Think deep blues, frosty silvers, crisp whites, cozy creams, and rich burgundies. Don’t forget some glitter polish for that extra twinkle!
- Fine-Tipped Nail Art Brushes or Dotting Tools: These are your magic wands for drawing lines, dots, and tiny details. You can find inexpensive sets online or at beauty stores. A simple toothpick can even work in a pinch for dots!
- Dotting Tool: Essential for creating perfect dots, from tiny snowflakes to festive polka dots. Various sizes come in a set, offering versatility.
- Striper Brush: Long and thin, this brush is perfect for clean, crisp lines needed for snowflakes or geometric patterns.
- Small Sponge (for Ombre/Gradients): A regular makeup sponge cut into small pieces works wonderfully for creating smooth color transitions.
- Nail Polish Remover and Cotton Swabs/Pads: For cleaning up any mistakes (we all make them!) and ensuring clean lines.
- Tweezers: Handy for picking up small embellishments like rhinestones or glitter bits.
Getting Your Nails Winter-Ready: Prep Work
Great nail art starts with great nails! A little prep work will make your designs last longer and look smoother.
- Cleanse: Make sure your nails are free of old polish and oils. Wash your hands thoroughly.
- Shape: File your nails into your desired shape. A slightly rounded or squoval shape often complements winter designs well.
- Cuticle Care: Gently push back your cuticles. This creates a clean canvas for your nail art.
- Buff: Lightly buff the nail surface to smooth any ridges for a perfect polish application.
- Base Coat: Apply one layer of your base coat and let it dry completely. This is crucial!
Easy Winter Nail Art Ideas for Absolute Beginners
Now for the fun part! These designs are beginner-friendly and don’t require complicated techniques. We’ll focus on creating charming winter vibes with minimal fuss.
1. The Glitter Gradient Snowfall
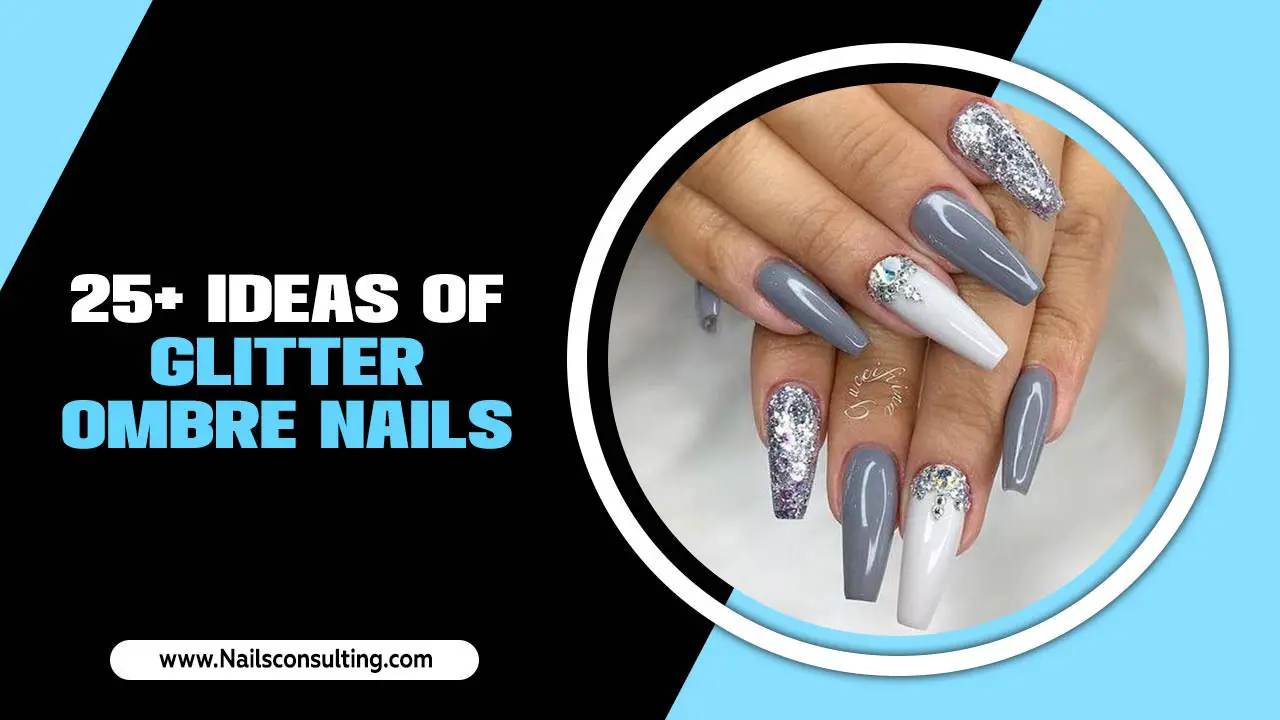
This is a classic for a reason! It looks super chic and is incredibly easy to do. It mimics falling snow or the sparkle of fresh frost.
How to Achieve the Glitter Gradient Snowfall:
- Start with your base color: Apply one or two coats of your chosen winter nail polish (e.g., deep blue, grey, or white). Let it dry completely.
- Apply glitter polish: Take a silver or iridescent glitter polish. Start applying it near the tip of your nail, concentrating the glitter there.
- Build the gradient: Dab the brush lightly downwards towards the cuticle, gradually using less glitter polish as you go. This creates the fading, snowy effect. You want more glitter at the tip and less as you move down the nail.
- Add a second coat if needed: If you want more intense glitter, wait for the first layer to dry slightly and repeat the dabbing motion.
- Seal with Top Coat: Once completely dry, apply a generous layer of top coat to smooth out the glitter and protect your design.
2. Simple Snowflake Decals or Hand-Painted Dots
Snowflakes are quintessentially winter, and you can achieve them easily!
Option A: Using Nail Stickers/Decals (Easiest!)
- Apply base color: Paint your nails with a solid color like navy blue, black, or even a pale icy blue. Let it dry.
- Place the decal: Carefully peel a snowflake nail decal from its backing using tweezers.
- Position and press: Gently place the decal onto your nail where you want it. Press down firmly to ensure it adheres smoothly.
- Seal: Apply a top coat over the entire nail, making sure to seal the edges of the decal to prevent it from peeling.
Option B: Simple Hand-Painted Snowflakes
- Apply base color: Choose a dark or contrasting color for your base. Let it dry completely.
- White Polish for Snowflakes: Use a fine-tipped nail art brush or a dotting tool dipped in white polish.
- Create a simple star: On a scrap piece of paper, practice drawing a simple asterisk (*) shape. This is the basis of many snowflakes.
- Draw your snowflake: On the nail, carefully draw a few lines radiating from a central point. Add smaller lines or dots to embellish. Don’t worry about perfection; slightly irregular snowflakes look charming!
- Clean up and seal: Use a fine brush dipped in nail polish remover to clean up any messy lines. Finish with a top coat.
3. Cozy Color Block Designs
Geometric patterns are trendy and very achievable for beginners. Color blocking is a stylish way to incorporate winter colors.
How to Create a Color Block Nail
- Apply first color: Paint your nail with your first chosen color (e.g., a creamy beige). Let it dry completely.
- Use tape for clean lines: Apply a piece of nail art tape or regular scotch tape across your nail, creating a line. Press the edges down firmly to prevent polish from bleeding underneath.
- Apply second color: Paint the section of the nail above or below the tape with your second color (e.g., a deep forest green or rich maroon).
- Remove tape carefully: While the second color is still slightly wet (but not so wet that it smudges), carefully and slowly peel off the tape. This creates a crisp dividing line.
- Let it dry: Allow the polish to dry completely.
- Repeat if desired: You can add more tape and colors for more complex blocks.
- Seal: Finish with a clear top coat to lock everything in place.
4. Two-Tone French Tips in Winter Shades
Give the classic French manicure a seasonal twist with winter colors!
How to Do Two-Tone French Tips:
- Apply base color: Paint your entire nail with a solid color, like a pale gray or a soft white. Let it dry.
- Use French tip guides (optional but helpful): Apply white French tip guides to your nails, just above where your natural nail tip begins.
- Paint the tip: Using a metallic polish (like silver or gold) or a contrasting winter shade (like deep purple), carefully paint over the tip of your nail, or the area above the guide.
- Remove guides: Immediately after painting, carefully peel off the French tip guides.
- Alternative without guides: If you don’t have guides, use a fine brush loaded with your tip color. Hold your hand steady and draw a thin smile line across the tip of the nail.
- Seal: Once dry, apply a top coat.
5. The “Cozy Sweater” Nail Texture
This design mimics the look of a chunky knit sweater and is surprisingly simple to achieve with a special polish or a clever technique.
How to Get the Cozy Sweater Effect:
-
Apply base color: Paint your nails with your desired base color. A neutral like cream, gray, or a muted pastel works well. Let it dry completely.
-
Use a textured polish: The easiest way is to use a “3D Matte Effect” or “Sugar Effect” nail polish designed to create a textured look. Apply it over your base color. These polishes dry to a matte, slightly bumpy finish that resembles knitwear.
-
DIY Textured Polish (if you don’t have a special polish): Apply a layer of your base color. While it’s still wet, dip a clean, dry brush into a fine, complementary colored glitter (like a fine silver or white glitter) and gently brush it over the wet polish. This can create a subtle texture. Alternatively, some people use clear acrylic powder mixed with polish, but this requires more practice. The easiest method is to use a dedicated textured polish.
- Add simple lines (optional): Once dry, you can use a thin liner brush and the same base color or a slightly darker shade to draw subtle lines to mimic stitches.
- Seal (carefully): Be aware that top coat can sometimes flatten textured polishes. Apply a thin layer of matte top coat for best results, or avoid top coat if you want to preserve the full texture.
6. Simple Accent Nail with Gemstones
Sometimes, all you need is one dazzling accent nail to make a statement. This is perfect for busy bees!
How to Add a Gemstone Accent Nail:
- Paint your accent nail: Choose one nail (usually the ring finger) and paint it with a bold winter color or a shimmering metallic. Let it dry.
- Apply a dab of top coat or nail glue: Where you want to place your gemstone, apply a small dot of clear nail polish or a tiny drop of nail glue specifically designed for embellishments.
- Place the gemstone: Using tweezers, carefully pick up a small rhinestone, pearl, or other nail charm.
- Position and press: Gently place the gemstone into the wet polish or glue. Press down lightly to secure it.
- Seal around it: Apply a thin layer of top coat around the gemstone, being careful not to get too much on top of it, which can dull its shine or cover it completely.
- Paint other nails: Paint your remaining nails with a coordinating solid color.
Tips for Long-Lasting Winter Nail Art
You’ve created a masterpiece, now let’s make it last!
- Always use a base and top coat. (We can’t stress this enough!)
- Cure each layer of polish. Let each coat dry before applying the next to prevent smudging and bubbling. Patience is key!
- Cap your free edge. When applying your top coat, run the brush along the very tip of your nails. This seals the polish and prevents chipping, similar to how [[professional nail technicians seal edges for durability|https://www.nailpro.com/education/art/nail-art-sealing-edges-for-durability-and-shine-73821]].
- Wear gloves for chores. Protect your beautiful nails from harsh detergents and water by wearing rubber gloves when washing dishes or cleaning.
- Moisturize! Keep your hands and cuticles hydrated with a good hand cream or cuticle oil. Healthy nails are happy nails.
Understanding Nail Polish Finishes for Winter
The finish of your nail polish can make a big difference in your winter nail art. Here’s a quick rundown:
| Finish Type | Description | Best for Winter Nail Art |
|---|---|---|
| Cream | Opaque color with no shimmer or glitter. The standard finish for most polishes. | Excellent for base colors, crisp lines, and solid designs. Provides a smooth canvas. |
| Shimmer/Metallic | Subtle to noticeable sheen or metallic look. Reflects light beautifully. | Perfect for snowflakes, French tips, or creating a frosty effect. Adds depth and sparkle. |
| Glitter | Contains small particles of glitter. Can be sheer (glitter only) or opaque (glitter suspended in colored polish). | Ideal for gradients, accent nails, or adding a festive twinkle. Great for hiding minor imperfections. |
| Matte | Dries to a flat, non-shiny finish. Creates a sophisticated, velvety look. | Fantastic for “cozy sweater” textures, geometric designs, or a modern take on French tips. |
| Jelly | Sheer, translucent finish that can be layered for depth. Often have a juicy, candy-like appearance. | Great for subtle layering, creating depth behind designs, or achieving icy translucence effects. |
Winter Nail Art Styles to Inspire You
Looking for more ideas? Winter offers a palette of inspiration!
- Nordic Inspired: Think geometric patterns, reindeer, or fair isle sweater motifs.
- Icy & Frosty: Blues, whites, silvers, and clear polishes with subtle shimmer.
- Deep Jewel Tones: Rich emerald, sapphire, ruby, and amethyst shades for elegant manicures.
- Cozy Neutrals: Warm creams, grays, and soft browns for understated elegance.
- Festive Sparkle: All about glitz and glamour with lots of glitter, metallic accents, and perhaps some festive red or green.
Frequently Asked Questions About Winter Nail Art for Beginners
Q1: What are the easiest winter nail art designs for beginners?
The easiest designs often involve using glitter polish for gradients, simple dotting tools to create snowflakes, or nail art stickers for quick embellishments. Color blocking with tape is also very forgiving.
Q2: Do I need special nail art brushes?
Not necessarily! While specialized brushes offer more control, you can achieve many beginner designs with a toothpick for dots, a thin striper brush, or even edges of regular polish brushes for lines. A fine-tipped detail brush from a craft store or beauty supply is a good budget-friendly investment.
Q3: How can I make my nail art last longer?
Proper preparation is key: clean, shaped, and buffed nails. Always use a good base and top coat, and be sure to “cap” the free edge of your nail with the top coat. Moisturizing your hands and cuticles regularly also helps maintain nail health and polish adhesion.
Q4: What colors are best for winter nail art?
Winter colors typically include deep blues, grays, whites, silvers, frosty pastels, burgundies, forest greens, and metallics. Neutrals like cream and beige are also popular for a cozy feel.
Q5: My lines are not straight when I try to paint them. What can I do?
For shaky lines, try using nail art tape for straight edges, or dip your fine brush in polish remover to clean up any mistakes immediately after painting. Practicing slow, steady strokes on a piece of paper first can also help build muscle memory. Don’t aim for absolute perfection; a slightly unique line can add character!
Q6: Can I achieve glitter gradients without it looking chunky?
Yes! The trick is to use a lighter hand as you move down the nail and to dab the glitter polish on from the tip rather than brushing it. A smoother glitter polish or a glitter polish with smaller particles will also help. Ensure your coats are thin and build up the density gradually.
Conclusion: Embrace Your Inner Nail Artist This Winter!
There you have it – a suite of genius essentials and simple, beautiful winter nail art ideas perfect for beginners! You don’t need to be a professional to create stunning looks that capture the magic of the season. From sparkly glitter gradients that mimic a fresh snowfall to elegant color-blocked designs that reflect cozy interiors, there’s something for everyone to try. Remember, the most important tools are your creativity and a willingness to have fun. Grab your polishes, experiment with these techniques, and enjoy the process of transforming your nails into a festive winter canvas. Happy painting, and may your nails be merry and bright all season long!

