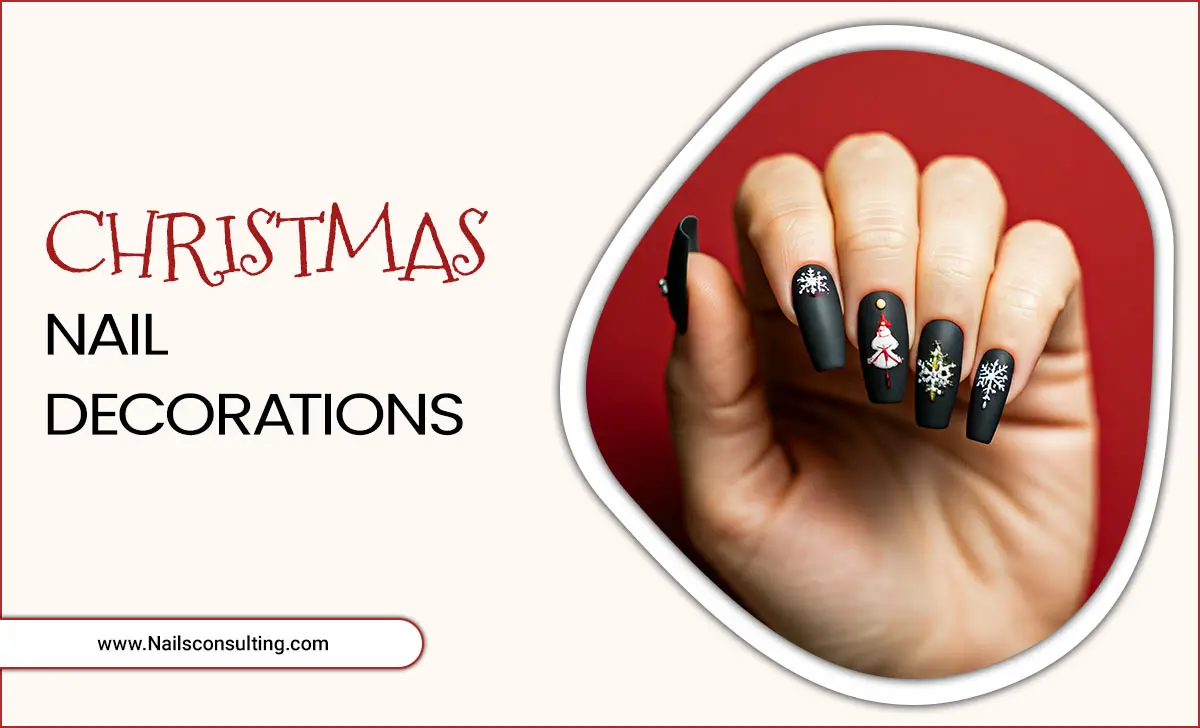
Get ready for the coziest season with stunning winter nail art ideas! Learn easy, beginner-friendly designs using simple tools and techniques to create gorgeous, festive nails that are both stylish and essential for your winter look. Elevate your manicure game with our guide!
Winter is here, and our nails deserve some love too! Are you tired of plain, uninspired nails while the world outside is covered in a beautiful blanket of snow? You want festive, stylish nails that match the season, but the thought of intricate designs feels totally out of reach. Don’t worry! Creating beautiful winter nail art is easier than you think, even if you’re just starting out. We’re here to guide you through simple techniques and stunning ideas that will make your nails pop this winter.
From cozy snowflakes to elegant frosty patterns, there’s a winter nail art idea for everyone. We’ll break down the supplies you’ll need and show you how to achieve professional-looking results right at home. Get ready to embrace the magic of winter, one fabulous nail at a time!
Why Winter Nail Art is a Must-Have
Winter isn’t just about warm sweaters and hot cocoa; it’s also a fantastic season for expressing yourself through your nails. Think about it: your hands are more visible when you’re reaching for your gloves or sipping a warm drink. Beautifully done nails can be a small joy, a confidence boost, and a conversation starter.
Beyond just looking pretty, winter nail art can:
- Boost your mood: Bright or festive designs can add a pop of cheer to even the dreariest winter day.
- Complete your look: Nails are the perfect accessory. Coordinating them with your winter outfits adds an extra touch of polish.
- Celebrate the season: Embrace winter themes like snowflakes, icy blues, festive reds, or cozy neutrals.
- Be a fun, creative outlet: Nail art is a fantastic way to explore your artistic side in a low-pressure, enjoyable way.
Essential Tools for Your Winter Nail Art Adventure
You don’t need a professional salon to create stunning nail art. With a few basic tools, you can unlock endless creative possibilities. Gathering the right supplies is the first step to a successful DIY manicure!
The Must-Haves:
- Nail Polish: A variety of colors is key! Think frosty blues, shimmering silvers, classic reds, deep greens, cozy browns, and of course, white and black for details.
- Base Coat: Protects your natural nails and helps your polish last longer.
- Top Coat: Seals your design, adds shine, and prevents chipping or smudging.
- Dotting Tools: These come with different sized balls on the end and are perfect for creating polka dots, small details, and even beginner-friendly snowflakes.
- Thin Detail Brush: Essential for drawing fine lines, swirls, and intricate patterns. You can find these at most beauty stores or online.
- Nail Polish Remover & Cotton Swabs/Pads: For cleaning up mistakes and removing old polish.
- Nail File & Buffer: To shape your nails and smooth the surface for a flawless application.
Optional but Helpful Tools:
- Stencils or Nail Stickers: Great for beginners who want clean lines or specific images without freehand drawing.
- Dotting Tool Holder: Keeps your dotting tools organized.
- Tweezers: Handy for applying nail gems or rhinestones.
Beginner-Friendly Winter Nail Art Ideas & How-Tos
Ready to get creative? These ideas are perfect for beginners and can be adapted to your favorite colors and styles.
1. Cozy Cranberry & Cream
This classic combo is sophisticated and perfect for any winter occasion. It’s all about simple color blocking and maybe a touch of sparkle.
What You’ll Need:
- Base coat
- Cream or beige nail polish
- Deep red or cranberry nail polish
- Optional: Gold or silver glitter polish
- Top coat
- Thin striper brush (optional for detail)
How-To:
- Apply a base coat to clean, dry nails.
- Paint ¾ of your nail with the cream or beige polish. Let it dry completely.
- Using the deep red polish, paint the remaining ¼ of your nail, creating a clean line where the colors meet. You can make this line straight across or a diagonal French tip style.
- Optional Sparkle: Once the red polish is dry, carefully add a thin line of glitter polish along the color-change line using a thin brush or the glitter polish applicator itself.
- Apply a top coat to seal everything in.
2. Frosted French Tips
A winter twist on the classic French manicure! Instead of white, we’re going icy.
What You’ll Need:
- Base coat
- Sheer nude or light pink polish
- Iridescent white or light blue polish
- Clear fast-dry top coat
- French tip guides (optional)
How-To:
- Apply a base coat and then one or two coats of your sheer nude or light pink polish. Let it dry.
- Option 1 (Using Guides): Apply French tip guides to the free edge of your nails. Carefully paint the tips with the iridescent white or light blue polish. Remove guides while the polish is still a bit wet.
- Option 2 (Freehand): Carefully paint the tips of your nails with the iridescent white or light blue polish. Don’t worry if it’s not perfectly straight; the frosty effect is forgiving!
- Once dry, apply a layer of clear fast-dry top coat for shine and protection.
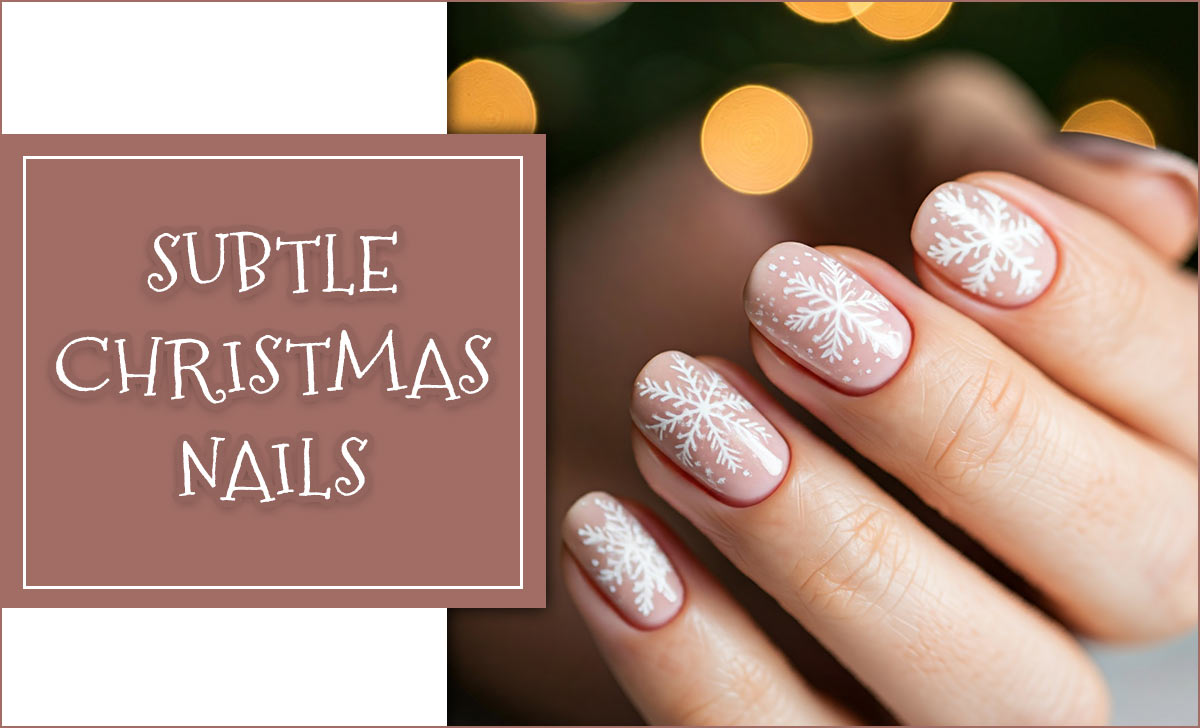
3. Simple Snowflake Accent Nail
Snowflakes are the ultimate winter symbol! This design adds a touch of magic without being overwhelming.
What You’ll Need:
- Base coat
- Your favorite winter polish color (e.g., deep blue, silver, grey)
- White or silver polish for the snowflake
- Dotting tool (medium to small size) or a thin detail brush
- Top coat
How-To:
- Apply your base coat and then 1-2 coats of your chosen background color. Let it dry completely.
- Creating the Snowflake:
- With a Dotting Tool: Dip your dotting tool into the white or silver polish. Start by making a small dot in the center where you want your snowflake. Then, carefully make four smaller dots extending outwards from the center like spokes. Finally, add tiny dots or short lines at the end of each spoke.
- With a Detail Brush: Dip your thin brush into the white or silver polish. Draw a small cross. From the ends of the cross lines, draw slightly shorter diagonal lines to create the ‘X’ shape that forms the snowflake. Add small dots or dashes to the ends of these lines for detail.
- Don’t aim for perfection! Each snowflake is unique. A slightly imperfect snowflake adds to the charm.
- Let the snowflake dry completely before applying a top coat.
4. Cozy Plaid Accent Nails
Plaid might seem complicated, but an accent nail version is totally doable for beginners!
What You’ll Need:
- Base coat
- A base color polish (e.g., deep red, forest green, navy blue)
- Black and white polish
- Thin detail brush or striper tool
- Top coat
How-To:
- Apply your base coat and your chosen base color. Let it fully dry.
- The Lines: Using your black polish and thin brush, paint a horizontal line and a vertical line across your nail, making sure they intersect.
- The Cross Lines: Now, using your white polish and thin brush, carefully paint a thinner horizontal line and a thinner vertical line that run parallel to your black lines, almost like creating a grid. You can place them on either side of the black lines.
- The Overlap: Finally, add more black and white lines to create the plaid effect. Think about how plaid patterns are layered. You can add a few more alternating thin black and white lines in both directions to fill out the pattern.
- Let it dry, then seal with a top coat.
5. Glitter Gradient (Ombre) Nails
This is a super-easy way to get a dazzling, festive effect with minimal effort. It looks intricate but is incredibly beginner-friendly!
What You’ll Need:
- Base coat
- Your desired base color polish (optional, but recommended)
- Glitter polish (fine or chunky, shimmery or metallic)
- Top coat
- Makeup sponge or a fine-tip brush
How-To:
- Apply your base coat and your base color polish (if using). Let dry.
- With a Makeup Sponge: Apply a line of glitter polish onto a makeup sponge. You can even layer your base color and the glitter polish on the sponge. Gently dab the sponge onto the tip of your nail, working your way down. The glitter will be most concentrated at the tip and fade as you move towards the cuticle. Repeat the dabbing motion to build up the sparkle.
- With a Fine-Tip Brush: Apply one coat of glitter polish to the tips of your nails. Let it dry. Then, apply a second coat, extending it a little further down the nail. Continue building up layers, applying polish slightly lower each time, until you achieve your desired fade.
- Let it dry completely and apply a generous top coat to smooth out any texture from the glitter.
Trendy Winter Nail Colors & Themes
Choosing the right colors can instantly evoke the feeling of winter. Here are some shades and themes that are always a hit:
Color Palettes to Love:
- Icy Blues & Whites: Think snow, frost, and winter skies. Metallics and shimmers work wonderfully here.
- Deep Greens & Reds: Classic holiday colors that are sophisticated and festive.
- Cozy Neutrals: Cream, beige, soft browns, and greys provide an elegant, understated winter vibe.
- Metallics: Silver, gold, rose gold, and gunmetal add instant glam and reflect the sparkle of the season.
- Jewel Tones: Emerald, sapphire, amethyst, and ruby can offer a rich, luxurious feel.
Popular Winter Nail Art Themes:
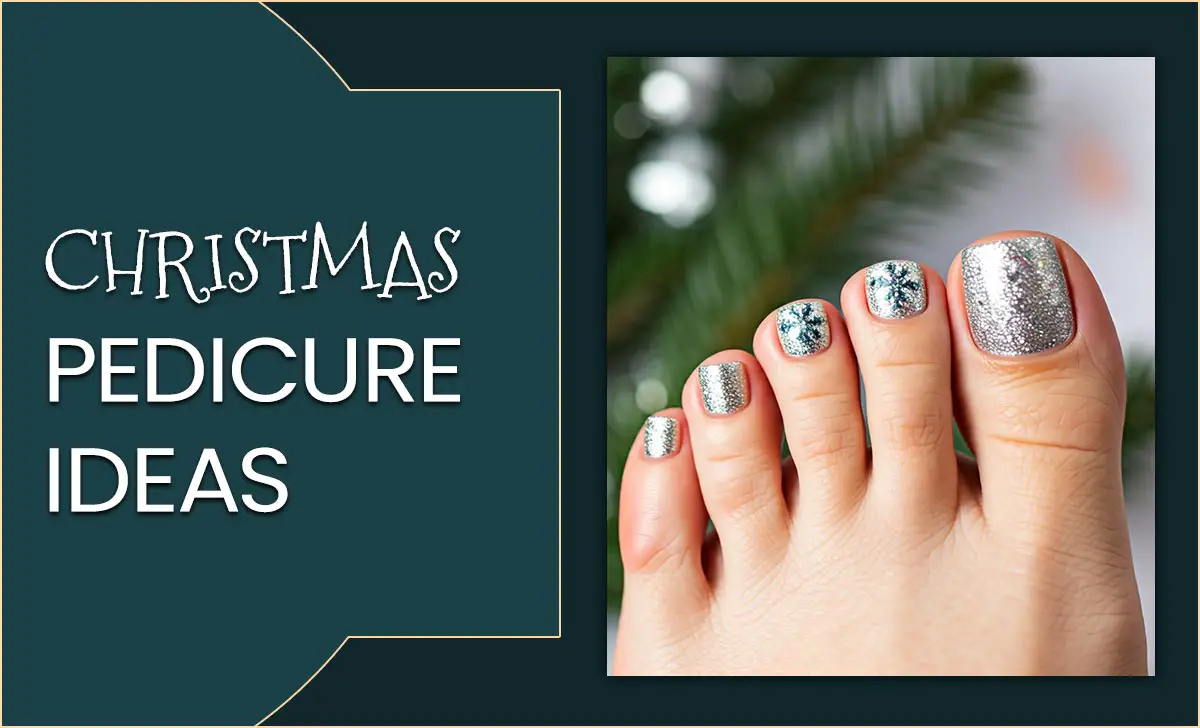
- Snowflakes & Frost: Subtle dots, delicate lines, or painted flakes.
- Geometric Patterns: Clean lines in metallic or contrasting colors can mimic icy structures.
- Abstract Swirls: Think of frozen landscapes or cozy knit patterns.
- Minimalist Designs: A single dot, a thin stripe, or a small accent can be incredibly chic.
- Stars & Moons: For a touch of celestial winter magic.
Maintaining Your Winter Masterpieces
Once you’ve created your stunning winter nail art, you’ll want it to last! Here are a few tips:
- Always Use a Top Coat: Reapplying every 2-3 days can significantly extend the life of your manicure.
- Wear Gloves: Protect your nails and cuticles from harsh winter weather and when doing household chores.
- Moisturize: Cold, dry air can wreak havoc on your hands and nails. Use cuticle oil and hand cream regularly.
- Avoid Using Nails as Tools: Don’t try to pry things open or scrape with your nails, as this can chip even the best manicures.
Choosing Your Winter Nail Shape
The shape of your nails can also enhance your winter nail art. While any shape works, some lend themselves particularly well to seasonal designs.
| Nail Shape | Description | Winter Nail Art Pairing |
|---|---|---|
| Almond | Tapered towards the tip, rounded at the base. Elegant and elongating. | Perfect for showcasing intricate snowflake details or a gradient effect. |
| Square | Straight sides and a flat, rounded or square tip. Classic and strong. | Great for geometric patterns, clean lines, and color-blocking designs. |
| Squoval | A softer version of square, with rounded corners. Practical and chic. | Versatile for most designs, from polka dots to minimalist accents. |
| Stiletto/Coffin | Long and tapered, pointed or with a flat tip. Bold and statement-making. | Ideal for dramatic glitter designs or bold color combinations. |
Pro Tips for Flawless Application
Even with simple designs, a few pro tips can make a big difference:
- Thin Coats are Best: Apply 2-3 thin coats of polish rather than one thick, gloopy one. This leads to a smoother finish and faster drying time.
- Clean Up as You Go: Dip a small brush or cotton swab in nail polish remover to clean up any polish that goes onto your skin or cuticles. It’s much easier to fix mistakes while the polish is still wet.
- Let Each Layer Dry: Patience is key! Ensure each layer of polish, especially base colors and intricate details, is dry before adding the next or applying a top coat.
Don’t Forget Nail Health This Winter
Winter weather can be tough on nails, leading to dryness, brittleness, and peeling. Prioritizing nail health will ensure your manicures look even better and last longer.
The American Academy of Dermatology Association recommends keeping skin and nails moisturized, especially during drier winter months. Proper hydration is crucial.
How to Keep Your Nails Healthy:
- Hydration is Key: Use a good quality hand cream and cuticle oil daily. Gently massage them into your nails and cuticles.
- Avoid Hot Water: While tempting, long, hot baths and showers can strip moisture from your skin and nails. Opt for lukewarm water.
- Protect Your Cuticles: Cuticles protect your nail matrix from infection. Avoid cutting them; instead, gently push them back after a shower or a warm soak if needed.
- Consider a Nail Strengthener: If your nails are prone to breaking or peeling, a strengthening treatment can help. Look for formulas with biotin or keratin.
- Healthy Diet: Ensure you’re getting enough vitamins and minerals, especially biotin, zinc, and iron, as these play a role in nail health.
Frequently Asked Questions about Winter Nail Art
Q1: What are the best nail polish colors for winter?
A1: Classic winter colors include deep reds, forest greens, icy blues, crisp whites, shimmering silvers, and cozy neutrals like beige and grey. Metallics and jewel tones also look stunning.
Q2: How can I make my nail art last longer in winter?
A2: Always use a good base and top coat, reapply your top coat every few days, and protect your hands with gloves when outdoors or doing chores. Moisturizing regularly also helps.
Q3: I’m a complete beginner. What’s the easiest winter nail art design?
A3: A glitter gradient is incredibly easy! Just dab glitter polish onto the tips of your nails and blend downwards with a sponge or brush. Simple dots or a single accent nail with a design are also great starting points.
Q4: Do I need special tools for winter nail art?
A4: Not necessarily for beginner designs! A dotting tool (or even a bobby pin for dots), a thin detail brush, and good quality polishes are often enough. Stencils or nail stickers can also help beginners achieve clean looks.
Q5: How do I clean up my nail polish mistakes?
A5: Dip a small cleanup brush or a pointed cotton swab into nail polish remover. Carefully trace around your cuticles and sidewalls to remove any polish that got onto your skin.
Q6: Can I achieve a matte winter look?
A6: Absolutely! You can buy matte top coats that will transform any glossy polish design into a chic matte finish. Apply it just as you would a glossy top coat.
Conclusion
There you have it – your ultimate guide to stunning and essential winter nail art ideas! We’ve covered everything from the basic tools you need to simple, achievable designs that will make your nails sing with the spirit of the season. Whether you love frosty blues, cozy reds, or a touch of sparkle, there’s a style here to inspire you. Remember, nail art is a form of self-expression, so have fun with it, embrace the imperfections, and let your creativity shine.
Don’t forget to keep your nails healthy and hydrated through the winter months. With a little practice and the right techniques, you’ll be rocking gorgeous, festive manicures all season long. So grab your polishes, get creative, and enjoy the magic of winter, from your fingertips to

