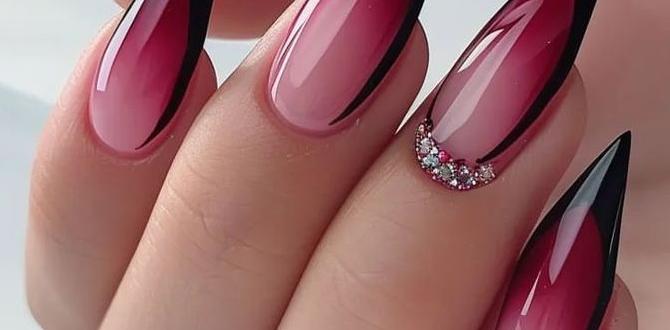
White nail designs are a versatile and chic choice for any occasion. From simple elegance to intricate artistry, these designs offer a clean, fresh look that’s surprisingly easy to achieve at home. Whether you prefer minimalist chic or a touch of glamour, white nail art provides a perfect canvas for stunning and effortless manicures.
Searching for that perfect manicure that screams sophistication yet is simple enough to do yourself? White nail designs are an absolute game-changer! They’re clean, classic, and can be dressed up or down with ease. But sometimes, picturing that perfect white design and actually creating it can feel like two different worlds. Don’t you worry! We’re going to break down the magic of white nails, making stunning designs totally achievable for everyone, no matter your skill level. Get ready to discover how to create effortlessly beautiful white nail art that will have you feeling like a pro!
Why White Nail Designs Are Your New Best Friend
White is more than just a color; it’s a statement. It’s bright, it’s clean, and it’s incredibly versatile. When it comes to nail art, white polish offers a blank canvas that pops. It can make colors look more vibrant, it stands out beautifully on its own, and it pairs well with almost anything, from your favorite jeans to your most elegant evening gown.
Think about it: a crisp white French tip, a delicate white floral accent, or even a bold, all-white matte finish. White nail designs are perfect for holidays, weddings, or just when you want your nails to look polished and put-together. Plus, they have a way of making your hands look instantly cleaner and more refined. It’s the ultimate effortless chic!
Getting Started: Essential Tools for White Nail Art
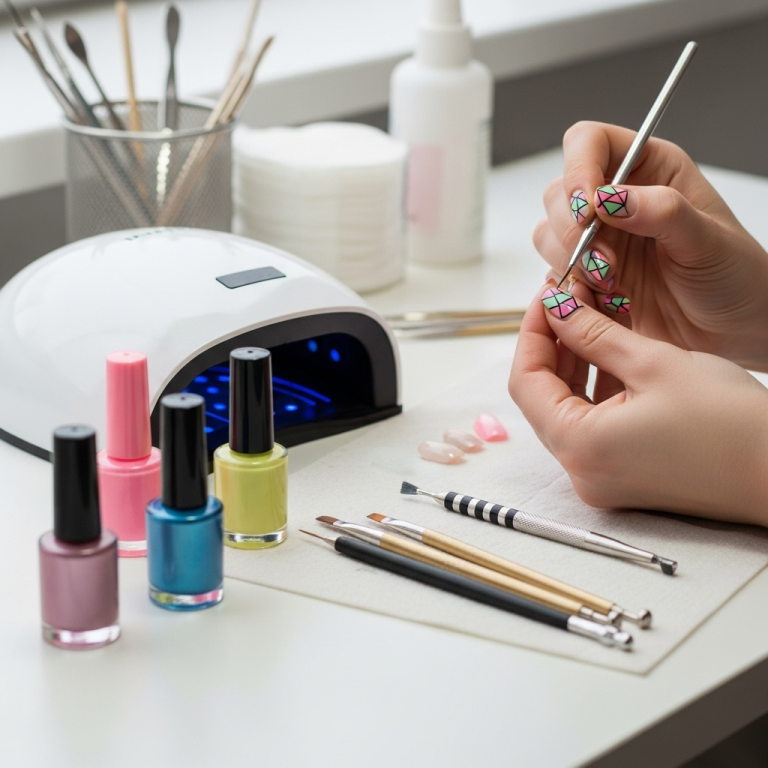
Before we dive into the fun designs, let’s make sure you have the right tools. You don’t need a professional salon setup to create amazing white nail art. Here’s a quick rundown of what you’ll find super helpful:
- Base Coat: This is crucial for protecting your natural nails and helping your polish adhere better. A good quality base coat prevents staining and creates a smooth surface.
- White Nail Polish: Opt for a good, opaque white polish. A creamy formula usually provides the best coverage in one or two coats.
- Top Coat: Essential for sealing your design, adding shine, and making your manicure last longer. A quick-dry top coat is a lifesaver for busy hands!
- Nail Files and Buffers: To shape your nails and create a smooth surface for polish application. A fine-grit buffer can help smooth out any minor imperfections.
- Cuticle Pusher/Orange Stick: To gently push back your cuticles for a clean nail bed.
- Dotting Tools: These come in various sizes and are perfect for creating dots, small flowers, and other simple patterns.
- Thin Nail Art Brush/Liner Brush: Ideal for drawing fine lines, swirls, and delicate details.
- Tweezers: Handy for picking up small embellishments like rhinestones or glitter.
- Rubbing Alcohol or Nail Polish Remover: For cleaning brushes and correcting small mistakes.
- Optional Embellishments: Think rhinestones, glitter, small pearls, or even foil accents for that extra sparkle.
A good understanding of basic nail care is also key. Keeping your nails clean, trimmed, and moisturized will make any design look that much better. Regular hand and cuticle care can make a huge difference!
Effortless White Nail Designs for Beginners
Ready to get creative? These designs are perfect for those just starting out with nail art. They look impressive but are surprisingly simple to execute.
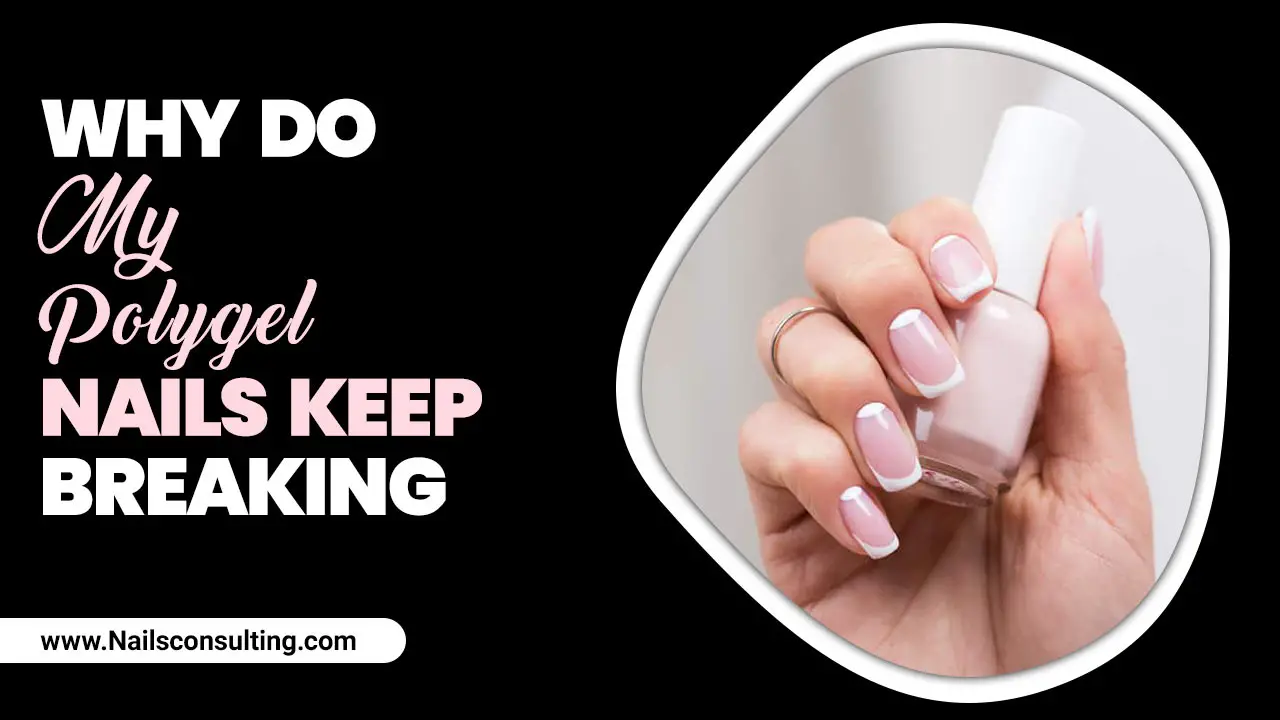
1. The Classic White French Manicure
This is a timeless look that never goes out of style. It’s clean, elegant, and perfect for any occasion.
Materials:
- Base coat
- Sheer nude or pink polish (optional, for the base)
- Opaque white polish
- Thin nail art brush or French tip guide stickers
- Top coat
Steps:
- Prep your nails: Start with clean, dry nails. Apply your base coat and let it dry. If you want a little color on your nail bed, apply a thin layer of sheer nude or pink polish and let it dry completely.
- Create the white tip: This is where you have a few options.
- Freehand: Using a thin nail art brush dipped in white polish, carefully paint a smile line at the tip of your nail. Start from one side, curve across the tip, and finish on the other side. Take your time!
- Guide Stickers: Place French tip guide stickers along the edge of your nail bed, just below where you want the white tip to start. Paint the white polish over the tip and carefully remove the sticker before the polish dries completely.
- Clean up: Use a small brush dipped in nail polish remover to clean up any wobbly lines or mistakes.
- Add shine: Once the white polish is dry, apply a generous layer of top coat to seal the design and add a beautiful shine.
2. Dotted Delight
Dots are incredibly easy to create and can be as minimalist or as playful as you like.
Materials:
- Base coat
- White polish
- A contrasting color polish (optional, for accent dots)
- Dotting tool (or the tip of a bobby pin, toothpick, or even a ballpoint pen tip)
- Top coat
Steps:
- Prep and base: Apply your base coat and let it dry. Paint your nails with your white polish and let it dry completely.
- Dotting time: Dip your dotting tool into a small amount of white polish. Gently press the tip onto your nail to create a dot. You can make a single dot, a line of dots, or cover the whole nail.
- Add accents (optional): For a pop of color, use a different colored polish to add smaller dots on top of or around your white dots.
- Seal it: Apply a layer of top coat to protect your beautiful new dots.
3. Minimalist White Lines
Sometimes, less is more! Simple white lines can add a touch of modern elegance.
Materials:
- Base coat
- White polish
- Thin nail art brush or striper tool
- Top coat
Steps:
- Smooth start: Apply base coat, then paint your nails with your desired base color (or just a clear coat). Let it dry thoroughly. If you’re going for a pure white look, this base is your white polish!
- Draw your lines: Dip your nail art brush into the white polish. Wipe off excess on a paper towel. Carefully draw thin, straight lines, curved lines, or geometric shapes onto your nails. You could do a single diagonal line, a few horizontal lines, or even try to create a simple abstract design.
- Refine and seal: Clean up any stray marks with a brush and remover. Once dry, apply your top coat for a smooth, lasting finish.
Taking it Up a Notch: Intermediate White Nail Designs
Once you’re comfortable with the basics, it’s time to experiment with designs that have a little more flair!
4. Delicate White Florals
Floral patterns are incredibly popular, and white flowers on a contrasting background are simply breathtaking.
Materials:
- Base coat
- Your chosen base color polish (e.g., pastel pink, baby blue, nude, or even black for a dramatic effect)
- Opaque white polish
- Dotting tool (small size) or a fine-tip nail art brush
- Toothpick (optional, for fine details)
- Top coat
Steps:
- Color your canvas: Apply base coat, then your chosen base color polish. Let it dry completely.
- Create the petals: Dip your dotting tool or fine brush into white polish. Make small dots in a circular pattern on your nail to form petals. You can make them close together for a full flower or spaced out for a more airy look. For more defined petals, use the brush to slightly drag the polish to create a petal shape from each dot.
- Add a center: Use a smaller dotting tool or the tip of a toothpick dipped in a contrasting color (like a golden yellow or even a darker shade of your base color) to create a small dot in the center of the flower. Alternatively, use a tiny dot of white polish for a monochrome look.
- Build your bouquet: Add more flowers across your nail, or just one or two as an accent. You can also add small green leaves using a green polish and a fine brush if you’re feeling extra creative.
- Finish strong: Apply top coat once everything is dry.
5. White Marble Effect
The marble look is chic and sophisticated, and white makes it feel fresh and modern.
Materials:
- Base coat
- White polish
- A contrasting polish (e.g., black, grey, or even a metallic like gold or silver)
- Thin nail art brush or toothpick
- Top coat
- (Optional: A clear polish or a special marbling liquid)
Steps:
- Base layer: Apply base coat, then paint your nails with white polish. Let it dry thoroughly.
- Create veins: Take your thin brush or toothpick and dip it into the contrasting polish. Draw thin, irregular squiggly lines across your white nail. Don’t make them too uniform; think of natural marble patterns. You can also dab a tiny bit of contrasting polish onto the nail and then use the brush to drag it slightly.
- Blend (carefully): While the contrasting lines are still wet, you can use a very clean brush dipped in a bit of top coat or clear polish to gently smudge and blend the lines slightly, giving that diffused marble look. Work quickly so the polish doesn’t dry.
- Add subtle accents: For a more realistic or luxurious look, you can add a few very fine lines of a metallic polish (like gold or silver) over the blended veins.
- Seal the deal: Apply a generous layer of top coat to smooth out the texture and give your marble design a beautiful, high-gloss finish.
6. White Glitter Ombre
This design is stunning for a party or a special occasion, offering a touch of glamour without being overpowering.
Materials:
- Base coat
- White polish
- White or iridescent glitter polish (or loose glitter with clear polish)
- Makeup sponge (a clean, dry one)
- Top coat
Steps:
- Foundation: Apply base coat and paint your nails with white polish. Let it dry completely.
- Glitter application: Apply a bit of your glitter polish or loose glitter mixed with clear polish onto the makeup sponge.
- Create the ombre: Gently dab the sponge onto the tip of your nail, concentrating the glitter there. Gradually move up the nail, dabbing lighter and lighter to create a gradient effect. You want the glitter to be most dense at the tip and fade out towards the cuticle.
- Build depth (optional): If you want more glitter, apply another layer of glitter polish over the sponged area or repeat the sponging process. You can also add a sheer white or iridescent polish over the glitter to soften the look.
- Smooth finish: Once the glitter is dry, apply a thick layer of top coat. You might need two layers to ensure the nail surface is smooth and all the glitter is fully encased.
Pro Tips for Flawless White Nail Designs
Even with the simplest designs, a few pro tips can make all the difference:
- Patience is Key: Always let each layer of polish dry completely before applying the next. This prevents smudging and bubbling.
- Thin Layers are Better: Multiple thin coats of polish are generally better than one thick coat. They dry faster and look smoother.
- Clean Your Brushes: After using nail art brushes, clean them immediately with nail polish remover or rubbing alcohol to keep them in good condition.
- Practice Makes Perfect: Don’t get discouraged if your first attempt isn’t flawless. The more you practice, the steadier your hand will become.
- Use Quality Products: Good quality polish and tools will make the application process much easier and the results much better.
- Nail Prep is Non-Negotiable: Always start with clean, dry, and well-manicured nails. Pushing back cuticles and filing evenly creates a perfect base for any design.
- Store Polish Properly: Keep your nail polishes upright in a cool, dark place away from direct sunlight to prolong their lifespan and prevent them from drying out.
Common White Nail Design Challenges and Solutions
It’s normal to run into a few hiccups when trying new nail art. Here are some common issues with white nail designs and how to fix them:
| Problem | Solution |
|---|---|
| White polish looks streaky or chalky. | Use an opaque, good-quality white polish. Apply thin, even coats and allow each to dry. A sheer white polish might require more coats. Make sure you are using a polish specifically designed for nail art if you need fine lines. |
| Lines or dots are uneven. | Use a fine-tipped nail art brush or dotting tool. Practice drawing lines on a piece of paper first. For mistakes, dip a small brush (like an eyeshadow brush or a fine liner brush) into nail polish remover and carefully trace around the mistake to clean it up. |
| Polish smudges when adding other elements. | Ensure each layer is completely dry before proceeding. You can also use a quick-dry top coat product between layers if you’re working with wet polish and need to add the next element quickly. Patience is crucial here. |
| My designs fade or chip quickly. | A good base coat and an excellent top coat are your best friends. Ensure you cap the free edge of your nail with your top coat by running the brush along the tip. Reapply top coat every few days to maintain shine and durability. |
| My cuticle area looks messy. | After painting, dip a small, flat brush (an angled eyeliner brush works well) into nail polish remover and carefully clean up any polish that has gotten onto your skin around the nail. Do this before the polish fully dries for easier cleanup. |
For further insights into nail care and preventing damage, the U.S. Food and Drug Administration (FDA) offers valuable information on cosmetic product safety, including nail products.
Beyond the Basics: Advanced White Nail Art Techniques
Feeling adventurous? White is the perfect color to experiment with for more advanced looks. Consider these ideas:
- White Lace Overlay: Using a very fine brush and white polish, hand-paint delicate lace patterns. This takes a steady hand but creates a breathtakingly romantic look.
- White Chrome Powder: Apply white polish as a base, then rub white chrome powder over a no-wipe top coat for a futuristic, mirror-like finish.
- Raised White Designs: Use acrylic powder and monomer (nail liquid) to create raised 3D designs for texture and dimension. This is an advanced technique that can create stunning floral or geometric art.
- White Galaxy/Cosmic Nails: Layer white polish with blues, purples, and pinks, then splatter with white using a brush to create a starry effect, mimicking a galaxy.
- White Stained Glass: After creating a design with clear areas, fill those spaces with translucent colored polishes or gels to mimic stained glass.
Exploring these advanced techniques can unlock a whole new level of creativity. Remember, even challenging designs are often composed of simpler elements put together thoughtfully.
Frequently Asked Questions About White Nail Designs
- What are the best types of white nail polish for designs?
- For designs, you’ll want an opaque white polish that provides good coverage in one to two coats. Formulas that are creamy and not too thick are ideal for smooth application. For fine lines and details, a polish with a thinner consistency or a specialized nail art polish is best.
- How do I make my white nail designs last longer?
- Proper prep is key! Start with clean, dry nails and use a good base coat. Apply thin, even coats of

