Achieve effortlessly chic and sophisticated looks with white nail art. Discover essential design ideas, simple techniques, and tips to elevate your manicure game, perfect for beginners and busy bees seeking elegant, budget-friendly styles.
White nail art is a stunning way to add a touch of class to any look. It’s super versatile, working with everything from casual outfits to evening gowns. But sometimes, getting that clean, crisp white design can feel a little tricky, right? You might worry about streaks, smudges, or just not knowing where to start. Don’t fret! We’re going to break down everything you need to know to create beautiful white nail art designs that look professionally done, even if you’re just starting out. Get ready to unlock a world of elegance for your fingertips!
—
Why White Nail Art is Always a Good Idea
White is more than just a color; it’s a statement! It’s pure, clean, and evokes a sense of sophisticated simplicity. Whether you’re aiming for a minimalist vibe or a bold artistic flourish, white nail art offers endless possibilities. It’s a fantastic canvas that pairs beautifully with just about any other color or stands out on its own. Plus, white can make your nails look healthier and brighter!
The Versatility of White
White isn’t just for weddings! It’s a year-round staple that can be adapted for any season or occasion. Think delicate floral patterns for spring, crisp geometric lines for summer, cozy snowflakes for winter, or elegant swirls for fall.
Beginner-Friendly Appeal
Many white nail art designs are surprisingly simple to achieve. With a few basic tools and techniques, you can create polished looks that impress without needing advanced skills.
Elegant & Timeless
White nail art never goes out of style. It’s an effortlessly chic choice that always looks put-together and sophisticated.
—
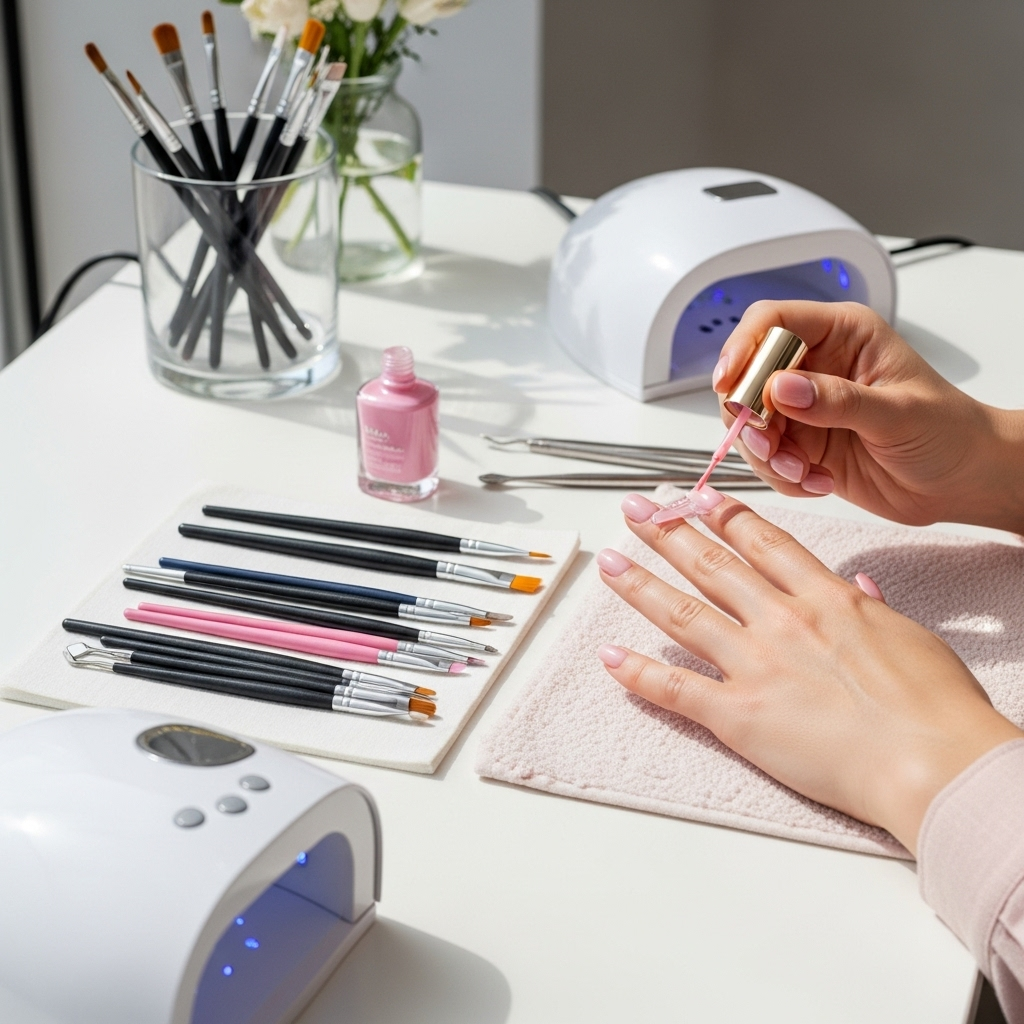
Essential Tools for White Nail Art Success
Before we dive into designs, let’s get your toolkit ready! Having the right supplies makes a huge difference in achieving smooth, professional-looking results. You don’t need a whole salon’s worth of gear to start.
Must-Have Essentials:
- Base Coat: Protects your natural nails and helps polish adhere better.
- Top Coat: Seals your design, adds shine, and prevents chipping.
- White Nail Polish: A good quality, opaque white is key.
- Fine-Tipped Brushes: For details and lines.
- Dotting Tools: For creating dots of varying sizes.
- Nail Polish Remover & Cotton Swabs: For cleaning up mistakes.
- Cuticle Oil: To keep your nails and skin hydrated.
Helpful Additions:
- Thin Striping Tape: For creating sharp, straight lines.
- Nail Art Pens: Easy to use for drawing simple shapes and lines.
- Stencils: For quick, repeatable patterns.
- UV/LED Lamp & Gel Polish: If you want a super durable, salon-like finish. Gel polishes are often more opaque and easier to work with for fine lines.
—
Essential White Nail Art Designs for Beginners
Ready to get creative? These designs are perfect for anyone just dipping their toes into the world of white nail art. They’re simple, elegant, and don’t require a master’s degree in art to accomplish!
1. The Classic White French Manicure
A timeless favorite, the French manicure gets a fresh update with an all-white twist or a classic white tip.
- Apply a thin layer of clear or milky nude base coat. Let it dry.
- For a full white look, apply two thin coats of opaque white polish.
- For a classic tip, guide a fine-tipped brush or striping tape along the edge of your nail to create a crisp white tip. Carefully fill it in.
- Alternatively, use a white striper polish for easier tip application.
- Once completely dry, apply a glossy top coat.
Pro-Tip: For super straight lines, use nail guides or flexible french tip stickers.
2. Simple White Polka Dots
Dots are fun, playful, and incredibly easy to create.
- Start with your choice of base color (nude, pastel, or even a sheer white). Let it dry completely.
- Dip a dotting tool (or the tip of a toothpick/pen) into your white polish.
- Gently press the dotting tool onto your nail to create a dot.
- Repeat the process, spacing dots as desired. You can use different-sized dotting tools for varied effects.
- Finish with a clear top coat.
Variations: Try creating dots along the cuticle line, diagonally, or in varying sizes on each nail.
3. Elegant White Stripes
Lines are chic and sophisticated, and white stripes are no exception.
- Apply your base polish (any color you like!) and let it dry thoroughly.
- Option A (Tape): Carefully apply striping tape in your desired pattern (horizontal, vertical, diagonal). Press the edges down firmly.
- Paint over the tape with your white polish.
- While the white polish is still wet, carefully peel off the striping tape. This leaves a clean, crisp line.
- Option B (Brush): Use a fine-tipped nail art brush dipped in white polish to draw thin, straight lines freehand. Practice makes perfect!
- Let the polish dry completely before applying a top coat.
4. Minimalist White Accents
Sometimes, less is more! A small touch of white can elevate your manicure.
- Paint your nails with your favorite base color.
- Once dry, use a fine-tipped brush or a nail art pen to draw a small white detail: a tiny dot near the cuticle, a thin line along the edge, or a minimalist shape.
- Apply a top coat to seal the design.
Think: a single white crescent moon on an accent nail, a tiny heart, or a simple geometric shape.
5. The “Milky’ White Wash
This is a super soft, ethereal look that’s incredibly easy.
- Apply a sheer nude or pink base coat.
- Thin down some of your white polish with a clear top coat or nail thinner. You want it to be very translucent.
- Using a slightly damp brush (with the thinned white polish), lightly brush this over your base color. You’re aiming for a subtle, watery effect, not opaque coverage.
- Let it dry, then apply another thin layer of sheer color if needed.
- Finish with a nice glossy top coat.
This gives a dreamy, subtle glow that’s perfect for a chic, understated look.
—
Intermediate White Nail Art Techniques & Designs
Once you’re comfortable with the basics, these designs add a little more flair while still being approachable.
6. White Negative Space Designs
This involves leaving parts of your natural nail showing through, creating a modern, chic look.
- Apply a base coat.
- Use striping tape or stencils to create your desired pattern, leaving intentional gaps.
- Carefully paint the exposed areas with your white polish.
- Allow the polish to dry partially, then carefully remove the tape or stencil.
- Seal with a top coat.
Ideas: Geometric shapes, half-moons, or abstract patterns using negative space.
7. White Delicate Florals
Tiny flowers add a touch of romance and are surprisingly achievable.
- Paint your nails with a soft base color (like nude, blush pink, or light grey).
- Using a very fine-tipped brush and white polish, create tiny dots to form petals. You can make simple daisy shapes or more abstract floral elements.
- Add a tiny dot of a complementary color (like yellow or pink) to the center of the flower, if desired.
- Let dry and apply a top coat.
Tip: Practice drawing individual petals or small clusters on a piece of paper first.
8. White Abstract Swirls & Marbling
This technique uses a bit of fluidity to create unique, elegant patterns.
- Apply a base color and let it dry.
- On a palette or piece of foil, place a drop of white polish next to a drop of clear polish or top coat.
- Swirl them together gently with a toothpick or brush, but don’t fully mix. You want streaks of white within the clear.
- Use a fine nail art brush to pick up this swirled mixture and paint fluid lines or abstract shapes onto your nail.
- Let dry and seal with a top coat.
This mimics a subtle marble effect or soft, flowing lines.
9. White French Tips with a Twist
Elevate the classic French by adding a subtle design to the white tip.
- Create your white French tips as usual, whether by freehand, tape, or stencils.
- Once the white tip is dry, use a fine brush to add a tiny detail: a thin black outline, a small white dot, a delicate swirl, or a constellation-like scattering of tiny white dots.
- Seal with a top coat.
10. Glitter & White Ombre
This gradient effect is stunning and relatively simple.
- Apply your white polish as you normally would, perhaps just to the tips or a lighter coat all over.
- Dip a makeup sponge or nail art sponge into white glitter polish or a fine white glitter.
- Gently dab the glitter onto the tips of your nails, fading it down for an ombre effect.
- Alternatively, use a fine white shimmer polish and build the color lightly from the tip downwards.
- Apply a clear top coat to smooth any texture from the glitter.
—
Advanced White Nail Art Techniques
For those feeling adventurous, these techniques offer more intricate possibilities.
11. Detailed White Lace Designs
Lace patterns can be achieved with patience and the right tools.
- Apply a dark or vibrant base color for maximum contrast.
- Using a very fine-tipped nail art brush and white polish, carefully paint delicate lace patterns. Start with simple floral motifs and connect them with fine lines.
- You can also use stamping plates with lace patterns. Apply white polish to the plate, scrape off the excess, and transfer the design to your nail using a stamper.
- Seal with a top coat.
12. White 3D Nail Art Elements
Creating subtle dimension can make your nails pop.
- This often involves using acrylic powder and liquid, gel mediums, or specialized 3D nail art gels.
- For a simpler approach, use a slightly thicker white polish or gel and carefully sculpt small shapes like raised dots, petals, or teardrop shapes on the nail.
- Alternatively, use small acrylic rhinestones or pearls for a white 3D effect.
- Ensure any 3D elements are properly adhered and cured (if using gel) before applying a top coat around them.
13. Intricate White Filigree
Delicate, swirling patterns that look like fine metalwork.
- This requires a steady hand and a very fine brush.
- Start by drawing a few anchor points or simple shapes.
- Connect these points with thin, flowing white lines, creating loops, swirls, and delicate curves.
- Work slowly and build up the design gradually.
- Seal with a top coat.
14. White Geometric & Architectural Designs
Sharp lines and clean shapes can create a bold, modern statement.
- Use striping tape extensively for precise lines and shapes.
- Create patterns like triangles, squares, chevrons, or more complex tessellations.
- Combine white with black, metallic colors, or even neon accents for a striking contrast.
- Ensure tape is applied firmly to prevent polish bleeding underneath.
15. White Floral Water Marbling
A more advanced version of marbling for intricate floral effects.
- This technique involves dropping white polish into water and manipulating it to create floral-like patterns before dipping your nail into the design.
- It’s a bit messy and takes practice, but the results can be stunningly unique.
- You’ll need a few white polishes, a cup of warm water, and a way to create rings or patterns (like a needle or toothpick).
- Search for detailed water marbling tutorials online to master application and design.
—
Caring for Your White Nail Art
To keep your beautiful white nail art looking fresh and chip-free, a little extra care goes a long way.
Daily Habits:
- Wear Gloves: Protect your nails when doing chores involving water or cleaning products.
- Moisturize: Keep your hands and cuticles hydrated with cuticle oil and hand cream. Dry cuticles can make even the prettiest nails look unkempt.
- Avoid Harsh Chemicals: Minimize contact with removers, solvents, and harsh soaps.
Maintenance Tips:
- Top Coat Refresh: Apply a thin layer of top coat every 2-3 days to reinforce your design and add shine.
- Quick Fixes: If you get a small chip, you can try to carefully touch it up with a matching white polish and a fine brush, then reapply a top coat.
- Proper Removal: When it’s time to change your polish, use a good quality nail polish remover and avoid picking or peeling the polish off, as this can damage your natural nail.
—
Troubleshooting Common White Nail Art Issues
Even with the best intentions, you might run into a snag. Here are some common problems and how to fix them.
Streaky White Polish:
- Cause: Thin, low-quality polish or not enough coats.
- Solution: Use an opaque, high-quality white polish. Apply in thin, even coats, allowing each to dry slightly before the next. A good base coat also helps.
Smudged Designs:
This is the worst! It usually happens when you touch your nails too soon.
- Solution: Patience is your best friend! Let each layer of polish, especially the final design layer, dry completely before touching anything. Use quick-dry drops if necessary. If it’s a minor smudge, you might be able to carefully correct it with a tiny brush and a bit of polish remover.
Uneven Lines/Dots:
Not quite the crispness you were hoping for?
- Solution: For lines, practice drawing them slowly in one smooth motion. Using striping tape or stencils is your best bet for perfect precision. For dots, use a good quality dotting tool and don’t overload it with polish. Clean your tool between dots. Small mistakes can often be cleaned up with a fine-tipped brush dipped in nail polish remover.
Top Coat Smears Design:
This happens when the top coat is too thick or the polish underneath isn’t fully dry.
- Solution: Ensure your nail art is bone dry before applying top coat. Apply top coat in thin layers. Cap the free edge of your nail by running the brush along the tip. If you’re using gel polish for your art, ensure it’s fully cured under the lamp before applying a gel top coat.
—
Frequently Asked Questions About White Nail Art
Q1: What is the best type of white polish for nail art?
A1: For opaque coverage and fine details, choose a creamy, highly pigmented white nail polish. Gel polishes are also excellent for nail art as they provide intense color and are less prone to smudging while working. Look for formulas specifically designed for nail art or those known for their opacity.
Q2: How do I get clean lines with white nail art?
A2: Clean lines are best achieved using striping tape, nail guides, or stencils. Apply these tools firmly to a completely dry base polish, paint over them, and then carefully remove the tape/stencil while the top layer is still slightly wet to get the cleanest edge. A fine-tipped brush and steady hand also work with practice!
Q3: Can I do white nail art over dark colors?
A3: Absolutely! White nail art looks stunning over dark colors like black, navy, deep red, or emerald green. This contrast makes the white designs pop beautifully. Ensure your white polish is opaque enough to be seen clearly against the dark background.
Q4: How long does white nail art usually last?
A4: With a good base coat, quality polish, and a durable top coat, white nail art can last anywhere from 5 to 10 days before chipping. Using gel polish can extend this significantly, often up to two weeks or more. Regular