Wave nail designs bring the beauty of the ocean to your fingertips with stunning, artistic looks. Learn easy ways to create beautiful wave patterns, from simple blues to intricate beach scenes, perfect for any skill level. Get inspired by ocean art and make your nails stand out!
Dreaming of a beach getaway but stuck at home? Now you can bring the soothing vibes of the ocean right to your nails! Wave nail designs are a fantastic way to express your love for the sea and inject some coastal charm into your everyday look. Whether you’re a complete beginner or a seasoned nail art pro, we’re diving deep into how you can create these stunning ocean-inspired looks. Get ready to make a splash with manicures that are as unique and beautiful as the ocean itself.
Dive into the World of Wave Nail Designs
Wave nail designs are more than just pretty patterns; they’re miniature works of art that capture the essence of the ocean. Think about the endless blues, the foamy whites of breaking waves, the subtle sands peeking through, and the sun-kissed glow of a perfect summer day. These elements can all be translated onto your nails, creating a look that’s both trendy and deeply personal.
The beauty of wave nail designs lies in their versatility. You can go for a minimalist vibe with a single, elegant wave line, or you can create a full-blown seascape with multiple layers and details. They’re perfect for vacations, summer days, or anytime you need a little dose of coastal serenity. Plus, they’re surprisingly achievable, even if you’re just starting out with nail art!
Why Choose Wave Nail Designs?
- Timeless Appeal: The ocean is a classic source of beauty and inspiration, making wave designs eternally stylish.
- Versatile Style: From subtle to bold, wave designs can match any mood or outfit.
- Creative Expression: They offer a fantastic canvas for playing with colors, textures, and art techniques.
- Mood Booster: Imagine looking at your nails and being reminded of the calming power of the sea!
Essential Tools for Your Wave Nail Art Adventure
Before we start creating waves, let’s gather the troops! Having the right tools makes all the difference between a frustrating mess and a flawless masterpiece. Don’t worry, you don’t need a professional salon setup. Most of these items are probably already in your nail polish collection, or they’re easy to find.
Must-Have Nail Art Supplies:
- Base Coat: Protects your natural nails and helps polish adhere better.
- Top Coat: Seals your design, adds shine, and helps it last longer.
- Nail Polish Colors: You’ll need blues (various shades), white, and possibly sandy beige, coral, or even black for depth.
- Fine-Tipped Brushes or Dotting Tools: These are your magic wands for drawing those delicate wave lines and details. Look for brushes with very thin bristles.
- Sponge or Makeup Sponge: Great for creating gradient effects or the foamy texture of waves.
- Nail Art Pen: If you prefer a pen-like application, these can be super handy for drawing lines.
- Clean-up Brush: An old, small makeup brush or a dedicated nail cleanup brush with a bit of nail polish remover will help tidy up any mistakes.
- Nail Polish Remover: For corrections and cleaning up edges.
- Cotton Pads/Balls: To apply remover.
Beginner-Friendly Wave Nail Design Ideas
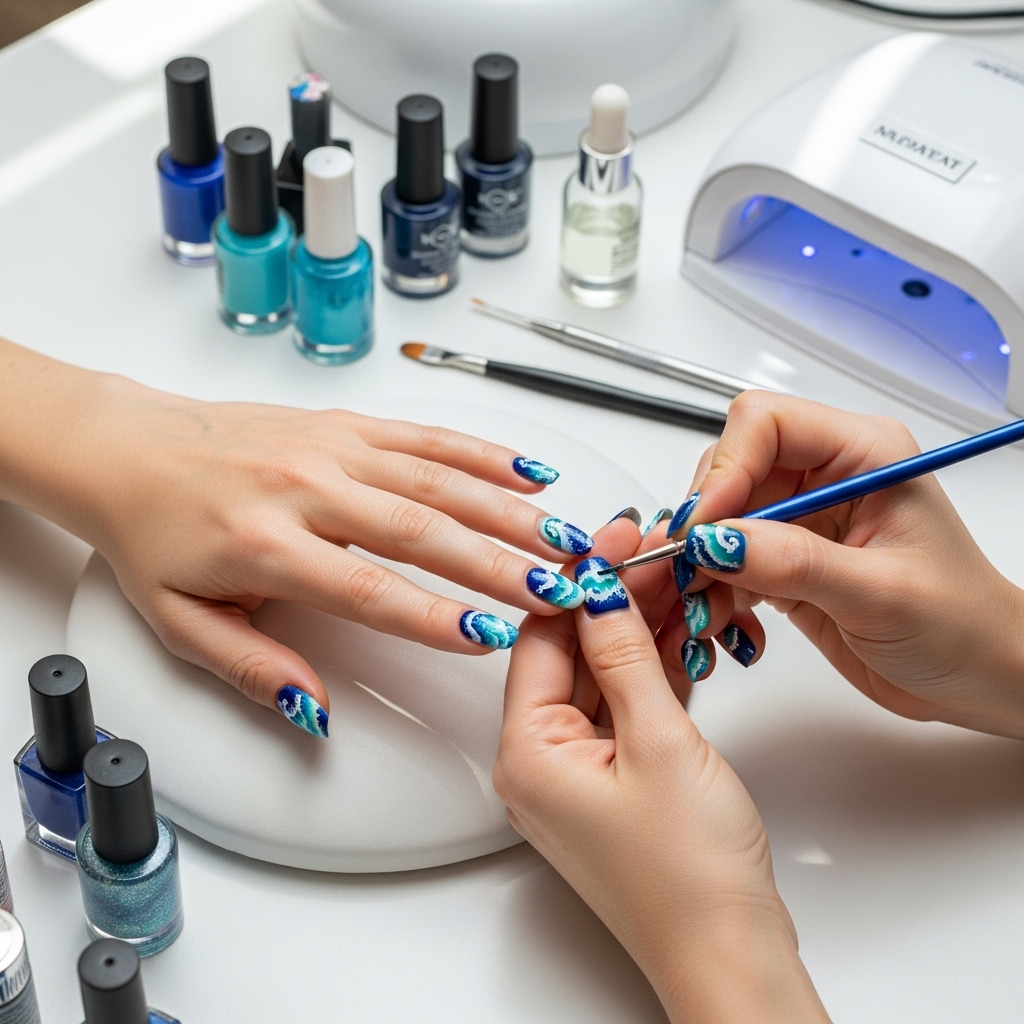
Let’s start with the basics! These designs are perfect for anyone new to nail art, focusing on simple techniques that deliver maximum impact. You’ll be amazed at how easy it is to create beautiful ocean-inspired manicures.
1. The Simple Wave Line
This is the easiest way to get a wave look. It’s chic, understated, and incredibly effective.
- Prep: Apply a base coat, followed by a solid color base (like a soft sandy beige or a light coral). Let it dry completely.
- Draw the Wave: Using a fine-tipped brush and a contrasting color (like a deep ocean blue or turquoise), paint a single, curved line across one or two nails. Think of a gentle wave cresting. Start from one side of the nail and sweep across in a smooth arc.
- Add Depth (Optional): For a little more dimension, you can add a second, slightly thinner wave line above or below the first one in a slightly different shade of blue.
- Finish: Cap it off with a shiny top coat once the polish is dry.
2. The Ombre Wave
This technique creates a beautiful gradient, mimicking the transition of colors in deep water.
- Base Color: Apply a base coat and then a light blue or teal polish to all your nails. Let it dry.
- Create Gradient: Grab a piece of a makeup sponge. Add a line of a darker blue and a line of white or a lighter blue onto the sponge.
- Dab and Blend: Gently dab the sponge onto the tip of your nail, blending the colors upwards. You might need a few dabs to get the coverage you want. The sponge helps create a soft, blended effect. Clean up any mistakes around your cuticle with your cleanup brush and remover.
- Define the Wave: Once the ombre is dry, use a fine brush and white polish to draw a subtle, foamy wave line along the edge where the colors meet, especially if you’re going for a beachy vibe with a white tip.
- Seal: Apply a top coat.
3. The Foamy Crest
This design focuses on capturing the texture of breaking waves.
- Set the Scene: Start with a base color of deep ocean blue or a slightly muted teal. Apply two coats for opacity.
- Create the Foam: Once the blue is dry, take a small piece of a sponge. Dab a bit of white polish onto the sponge.
- Touch of Foam: Lightly dab the white-filled sponge along the free edge (tip) of your nails, or in a curved line across the nail, to mimic the frothy whitecaps of a wave. Don’t aim for perfection; a slightly irregular pattern looks more natural.
- Optional Detail: With a very fine brush and a light blue, you can add a subtle outline to the white foam to give it more definition.
- Top it Off: Apply a generous layer of top coat.
Intermediate Wave Nail Designs for More Detail
Ready to take your wave designs up a notch? These ideas introduce a bit more detail and technique, perfect for when you feel comfortable with the basics.
4. The Two-Tone Wave
This brings in more color variation for a richer, more dynamic look.
- Base: Apply two coats of a consistent base color, like a sandy neutral or a soft sky blue.
- First Wave: With a medium-sized brush and a bright turquoise or aqua polish, paint a distinct wave shape that flows across the nail at an angle or horizontally.
- Second Wave: Using a darker navy or royal blue and a finer brush, add a second wave line that either mirrors the first one slightly above or below it, or swoops over it. Vary the thickness of the lines for realism.
- Highlight: Use a tiny bit of white polish on an ultra-fine brush to add a thin, shimmering highlight line to the crest of the darker wave.
- Seal: Add a protective top coat.
5. The Beach Gradient with Waves
This design combines a sandy beach base with ocean waves.
- Beach Base: Paint your nails with a sandy beige or light brown polish. Let dry completely.
- Ocean Gradient: Using a makeup sponge, create a blue-to-white gradient on the top half or two-thirds of your nails. Start with a darker blue at the edge and blend upwards to lighter blues and finally white at the very tip.
- Draw the Waves: Once the gradient is set, use a fine-tipped brush and white polish to draw delicate wave lines within the blue areas, as if waves are rolling in. You can also add a few smaller, white foam accents where the blue meets the sandy base.
- Finishing Touch: Apply a clear top coat. You can even add a tiny dot of glitter in the “water” areas for a little sparkle.
6. The Sunset Ocean Wave
Capture the magical colors as the sun dips below the horizon.
- Sunset Base: On a sponge, create a gradient on your nails using sunset colors: start with a deep orange or coral at the tip, blend into a soft pink, and then a light yellow or even a pale purple towards the cuticle. Apply this to your nails by dabbing the sponge.
- Ocean Hue: Once the sunset base is dry, gently dab a gradient of blue (from light to medium) over the top portion of the nails, creating a “sky” effect where the sunset colors are peeking through.
- Dark Wave Line: With a fine brush and a dark navy or black polish, draw a sleek, bold wave line as the silhouette against the vibrant sunset and ocean sky. This line should be smooth and curved.
- Accent: For an extra touch, add a tiny white dot or speck on the top of the dark wave to represent a distant moon or star if you like abstract ocean art.
- Seal: A final layer of top coat will lock in all those beautiful colors.
Advanced Wave Nail Designs: Master the Art
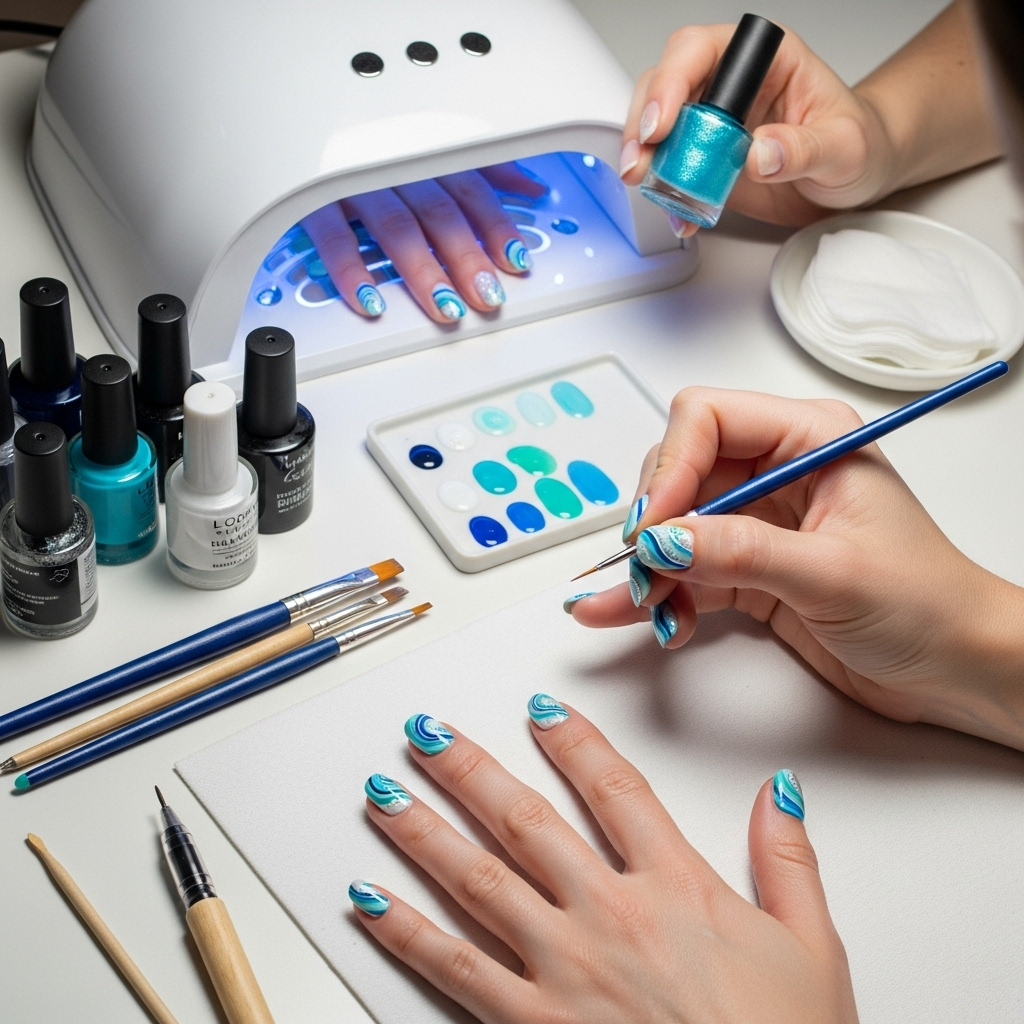
For those who love a challenge and want to create truly show-stopping nail art, these advanced techniques offer incredible results. They might require a bit more patience and practice, but the outcome is well worth it!
7. The Realistic Breaking Wave
This design aims for a more three-dimensional, dynamic look of a wave crashing.
- Deep Ocean Base: Start with a deep, rich blue as your base color.
- Layering Colors: Using different shades of blue, teal, and white, and fine brushes, begin layering your wave. Start with broader strokes of darker blues at the bottom, then use lighter blues and teals to build the shape of the curling wave.
- White Foam Details: This is key! With an ultra-fine brush and a pure white polish, meticulously paint the foam. Think about where the wave is cresting and crashing. Add small, irregular lines and dots of white to mimic the spray and bubbles. You can even use a stippling technique with very little white polish on a brush to create a textured foam effect.
- Highlight and Shadow: Use a dark blue or even a touch of black in the deepest curves of the wave to create shadow and depth. A thin line of white or a very pale blue on the crest of the foam can make it pop.
- Subtle Shimmer (Optional): A sheer iridescent top coat can add a magical, watery shimmer. Apply a final, durable top coat.
8. The Tropical Beach Scene
Turn your nails into a mini vacation with a full beach panorama.
- Sandy Foundation: Paint all nails with a sandy beige polish.
- Gradient Horizon: On an accent nail (or all nails!), create a blue-to-white gradient using a sponge from about one-third of the way up the nail to the tip, representing the ocean and sky.
- Detailed Waves: Using fine brushes, paint realistic wave lines in the blue gradient. Add white foam details as described in the realistic breaking wave design.
- Beach Elements: On the sandy portion, use dark brown or black polish to paint simple silhouettes of palm trees peeking from the side. You could also add a tiny seashell or starfish using dotting tools or fine brushes with appropriate colors (white, pink, or light brown).
- Sun/Sky Details: In the gradient sky, you can add a soft yellow or orange circle for a setting sun, or tiny white dots for stars if it’s a nighttime beach scene.
- A Touch of Sparkle: A bit of iridescent glitter scattered lightly over the ocean gradient can mimic sunlight reflecting on the water. Seal everything with a high-gloss top coat.
9. Abstract Ocean Art
Embrace a more modern, artistic interpretation of ocean waves.
- Color Palette: Choose a sophisticated palette – think deep teals, emerald greens, creamy whites, and maybe a hint of gold or silver.
- Fluid Lines: Use fine brushes to create abstract, flowing lines that intertwine and overlap, suggesting movement and currents rather than literal waves. Think of watercolor paintings of the sea.
- Textural Elements: Experiment with layering colors. For instance, paint a base of deep teal, then add swirling lines of emerald green, and finish with delicate, almost-transparent white veins that resemble seafoam or light reflecting off water.
- Metallic Accents: Introduce thin lines of gold or silver polish to mimic the shimmer of sunlight on the water or add a modern edge.
- Matte Finish (Optional): For a contemporary look, try a matte top coat instead of a glossy one. This can give the abstract art a sophisticated, gallery-worthy feel.
Easy Tips for Stunning Wave Nail Designs
Here are a few pro tips to elevate your wave nail game:
- Less is More: Don’t overdo it, especially when you’re starting. A single elegant wave can be just as impactful as a complex scene.
- Practice on a Flat Surface: Before applying to your nail, sketch out your wave idea on a piece of paper or a plastic sheet to get the flow just right.
- Tool Hygiene: Clean your brushes thoroughly after each use. Dried polish can ruin fine tips.
- Patience is Key: Allow each layer of polish to dry completely before moving on to the next. This prevents smudging and ensures crisp lines.
- Don’t Fear Mistakes: Your clean-up brush is your best friend! It’s easy to tidy up edges and stray marks with a little nail polish remover.
- Inspiration Overload: Look at actual ocean photos, artwork, and even videos of waves. Pinterest and Instagram are treasure troves for “wave nail designs inspired by ocean art.”
Maintaining Your Ocean-Inspired Manicure
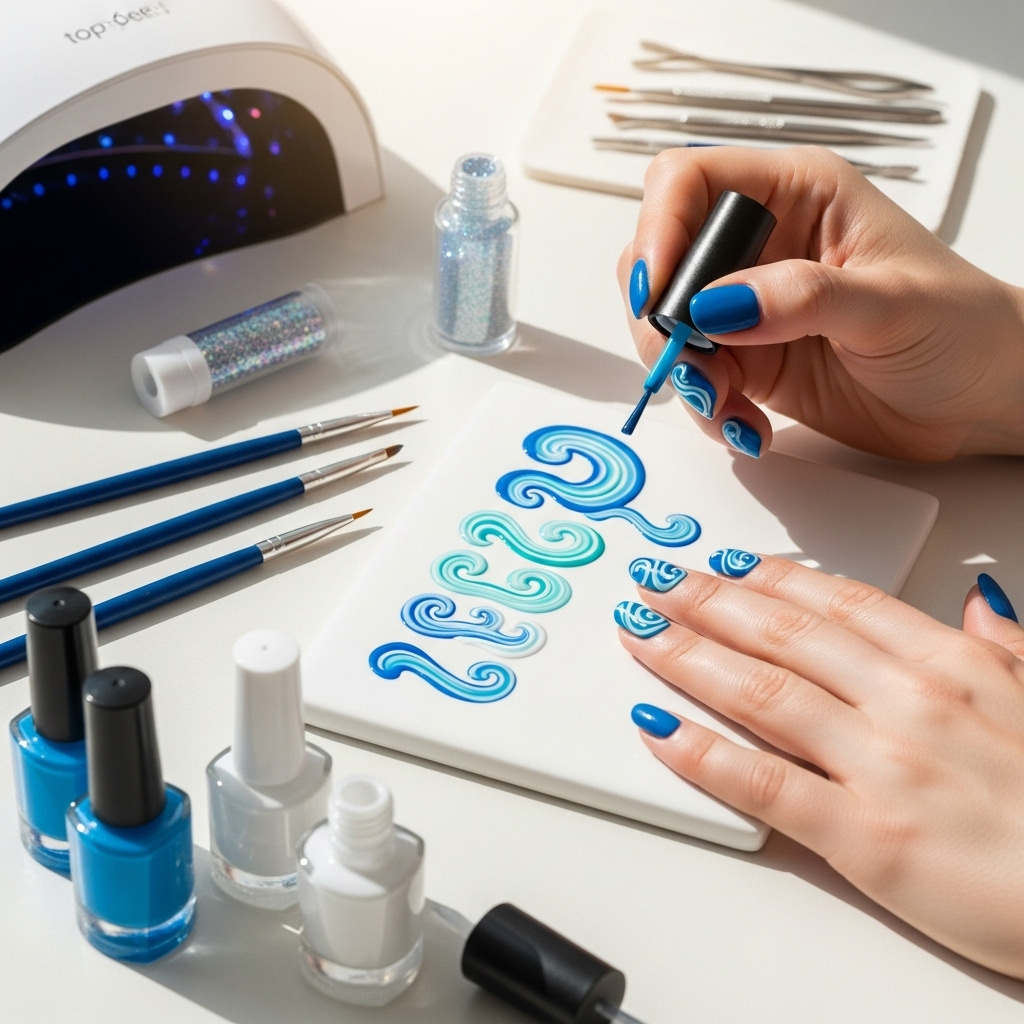
Once you’ve created your stunning wave nail designs, you’ll want them to last as long as possible! Here’s how to keep your ocean art looking fresh:
- Generous Top Coat: Always apply a good quality, sealing top coat. This is your shield against chipping and fading. Reapply every 2-3 days if you notice it thinning.
- Wear Gloves: When doing household chores like washing dishes or cleaning, wear rubber gloves. Water and harsh chemicals are the enemies of any manicure.
- Moisturize: Keep your cuticles and the skin around your nails hydrated with cuticle oil or a good hand cream. This prevents dryness and keeps your nails looking healthy and your design intact.
- Avoid Using Nails as Tools: Resist the urge to use your nails to scrape, pry, or open things. This is a surefire way to chip or break your hard work.
- File Carefully: If you need to trim or file your nails, do so gently and in one direction to avoid snagging the polish.
Common Questions About Wave Nail Designs
Q1: What are the best colors for wave nail designs?
The most popular colors are various shades of blue (light sky blue, turquoise, deep navy), white for foam and highlights, and sandy beige or brown for beaches. You can also incorporate sunset colors like orange, pink, and yellow for a sunset theme, or coral and seafoam green for a tropical feel.
Q2: I’m a beginner. What’s the easiest way to do wave nail art?
Start with the “Simple Wave Line” technique. Use a thin brush and a contrasting color to draw one smooth, curved line across your nail. Or, try the “Foamy Crest” using a sponge to dab white polish on the tips of blue nails.
Q3: How do I make the wave lines smooth?
Use a very fine-tipped brush and a polish that isn’t too thick. Start with a steady hand and try to draw the line in one continuous motion. Don’t press too hard. If you make a mistake, use a clean-up brush dipped in nail polish remover to fix it immediately.
Q4: Can I use nail stickers or decals for wave designs?
Yes! Nail stickers and decals are a fantastic shortcut, especially for beginners or when you’re short on time. You can find them in various wave patterns and ocean themes. Apply them over a dry base coat and seal with a top coat.
Q5: How long do wave nail designs usually last?
With a good base coat, careful application, and a strong top coat, wave nail designs can last anywhere from 5 to 14 days. Reapplying top coat every few days can help extend their life. Your natural nail growth and daily activities also influence longevity.
Q6: Where can I find inspiration for wave nail designs?
Inspiration is everywhere! Look at ocean photography, beach art paintings, and even abstract art that uses water-like colors and patterns. Social media platforms like Pinterest and Instagram are excellent resources for “wave nail designs” and “ocean nail art” ideas. Reputable nail art blogs and beauty sites also offer tutorials.
Q7: My white foam looks messy. How can I make it look better?
For a more controlled foam look, use a very fine brush and apply white polish in small, irregular strokes and dots. You can also try a stippling technique where you lightly tap a stiff brush with a tiny bit of white polish onto the nail. Don’t aim for perfect symmetry; natural foam is irregular!
Conclusion: Ride the Wave of Nail Art Style!
Bringing the beauty of the ocean to your fingertips is a truly delightful way to express yourself and add a touch of nature’s artistry to your day. From the simplest single wave to intricate beach scenes, wave nail designs offer endless possibilities for creativity. We’ve explored how to gather your tools, master beginner-friendly techniques, and even tackle more advanced designs.
Remember, nail art is all about fun and self-expression. Don’t be afraid to play with colors, experiment with techniques, and make these designs your own. With a little practice and these guides, you’ll be creating stunning ocean-inspired manicures that will make a splash wherever you go. So, go ahead, embrace the tide of inspiration, and let your nails ride the wave of style!

