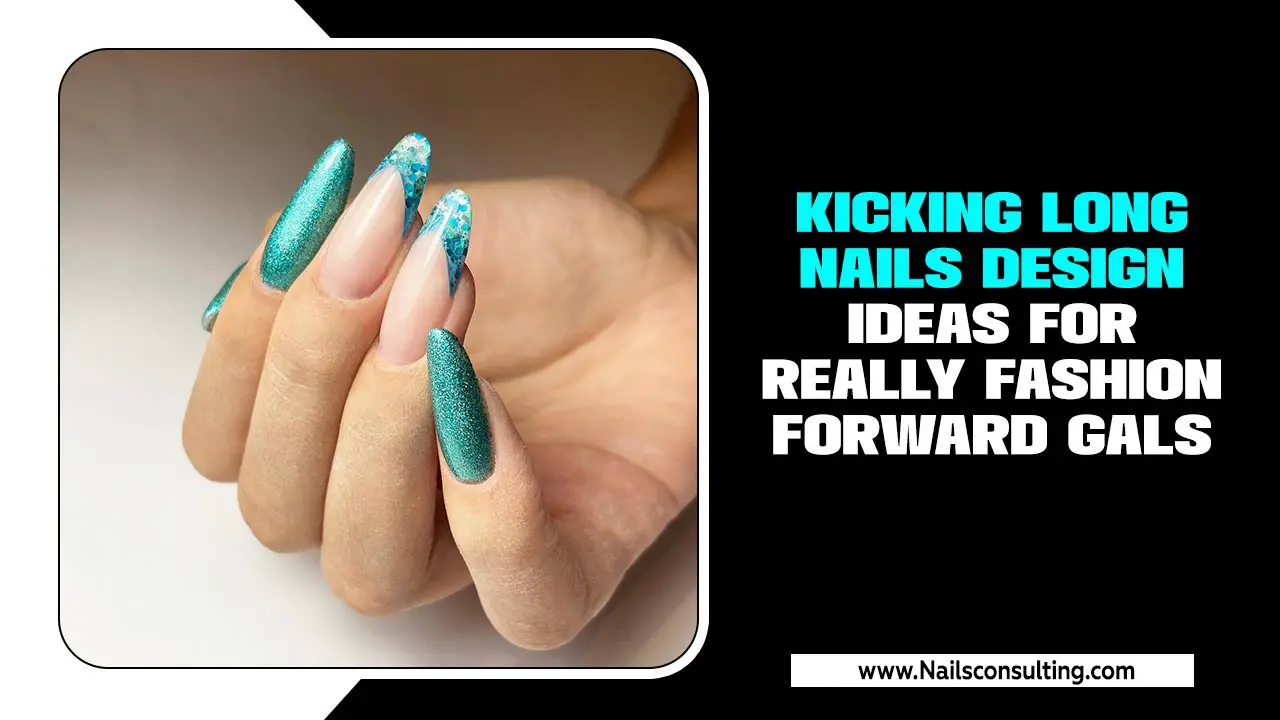
Learn how to create a stunning watercolor effect on your nails with these easy, step-by-step instructions. Achieve beautiful, artistic nail designs that look professional but are simple enough for any beginner. Elevate your nail art game with this versatile and popular technique!
Ever look at nail art and think, “Wow, I wish I could do that?” Especially those gorgeous, flowing designs that look like they came straight from an art studio? The watercolor effect on nails is one of those techniques that seems fancy but is surprisingly achievable, even for total beginners. It’s a beautiful way to add a splash of artistic flair to your look without needing a steady hand for intricate details. If you’ve ever felt overwhelmed by complex nail art tutorials, you’re in the right place. We’re going to break down the watercolor nail trend into simple, manageable steps so you can create stunning, unique designs right at home.
This technique is all about soft, blended colors that mimic the beautiful, ethereal look of watercolor paintings. It’s versatile, fun, and allows for so much personal expression. Get ready to impress yourself and everyone around you with your newfound nail art skills!
What You’ll Need: The Essential Supplies
Before we dive into the magic, let’s gather our tools. Having the right supplies makes all the difference in getting that perfect watercolor finish. Don’t worry, most of these are pretty standard nail art items, and we’ll explain why each one is important.
The Base
- Clear Nail Polish or Base Coat: This protects your natural nails and provides a smooth surface for the colors to adhere to.
- White Nail Polish: A white base helps the watercolor colors pop and appear more vibrant. It creates a clean canvas for your design.
The Colors
- Gel Nail Polish or Regular Nail Polish in Various Colors: For the watercolor effect, lighter, more translucent shades work best. Think pastels, bright primaries, or even neons if you’re feeling bold! Using gel polish will give you more working time before curing, which is very helpful for blending.
- Rubbing Alcohol (Isopropyl Alcohol) or Nail Polish Remover: This is your magic blending agent! It thins out the polish and helps create those soft, diffused edges characteristic of watercolor. A concentration of 70% or 91% isopropyl alcohol is ideal. For a deeper dive into why alcohol works so well for nail art, check out this informative article from the National Institutes of Health on its properties.
The Tools
- Small Nail Art Brush or Toothpick: This is for applying small dots of color and for guiding the blending. A fine-tipped brush is perfect.
- Lint-Free Paper Towels or Cotton Pads: You’ll use these to dab excess alcohol from your brush and to clean up any mistakes.
- Gel Top Coat and UV/LED Lamp (if using gel polish): Essential for sealing and curing gel polish designs.
- Regular Top Coat (if using regular polish): To seal your design and add shine.
- Small dish or palette: For your rubbing alcohol and/or polish colors.
Your Step-by-Step Guide to Watercolor Nails
Creating watercolor nails is like painting on a mini-canvas. We’ll go through each step clearly so you can follow along with confidence. Remember, practice makes perfect, and even the “mistakes” can look beautifully abstract!
Step 1: Prep Your Nails
Start with clean, dry nails. Gently push back your cuticles and buff your nails to create a smooth surface. Apply a thin layer of base coat and let it dry completely. This is crucial for a long-lasting manicure.
Step 2: The White Canvas
Apply one or two thin coats of white nail polish. White provides the best contrast and truly makes the watercolor colors pop. Ensure the white polish is completely dry before moving to the next step. If using gel polish, cure the white color under your UV/LED lamp according to the manufacturer’s instructions.
Step 3: Apply Your Colors
This is where the fun begins! You have a couple of options here:
- Option A (For Gel Polish): Apply a thin, uncured layer of clear gel polish over your white base. While the clear gel is still wet, use your nail art brush or toothpick to randomly apply small dots or streaks of your chosen colored gel polishes onto the uncured clear gel. Don’t overdo it; a little goes a long way.
- Option B (For Regular Polish): Apply your desired colored polishes directly onto the dry white base. You can use dots, lines, or splotches. Don’t worry about them being perfect – the blending will take care of that!
Step 4: The Magic Blending
Now, let’s create that watercolor diffusion:
- For Gel Polish: Dip your clean, fine-tipped nail art brush into your rubbing alcohol. Gently dab and lightly swirl the alcohol onto the colored gel polish. You’ll see the colors start to spread and create a soft, blended, watercolor-like effect. Be patient and work the colors gently. Avoid pressing too hard, as this can remove the polish. Rinse your brush with alcohol and dab it dry on a lint-free paper towel between color blends if needed. Continue blending until you achieve your desired look.
- For Regular Polish: Dip your clean, fine-tipped nail art brush into rubbing alcohol. Gently dab and swirl the alcohol onto the wet colored polish. The alcohol will react with the polish, causing it to spread and blur, creating a beautiful watercolor effect. You can also use a toothpick to gently guide the colors. Work quickly but carefully, as regular polish dries faster than gel.
Step 5: Curing or Drying
- For Gel Polish: Once you’re happy with your design, carefully cure your nails under your UV/LED lamp. Follow the lamp’s instructions for curing time – this is usually around 30-60 seconds for most gels.
- For Regular Polish: Allow your colored polish and blended design to dry completely. This can take several minutes, so be patient and avoid bumping your nails.
Step 6: The Finishing Touch
Apply a top coat to seal your masterpiece and give it a beautiful shine. For gel polish, use a gel top coat and cure it under your lamp. For regular polish, use a good quality regular top coat. Make sure to cap the free edge of your nail (paint the very tip) to help prevent chipping and extend the life of your manicure.
Step 7: Cleanup
Use a small brush dipped in nail polish remover (or alcohol for gel) to clean up any stray polish around your cuticles and sidewalls for a polished, professional finish.
Tips for Perfecting Your Watercolor Look
Mastering any new nail art technique takes a little practice. Here are some pro tips to help you achieve stunning watercolor nails every time.
Use Thin Layers
Thick coats of polish can become clumpy and make blending difficult. Aim for thin, even layers of both base colors and your watercolor shades for the smoothest finish.
Experiment with Color Combinations
The beauty of watercolor is its organic feel. Don’t be afraid to mix and match colors! Try complementary colors for a vibrant look or analogous colors for a softer, more harmonious effect. Consider seasonal palettes or color trends!
Control the Alcohol
The amount of rubbing alcohol you use on your brush is key. Start with a small amount and add more as needed. Too much alcohol can flood the nail and wash away the design. Remember to dab your brush on a lint-free towel to remove excess alcohol before applying it to the nail.
Work on a Practice Surface
Before attempting the watercolor effect on your actual nails, practice on a piece of paper or a nail art mat. This allows you to get a feel for how the polish and alcohol interact without the pressure of doing it on your hands.
Consider Different Finishes
While a glossy top coat is classic, you can also experiment with a matte top coat for a different artistic vibe. A matte finish can give your watercolor nails a unique, chalk-like appearance.
Don’t Rush the Drying or Curing
Impatience is the enemy of good nail art! Ensure each layer is dry enough (for regular polish) or properly cured (for gel) before proceeding. This prevents smudging and peeling.
Incorporate Other Elements
Once you’re comfortable with the basic watercolor effect, you can add other elements like fine glitter, small rhinestones, or delicate line art over the top to enhance your design.
Maintain Your Tools
Clean your brushes thoroughly after each use, especially if you’re using gel polish and alcohol. Dried gel polish can ruin a brush. For regular polish, mineral spirits or acetone can help clean brushes, but be gentle.
Comparison: Gel vs. Regular Polish for Watercolor Nails
Both gel and regular nail polish can be used to achieve the watercolor effect, but they offer different experiences and results. Understanding these differences can help you choose the best method for your skill level and desired outcome.
| Feature | Gel Nail Polish | Regular Nail Polish |
|---|---|---|
| Blending Time | Longer working time before curing allows for more deliberate blending and adjustments. The uncured clear gel acts as a medium. | Shorter working time as polish dries quickly. Blending needs to be done more rapidly and decisively. |
| Finish & Durability | Cures to a hard, durable finish. Typically lasts 2-3 weeks with proper application and care. Very glossy. | Can chip more easily depending on the quality of polish and top coat. Lasts about 5-7 days on average. |
| Application Complexity | Requires a UV/LED lamp for curing. Can be slightly trickier for beginners to get the hang of due to the curing step. | No special equipment needed beyond polish and top coat. Simpler for absolute beginners to start with. |
| Color Vibrancy | Colors tend to be more vibrant after curing. | Colors can appear slightly less intense due to drying time and potential for over-blending. |
| Ease of Removal | Requires acetone soak-off or specialized removers. | Easier to remove with regular nail polish remover. |
| Cost | Initial investment in a UV/LED lamp and gel starter kit can be higher. | Lower initial cost as it uses existing nail polish and top coat supplies. |
Generally, gel polish offers a more professional, long-lasting result with greater control over blending. However, regular polish is more accessible and forgiving for those just starting out on their nail art journey. If you’re aiming for stunning, durable art and frequent wear, gel is a fantastic choice. If you love to switch up your nails often and want a low-commitment way to try the trend, regular polish is perfect.
FAQs About Watercolor Nails
What is the best type of polish to use for watercolor nails?
For beginners, regular nail polish is often easier to work with because you don’t need a UV lamp, and you have more time to blend. However, gel polish offers better control, more vibrant colors, and a longer-lasting finish. Many experienced artists prefer gel for its seamless blendability.
How do I make the colors blend without looking muddy?
The key is using rubbing alcohol and the right amount of pressure. Start with small dots of color. Dip your brush in alcohol, dab off the excess, and gently swirl or dab the color. Clean your brush with alcohol and a lint-free cloth frequently to avoid transferring too much color between shades, which can lead to muddiness.
Can I use acrylic paint for the watercolor effect?
Yes, you can! You would typically apply acrylic paint over a cured gel top coat or a fully dry regular polish base. You’ll then use a brush dampened with water (not alcohol) to blend the acrylic paint. Once blended and dry, you’ll need to seal it with a clear top coat (gel or regular). Acrylic paints offer excellent control for blending.
How long do watercolor nails last?
If you use gel polish and a proper gel top coat, your watercolor nails can last up to 2-3 weeks. If you use regular nail polish, they generally last about 5-7 days, depending on how well you take care of them and the quality of your polish and top coat.
My colors are spreading too much, what am I doing wrong?
This usually happens if your brush is too saturated with alcohol or if you’re pressing too hard. Try using less alcohol on your brush – a damp brush is better than a wet one. Also, try a lighter touch when dabbing and swirling. If using regular polish, ensure your base white coat is completely dry, as moisture can also cause colors to bleed.
Can I achieve this effect on short nails?
Absolutely! The watercolor effect is very versatile and looks beautiful on nails of any length. On shorter nails, simply use smaller dots of color and blend them more concentratedly. You can also create more minimalist designs with just two or three colors.
What kind of brush is best for this technique?
A small, fine-tipped synthetic nail art brush is ideal. You want a brush that holds a little bit of liquid but is also precise enough to control the blending. A toothpick can also be used for very fine adjustments or to pick up and place small dots of color.
Conclusion: Unleash Your Inner Artist
There you have it! The watercolor effect on nails is a beautiful, trendy, and surprisingly accessible technique that allows you to paint with color and create art right at your fingertips. Whether you’re a seasoned nail art enthusiast or just dipping your toes into DIY manicures, this method is a fantastic addition to your repertoire. Remember to start simple, be patient with yourself, and most importantly, have fun experimenting!
Don’t be afraid to play with different color palettes, explore various blending techniques, and let your creativity flow. Each set of watercolor nails will be uniquely yours, a testament to your personal style and artistic exploration. So grab your polishes, your alcohol, and your brushes, and get ready to transform your nails into miniature works of art. You’ve got this!


