Get stunning, watercolor effect nails easily at home! This beginner-friendly guide breaks down the technique, required tools, and essential tips to create beautiful, flowing designs that look professionally done.
Looking to add a splash of artistic flair to your nails? The watercolor effect on nails is a gorgeous, ethereal trend that might seem intimidating, but it’s surprisingly simple to achieve! Many of us have tried nail art and ended up with smudges or designs that just don’t look like we imagined. It’s frustrating when you want beautiful nails and it looks complicated. Don’t worry! This guide is here to help you unlock the secrets to creating breathtaking watercolor nail art that will have everyone asking where you got them done. We’ll walk you through everything, step-by-step, so you can create these dreamy looks with confidence. Get ready to unleash your inner artist!
What is the Watercolor Effect on Nails?
The watercolor effect on nails is a nail art technique that mimics the look of traditional watercolor paintings. Think soft, blended colors that flow into each other, creating dreamy, abstract patterns and gradient looks. Instead of opaque, solid colors, you get translucent layers that build depth and offer a unique, artistic finish. It’s incredibly versatile, allowing for anything from subtle washes of color to vibrant, abstract masterpieces.
Why You’ll Love the Watercolor Nail Effect
This trend is more than just a pretty design; it’s a fantastic way to express your creativity and add a unique touch to your style.
Artistic & Unique: No two watercolor nails will ever be exactly alike, making yours truly one-of-a-kind.
Versatile: It suits any outfit, any occasion, and can be adapted to your personal color preferences.
Beginner-Friendly: With the right tools and a little practice, it’s one of the most accessible nail art techniques.
Stunning Visuals: The soft blends and translucent layers create a sophisticated and eye-catching look.
Budget-Friendly: You can achieve salon-quality results right at home without expensive tools or frequent salon visits.
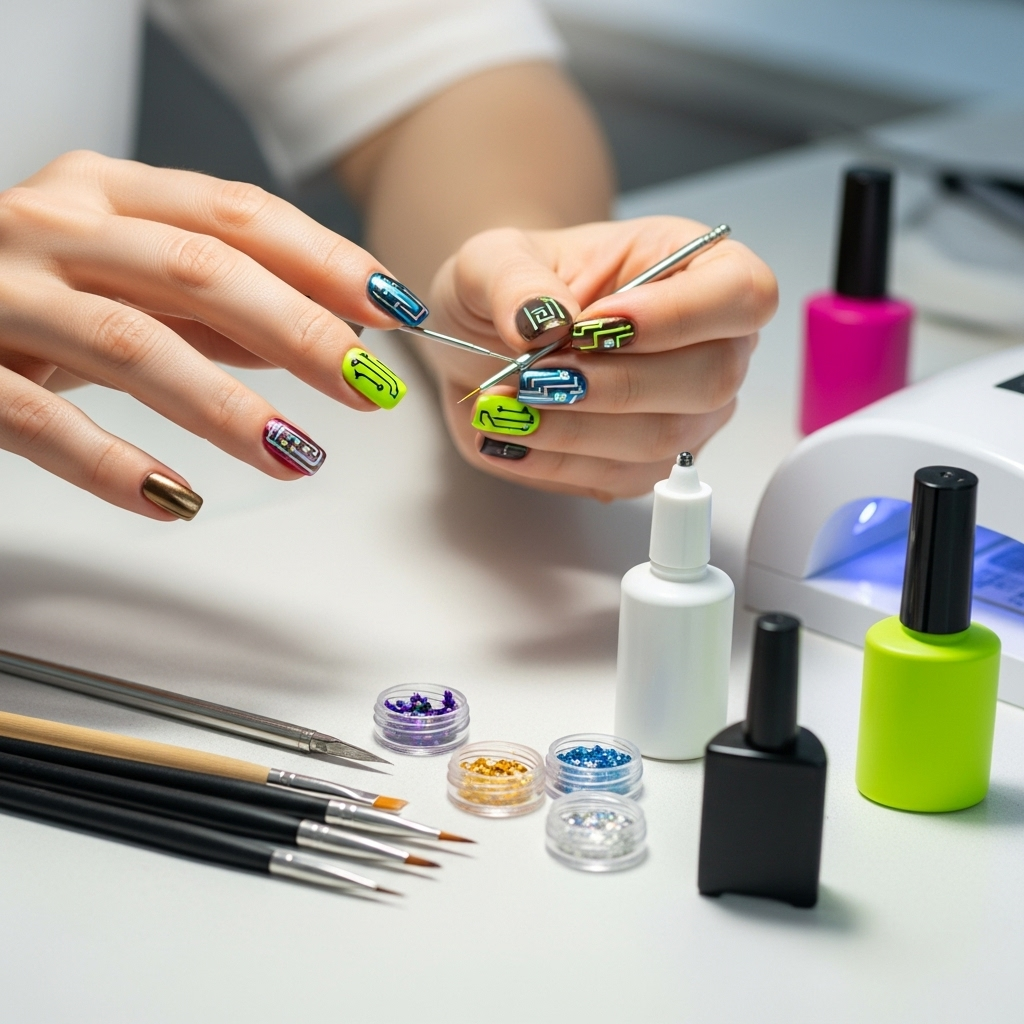
Essential Tools for Watercolor Nails
Gathering the right supplies is key to mastering the watercolor effect. Don’t worry; they’re mostly common nail art items!
Here’s what you’ll need:
- Base Coat: Protects your natural nails and helps your polish adhere better.
- White or Light-Colored Nail Polish: This serves as your canvas. A clean white provides the best contrast for vibrant colors, but a pale pink or nude can also work for softer looks.
- Gel Polish or Regular Nail Polish in Your Chosen Colors: These will be your “watercolors.” Gel polish offers more playtime and easier blending, which is ideal for this technique.
- Gel Top Coat (if using gel polish): To seal and protect your design.
- Regular Top Coat (if using regular polish): For shine and protection.
- Rubbing Alcohol (isopropyl alcohol): This is the magic ingredient that helps create the “watercolor” flow. Look for a concentration of 70% or higher. You can find this at most drugstores.
- Small Container or Palette: To mix and hold your colors.
- Small Fan Brush or Dotting Tool: For applying and blending the alcohol. A small, clean eyeshadow brush can also work in a pinch.
- Clean-Up Brush or Cotton Swabs: For tidying up any mistakes around the cuticle and nail edges.
- UV/LED Lamp (if using gel polish): To cure your gel layers.
Step-by-Step Guide: Creating the Watercolor Effect
Ready to dive in? Follow these simple steps to create your own watercolor masterpieces. We’ll focus on the gel polish method as it generally yields the best, most blendable results, but you can adapt it for regular polish with slightly different drying times.
Step 1: Prep Your Nails
This is crucial for any manicure!
- Start with clean, dry nails.
- Gently push back your cuticles using a cuticle pusher.
- Lightly buff the surface of your nails with a fine-grit buffer to remove any shine. This helps polish adhere.
- Wipe your nails with a lint-free wipe dipped in rubbing alcohol to remove dust and oils.
Step 2: Apply Base Coat and First Color Layer
- Apply a thin layer of your base coat and cure it under your UV/LED lamp according to the manufacturer’s instructions (usually 30-60 seconds).
- Apply one to two thin coats of your white or light-colored polish. Cure each coat thoroughly. This creates your base canvas.
Step 3: Apply Your “Watercolor” Colors
This is where the magic begins!
- On a clean palette or a small section of foil, place small dollops of your chosen colored gel polishes. Work with a maximum of 2-3 colors at a time for a cohesive look.
- Using a small brush (like a detail brush or even a clean toothpick), pick up a small amount of one color and apply it to your nail in a swoosh, streak, or dot.
- Pick up your second color and apply it near or on top of the first color. Don’t worry about precision; the goal is to have patches of color.
- Repeat with a third color if desired, keeping in mind that too many colors can become muddy.
Step 4: Creating the Watercolor Blend
Now, let’s make those colors flow!
- Dip your clean fan brush or a lint-free wipe into rubbing alcohol. You want it damp, not dripping wet.
- Gently touch the alcohol-dampened brush to the edges where your colors meet. Lightly swirl or dab the brush.
- The alcohol will react with the uncured gel polish, causing the colors to spread and bleed into each other, creating that beautiful watercolor effect.
- Be patient and work in small sections. You can add more color if needed and then blend again with alcohol. Less is often more here; you can always add more color, but it’s harder to take away!
- For a more intense look, you can apply another tiny bit of color and then blend again with alcohol. For a softer look, just blend the initial application.
- Once you’re happy with the blend and pattern, cure your nails under the UV/LED lamp until fully set (check your gel polish instructions, but typically 60 seconds).
Step 5: Clean Up and Top Coat
The finishing touches!
- If any polish has gotten onto your skin around the nail, use a clean-up brush dipped in rubbing alcohol (for gel) or a nail polish remover (for regular polish) to carefully tidy the edges.
- Apply a generous layer of your gel top coat. Make sure to cap the free edge of your nail to prevent chipping.
- Cure the top coat under your UV/LED lamp.
- If your gel top coat has a sticky “no-wipe” layer, you’re done! If it has a sticky inhibition layer, wipe it gently with a lint-free wipe soaked in isopropyl alcohol to reveal a high-gloss finish.
Watercolor Effect with Regular Nail Polish: A Few Tips
While gel polish offers a more forgiving and blendable experience, you can still achieve a lovely watercolor effect with regular nail polish.
Work Quickly: Regular polish dries much faster, so you need to apply your colors and blend them rapidly before they set.
Use a White Base: Apply a white or very light base color and let it almost dry. It should still be slightly tacky.
Dab Colors: Dab small amounts of your colored regular polishes onto the tacky base.
Alcohol Application: Dip a small brush (or even a Q-tip end) in rubbing alcohol and gently dab the colors. They will bloom and blend due to the alcohol, and the tacky base will help them adhere.
Seal Immediately: Once you achieve the desired effect, apply a quick-drying top coat immediately to lock in the design before it dries too much.
Exploring Different Watercolor Styles
The beauty of this technique is its endless adaptability. Here are a few popular variations to inspire you:
Abstract Watercolor Swirls
This is the classic look. Focus on applying colors in curved strokes and then using alcohol to blend them into gentle, flowing swirls. It’s perfect for showcasing a gradient of 2-3 complementary colors.
| Style | Key Technique | Color Palette Suggestion | Best For |
|---|---|---|---|
| Abstract Swirls | Applying colors in curves and blending with alcohol. | Blues & Greens, Pinks & Purples, Sunsets (Orange, Pink, Yellow) | Everyday wear, subtle artistic flair. |
| Floral Bloom | Dabbing petal shapes and blending edges for a soft flower effect. | Pinks & Reds, Soft Yellows, Light Blues for backgrounds. | Spring/Summer manicures, romantic looks. |
| Geode/Marble | Layering multiple colors and adding fine lines (like gold foil) after blending. | Purples, Blues, Golds, and Earth Tones. | Statement nails, evening wear. |
| Galaxy Effect | Using deep blues, purples, and blacks with white speckles (after curing). | Deep Blues, Purples, Black, Silver/White glitter. | Edgy, mystical looks. |
Watercolor Floral Nails
Instead of random blends, carefully dab small dots of color to suggest petals. Then, use your alcohol-dampened brush to softly blend the edges and create a diffused, painted-flower look. This is fantastic for a romantic, spring manicure.
Geode and Marble Watercolor
Want something more dramatic? Layer bolder colors like deep purples, blues, and even some blacks. After blending with alcohol, consider adding delicate flecks of gold foil or fine lines with a detail brush to mimic the intricate patterns found in natural geodes or marble.
Galaxy Nails
For a cosmic vibe, start with a dark base (like navy or black gel polish). Apply patches of deep blues, purples, and pinks. Blend them with alcohol, but don’t overdo it – you want distinct areas of color. Once cured, you can add tiny white or silver specks for stars using a fine brush or dotting tool.
Pro Tips for Perfect Watercolor Nails
Even with simple techniques, a few expert tips can elevate your watercolor nail game.
Don’t Over-Blend: The key to watercolor is soft transitions, not muddy messes. Use the alcohol sparingly and gently. It’s a delicate balance!
Less is More: Start with small amounts of polish. You can always add more color if you feel the design needs it, but it’s harder to remove excess.
Clean Your Brush Frequently: Between color blends, wipe your brush clean on a lint-free pad to avoid transferring old colors to new areas.
Practice on Art Strips: If you’re nervous about your actual nails, grab some plastic nail art practice strips or even a piece of paper to experiment with colors and blending techniques first.
Consider the Colors: Think about how colors will interact. Blues and greens blend beautifully, as do pinks and purples. Complementary colors can create more muted or interesting effects when blended.
Seal the Deal: Ensure your top coat is applied evenly to protect the delicate watercolor design. A good top coat makes your art last longer. For durability, many artists recommend a specialized top coat designed for intricate nail art.
Troubleshooting Common Watercolor Nail Issues
Every nail artist, from beginner to pro, encounters little hitches. Here’s how to fix common watercolor nail problems:
Colors Are Too Muddy: This happens when you use too much alcohol or blend for too long, or if you use too many colors. For gel, you can try applying a fresh layer of the base white/light color (without curing the muddy layer) and then re-applying your colors more strategically and blending less. For regular polish, you might need to start over.
Colors Aren’t Blending: Make sure you are using uncured gel polish (for gel) or a slightly tacky surface (for regular polish) when you apply the alcohol. Also, ensure your alcohol is strong enough (70%+ isopropyl alcohol).
Uneven Blending: Try using a slightly drier brush or pad when blending. Dab rather than swirl for more control. You can also go back and add tiny bits of color where needed and softly re-blend just that small area.
Polish is Too Thick: Apply polish in thin layers. Thick layers are harder to control and prone to wrinkling or not curing properly.
* Smudged Design: This usually happens if you touch the uncured gel polish. Ensure you cure immediately after blending. If using regular polish, make sure it’s dry enough before applying the top coat carefully.
Frequently Asked Questions (FAQ)
Q1: Can I do the watercolor effect with regular nail polish instead of gel?
A1: Yes, you can! Use a white or light base, let it dry until it’s slightly tacky, then dab your colors on. Dip a brush or Q-tip in rubbing alcohol and gently dab the colors. Work fast as regular polish dries quickly. Seal with a quick-dry top coat.
Q2: What kind of brush is best for blending the watercolor effect?
A2: A small fan brush is excellent because its wide, soft bristles can gently spread and blend colors. A small, clean eyeshadow brush or even a few strategically placed dabs with a Q-tip can also work well for beginners.
Q3: How many colors should I use for a watercolor nail design?
A3: For the best results and to avoid colors becoming muddy, it’s generally recommended to use 2-3 colors at a time. You can always add more colors in layers if needed, but starting with a limited palette makes blending easier.
Q4: How do I prevent the colors from looking like a muddy mess?
A4: The key is not to over-blend! Use your alcohol sparingly and gently. Dab rather than swirl intensely. Also, ensure you’re working with uncured gel polish, as the alcohol’s reaction is what creates the bloom without mixing the pigments directly.
Q5: Can I add glitter or other embellishments to my watercolor nails?
A5: Absolutely! You can add fine glitter over the blended colors before curing, or after applying your top coat. Gold foil flakes or fine nail art glitter can give a geode or galaxy look to mimic natural patterns.
Q6: How long does a watercolor gel manicure typically last?
A6: When done correctly with gel polish, base coat, and top coat, a watercolor manicure can last 2-3 weeks, similar to any other gel manicure. Proper nail prep and sealing the edges are crucial for longevity.
Q7: Where can I find good quality rubbing alcohol for nail art?
A7: You can find 70% or 91% isopropyl rubbing alcohol at most drugstores, supermarkets, and online retailers like Amazon. Ensure it’s isopropyl alcohol, as other types may not produce the same blooming effect.
Unleash Your Inner Artist!
Mastering the watercolor effect on nails isn’t about perfection; it’s about embracing the beautiful, organic flow of color. With these steps and tips, you’re well on your way to creating stunning, artistic nails that are uniquely yours. Don’t be afraid to experiment with different color combinations and techniques. Each attempt will bring you closer to your perfect watercolor nail art. So grab your polishes, your alcohol, and get ready to paint! You’ve got this, and your nails are going to look absolutely fabulous. Happy painting!