Want stunning, viral nail designs without the fuss? This guide breaks down the hottest trends, showing you how to recreate them with simple steps and essential tools. Get ready to rock Instagram-worthy nails at home!
Hey nail lovers! Are you scrolling through Instagram and TikTok, mesmerized by all those incredible nail designs everyone seems to be rocking? It’s easy to feel like achieving those fabulous looks is a total mystery, right? Maybe you’ve tried a few times and ended up with wonky lines or smudged polish. Don’t worry, I’ve been there! The good news is, those viral nail design ideas are totally doable for beginners. We’re going to break them down, step-by-step, so you can create stunning, jaw-dropping nails right in your own home. Get ready to unleash your inner nail artist!
Frequently Asked Questions About Viral Nail Designs
What are “viral nail designs”?
Viral nail designs are popular nail art trends that gain widespread attention and are frequently shared across social media platforms like Instagram, TikTok, and Pinterest. They often become trending topics because they are visually appealing, unique, or easy (or look easy!) to replicate.
How can I make my DIY nail designs look professional?
To make DIY nail designs look professional, focus on clean application, precise lines, and neat cuticles. Using high-quality tools like fine-tip brushes, dotting tools, and striping tape makes a huge difference. Always prep your nails properly and seal your design with a good top coat. Patience is key!
Are viral nail trends suitable for beginners?
Many viral nail trends are surprisingly beginner-friendly! While some viral designs can be intricate, many popular styles focus on simple techniques like color blocking, minimalist lines, or using trendy shapes and finishes. This guide highlights designs that are achievable for everyone.
What are the essential tools for creating viral nail designs at home?
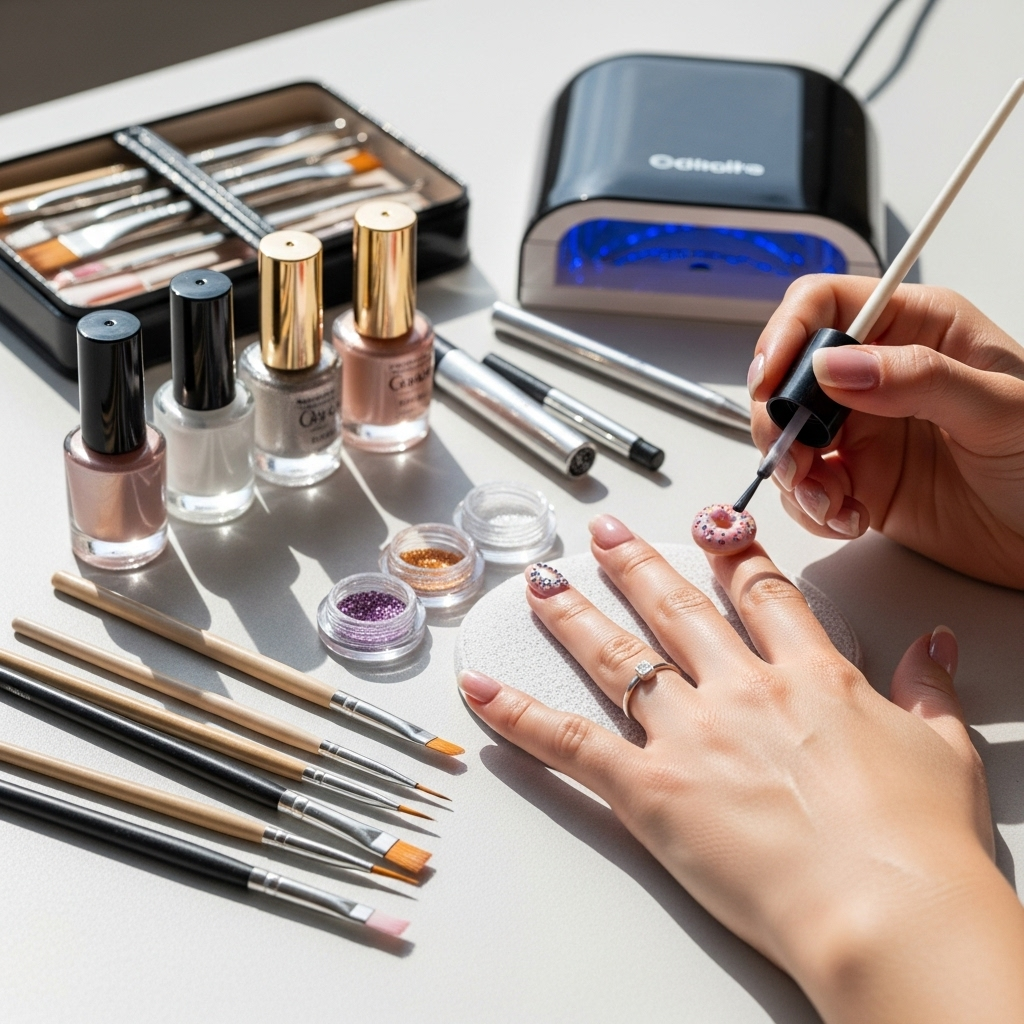
For beginners aiming for viral-worthy nails, key tools include: a good base coat and top coat, nail polish in your desired colors, fine-tip detail brushes, dotting tools, nail tape or stickers, and potentially a nail lamp if you’re using gel polish. A cuticle pusher and nail file are also essential for preparation.
How do I keep my nail art from chipping or smudging?
Proper nail preparation is crucial: ensure nails are clean, dry, and free of oils. Apply a thin, even base coat and let it dry completely. For nail art, use thin layers of polish and allow each layer to dry before adding the next. Always finish with a high-quality, thick top coat, paying special attention to capping the free edge of your nail to prevent lifting. Avoid activities that can chip your nails shortly after painting.
Where can I find inspiration for viral nail designs?
The best places to find inspiration are social media platforms! Search hashtags like #viralnaildesigns, #nailarttrends, #instagramnails, #tiktoknails, and #nailinspo. Pinterest is also a fantastic visual search engine for nail art ideas. Look at what’s currently trending and see which styles appeal to you.
Viral Nail Design Ideas: Stunning & Essential Looks
Let’s dive into the world of trending nails! We see them everywhere – on our feeds, on celebrities, and on our friends. These designs have captured our attention, and for good reason! They’re chic, eye-catching, and can really elevate your whole look. But sometimes, when you see a complicated swirly masterpiece or intricate floral pattern, you might think, “No way can I do that!” The truth is, many of the most popular viral nail design ideas from Instagram reels and TikTok are surprisingly achievable, even for those of us who are just starting out. It’s all about breaking them down and using the right methods. Ready to make your nails the next viral sensation? Let’s get started!
Decoding the Viral Nail Art Phenomenon
So, what makes a nail design go “viral”? It’s usually a combination of factors. Often, it’s a fresh take on a classic look, a clever use of color or texture, or a design that’s surprisingly easy to replicate with the right tools. Think of those mesmerizing gradient nails, the clean lines of minimalist art, or the fun pop of holographic finishes. These trends often become popular because they offer a way to express personality and stay current with beauty aesthetics. The beauty industry has seen an explosion of creativity on social media, and nail art is at the forefront. Platforms like Instagram and TikTok have become massive hubs for discovering new styles and techniques, making it easier than ever to find inspiration and learn how to achieve them yourself. We’re going to focus on looks that are not only trending but also incredibly beginner-friendly!
Your Viral Nail Design Toolkit: What You Need to Get Started
Before we jump into the designs, let’s talk about the tools that will make your life (and your nails!) so much easier. You don’t need a professional salon setup. With a few key items, you can create almost any viral look you see online. Think of these as your nail art superhero accessories!
The Must-Haves:
- Base Coat: Protects your natural nails from staining and helps polish adhere better.
- Top Coat: Seals your design, adds shine, and prevents chipping. A good quick-dry top coat is a lifesaver!
- Nail Polish in Trendy Colors: Think beyond basic red and nude. Pastels, neons, metallics, and deep jewel tones are always popular.
- Fine-Tip Detail Brushes: Essential for drawing lines, dots, and small details. You can find these in art supply stores or dedicated nail art kits.
- Dotting Tools: These come with different sized ball tips and are perfect for creating dots, leopard spots, or even small flowers.
- Nail Tape or Stickers: For creating crisp geometric lines or adding pre-made design elements.
- Cuticle Pusher and File: Proper nail prep is key for a clean finish.
- Non-Acetone Nail Polish Remover: For easy clean-up of any mistakes.
- Optional: UV/LED Nail Lamp: If you plan on experimenting with gel polish, this is a must. Gel polish offers incredible durability and shine.
DIY vs. Salon: A Quick Comparison
Thinking about whether to DIY or book an appointment? Here’s a quick breakdown:
| Feature | DIY (At Home) | Salon Visit |
|---|---|---|
| Cost | Low: Initial tool investment, then polish costs. | Higher: Per-service cost can add up. |
| Convenience | High: Do it anytime, anywhere. | Requires scheduling, travel time. |
| Skill Level | Can require learning patience & technique. | Professional execution, less effort for you. |
| Variety of Designs | Limited by your skill and available tools. | Access to professional designs & expertise. |
| Customization | Endless! Mix and match colors and ideas. | Discuss your ideas with the technician. |
Must-Try Viral Nail Design Ideas (Beginner-Friendly!)
Now for the fun part! We’ve scoured the internet for the most popular nail trends that are surprisingly easy to achieve. Let’s break down how to get that viral look without needing advanced skills.
1. The Minimalist Line Art Mani
This is huge right now! Think delicate, thin lines in black, white, gold, or silver against a sheer or pastel background. It looks super chic and sophisticated but is totally achievable.
How to Do It:
- Prep: Start with a clean, shaped nail. Apply your base coat and let it dry completely.
- Base Color: Paint your nails with a sheer nude, milky white, or your favorite pastel polish. Apply one or two thin coats for an even finish. Let dry thoroughly.
- The Lines:
- Simple Straight Lines: Dip your fine-tip brush into your chosen line color (e.g., black polish or gel paint). Lightly wipe off excess on the bottle neck. Carefully draw a few thin, straight lines across the nail. You can make them parallel, perpendicular, or diagonal.
- Tiny Dots: Use the smallest end of your dotting tool to place tiny dots strategically along or near the lines.
- Geometric Shapes: For more defined shapes like triangles or squares, you can use nail tape! Apply the tape where you want the color to not be, paint over it, and peel the tape off once the polish is slightly tacky.
- Top Coat: Once your art is completely dry, apply a generous layer of top coat, making sure to cap the free edge of your nail.
2. The Chromatic/Holographic Sheen
Holographic effects and chrome powders have taken over! They catch the light beautifully and make nails look otherworldly. The best part? You often just need a powder and a special top coat or gel top coat.
How to Do It (with Powder):
- Prep: Apply base coat, then your desired solid color polish (black or white often make the chrome pop, but any color works!). Let it dry completely.
- Apply No-Wipe Top Coat (Essential!): This is key for the powder to adhere. Apply a thin, even layer of a “no-wipe” gel top coat over your dried polish. Cure this layer under your UV/LED lamp according to the lamp’s instructions.
- Apply Chrome Powder: While the top coat is still a bit tacky (immediately after curing), dip your silicone applicator or eyeshadow brush into the holographic or chrome powder. Gently rub the powder over the nail surface until it’s fully coated and has that mirror-like or iridescent finish.
- Brush Off Excess: Use a soft brush to gently sweep away any loose powder.
- Seal It In: Apply another layer of a gel top coat (regular or no-wipe) over the entire nail, again capping the free edge. Cure under your lamp.
How to Do It (with Polish):
There are also “chrome effect” or “holographic” polishes readily available. These are much simpler to use, just like regular polish!
- Prep: Apply base coat.
- Apply Color: Apply two thin coats of the holographic or chrome effect polish. Let each coat dry fully.
- Top Coat: Apply your regular high-shine top coat.
3. The Abstract Swirl Mani
Don’t let the name fool you! While complex swirls can be tricky, simple, fluid abstract shapes are super achievable and look effortlessly cool. It’s all about playful curves and blobs.
How to Do It:
- Prep: Base coat, then your main polish color. Let it dry completely.
- The Swirls: Dip your fine-tip brush or dotting tool into a contrasting polish color.
- Freehand Curves: Start by drawing a simple curved line or a loose “S” shape on one part of your nail. You can then add smaller wavy lines or dots around it. Don’t aim for perfection; embrace the abstract!
- Using a Single Blob: Sometimes, just one or two “blobs” of a different color placed in a corner or across the nail can look super stylish.
- Color Combos: Try two or three colors intertwining or layered.
- Top Coat: Once everything is dry to the touch, seal it with your top coat.
4. The Abstract Color Block Mani
This trend involves painting sections of the nail in different, often contrasting, colors. It’s graphic, modern, and incredibly forgiving. Think geometric shapes partitioned by clean lines or even just organic blobs of color.
How to Do It:
- Prep: Base coat and let dry.
- First Color Block: Paint one section of your nail with your first color. This could be the tip, the base, or a diagonal section. Let it dry completely.
- Add Second Color (Using Tape for Clean Lines):
- If you want super crisp lines, apply nail tape where you want the two colors to meet.
- Paint your second color over the tape and the rest of the nail.
- While the second color is still slightly wet (or tacky, depending on polish type), carefully peel off the nail tape. This reveals a sharp dividing line.
- Add Third Color (Freehand or Tape): You can repeat the process with a third color, either using tape again or painting freehand if the design allows.
- Top Coat: Once all colors are dry, finish with a good top coat.
5. The Subtle Negative Space Design
Negative space manicures are super chic because they leave parts of your natural nail visible, creating a unique, airy look. They often involve simple lines or shapes placed strategically.
How to Do It:
- Prep: Base coat.
- Apply Clear Polish or Top Coat: You can paint the entire nail with a clear polish or top coat.
- Nail Art Elements: While the clear coat/polish is still wet, use your fine-tip brush or dotting tool to add your design elements. This could be:
- A thin line across the middle of the nail.
- A few dots near the cuticle.
- A small geometric shape in one corner.
- A French tip made of a color other than white.
- Let Dry: Allow the entire nail to dry completely. The “negative space” is simply the part of the nail that remains clear.
- Top Coat (Optional but Recommended): A light layer of top coat can add shine and seals the design, but be careful not to overload it and cover your negative space entirely.
For a variation, you can apply a solid color to part of the nail (e.g., the tip) and leave the rest clear. Then, add thin lines or dots over the colored section and the clear section.
6. The Easy Dot Pattern Mani
Dots are incredibly versatile! From minimalist single dots to polka dots and even leopard spots, this is a fundamental technique for viral nail art.
How to Do It:
- Prep: Base coat, then your main polish color. Let dry completely.
- Apply Dots: Dip the ball end of your dotting tool into a contrasting polish color.
- Single Dots: Place a single dot strategically on the nail (e.g., at the base of the cuticle, in a corner).
- Polka Dots: Fill the nail with evenly spaced dots. You can use the same dot size or mix and match a few sizes from your dotting tool set.
- Leopard Spots: Place slightly irregular “blobs” of a darker color (brown or black) randomly on the nail. Then, use a fine-tip brush or a tiny dotting tool to add a smaller, darker dot (or crescent shape) inside a few of the blobs to create the leopard look.
- Top Coat: Once dots are dry, seal with a top coat