Discover effortless glamour with vibrant vintage style nail designs! Learn simple techniques for iconic looks like polka dots, classic reds, and elegant art deco patterns to elevate your manicure with timeless charm and sophistication. Perfect for beginners seeking chic, easy-to-achieve nail art.
Are you dreaming of a manicure that oozes timeless elegance and classic charm? Vintage style nail designs are your secret weapon for effortless glamour! In a world of ever-changing trends, these iconic looks offer a beautiful and sophisticated way to express yourself. But if you think vintage nails are complex or require a professional touch, think again! We’re here to show you just how simple and fun it can be to recreate these fabulous looks right at home. Get ready to unlock a world of enduring beauty, one polished nail at a time.
This guide will walk you through everything you need to know, from the essential tools to stunning, easy-to-follow design tutorials. We’ll break down how to achieve that perfect retro vibe, making vintage nail art accessible and enjoyable for everyone. Let’s dive in and bring a touch of old-school chic to your fingertips!
Why Vintage Nail Designs Are Timeless
Vintage style nail designs aren’t just a fleeting trend; they’re a celebration of enduring beauty and chic sophistication. These looks have stood the test of time for a reason! They evoke a sense of nostalgia and grace, offering an instant touch of glamour that never feels dated. Think of the iconic red lip, the elegant French manicure, or the playful polka dot – these are all elements that define vintage appeal. They’re versatile, allowing you to dress them up for a special occasion or down for everyday elegance. Plus, many vintage designs are surprisingly simple to replicate, making them perfect for beginners wanting to add a sophisticated flair to their nails.
Essential Tools for Your Vintage Manicure
Before we start creating magic, let’s gather the essentials. You don’t need a professional salon’s worth of tools to achieve gorgeous vintage nail designs. With these basic items, you’ll be well on your way!
Must-Have Tools:
- Nail Polish Remover: Essential for cleaning up mistakes and starting with a fresh canvas.
- Cotton Pads or Balls: For applying polish remover.
- Nail File and Buffer: To shape your nails and create a smooth surface. Aim for a good quality nail care routine is the foundation of any beautiful manicure.
- Base Coat: Protects your natural nails and helps polish adhere better.
- Top Coat: Seals your design and adds shine for longevity.
- Fine-Tipped Nail Art Brushes or Dotting Tools: Crucial for precision work like dots, lines, and French tips. A good set can be found on many online beauty retailers.
- Striping Tape or Stencils: Helpful for creating crisp lines and intricate patterns.
- Tweezers: Useful for placing small embellishments or holding striping tape.
Effortless Vintage Glamour: Easy DIY Designs
Ready to get your hands on some fabulous vintage designs? We’ve chosen some of the most iconic and beginner-friendly styles. Let’s get started!
1. The Classic Red Manicure
Nothing says timeless glamour quite like a perfect red nail. It’s bold, elegant, and universally flattering. This is the ultimate vintage staple!
- Prepare Your Nails: Start by filing your nails into your desired shape (oval or squoval are classic choices). Gently push back your cuticles.
- Apply Base Coat: Paint on one layer of a clear base coat. Let it dry completely.
- The Perfect Red Polish: Choose your favorite shade of red. Apply two thin coats for rich, opaque color. Ensure each coat is fully dry before applying the next. Slowly and steadily paint from the base to the tip of the nail.
- Seal with Top Coat: Once the red polish is dry, apply a generous layer of clear top coat. This will give your nails a beautiful glossy finish and protect your manicure.
- Clean Up: Use a small brush dipped in nail polish remover to clean up any polish that got on your skin.
2. Playful Polka Dots
Polka dots bring a fun, flirty, and undeniably retro vibe to any manicure. They’re surprisingly easy to create!
- Base Color: Paint all your nails with your chosen base color. Think pastels, white, black, or even a soft pink. Let it dry completely.
- Choose Your Dot Color: Select a contrasting color for your polka dots. White, black, red, or even metallic shades work beautifully.
- Dotting Tools: Dip the tip of a dotting tool or a fine-tipped brush into your dot color.
- Create the Dots: Gently press the tip of the dotting tool onto your nail to create a perfect circle. Start with one nail and practice the pressure and placement. Spacing them evenly will give a clean look, or a more random scattering can be just as charming!
- Vary the Sizes (Optional): Use different sized dotting tools for a more dynamic look.
- Seal It: Once all dots are dry, apply a clear top coat to seal everything in.
Pro Tip: If you don’t have dotting tools, the rounded end of a bobby pin or a toothpick can work in a pinch!
3. Elegant French Manicure
The French manicure is a timeless classic that signifies sophistication. Here’s how to get those crisp white tips.
- Nail Prep: Start with clean, shaped nails. Apply a sheer pink or nude base coat and let it dry.
- Optional: French Tip Guides: For perfectly straight lines, use adhesive French tip guides. Place them diagonally across the tip of your nail, leaving the white tip area exposed.
- Brush Application: Dip a fine-tipped brush into white nail polish. Carefully paint the tip of your nail. If using guides, paint just above the guide. Paint in a curved motion to mimic a natural nail tip.
- Freehand Tips (Advanced): If you’re feeling confident, you can freehand the tips. Hold the brush parallel to the nail edge and create a smile line.
- Remove Guides (If Used): Gently peel off the French tip guides before the white polish dries completely.
- Apply Top Coat: Once the white tips are dry, apply a clear top coat over the entire nail.
Tip: A milky white polish can give a softer, more natural vintage French look than a stark pure white.
4. Vintage Florals
Delicate floral patterns add a romantic and feminine touch that’s quintessentially vintage.
- Base Coat: Apply a light-colored base, such as pastel blue, mint green, baby pink, or off-white.
- Create Petals: Using a fine-tipped brush and a contrasting color (like white, pink, or soft yellow for a floral look), place small dots or short strokes to form flower petals. You can make a circle of dots or individual petal shapes.
- Add the Center: Use a tiny dotting tool in a contrasting color (like yellow or gold) to add a dot in the center of your flower.
- Leafy Details (Optional): With a green polish and a thin brush, add simple leaves beside your flowers.
- Seal: Once everything is dry, carefully apply a clear top coat.
DIY Floral Tip: Practice drawing simple petal shapes on paper first. Start with small, simple flowers to build your confidence.
5. Art Deco Inspired Designs
Channel the bold geometric shapes and luxurious feel of the Art Deco era with these striking designs.
- Base Color: A deep jewel tone like emerald green, sapphire blue, or a classic black works wonderfully as a base.
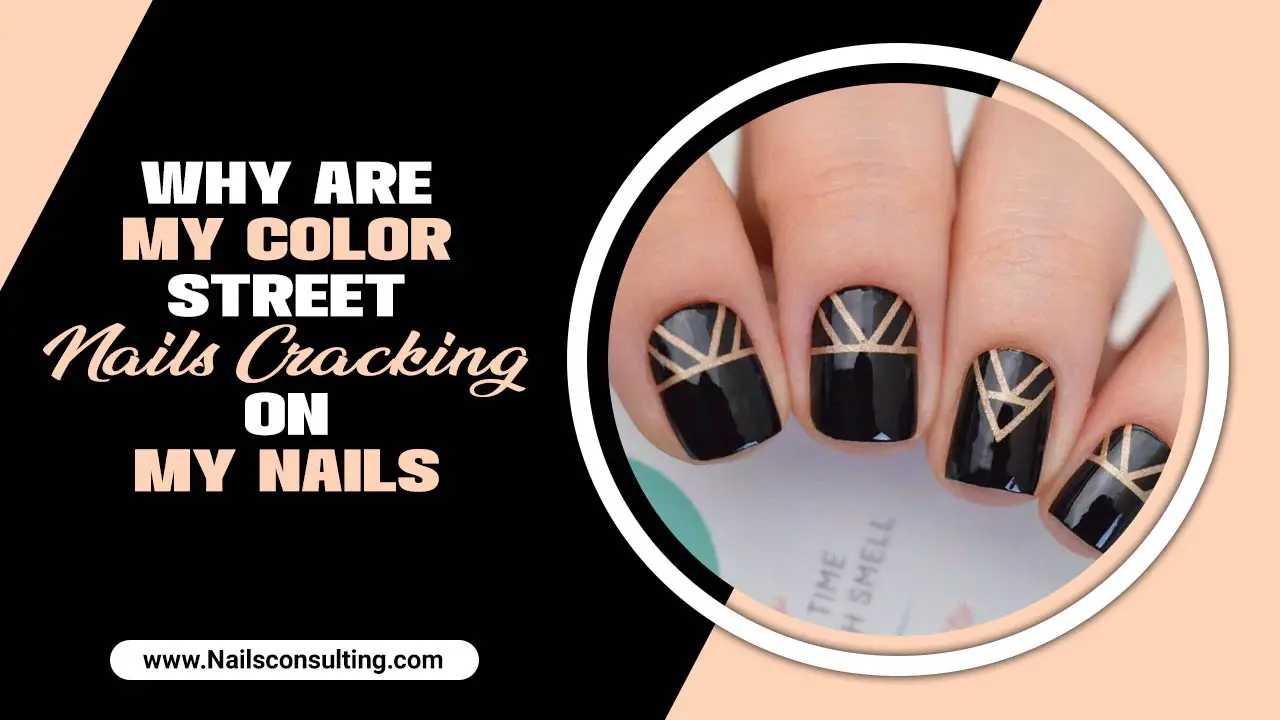
- Geometric Lines: Use striping tape and a metallic polish (gold or silver are perfect) or a contrasting color. Apply the tape to create sharp lines, triangles, chevrons, or grids.
- Apply Polish: Paint over the striping tape.
- Remove Tape: Carefully peel off the striping tape immediately after painting while the polish is still wet for the cleanest lines.
- Embellishments (Optional): Consider adding a small rhinestone or stud at the intersection of lines for an extra touch of opulence.
- Finish: Seal your design with a glossy top coat.
Where to Find Inspiration: Look at vintage jewelry, architecture, and fashion from the 1920s and 30s for endless Art Deco design ideas.
Comparing Vintage Nail Design Elements
Vintage aesthetics are rich and varied. Understanding the common elements can help you mix and match or choose the perfect look.
| Design Element | Era/Style Inspiration | Key Features | Beginner Friendliness | Glamour Level |
|---|---|---|---|---|
| Classic Red | 1940s-1950s Hollywood Glamour | Solid, opaque red polish on all nails. | Very High (Easy to apply) | High |
| Polka Dots | 1950s Pin-up Style, Retro Charm | Uniform or varied sized dots in contrasting colors. | High (Simple dotting technique) | Medium to High |
| French Manicure | Classic Elegance, Timeless | Natural-looking base with white tips. | Medium (Requires precision or guides) | Very High |
| Vintage Florals | 1960s Mod, Romantic Eras | Small, hand-painted flowers with simple details. | Medium (Requires some brush control) | Medium |
| Art Deco Geometry | 1920s-1930s Jazz Age | Bold lines, triangles, zig-zags, metallic accents. | Medium to High (Striping tape makes it easier) | High to Very High |
Tips for Maintaining Your Vintage Manicure
Once you’ve achieved your stunning vintage look, you’ll want it to last! Here are some tips to keep your nails looking fabulous:
- Always Wear Gloves: When doing household chores, washing dishes, or gardening, wear rubber gloves. This protects your polish from harsh chemicals and prevents water from weakening the bond between the polish and your nail.
- Reapply Top Coat: Every 2-3 days, add another thin layer of top coat. This refreshes the shine and reinforces the color, preventing chipping.
- Moisturize: Keep your cuticles and hands hydrated with a good cuticle oil or hand cream. Healthy skin makes any manicure look better.
- Avoid Using Nails as Tools: Resist the urge to open cans, scrape labels, or pick at things with your nails. This is a surefire way to chip or break your polish (and your nails!).
- Carry a Mini Polish Kit: For touch-ups on the go, keep a small bottle of your base color and a clear top coat in your purse.
Troubleshooting Common Vintage Nail Design Issues
Even the best of us encounter a few bumps (or smudges!) along the way. Here’s how to fix common problems:
- Smudged Polish: If you smudge a nail while it’s still wet, don’t panic! Gently use a small brush dipped in polish remover to carefully clean up the smudge without disturbing the surrounding polish too much. You might need to touch up the color and reapply a top coat.
- Uneven Dots: Use larger dotting tools or the tip of a fine brush to gently smooth out uneven dots while the polish is still wet. If the polish is dry, you might need to gently buff down the uneven spot and re-dot, or simply embrace the perfectly imperfect charm!
- Chipped Polish: For a quick fix, carefully file away the chipped edge. Then, apply a thin layer of your base color to just the tip of the nail, followed by a top coat. This can help it blend in until you can do a full re-do.
- Streaky Polish: This usually happens with one coat. Ensure you’re applying thin, even coats and allowing each to dry sufficiently before the next. For some polishes, a second coat is essential for a smooth finish.
- Bubbles in Polish: Bubbles are often caused by applying polish too thickly, shaking the bottle vigorously, or applying polish while the previous layer is still too wet. Let the bottle settle for a bit, apply thinner coats, and ensure adequate drying time between layers.
FAQ: Your Vintage Nail Design Questions Answered
Q1: What colors are most popular for vintage nail designs?
A1: Classic reds, deep burgundies, pastels (like mint green, baby blue, and soft pink), ivory, black, and metallics (especially gold and silver) are all very popular for vintage looks. Think rich, saturated tones or soft, muted hues.
Q2: Do I need special tools to do vintage nail art at home?
A2: While special tools like dotting tools and fine brushes make designs easier, you can start with basic items. A toothpick or the end of a bobby pin can create dots, and careful brush strokes can form lines. A good quality base and top coat are essential, though!
Q3: How long does a vintage-style manicure typically last?
A3: With proper application and care, a well-done vintage manicure using good quality polishes can last anywhere from 5 to 10 days. Reapplying top coat every few days can help extend its life.
Q4: Can I wear vintage nail designs with short nails?
A4: Absolutely! Vintage styles like classic red, simple dots, or a French tip look fantastic on short nails. Shorter, neatly filed nails often enhance the retro charm.
Q5: How do I achieve a clean white tip for a French manicure without using guides?
A5: Practice is key! Ensure your nails are completely dry before attempting freehand tips. Use a fine-tipped brush, dip it into the white polish, and draw a curved “smile line” across the tip of your nail. Work slowly and with a steady hand. You can always clean up mistakes with a small brush and remover.
Q6: Are vintage nail designs suitable for all occasions?
A6: Yes! The beauty of vintage designs is their versatility. A classic red or French manicure is perfect for formal events or the office, while polka dots or florals can add a fun touch to casual outings or parties. Art Deco designs can make a bold statement for evenings out.
Embrace Your Inner Vintage Icon
You’ve now got the knowledge and the inspiration to create stunning vintage style nail designs right in your own home. From the timeless appeal of a classic red to the playful charm of polka dots and the sophisticated lines of Art Deco, there’s a retro look to suit everyone’s taste and skill level. Remember, nail art is all about self-expression and having fun. Don’t be afraid to experiment, personalize these designs, and develop your own unique vintage flair!
Gather your tools, pick your favorite polish colors, and give these designs a try. You’ll be amazed at how a little bit of vintage glamour can boost your confidence and add that perfect finishing touch to your overall look. So go ahead, embrace the elegance of the past and make it your own – your fingertips will thank you!


