Velvet nail designs offer a luxurious, plush, and sophisticated look, mimicking the texture of fine velvet. Achieving this chic finish is surprisingly simple with the right essentials and a few key techniques. This guide breaks down everything beginners need to create stunning velvet nails at home for a touch of everyday glamour.
Ever seen those gorgeous nails that look like they’re covered in a soft, velvety fabric and wondered how they achieve that rich, almost matte yet luminous effect? It’s not magic, and you absolutely don’t need to be a pro nail technician to create them! Many of us scroll through nail inspo and feel a little intimidated by complex designs. But the truth is, achieving a beautiful velvet nail look is totally doable for anyone who loves a bit of nail art and wants to add a touch of elegance to their fingertips. The good news? We’re going to walk through exactly what you need and how to use it, step-by-step. Get ready to elevate your manicure game!
The Allure of Velvet Nails: More Than Just a Trend
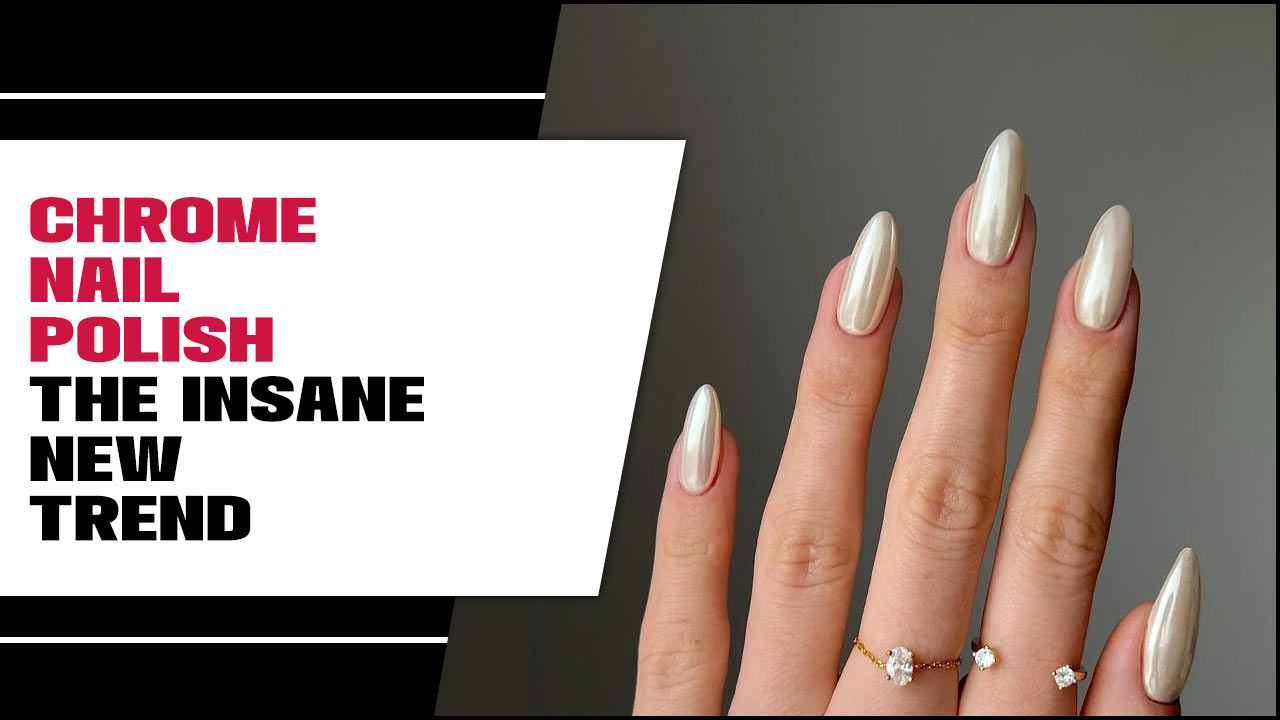
Velvet nails have captured the hearts of nail enthusiasts for their unique ability to add depth and sophistication. Unlike a standard glossy finish, velvet nails boast a subtle, diffused sheen that’s incredibly chic and luxurious. This soft, matte-like appearance with a hint of shimmer creates an almost three-dimensional effect, making your nails look elegantly plush.
The appeal lies in its versatility. Velvet nails can be a bold statement in deep, rich colors, or a subtle, sophisticated touch in lighter, muted tones. They work beautifully for special occasions, adding a touch of glamour, but they’re also perfectly suited for everyday wear, offering a refined and modern aesthetic that stands out without being overpowering. The tactile sensation, though not literally velvet, evokes that feeling of softness and luxury, making them a truly captivating choice.
Essential Ingredients for Your Velvet Nail Journey
To create the signature velvet effect, you don’t need a whole salon’s worth of tools. A few key items and a little patience are all it takes. Think of these as your golden ticket to plush perfection!
The Must-Have Tools and Products
Cat Eye Gel Polish: This is the star of the show! Cat eye polishes contain fine metallic or magnetic particles that, when manipulated with a magnet, create a “cat eye” or horizontal stripe effect that gives velvet nails their signature look.
Strong Magnet Tool: You’ll need a magnet specifically designed for nail art. These come in various shapes and sizes (like a pen or a flat wand). The stronger the magnet, the more defined your velvet effect will be.
LED or UV Nail Lamp: Like most gel polishes, cat eye gels require curing under a lamp to harden and set. Ensure your lamp is powerful enough for gel polish. For reference, a UV radiation safety guide from the FDA can provide context on lamp usage, though nail lamps are specifically designed for this type of curing.
Gel Base Coat: Crucial for protecting your natural nails and providing a smooth surface for the polish to adhere to.
Gel Top Coat (No Wipe Recommended): A good gel top coat seals your design, adds longevity, and provides that final protective layer. A “no wipe” top coat is ideal as it doesn’t leave a sticky residue, which can interfere with the velvet effect.
Nail Prep Supplies: This includes nail files, buffers, cuticle pushers, and alcohol wipes or cleanser for ensuring your nails are clean and ready for polish.
Why These Essentials Matter
Each component plays a vital role in achieving that coveted velvet finish. The cat eye gel polish provides the special magnetic particles. The magnet tool is what shapes these particles into the mesmerizing light band. The curing lamp solidifies the gel, making your manicure durable and giving it that smooth, velvety depth. A good base and top coat ensure your nails are protected and your design lasts. And finally, clean nails are the foundation for any beautiful manicure!
Step-by-Step Guide to Achieving Perfect Velvet Nails
Ready to dive in? Follow these simple steps and you’ll be rocking your own stunning velvet nails in no time. It’s easier than you think, and the results are so worth it!
Preparation is Key: Getting Your Nails Ready
Before any polish goes on, clean nails are a must. This isn’t just about aesthetics; it’s about ensuring your polish adheres properly and lasts longer. Think of it as building a strong foundation for your masterpiece!
- Clean and Shape: Gently push back your cuticles using a cuticle pusher. Trim any hangnails if necessary. Then, file your nails to your desired shape.
- Buff to Smoothness: Lightly buff the surface of your nails with a nail buffer. This removes ridges and creates a perfectly smooth canvas for the gel polish. Don’t buff too aggressively; we just want to create a slight grip.
- Wipe Down: Use an alcohol wipe or nail cleanser to remove any dust and natural oils from your nail surface. Let them dry completely.
Applying the Velvet Magic: The Polish Process
This is where the fun begins! We’ll be working with gel polish, so remember that each layer needs to be cured under your LED or UV lamp.
- Apply Base Coat: Apply a thin, even layer of your gel base coat. Be sure to cap the free edge of the nail (paint a little on the tip). Cure according to your lamp’s instructions (usually 30-60 seconds).
- Apply First Layer of Cat Eye Gel: Apply a thin, opaque coat of your chosen cat eye gel polish. Do NOT cure this layer yet.
- Magnet Magic (The Crucial Step!): Hold your magnet tool about 1-2 cm above the wet polish. Move the magnet slowly along the nail. You’ll see the metallic particles gather and form a line. Experiment with the position and movement of the magnet to create the effect you like – a central line, a diagonal stripe, or a more diffused shimmer. Hold the magnet in place for about 10-15 seconds.
- Cure with Magnet Close: While keeping the magnet very close to the nail (without touching!), cure the nail under your LED/UV lamp. Curing with the magnet nearby helps to “lock” the magnetic particles in their position. This is a critical step for the velvet effect!
- Second Coat for Depth: Apply a second, opaque layer of the cat eye gel polish. Again, do NOT cure it yet.
- Repeat Magnet Magic: Repeat the magnet technique described in step 6. Experiment with positioning the magnet to complement the line you created earlier, or to create a new, desired effect. You can make the line more pronounced or spread the particles for a softer velvet look.
- Final Cure: Again, while keeping the magnet very close, cure the nail under your LED/UV lamp until fully hardened.
- Apply Top Coat: Apply a thin, even layer of your gel top coat (a no-wipe formula is best). Cap the free edge. Cure under your lamp according to the manufacturer’s instructions.
Finishing Touches and Tips for Longevity
Your stunning velvet nails are almost complete! A few final steps and tips will ensure they look fabulous and last.
- Clean Up: If you got any polish on your skin, use a small brush dipped in nail polish remover to clean it up carefully before curing.
- Moisturize: Once your manicure is completely cooled down after curing, apply cuticle oil and hand lotion. This keeps your skin hydrated and prevents dryness, which can make any manicure look less polished.
- Avoid Harsh Chemicals: To keep your velvet nails looking plush for as long as possible, try to avoid prolonged exposure to hot water, harsh cleaning products, and abrasive activities.
Exploring Velvet Nail Design Variations
The beauty of velvet nails isn’t just the texture itself, but how many ways you can play with it! From subtle shifts in color to adding accents, there’s a velvet nail design for every mood and occasion.
Color Palate Possibilities
The cat eye effect works with virtually any color base. Here are a few popular choices and how they come alive in velvet:
| Color Family | Velvet Effect Characteristics | Occasion/Style Inspiration |
|---|---|---|
| Deep Jewel Tones (Emerald Green, Sapphire Blue, Ruby Red) | Rich, opulent, with a strong magnetic shimmer that plays beautifully with light. | Evening events, glamorous looks, sophisticated autumn/winter style. |
| Muted Neutrals (Greige, Dusty Rose, Taupe) | Subtle shimmer and refined texture, creates an ultra-chic, understated elegance. | Everyday wear, professional settings, minimalist manicures. |
| Vibrant Hues (Fuchsia, Teal, Coral) | Bold and eye-catching, the magnetic effect adds an extra dimension to bright colors. | Summer fun, parties, expressive personal style. |
| Black and White | Black velvet is intensely sophisticated and mysterious. White velvet offers a soft, ethereal glow. | Anytime, from edgy to classic. Black is a showstopper, white is incredibly chic and modern. |
Accent Nails and Combination Ideas
Don’t feel like you have to do all-over velvet! Mixing and matching can create stunning effects.
One Accent Nail: Choose one nail on each hand (often the ring finger) to feature the velvet design, while the others are a solid complementary color or a simple matte/glossy version of the base polish.
French Tip Velvet: Apply a solid color to the base of your nail, cure, then use the cat eye polish and magnet to create velvet French tips.
Half-Moon Velvet: Create a velvet effect on the lunula (the half-moon at the base of the nail) while keeping the rest of the nail a solid color.
Velvet Ombre: Blend two cat eye colors together, using your magnet to create a seamless transition of the velvet effect.
Troubleshooting Common Velvet Nail Issues
Even with the best intentions, sometimes things don’t go perfectly the first time. Don’t get discouraged! Here are some common hiccups and how to fix them.
Problem: The “cat eye” line isn’t forming or is weak.
Solution: Ensure you are using a genuine cat eye gel polish and a strong, proper magnet. Make sure you are holding the magnet close enough to the wet polish and for long enough (10-15 seconds) before curing. Also, check that you’re curing while the magnet is still close, as this locks the effect.
Problem: The velvet effect disappears after top coat.
Solution: This often happens if the top coat is too thick, or if you applied the top coat too aggressively, disturbing the magnetic particles. Use a thin layer of top coat and apply it gently. A “no wipe” top coat is also essential. If you accidentally used a sticky top coat, clean it with alcohol after curing to reveal the velvet effect.
Problem: The magnetic particles are clumpy or uneven.
Solution: This can happen if the polish is applied too thickly, or if you didn’t hold the magnet steady. Try applying thinner coats of the cat eye polish. Apply the magnet slowly and steadily, and hold it in place for the full 10-15 seconds before curing.
Problem: My gel polish is wrinkling or peeling.
Solution: This usually means the layers are too thick, or they weren’t cured long enough. Always apply gel polish in thin, even coats. Make sure you’re curing each layer (especially the color coats) for the recommended time under your lamp.
Frequently Asked Questions About Velvet Nails
Q1: Is velvet nail polish a special type of polish?
A1: Yes, it’s typically a “cat eye” gel polish. These polishes contain fine magnetic particles. When a magnet is held near the wet polish, these particles move to create a distinctive shimmering stripe, giving the velvet-like appearance.
Q2: Can I achieve velvet nails with regular nail polish?
A2: It’s very difficult to achieve the true velvet effect with regular nail polish. The special magnetic particles and the curing process with a magnet are key. Cat eye gel polishes are necessary for this look.
Q3: How long do velvet gel nails typically last?
A3: When applied correctly using gel polish and cured properly, velvet gel nails can last anywhere from 2 to 3 weeks, similar to other gel manicures, when cared for properly.
Q4: What’s the difference between a regular gel polish magnet and a cat eye magnet?
A4: Cat eye magnets are specifically designed to interact with the metallic particles in cat eye polishes. They are usually stronger and come in shapes that allow for better manipulation of the particles to create the desired stripe or pattern. While some basic magnets might exist, dedicated cat eye magnets yield the best results.
Q5: Do I need a special top coat for velvet nails?
A5: A “no wipe” gel top coat is highly recommended. If you use a regular gel top coat that leaves a sticky residue, you’ll need to wipe it off with alcohol after curing. However, the sticky layer can sometimes disrupt the subtle texture of the velvet effect once revealed. A no-wipe top coat seals it perfectly without any residue.
Q6: Can I add nail art like gems or glitter to velvet nails?
A6: Absolutely! You can certainly add more decorations. For example, you could add a few rhinestones to an accent velvet nail, or outline the velvet stripe with fine glitter. Just be mindful that adding too much might detract from the subtle, plush velvet effect itself.
Q7: How do I remove velvet gel nails?
A7: Velvet gel nails are removed the same way as any other gel polish: by soaking them in acetone or using foil wraps with acetone-soaked cotton pads. Gently buffing the top layer of the polish before soaking can speed up the process.
Embrace Your Inner Nail Artist
Creating velvet nail designs is a fantastic way to add a touch of luxury and unique texture to your manicure. It’s a technique that might seem intimidating at first, but with the right tools – primarily a cat eye gel polish and a magnet – and by following these straightforward steps, you can achieve stunning, salon-worthy results right at home. Remember, practice makes perfect!
Don’t be afraid to experiment with different colors, magnet positions, and even combination designs. The joy of nail art is in the self-expression. Whether you opt for deep, dramatic jewel tones or soft, ethereal neutrals, your velvet nails are sure to turn heads and boost your confidence. So, gather your essentials, clear your evening, and get ready to create your very own plush, sophisticated nail masterpieces. Happy polishing!


