Vanilla Sheer Nails: Your Essential Guide
Want a chic, subtle, and sophisticated nail look? Vanilla sheer nails are your answer! This creamy, translucent shade is perfect for everyday wear, adding a touch of elegance without being overpowering. This guide will walk you through everything you need to know to achieve and rock this trendy, minimalist manicure.
Hey, nail lovers! Lisa here from Nailerguy. Have you ever looked at gorgeous, clean nails and wondered, “How do they get that perfect, understated look?” It’s probably vanilla sheer nails! They’re like a gentle hug for your fingertips, giving you that “your nails but better” vibe. If you’ve struggled to get that smooth, flawless finish or weren’t sure where to start, don’t worry! We’re going to break down exactly how to get those stunning vanilla sheer nails, step by easy step. Get ready to discover your new favorite go-to manicure!
—
What Exactly Are Vanilla Sheer Nails?
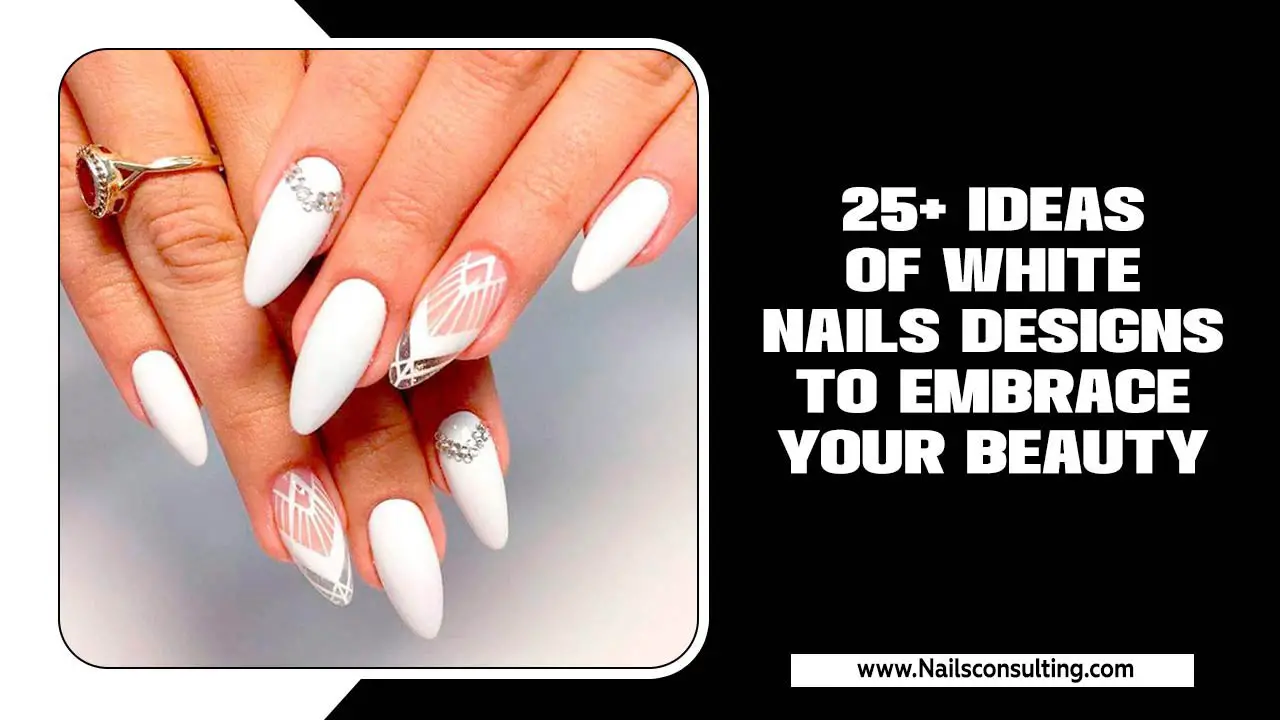
Vanilla sheer nails are all about a soft, creamy, translucent polish that mimics the look of healthy, natural nails with a sophisticated, milky finish. Think of the color of a light vanilla cream or a barely-there blush. It’s less opaque than a solid nude or pink, allowing a hint of your natural nail to show through, which is what gives it that beautifully natural and effortless appearance. This shade is incredibly versatile, flattering on all skin tones and perfect for any occasion, from the office to a weekend brunch. It’s the ultimate “clean girl” aesthetic in a nail polish bottle!
Why Are Vanilla Sheer Nails So Popular?
The charm of vanilla sheer nails lies in their understated elegance and versatility. They’ve become a favorite for several reasons:
Universally Flattering: The creamy, neutral tone complements a wide range of skin tones, making it a universally appealing choice.
Effortless Chic: They lend an air of sophistication and polish without being loud. It’s the perfect “my nails but better” look.
Work-Appropriate: This shade is professional, subtle, and perfect for environments with strict dress codes.
Versatile for Any Occasion: From everyday wear to formal events, vanilla sheer nails always look appropriate and stylish.
Great Base for Nail Art: While stunning on their own, they also serve as a flawless canvas for delicate nail art.
Hides Minor Imperfections: The sheer coverage can subtly mask discoloration or minor imperfections on the natural nail.
The Essential Tools for Your Vanilla Sheer Manicure
Before we dive into the steps, let’s gather what you’ll need. Having the right tools makes all the difference for a professional-looking, DIY manicure!
Here’s a checklist to get you started:
- Nail Polish Remover: To prep your nails and clean up any mistakes. Acetone-free removers are gentler on the natural nail.
- Cotton Pads or Balls: For applying the nail polish remover.
- Nail File: To shape your nails to your desired length and style.
- Nail Buffer: To smooth the nail surface, remove ridges, and add shine. A fine-grit buffer is best for this.
- Cuticle Pusher or Orange Stick: To gently push back your cuticles.
- Cuticle Oil: To nourish and hydrate your cuticles after pushing them back.
- Base Coat: Crucial for protecting your natural nail and helping polish adhere better.
- Vanilla Sheer Nail Polish: The star of the show! Look for formulas that are creamy and translucent.
- Top Coat: To seal your manicure, add shine, and prevent chipping. A quick-dry top coat is a lifesaver!
- Optional: Detail Brush or Toothpick: For cleaning up edges or adding subtle accents.
Step-by-Step: Achieving the Perfect Vanilla Sheer Nails
Ready to create that dreamy vanilla sheer look? Follow these simple steps for a flawless finish.
Step 1: Prep Your Nails
This is the foundation of any great manicure!
Remove Old Polish: Start by thoroughly removing any existing nail polish using nail polish remover and cotton pads.
Shape Your Nails: File your nails to your preferred shape. Whether it’s a soft square, oval, or almond, a clean shape is key. Use gentle, one-directional strokes to avoid weakening the nail.
Gently Push Back Cuticles: Apply a little cuticle oil to your cuticles. Using a cuticle pusher or an orange stick, gently push back the softened cuticles. Avoid cutting them, as this can lead to infection. If you do have any hangnails, you can carefully trim them with cuticle nippers.
Buff for Smoothness: Lightly buff the surface of your nails to smooth out any ridges and create an even canvas for the polish. Don’t over-buff, as this can thin your nails. A gentle buffing should be enough to prepare the nail.
Step 2: Apply Your Base Coat
A good base coat is non-negotiable for a long-lasting manicure and to protect your natural nails.
Apply One Thin Layer: Apply a thin, even layer of your chosen base coat. Make sure to cap the free edge of your nail by running the brush lightly across the tip. This helps prevent chipping.
Let It Dry: Allow the base coat to dry completely. This usually takes about a minute.
Step 3: Apply the Vanilla Sheer Polish
This is where the magic happens! The key to a perfect sheer look is often multiple thin coats.
First Thin Coat: Apply a very thin layer of your vanilla sheer nail polish. Don’t worry if it looks streaky or uneven – that’s normal for sheer polishes. The goal is to build up the color gradually. Cap the free edge.
Allow to Dry: Let this first coat dry down for at least 1-2 minutes. Rushing this step can lead to smudges and air bubbles.
Second Thin Coat: Apply another thin layer. You should see the color becoming more even and opaque. Again, cap the free edge.
Third (Optional) Coat: For a richer, more opaque vanilla hue, apply a third light coat. Many people find two coats provide the perfect sheer coverage, while others prefer three. It really depends on the formula and your desired depth of color. Always cap the edge with each coat.
Step 4: Apply Your Top Coat
This seals everything in and gives your manicure that beautiful, glossy finish.
Apply Generously: Apply a generous (but not too thick) layer of your top coat. Make sure to cover the entire nail, including the free edge (capping it again!). This is crucial for preventing chips and extending the life of your manicure.
Consider a Gel-Like Top Coat: For extra shine and a plump, luxurious look that lasts, consider a gel-like top coat.
Quick Dry Option: If you’re short on time, a quick-dry top coat can help set your polish faster.
Step 5: Finishing Touches and Drying Time
Clean Up Edges: If you got any polish on your skin, use a detail brush or toothpick dipped in nail polish remover to gently clean up the edges.
Full Drying: While quick-dry top coats help, it’s always best to let your nails air dry completely for at least 15-30 minutes. Avoid doing anything strenuous with your hands during this time.
Hydrate: Once completely dry, apply cuticle oil around your nails to keep them moisturized and looking healthy. Massage it in gently.
Nail Care Tips for Longevity
To keep your vanilla sheer nails looking their best, try these simple care tips:
Moisturize Regularly: Keeping your hands and cuticles moisturized helps prevent dryness, which can lead to chipping and lifting polish. Use hand cream throughout the day and cuticle oil at night.
Wear Gloves for Chores: Protect your manicure from harsh chemicals and excessive water exposure by wearing rubber gloves when washing dishes, cleaning, or gardening.
Avoid Using Nails as Tools: Refrain from using your nails to pry open packages or scrape surfaces. This is a surefire way to chip or break your polish.
Touch-Ups: If you notice a small chip, you can sometimes carefully file it smooth and apply a thin layer of top coat to the affected nail to extend wear.
* Proper Removal: When it’s time to remove your polish, use a good quality polish remover. Avoid peeling or picking at the polish, as this can damage your natural nail.
Vanilla Sheer Nail Variations
The beauty of vanilla sheer is its subtlety, which also means it’s a fantastic canvas for subtle enhancements.
- Milky Vanilla: This is your classic vanilla sheer, offering a soft, creamy opacity with a hint of translucency.
- Pink-Toned Vanilla: A hint of blush adds a touch of warmth and makes it incredibly flattering on cooler skin tones.
- Peachy Vanilla: A touch of peach can give the shade a bit more depth and warmth, perfect for olive or deeper skin tones.
- Subtle Shimmer: For a touch of sparkle, look for vanilla sheer polishes with a fine, iridescent shimmer. This adds a delicate glow without being flashy.
- French Manicure Upgrade: Use a sheer vanilla as your base color and pair it with a crisp white tip for a modern take on the classic French mani.
- Minimalist Art: Add tiny dots, a thin line, or a delicate floral accent in a contrasting color over your vanilla sheer base for a touch of personality.
Choosing the Right Vanilla Sheer Shade
With so many options, picking the perfect vanilla sheer nail polish can feel like a quest! Here’s a quick guide to help you find your ideal match.
| Skin Tone | Recommended Vanilla Sheer Shades | Why It Works |
|---|---|---|
| Fair to Light Skin Tones (Cool or Neutral Undertones) |
Almost White Vanilla: Opaque but still sheer, with a cool, milky finish. Pale Pink Vanilla: A subtle hint of pink brightens the natural nail without looking artificial. |
These shades provide a clean, bright look that complements fair skin beautifully, avoiding any muddy or dull appearance. |
| Light to Medium Skin Tones (Neutral or Warm Undertones) |
Classic Creamy Vanilla: A balanced, milky beige that looks sophisticated. Peachy Vanilla: Adds a subtle warmth and glow, preventing the polish from looking too stark. |
These nuances create a harmonious blend, enhancing the natural warmth and tone of medium skin. |
| Medium to Tan Skin Tones (Warm or Olive Undertones) |
Golden Vanilla: A hint of gold undertone in the creamy shade adds richness. Caramel Vanilla: A slightly deeper, warm beige with a sheer finish, offering a “dipped in honey” effect. |
These shades provide depth and warmth that complement the richness of tan and olive complexions without washing them out. |
| Deep to Dark Skin Tones (Neutral or Cool Undertones) |
Deep Vanilla (with a hint of brown): A more pigmented sheer that still allows the nail to peek through. Mauve-tinged Vanilla: A sophisticated blend of vanilla and soft mauve, offering a beautiful contrast. |
These richer shades offer beautiful contrast and dimension, appearing as a sheer “my nails but elevated” look. |
Remember, these are guidelines, and personal preference is key! Don’t be afraid to experiment. A good tip is to check online swatches on similar skin tones or, if possible, test a shade in-store.
Common Issues and How to Fix Them
Even with the best intentions, a few common hiccups can occur. Don’t fret! Here’s how to tackle them:
- Streaky Application: This is super common with sheer polishes! The fix is simple: apply more thin coats! Each coat builds opacity and smooths out streaks. Make sure each coat is mostly dry before the next.
- Uneven Color: Similar to streaks, uneven color is often solved with more thin coats. You can also use a clean brush (like a spare one or an old makeup brush) dipped in polish remover to gently feather out any thick spots before they dry.
- Bubbles: Bubbles usually happen when polish is applied too thickly, or when a previous coat wasn’t dry enough. The solution? Breathe! Let it dry. For future applications, always use thin coats and ensure each layer is dry.
- Chipping Edges: This is why “capping the edge” (painting the very tip of your nail) is so important with the base and top coats, and sometimes even the color coats. It seals the polish and protects it from wear.
- Smudging: If you smudge your polish before it’s fully dry, you can often fix it. Try gently dabbing the smudge back into place with a clean fingertip or an orange stick. Then, carefully reapply a thin layer of top coat over the affected nail to smooth it out.
Frequently Asked Questions About Vanilla Sheer Nails
Q1: How many coats of vanilla sheer polish do I need?
A: Most people find 2-3 thin coats provide the perfect balance of sheer coverage and creamy color. It really depends on the specific polish formula and your desired look!
Q2: Can I wear vanilla sheer nails if I have yellowing nails?
A: Absolutely! The milky, opaque nature of vanilla sheer can help mask mild yellowing. Ensure you use a good base coat, as some whitening formulas can help counteract yellow tones before you even apply the color.
Q3: Are vanilla sheer nails hard to maintain?
A: Not at all! Vanilla sheer is incredibly forgiving. Minor chips are less noticeable than on darker colors. Regular moisturizing and avoiding rough tasks will keep them looking great.
Q4: What’s the difference between vanilla sheer and a nude polish?
A: Nude polishes are typically more opaque and designed to match your skin tone exactly for a natural look. Vanilla sheer is translucent, creamy, and has a milky, softer appearance, allowing a subtle glimpse of your natural nail.
Q5: Where can I find good vanilla sheer polishes?
A: Many popular nail polish brands offer shades in this range. Look for terms like “milky,” “creamy sheer,” or “vanilla bean. You can find them at drugstores, beauty supply stores, and online retailers.
Q6: Can I combine vanilla sheer polish with other nail art?
A: Yes! Vanilla sheer is a stunning base for delicate nail art like minimalist lines, tiny dots, or even subtle French tips. It’s versatile enough to be dressed up or down.
Q7: How long do vanilla sheer nails typically last before needing a refresh?
A: With a good base and top coat, and proper aftercare, you can expect your vanilla sheer manicure to last anywhere from 5-10 days, depending on how much wear and tear your hands go through.
Conclusion
And there you have it – your complete guide to achieving and loving vanilla sheer nails! This chic, understated look is more than just a trend; it’s a timeless classic that offers effortless elegance for any occasion and any skin tone. By following these simple steps, using the right tools, and practicing good nail care, you can achieve a salon-worthy manicure right at home.
Don’t be afraid to experiment with different shades and add your own personal flair with subtle nail art. Vanilla sheer nails are all about celebrating the beauty of subtle sophistication and feeling confident in your own skin, right down to your fingertips. So go ahead, give it a try, and let your nails shine with that perfect vanilla cream glow! Happy polishing!

