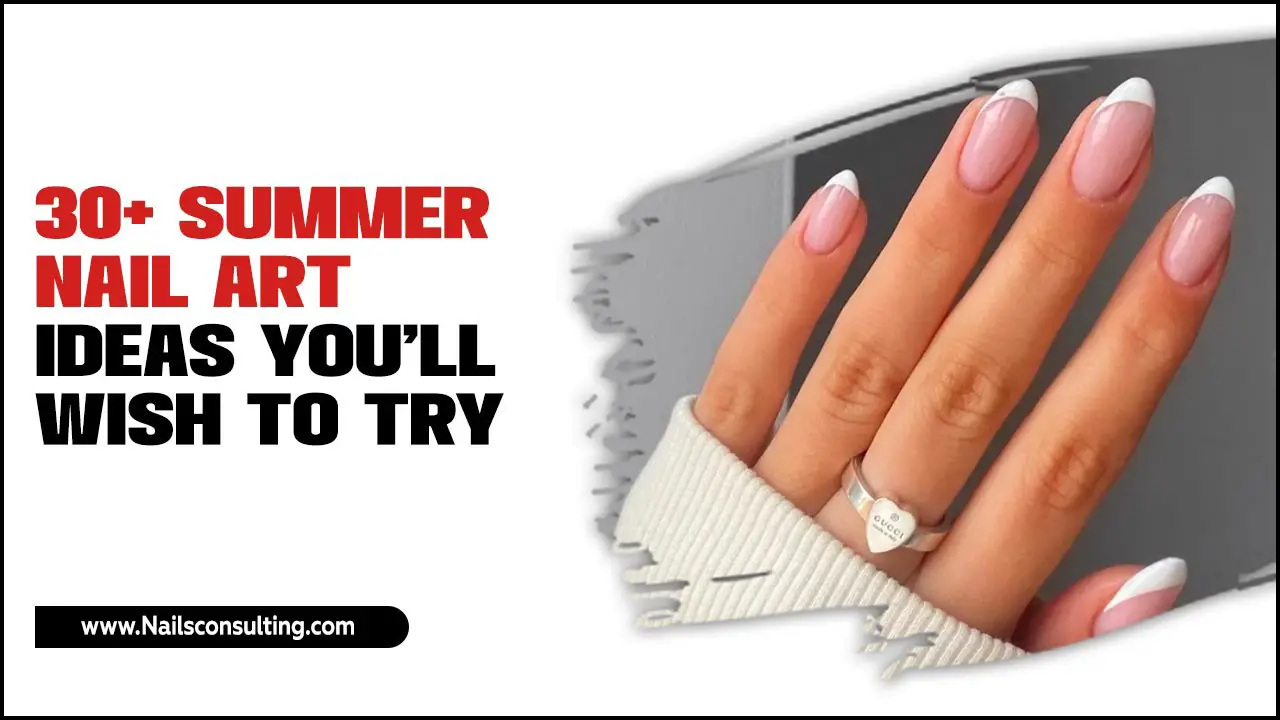
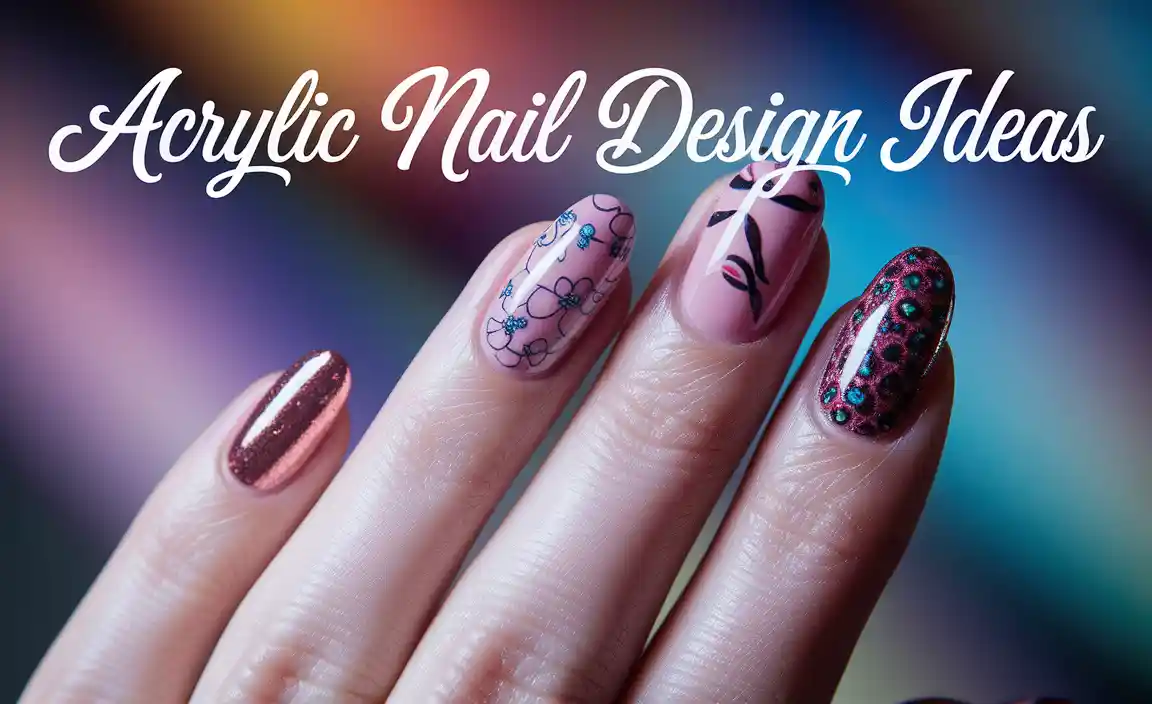
Valentine’s negative space nails are a chic and subtle way to embrace the season of love. These designs strategically leave parts of your natural nail exposed, creating a modern, minimalist look. Perfect for beginners, they offer a sophisticated twist on festive manis, letting your natural nail peek through floral accents, hearts, or romantic swirls.
Hey nail lovers! Are you looking for a super stylish and modern way to rock Valentine’s Day nails? Sometimes, the traditional bright reds and pinks can feel a little much. We want something that says “love” without screaming it, right? If you’ve ever admired those elegant, almost effortless looking nail designs, you’re probably seeing negative space in action! It’s a super cool trend where some of your natural nail shows through the design. Don’t worry if you’re new to nail art; this technique is surprisingly easy to master and looks incredibly chic. Get ready to fall in love with a new way to do your nails! We’ll dive into some darling designs that are perfect for any skill level.
What Are Valentine’s Negative Space Nails?
Imagine a nail design built with intention, where the absence of color is just as important as the presence of paint. That’s the magic of negative space nails! For Valentine’s Day, this means using traditional romantic motifs like hearts, subtle floral patterns, or even abstract swirls, but with parts of your natural nail intentionally left bare. It creates a visually interesting effect that’s both modern and delicate.
Instead of a solid coat of polish, you’re playing with patterns, lines, and shapes around the uncovered parts of your nail. Think of it like a beautiful outline or a stencil effect. This approach makes the design feel lighter, more airy, and incredibly sophisticated. It’s a fantastic way to get festive without going overboard, and it’s surprisingly forgiving for those of us still perfecting our nail art skills!
Why Choose Negative Space for Valentine’s Day?
There are so many reasons why negative space nails are a perfect fit for Valentine’s Day:
- Subtle Romance: They offer a sophisticated take on traditional Valentine’s themes. Instead of a bold, all-over design, it’s more of a sweet whisper of romance.
- Modern & Chic: Negative space is a massive trend in nail art right now. It looks incredibly stylish and on-trend.
- Beginner-Friendly: Many negative space designs rely on simple lines, dots, or outlines, which are much easier to execute than intricate, fully painted designs. Mistakes can often blend in or be easily fixed!
- Versatile: This style works beautifully with a wide range of colors, from classic reds and pinks to softer pastels or even metallics and nudes. It also complements various nail shapes and lengths.
- Durability & Growth: Since the design often incorporates your natural nail, regrowth is less noticeable, meaning your manicure can look good for longer.
- Elegant Finish: It provides a polished, almost delicate look that’s perfect for dates, parties, or just treating yourself.
Essential Tools for Negative Space Valentine’s Nails
Don’t let the sophisticated look fool you; you don’t need a whole nail art studio to create stunning negative space designs. Here are the basic tools that will make your DIY manicure a breeze:
- Base Coat: Essential for protecting your natural nail and ensuring your polish lasts longer.
- Top Coat: Seals your design and adds a glossy finish.
- Nail Polish Colors: Choose your main colors – think romantic reds, soft pinks, classic nudes, or elegant whites. A fine-liner polish or a dotting tool is also great for details.
- Detail Brushes or Dotting Tools: These are your best friends for creating fine lines, dots, and intricate shapes. A liner brush with a long, thin tip is perfect for drawing delicate lines or outlines. Dotting tools come in various sizes for perfectly round dots.
- Nail Polish Remover and Cotton Swabs/Pads: For cleaning up any stray polish and perfecting your edges.
- Optional: Stencils or Tape: For creating crisp, clean geometric shapes or French tip-style negative space. Specialized nail stickers can also be a fun shortcut!
For those looking to invest in quality tools, checking resources like the FDA’s information on cosmetics can help you understand ingredients and product safety. For specific nail art tools, reputable beauty supply stores or online retailers offer a wide variety.
Beginner-Friendly Valentine’s Negative Space Nail Designs
Ready to get creative? These designs are perfect for beginners, focusing on simple shapes and techniques to achieve that chic negative space look. Remember, practice makes perfect, so have fun with it!
1. The Simple Heart Outline
This is a classic for a reason! It’s elegant and undeniably Valentine’s-themed without being over the top.
- Prep Your Nails: Start with clean, dry nails. Apply a clear or nude base coat and let it dry completely. This serves as your “negative space.”
- Choose Your Color: Pick a romantic color like red, pink, or even a metallic gold.
- Draw the Outline’s Top Curve: Using a fine-liner brush or a dotting tool dipped in your chosen polish, carefully draw the top curve of a heart shape on one side of your nail. Don’t worry about perfection; slight imperfections add character!
- Complete the Heart: From the ends of the top curve, draw two lines downwards and meet them at a V-shape at the bottom to form the point of the heart.
- Fill or Leave Empty: You can either leave the heart as a simple outline, or you can very carefully fill it in with the same color. For a true negative space look, an outline is stunning!
- Add More (Optional): You can add one or two small hearts on other nails, or leave some nails completely untouched for maximum negative space effect.
- Seal It: Once dry, apply a generous layer of top coat to seal your design.
2. The Modern Half-Moon Heart
This design plays with geometric shapes for a more contemporary feel. It’s like a stylized French tip, but with a heart!
- Base Coat: Apply your base coat as usual. You can use a sheer pink or nude, or just a clear base.
- Lunar Placement: Decide where you want your heart “moon” to be. It’s often placed at the cuticle area.
- Shape the Moon: Using a fine-liner brush or a small dotting tool, carefully paint a curved line that resembles the top of a heart, starting from one sidewall of the nail and curving up towards the center, then back down to the other sidewall.
- Connect the Point: From the center top of your curve, draw a line straight down to create the point of the heart.
- Color Choice: A bold red or a deep berry color looks stunning against a nude or clear base.
- Add Accents: You could do this on one or two accent nails and keep the others simple or use a contrasting color for a tiny heart dot on the other nails.
- Finish with Top Coat: Once dry, seal everything with a quality top coat.
3. The Dott and Dash Valentine
This design utilizes simple dots and lines to create patterns that hint at hearts and romance, leaving plenty of natural nail showing.
- Clean Canvas: A clear or very sheer nude polish is perfect as your base.
- The “V” of Hearts: Using a fine-tip brush or a small dotting tool, create two small dots side-by-side near the cuticle or on the tip of your nail. Then, draw a small “V” shape joining them at the bottom to form a very minimalist heart shape.
- Hearts in Rows: Repeat this on other nails, or create little rows of these minimalist hearts.
- Line Details: You can also add delicate vertical or horizontal lines between the hearts or trailing from them to add more visual interest. Think simple, clean lines!
- Color Palette: Try a soft rose gold metallic for the dots and lines over a nude base, or use a classic red on a clear base.
- Seal and Shine: Once all your elements are dry, apply your top coat.
4. The Abstract Swirl Vibe
This is where you can really let your creativity flow! Abstract designs are forgiving and look effortlessly cool.
- Base Layer: Start with a neutral or clear base coat.
- Freehand Swirls: Using a fine-detail brush, paint thin, elegant swirls on your nails. You can make them loop around each other, trail off the edge, or cluster near the cuticle.
- Heart Hints: Integrate subtle heart shapes within the swirls. For example, one part of a swirl could be shaped like a heart, or you could create a tiny, unfilled heart shape within the pattern.
- Color Play: Try a classic red swirl over a nude nail, or a delicate white swirl on a sheer pink base. You could also use a metallic polish for a touch of glam.
- Mix It Up: Don’t feel pressured to make every nail identical. A few swirls here and there, with other nails left completely bare or with a single dot, can look very intentional.
- Top Coat Finish: Secure your artistic creation with a good top coat.
5. The Geometric Cut-Out Effect
This design uses tape or stencils to create sharp, clean lines and shapes, showcasing the negative space in a very structured way.
- Prep and Base: Apply your base coat. You can use a sheer color or just clear.
- Apply Tape/Stencil: Cut small pieces of nail tape and carefully apply them in geometric patterns on your nail. Think triangles, stripes, or squares. Alternatively, use a stencil if you have one.
- Paint Your Shape: Paint over the tape/stencil with your chosen Valentine’s color (e.g., red, pink, or a metallic).
- Remove Carefully: While the polish is still slightly wet (but not smudgy!), carefully peel away the tape or stencil. This leaves the taped area uncolored, creating a sharp design against your colored polish and the remaining negative space of your natural nail.
- Variations: You could create a half-moon shape at the cuticle with tape, two diagonal lines forming an X, or simple vertical stripes.
- Seal Your Work: Once completely dry, add a protective top coat.
Tables for Understanding Negative Space Elements
Let’s break down some key elements that make negative space designs work so well, especially for Valentine’s Day.
Element Comparison in Negative Space Nail Art
| Element | Purpose in Negative Space | Valentine’s Day Application | Beginner Tip |
|---|---|---|---|
| Uncolored Nail Bed | Provides the “negative” part of the design; creates contrast and depth. | Acts as a soft, natural canvas for detailed color elements. | Embrace natural nail imperfections; they add character! |
| Outlines | Defines shapes without filling them in, maintaining an airy feel. | Creates subtle heart, cupids bow, or flower outlines. | Use a steady hand with a fine-tip brush; wobbles can look artistic! |
| Dots | Can be used as standalone elements or to build patterns. | Tiny dots can form the “point” of a heart or sparse “confetti.” | Use a dotting tool for consistent size; varied sizes add texture. |
| Lines | Can create structure, connect elements, or add a minimalist flair. | Thin lines can form stems of flowers, borders, or abstract patterns. | Keep lines thin and intentional to avoid overwhelming the design. |
| Geometric Shapes | Offer a modern, clean aesthetic with sharp definition. | Triangles or squares can form stylized hearts or abstract art. | Use tape or stencils for crisp, professional-looking edges. |
Color Palettes for Valentine’s Negative Space
Choosing the right colors can elevate your Valentine’s negative space nails from just trendy to truly romantic.
| Theme | Primary Colors | Accent Colors | Typical Negative Space Base | Design Ideas |
|---|---|---|---|---|
| Classic Romance | Deep Red, Classic Pink | White, Gold, Black outline | Sheer nude, Clear | Red heart outline, simple red dots |
| Soft & Sweet | Pastel Pink, Peach, Baby Blue | White, Light Gold | Sheer pink, Milky white | Delicate white floral outlines, pastel swirls |
| Modern & Bold | Burgundy, Berry, Deep Plum | Metallic silver, Black outline | Clear, Sheer grey | Geometric shapes in burgundy, abstract lines |
| Minimalist Chic | Nudes, Soft Creams, Muted Mauve | Rose gold, Subtle shimmer | Clear, Translucent nude | Tiny heart accent, single thin line |
Tips for Achieving Flawless Negative Space
Even simple designs can hit a snag if you’re not careful. Here are some pro tips to help your negative space Valentine’s nails look absolutely perfect:
- Prep is Key: Always start with clean, dry, and well-prepped nails. Push back your cuticles gently (a good cuticle pusher is handy for this!) and ensure there’s no oily residue. A good base coat is crucial for longevity.
- Steady Your Hand: For designs involving lines or outlines, rest your pinky finger on a stable surface or your other hand. This provides support and helps prevent shaky lines.
- Less is More with Product: Don’t overload your brush or dotting tool. It’s much easier to add more polish than to clean up a big blob.
- Patience with Drying: Allow each layer of polish, and especially your painted design, to dry thoroughly before adding another layer or your top coat. This prevents smudging and ensures a clean finish.
- Clean Up Accurately: Keep nail polish remover and a fine-tipped brush (like a tiny liner brush dipped in remover) or cotton swabs handy. Use these to clean up any stray marks or smudges around your design for super crisp edges.
- Embrace the Spacing: Don’t feel like every single part of your nail needs to be covered in polish or design. The beauty of negative space is the breathing room it gives the design. Sometimes, just one well-placed element is enough!
- Top Coat is Your Final Step: Once everything is dry, a good quality top coat will not only give you a beautiful shine but also protect your artwork, making it last longer.
FAQ: Your Valentine’s Negative Space Nail Questions Answered
What is the main benefit of negative space nail art for Valentine’s Day?
The main benefit is achieving a sophisticated and modern look that still embraces the romantic spirit of Valentine’s Day. It’s less about overt festivity and more about subtle, chic elegance.
Can beginners really do negative space nails?
<p

