Valentines French outline nails are a chic, modern twist on a classic. Easy for beginners to achieve, they offer a sophisticated and personalized look for the season of love.
Dreaming of picture-perfect nails for Valentine’s Day? You’ve probably seen them everywhere – those cute, minimalist French outline nails! They look so elegant, don’t they? Sometimes, nail art can feel a bit daunting, and you might worry about how to get that crisp line just right. But guess what? This trend is surprisingly easy to master, even if you’re just starting out. We’re going to break down how to create these darling designs step-by-step, making your DIY manicure dreams a reality. Get ready to fall in love with your nails all over again!
What Are Valentines French Outline Nails?
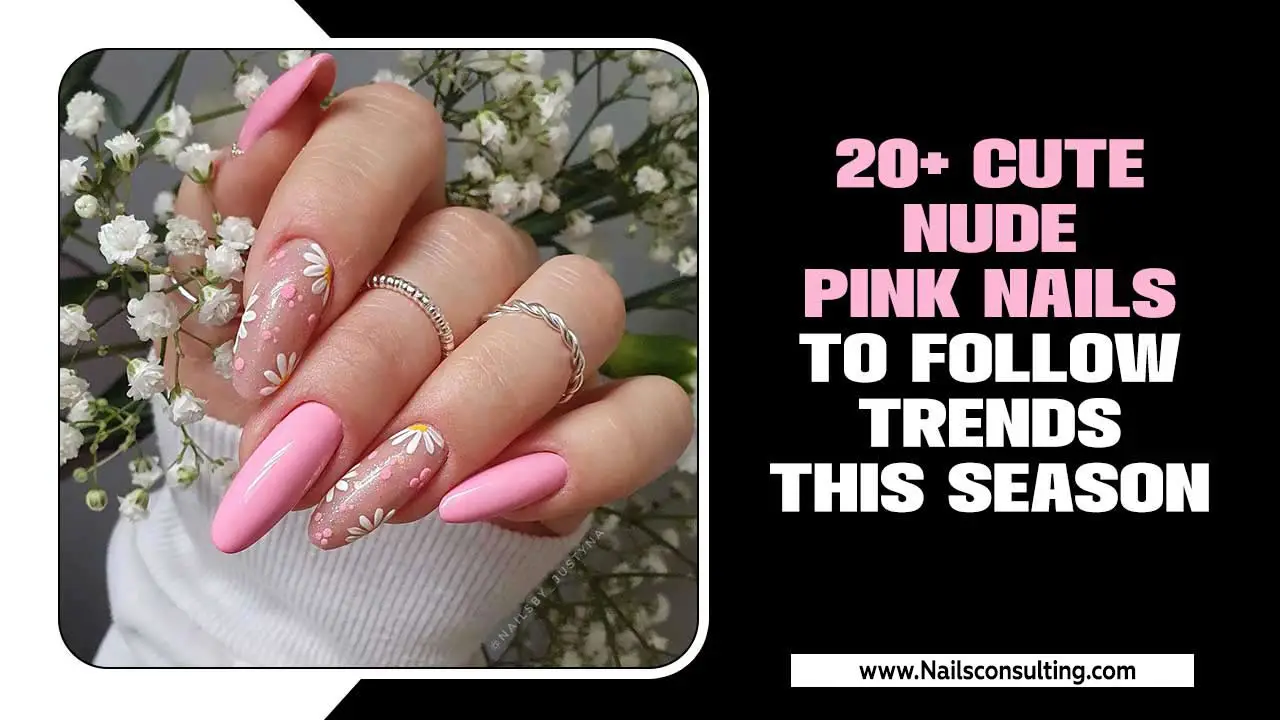
Valentines French outline nails are a playful and modern take on the traditional French manicure. Instead of a solid white tip, this style features a delicate, colored outline tracing the natural curve of your nail tip or creating a distinct border. For Valentine’s Day, these outlines are typically done in romantic shades like red, pink, or even a soft rose gold, often paired with a sheer nude or milky white base.
The beauty of this trend lies in its versatility and minimalist appeal. It’s a subtle yet stylish way to incorporate festive flair into your look without being over-the-top. Think of it as a whisper of romance for your fingertips.
Why Are They Perfect for Valentine’s Day?
Valentine’s Day is all about love, romance, and a touch of sweetness. French outline nails embody this perfectly. Here’s why they’re a proven essential for the season:
- Subtle Sophistication: They offer an elevated elegance that’s not too loud, making them suitable for any Valentine’s occasion, from a cozy date night at home to a fancy dinner out.
- Customizable Romance: You can play with an array of romantic colors. Think classic red outlines, playful pink borders, deep burgundy lines, or even a soft, blush tone.
- Minimalist Charm: The “less is more” aesthetic is incredibly chic and trendy. These nails add a refined pop of color and interest without feeling heavy or cluttered.
- Beginner-Friendly: Compared to intricate nail art, achieving a clean outline is much more manageable for DIYers.
- Versatile Base Colors: They look stunning over natural nails, sheer nude polishes, milky whites, or even subtle pastels, allowing you to adapt the look to your personal style.
Essential Tools You’ll Need
Getting those perfect outlines is all about having the right tools. Don’t worry, most of these are standard nail art supplies you might already have or can easily find!
| Tool | Purpose | Nailerguy Tip |
|---|---|---|
| Base Coat | Protects your natural nails and helps polish adhere better. | Always a must! It prevents staining and makes your manicure last longer. |
| Sheer Nude or Milky White Polish | Provides a clean, elegant canvas for your outline. | Choose a shade that complements your skin tone. A sheer finish keeps it modern. |
| Detail Brush or Fine-Liner Nail Art Brush | For drawing the precise outlines. Look for one with very fine bristles. | Invest in a good quality brush; it makes a world of difference for clean lines. |
| Your Outline Color Polish | The star of the show! This is the color you’ll use for the outline. | Red, pink, rose gold, or even a metallic would be fab for Valentine’s! |
| Top Coat | Seals your design, adds shine, and protects against chipping. | A quick-dry top coat is your best friend for busy lifestyles. |
| Cuticle Pusher or Orange Stick | To gently push back your cuticles for a clean nail bed. | A neat cuticle area makes any nail art design look instantly more professional. |
| Rubbing Alcohol or Nail Polish Remover | To clean your brush between dips and sanitize the nail. | Essential for keeping your tools clean and your nails prepped. You can learn more about proper nail preparation from resources like CDC’s Handwashing Science, which highlights the importance of cleanliness. |
| Lint-Free Wipes | For cleaning brushes and wiping off excess polish. | Avoid cotton balls, as they can leave lint behind. |
Step-by-Step Guide to Valentines French Outline Nails
Ready to create some magic? Follow these simple steps for gorgeous Valentine’s French outline nails. Remember, practice makes perfect, so have fun with it!
Step 1: Prep Your Nails
This is the foundation for any great manicure. Start by shaping your nails to your desired length and shape. Gently push back your cuticles using a cuticle pusher or orange stick. Cleanse your nail beds with rubbing alcohol on a lint-free wipe to remove any oils or residue. This step is crucial for polish adherence and longevity.
Step 2: Apply Base Coat
Apply one layer of your favorite base coat. This protects your natural nail from staining and creates a smooth surface for your colored polish. Let it dry completely.
Step 3: Apply Your Base Color
Now, apply one or two thin coats of your chosen sheer nude or milky white polish. Allow each coat to dry thoroughly. A sheer finish is key for that trendy, delicate look. If you prefer a more opaque base, you can use a light pink or nude polish, but keep it light so the outline stands out.
Step 4: Prepare Your Outline Brush
Pour a small amount of your chosen outline color polish onto a clean, flat surface (like a foil square or a palette paper). Dip your fine-detail brush into the polish, ensuring you have a good amount on the tip, but avoid overloading it.
Step 5: Create the Outline
This is where the fun begins! There are a few ways to approach this:
- The Classic French Arc: Gently touch the tip of your brush to one side of your nail’s free edge (the white part), then smoothly draw a curve following the natural smile line towards the other side. Aim for a thin, even line.
- The Full Outline: Start by drawing a thin line just above your cuticle, follow the side walls up, then create a line across the tip, and bring it down the other side, creating a complete border.
- The Tip Outline: Focus the outline solely on the edge of the nail tip, creating a more minimalist border.
Pro Tip for Beginners: Start with the classic French arc. If you make a small mistake, don’t worry! You can use a clean brush dipped lightly in nail polish remover to gently clean up the line before it dries. Another technique is to use a nail art pen for easier control.
Step 6: Clean Up Edges
Once you’ve drawn your outlines on all your nails (or as many as you want to decorate!), carefully clean up any stray polish around your cuticles or nail edges with a small brush dipped in nail polish remover. This makes your manicure look super neat and professional.
Step 7: Apply Top Coat
Once all the outline polish is completely dry, apply a generous layer of top coat. Make sure to cap the free edge of your nails (swiping the brush across the tip horizontally) to help prevent chipping. This seals in the design and adds a beautiful glossy finish.
Step 8: Let it Dry
Allow your nails to dry completely. Resist the urge to touch anything! A quick-dry spray or top coat can speed this up if you’re in a hurry.
Popular Valentine’s Color Combinations
The base and outline color choices really make these nails shine for Valentine’s Day. Here are some trending combinations:
| Base Color | Outline Color | Vibe |
|---|---|---|
| Sheer Milky White | Classic Red | Timeless romance, chic and bold. |
| Soft Pink Nude | Deep Burgundy or Wine | Sophisticated and sultry, perfect for evening. |
| Sheer Pale Pink | Rose Gold Metallic | Glamorous and trendy, adds a hint of sparkle. |
| Clear or Natural | Hot Pink | Playful and flirty, a fun pop of color. |
| Creamy Beige | Berry Tone (like raspberry or cranberry) | Earthy yet romantic, unique and modern. |
| Sheer White | White | Monochromatic elegance, subtle and refined. |
Variations to Try
Once you’ve mastered the basic French outline, don’t be afraid to play! Here are some fun variations:
- Double Outline: Use two different colors for the outline, perhaps a thinner inner line and a slightly thicker outer line, or two complementary shades.
- Accent Nail: Do French outlines on all nails, but add a small heart shape or a tiny dot at the base of one accent nail.
- Reverse French with Outline: Instead of outlining the tip, outline the lunula (the half-moon shape at the base of your nail).
- Gradient Outline: Use a fine brush to blend two colors into the outline for a sunset or gradient effect.
- Matte Finish: After applying your top coat and letting it dry, you can go over it with a matte top coat for a completely different, velvety look.
Tips for Achieving Flawless Lines
Getting that clean, crisp line is the goal! Here are some pro secrets:
- Thin Coats are Key: With both your base color and your outline color, always opt for thin, even coats. Thicker polish is harder to control and more prone to pooling or mistakes.
- Brush Control: Practice drawing lines on a piece of paper or an old nail file first. Get a feel for how much pressure to apply and how to move your hand smoothly.
- Steady Hand: Rest your wrists or elbows on a stable surface. You can even brace your pinky finger on your desk or another finger for extra stability.
- Don’t Be Afraid of Clean-Up: A small, flat brush dipped in nail polish remover is your best friend for fixing wobbles or smudges. It’s much easier to clean up tiny mistakes than to try and correct them with polish.
- Use the Right Amount of Polish: Dip your brush into the polish, then gently wipe off excess on the bottle neck or a lint-free wipe. You want enough polish for a smooth stroke, but not so much that it drips.
- Work One Nail at a Time: Especially when you’re starting, it’s best to complete the delicate outline on one nail and let it set slightly before moving to the next.
- Consider Nail Art Pens: If fine brushes feel intimidating, nail art pens offer a more controlled application, similar to a marker.
Maintaining YourValentines French Outline Nails
To keep your beautiful manicure looking fresh:
- Wear Gloves: When doing chores like washing dishes or cleaning, wear rubber gloves to protect your nails from harsh chemicals and prolonged water exposure.
- Moisturize: Keep your hands and cuticles hydrated with a good cuticle oil and hand cream. Healthy cuticles contribute to a polished look and help your manicure last.
- Avoid Using Nails as Tools: Resist the temptation to peel, scrape, or pry with your nails, as this can chip or break them. While these nails are fairly durable, they still require care.
- Refresh Your Top Coat: If you notice the shine fading after a few days, you can apply another thin layer of top coat to refresh the look and add extra protection.
FAQ: Your Valentine’s French Outline Nail Questions Answered
Q1: How long do these nails usually last?
A1: With proper application and care, your Valentines French outline nails can last anywhere from 5 to 10 days. Using a good base and top coat, and avoiding harsh activities, will help extend their life.
Q2: Can I do French outline nails on short nails?
A2: Absolutely! French outline nails look fantastic on short nails. You can outline the entire edge of the nail or just create a thin border along the free edge for a subtle effect.
Q3: What if I’m not good at drawing straight lines?
A3: Don’t stress! You can use nail art stickers or stencils designed for French tips as a guide. Alternatively, nail art pens offer a more controlled application than traditional polish bottles and brushes. Practicing on paper first also helps immensely!
Q4: Can I use gel polish for this design?
A4: Yes, you can! Gel polish is excellent for manicures because it offers increased durability and a high-gloss finish. You’ll need a UV/LED lamp for curing. The process is similar: apply base, color, use a gel detail brush to draw the outline, cure, and finish with a gel top coat.
Q5: What’s the difference between French tips and French outline nails?
A5: Traditional French tips are solid white (or colored) tips that cover the entire free edge of the nail. French outline nails, on the other hand, feature a thin line tracing the edge of the tip or border, leaving the center sheer or using a contrasting color. It’s a more minimalist and modern approach.
Q6: Can I make the outline thicker?
A6: Of course! If you prefer a bolder look, you can use a slightly thicker brush or go over your initial thin line with another layer of polish to create a more substantial outline. Just ensure each layer dries or is cured properly before adding the next.
Conclusion: Your Valentine’s Nails Await!
See? Valentines French outline nails are totally achievable, and they are a fantastic way to show off your festive spirit without a complicated design. Whether you’re a nail art novice or just looking for a quick, chic update, this trend delivers elegance and romance in spades. By following these simple steps and gathering a few key tools, you can create a salon-worthy manicure right at home. Experiment with colors, embrace the process, and most importantly, have fun expressing yourself. Your perfect Valentine’s Day nails are just a brushstroke away!


