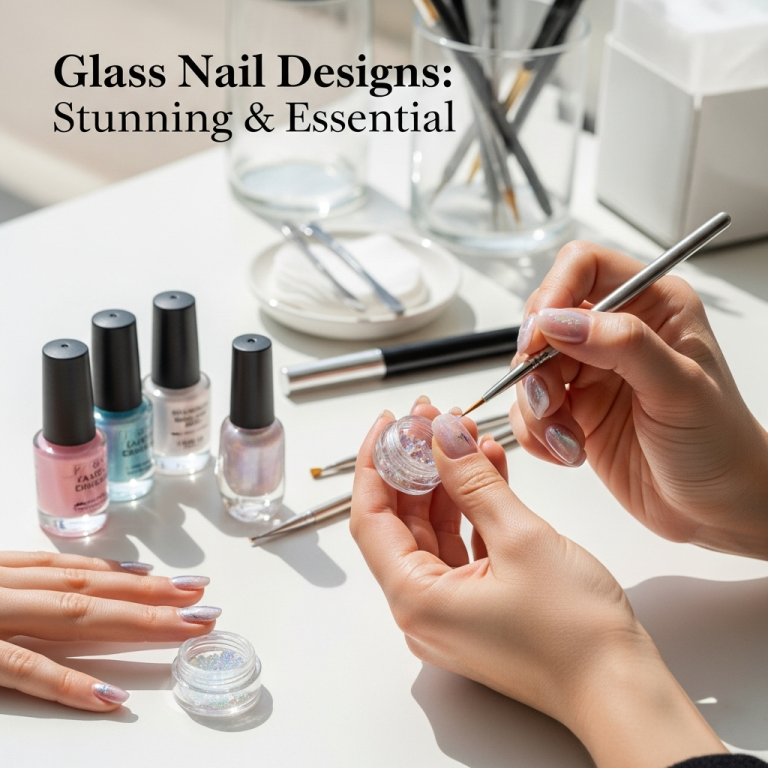
Unlock your nails’ hidden glow! UV reactive nail designs add a surprising, vibrant pop of color under blacklights, transforming your manicure into a fun, eye-catching statement. Perfect for parties, festivals, or just adding a touch of magic to your everyday look, these designs are surprisingly easy to achieve with the right essentials. Get ready to shine!
Ever wished your nails could do more than just look pretty? Imagine a manicure that transforms under a blacklight, revealing a completely new, electrifying look! UV reactive nail designs are all about that fun, unexpected glow. They’re perfect for anyone who loves to express themselves and wants their style to truly stand out, especially when the lights go down. Don’t worry if you’re new to this; it’s easier than you think to create these dazzling effects. We’re going to walk through everything you need to know, from the magic ingredients to simple steps to get that glow-up!
What Are UV Reactive Nail Designs?
UV reactive nail designs are manicures that use special polishes or pigments that absorb ultraviolet (UV) light, usually from a blacklight, and then re-emit it as visible light. This causes the colors to appear much brighter, more vibrant, and sometimes even change hue compared to how they look in normal lighting. Think of neon signs or glow sticks – it’s that kind of energetic luminescence, but on your fingertips!
These designs are a fantastic way to add a playful and dynamic element to your nail art. Whether you’re heading to a concert, a party, or just want to add a bit of surprise to your day, UV reactive nails are a guaranteed conversation starter. The magic happens when you switch from regular light to a UV or blacklight environment, instantly revealing your dazzling creation.
Why You’ll Love UV Reactive Nails
- Unmatched Wow Factor: Seriously, your nails will glow! It’s a guaranteed head-turner.
- Easy Transformation: A simple switch from natural light to a blacklight completely changes your nail look.
- Creative Versatility: From subtle accents to full-on neon explosions, the possibilities are endless.
- Affordable Fun: You don’t need expert skills or expensive tools to achieve amazing results.
- Perfect for Events: Festivals, clubs, parties, or even a fun night in – they’re made for good times!
The Genius Essentials for UV Reactive Nail Designs
To get started with your own glowing manicures, you’ll need a few key items. Think of these as your magic wand and palette for creating luminous nail art. Don’t worry, we’ll break down each one so you know exactly what to look for!
1. UV Reactive Nail Polish (or Gels)
This is the star of the show! UV reactive polishes contain special pigments that are designed to fluoresce under UV light. They come in an incredible range of colors, often much brighter and more intense than traditional polishes.
- Types: You’ll find them as traditional nail polish, gel polish (which requires a UV or LED lamp to cure), and even as loose pigments.
- What to Look For:
- “UV Reactive” or “Glow Under Blacklight” Labels: This is the most straightforward indicator.
- Neon Colors: Many neon shades naturally have UV reactive properties, but always check the product description.
- Opaque Coverage: For the most dramatic effect, look for polishes that offer good coverage in one or two coats.
- Tip: Some polishes are only reactive under UV light, while others might have a subtle glow even in dim light. Most brands clearly state how they perform.
2. Blacklight (UV Lamp)
To truly see your UV reactive nail designs come to life, you need a blacklight! These lamps emit UV-A radiation, which activates the fluorescent pigments in your polish. They come in various sizes, from small decorative bulbs to larger club-style lights.
- Types:
- Portable Blacklight Flashlights: Great for testing your polish or for a small-scale glow-up.
- Small Blacklight Bulbs: Can be screwed into standard lamps for a room effect.
- Larger Blacklight Fixtures: Ideal for parties or making a statement in a larger space.
- Where to Find Them: You can find blacklights at party supply stores, online retailers (like Amazon or eBay), and some electronics stores.
- Safety Note: While standard blacklights used for nail art are generally safe, prolonged direct exposure to very high-intensity UV can be harmful. Following standard safety guidelines is always recommended. For more information on UV light safety, the U.S. Environmental Protection Agency (EPA) provides helpful resources.
3. Base Coat and Top Coat
These are essential for any manicure, but especially for UV reactive designs. A good base coat protects your natural nails and helps your polish adhere better. A top coat seals everything in, adds shine, and protects your design from chipping, ensuring your glow lasts longer!
- Base Coat:
- Creates a smooth canvas.
- Prevents staining, especially from vibrant or dark polishes.
- Improves polish adhesion for longer wear.
- Top Coat:
- Seals in your design.
- Adds a glossy finish or a matte effect (if using a matte top coat).
- Protects against chips and wear.
- Pro-Tip: Some top coats can actually enhance the vibrancy of UV reactive colors.
4. Nail Art Tools (Optional, but Recommended)
While you can create simple UV reactive looks with just polish, tools can help you get more creative:
- Fine-tip Brushes: For detailed lines, dots, and intricate designs.
- Striper Tools: Long, thin brushes perfect for creating sleek lines.
- Dotting Tools: For creating perfect dots of various sizes.
- Stencils or Nail Stickers: For easily creating sharp shapes and patterns.
- Dual-ended UV Gel Brushes: If you’re working with UV gel polish, these are essential.
5. Nail Cleanser or Rubbing Alcohol
Before applying any polish, it’s crucial to clean your nails thoroughly. This removes oils and residue that could prevent the polish from adhering properly, ensuring a smooth, long-lasting manicure.
- Why it’s important: Oils from your fingertips can create a barrier, leading to premature lifting or bubbling of the polish.
- How to use: Apply a small amount to a lint-free wipe and gently cleanse each nail.
Step-by-Step: Creating Your First UV Reactive Nail Design
Ready to get glowing? Follow these simple steps to create your own stunning UV reactive manicure. This guide focuses on using UV reactive nail polish, but the principles are similar for gel polish.
Step 1: Prepare Your Nails
Just like any good paint job, a clean, smooth surface is key!
- Shape Your Nails: File your nails to your desired shape.
- Push Back Cuticles: Gently push back your cuticles using a cuticle pusher or an orangewood stick. Avoid cutting them unless absolutely necessary, as this can lead to infection.
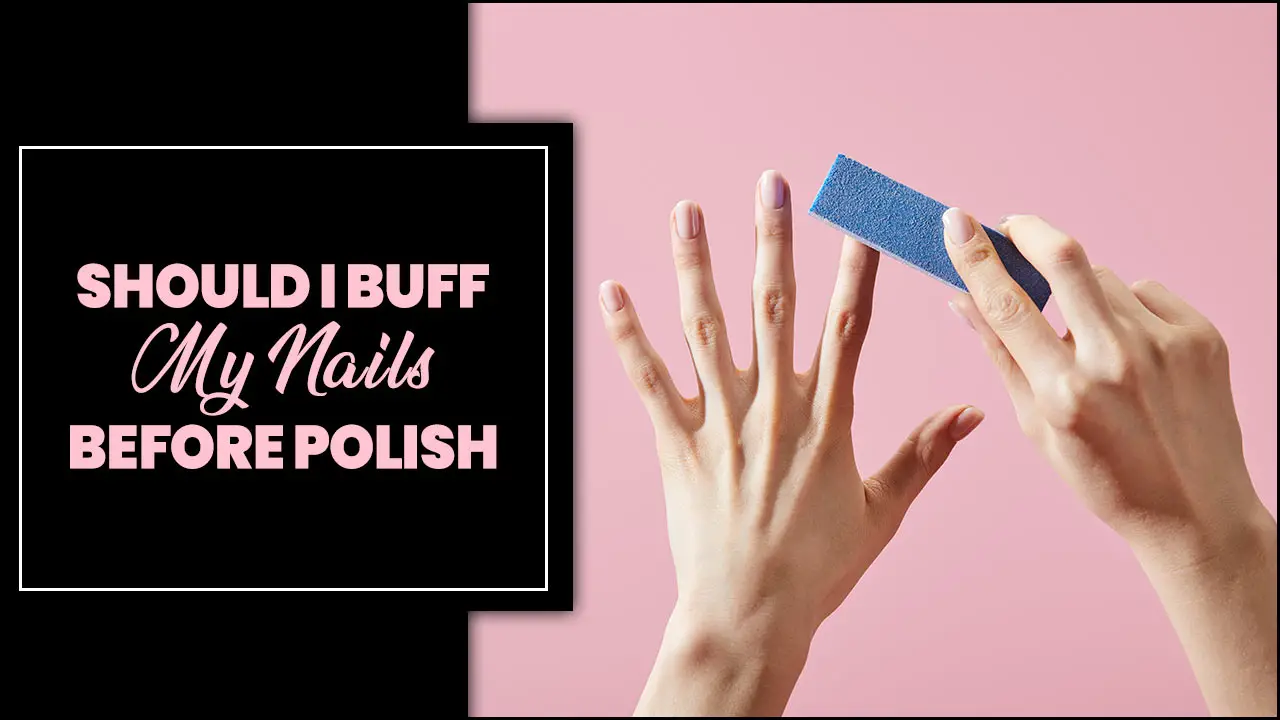
- Buff (Optional): Lightly buff the surface of your nails to create a smooth, even base. Don’t over-buff; you just want to remove shine.
- Cleanse: Wipe each nail with a nail cleanser or rubbing alcohol on a lint-free wipe to remove all dust and oils. Let them dry completely.
Step 2: Apply the Base Coat
This is your foundation for a long-lasting manicure.
- Apply a thin, even layer of your base coat to each nail.
- Let it dry completely. Most base coats dry clear or slightly opaque in about 30-60 seconds.
Step 3: Apply the UV Reactive Polish
Time for the magic color!
- Shake Well: Make sure to shake your UV reactive polish bottle thoroughly to mix the pigments.
- First Coat: Apply a thin, even coat of your chosen UV reactive polish. For most neon or UV reactive colors, you might need two coats for full opacity, especially if you’re applying over a sheer base or a dark color. Work from the cuticle to the free edge, cleaning up any excess polish on the brush against the bottle’s neck.
- Let it Dry: Allow the first coat to dry for at least 1-2 minutes. For traditional polish, it should be dry to the touch.
- Second Coat: Apply a second thin, even coat. This is where the color intensity really starts to build.
- Let it Dry: Allow the second coat to dry completely. This might take a bit longer for opaque colors.
Step 4: Add Your Design (Optional)
Now for the fun part – getting creative!
- Simple Accents: Use a fine-tip brush or dotting tool to add dots, stripes, or small shapes.
- Layering: You can layer UV reactive colors over each other or use them to highlight specific parts of a design.
- Using Different Colors: Mix and match different UV reactive shades for vibrant patterns.
- Tip: If you’re using loose UV pigments, you’ll typically apply them over a sticky gel top coat and then seal with another top coat to make them adhere.
Step 5: Apply the Top Coat
Seal your masterpiece and add shine!
- Apply a generous layer of your top coat over the entire nail, making sure to cap the free edge (paint a tiny bit along the very tip of your nail) to prevent chipping.
- This seals in your design, adds protection, and gives a beautiful finish.
- Let it dry completely. This is crucial to avoid smudging your design.
Step 6: Activate the Glow!
The moment of truth!
- Find your blacklight.
- Turn it on and watch your nails transform!
- Enjoy your glowing, UV reactive nail art!
UV Reactive Gel Nails: A Pro-Level Glow
If you’re looking for a more durable and high-shine finish, UV reactive gel nails are an excellent choice. They involve using UV reactive gel polishes that need to be cured under a UV or LED lamp. The application process is quite similar to traditional polish but requires a few extra steps and tools.
Essential Tools for Gel Nails:
- LED or UV Lamp: Essential for curing gel polish. The U.S. Food and Drug Administration (FDA) provides information on UV lamp safety.
- Gel Base Coat
- UV Reactive Gel Polish Colors
- Gel Top Coat
- Gel Cleanser/Rubbing Alcohol
- Lint-Free Wipes
- Nail File and Buffer
- Cuticle Pusher
- Optional: Brushes, dotting tools for gel art
Quick Steps for UV Reactive Gel Nails:
- Prep: Shape, buff, and cleanse nails as you would for traditional polish.
- Base Coat: Apply a thin layer of gel base coat and cure under your lamp according to the manufacturer’s instructions (usually 30-60 seconds for LED, 2 minutes for UV).
- Color: Apply thin coats of your UV reactive gel color, curing each layer individually.
- Design: Add any gel art designs, curing each step.
- Top Coat: Apply your gel top coat and cure. Some top coats are “no-wipe,” meaning they don’t leave a sticky residue; others require wiping with a cleanser after curing.
- Glow: Shine your blacklight on your fully cured gel manicure and admire the glow!
Comparing Traditional Polish vs. Gel for UV Reactive Designs
Here’s a quick comparison to help you decide which method is best for you:
| Feature | Traditional UV Reactive Polish | UV Reactive Gel Polish |
|---|---|---|
| Durability | Good (can last 5-7 days with proper application) | Excellent (can last 2-3 weeks) |
| Drying Time | Air dry (a few minutes per coat) | Cures under LED/UV Lamp (seconds to minutes per coat) |
| Application Complexity | Simple, beginner-friendly | Requires lamp and specific curing process |
| Removal | Easier with standard nail polish remover | Requires soaking with acetone or specialized removers |
| Shine/Finish | Can vary, may require a good top coat for high shine | Typically very high gloss, chip-resistant |
| Cost of Entry | Lower (no lamp needed) | Higher (lamp and gel products are an investment) |
Creative UV Reactive Nail Design Ideas
Once you have your essentials, the real fun begins! Here are some simple yet impactful design ideas to get you started:
- Neon French Tips: Classic French manicure with vibrant UV reactive tips.
- Glowing Dots: Create playful polka dots using different UV reactive colors.
- Color Blocking: Divide your nail into sections and fill each with a different bright UV shade.
- Hidden Message: Paint a design or message on top of a darker background color. The message only truly appears under blacklight.
- Ombre Glow: Blend two or more UV reactive colors for a seamless gradient effect that pops.
- Geometric Shapes: Use tape or stencils to create sharp, clean lines with your glowing colors.
- Starry Night: Use white or neon yellow/pink UV reactive polish to create tiny stars on a dark base.
Troubleshooting Common UV Reactive Nail Design Issues
Even the most enthusiastic nail artists run into a few bumps. Here’s how to fix some common problems:
- Problem: “My nails aren’t glowing as much as I expected!”
- Possible Cause: The blacklight might not be strong enough, or the polish isn’t truly UV reactive.
- Solution: Try a stronger blacklight or a different brand known for its vibrancy. Ensure you’re in a dark room for the best effect.
- Problem: “My polish chipped quickly.”
- Cause: Insufficient prep (oils on nails), base coat not applied, or top coat not properly sealed.
- Solution: Always start with clean, oil-free nails. Ensure a good base coat and cap the free edge with your top coat. For gel, ensure proper curing.
- Problem: “The colors look dull under regular light.”
- Cause: Many UV reactive polishes are designed for maximum impact under UV light. They can sometimes appear less vibrant in daylight.
- Solution: This is normal for many UV reactive formulas! Embracing the duality is part of the fun. You can layer lighter, brighter regular polishes over UV reactive ones for a great daytime look that still has a hidden surprise.
- Problem: “My UV reactive polish stained my nails.”
- Cause: Vibrant or dark polishes can sometimes cause staining if applied directly to the nail without a base coat.
- Solution: ALWAYS use a good base coat. If staining occurs, a nail whitener or buffing the nail surface can help.
Frequently Asked Questions About UV Reactive Nail Designs
Q1: Do I need a special blacklight for UV reactive nail polish?
Yes, you need a blacklight (UV-A emitting lamp) to activate the fluorescent pigments. Regular lights won’t make them glow.
Q2: Can I use UV reactive nail polish over any color?
You can technically apply it over any color, but

