UV Gel Nail Design Ideas: Genius & Essential for Beginners
Discover stunning UV gel nail design ideas perfect for beginners! Learn essential techniques and get inspired with simple yet gorgeous looks. From classic French tips with a twist to minimalist chic, explore creative ways to elevate your manicure game easily and affordably. Get ready to create salon-quality nails at home!
Hello, fabulous nail lovers! Are you ready to dive into the dazzling world of UV gel nails? It’s totally normal to feel a little overwhelmed when you’re starting – there are so many colors, tools, and techniques out there! But guess what? Creating beautiful UV gel nails at home is not as tricky as it seems. With the right ideas and a few simple steps, you can achieve gorgeous, long-lasting manicures that will make you feel like a true nail artist. We’re going to walk through some truly genius designs that are also totally essential for any beginner to master. Get ready to unleash your creativity and give your nails the glow-up they deserve!
What is UV Gel Nail Design?
UV gel nail design involves using special gel polishes that need to be cured (hardened) under a UV or LED lamp. This curing process makes the gel incredibly durable and gives nails a beautiful, glossy finish. Unlike regular nail polish, gel polish doesn’t air dry, which is why the lamp is crucial. This technology allows for stunning designs that can last for weeks without chipping. It’s a fantastic way to achieve salon-quality results right in your own home, perfect for busy bees or anyone who loves a long-lasting, polished look.
Why Choose UV Gel for Your Designs?
UV gel nails are a game-changer for busy individuals who want their manicures to last. Regular polish can chip within a day or two, but gel manicures can stay flawless for up to two to three weeks! They offer a chip-resistant, durable finish that maintains its shine beautifully. Plus, the gel formula provides a sturdy layer that can help protect natural nails from breakage. This means you can enjoy beautiful, intricate designs or simple, elegant colors without the constant worry of touch-ups. It’s the perfect blend of beauty and resilience!
Essential Tools for UV Gel Nail Designs
Before we jump into design ideas, let’s make sure you have the right gear. Having the essential tools makes the whole process smoother and more enjoyable. Think of these as your trusty sidekicks on your nail art journey!
The Must-Haves: Your UV Gel Toolkit
- UV/LED Lamp: This is non-negotiable for curing your gel polish. LED lamps are generally faster.
- Base Coat: Preps the nail and helps the gel adhere better.
- Top Coat: Seals the color and adds that signature glossy shine.
- Gel Polish Colors: Start with a few favorite shades.
- Nail File & Buffer: For shaping and smoothing natural nails.
- Cuticle Pusher/Wooden Stick: To gently push back and clean up cuticles.
- Lint-Free Wipes: For cleaning the nail surface and wiping away the sticky inhibition layer.
- Alcohol or Gel Cleanser: To dehydrate the nail and remove the sticky layer after curing.
- Optional: Nail Art Brushes, Dotting Tools, Stencils: For creating more intricate designs.
Getting Started: The Prep Work is Key!
Just like any masterpiece, a great UV gel design starts with a solid foundation. Proper prep ensures your gel polish adheres well and lasts longer. Don’t skip these steps – they’re super important!
- Clean Nails: Start with clean, dry nails. Remove any old polish.
- Shape Your Nails: Use a nail file to get your desired shape. Gentle is best.
- Buff Gently: Lightly buff the surface of your natural nails. This removes shine and helps the gel grip. Avoid over-buffing!
- Push Back Cuticles: Gently push back your cuticles with a cuticle pusher.
- Cleanse and Dehydrate: Wipe each nail with a cleanser or alcohol on a lint-free wipe. This removes dust and natural oils.
- Apply Base Coat: Apply a thin, even layer of base coat. Be careful not to flood your cuticles.
- Cure: Place your nails under the UV/LED lamp for the time recommended by the gel polish brand (usually 30-60 seconds for LED, longer for UV).
Genius & Essential UV Gel Nail Design Ideas for Beginners
Now for the fun part! These designs are perfect for beginners because they are straightforward to execute but deliver maximum impact. They’re versatile enough to wear for any occasion and will boost your confidence in your nail art skills!
1. The Classic French Manicure with a Twist
The French manicure is timeless, but let’s give it a modern upgrade! Instead of just white tips, try colored tips or a clear base with a sparkly tip. It’s sophisticated and surprisingly easy.
How-To:
- Apply your base coat and cure.
- Paint your nails with a sheer nude or pink gel polish and cure.
- Using a fine nail art brush or a steady hand, carefully paint a line across the tip of your nail in your chosen accent color (e.g., a soft pastel, a metallic shimmer, or even a deep jewel tone).
- Cure your accent color.
- Apply your top coat and cure.
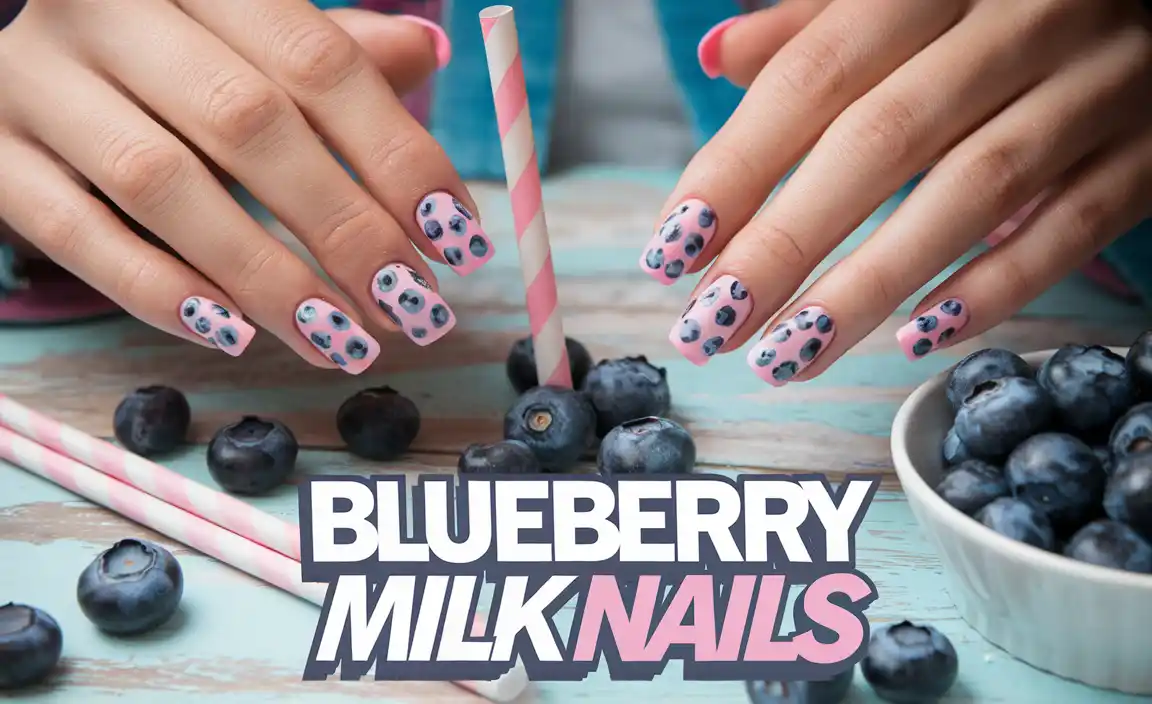
2. Minimalist Dotting Details
Dots are incredibly chic and easy to create. They add a subtle, artistic flair without being overwhelming. You can use a dotting tool or even the tip of a toothpick.
How-To:
- Apply base coat, color coat (e.g., a solid pastel or nude), and cure each layer as usual.
- Using a dotting tool dipped in a contrasting gel polish color (like black, white, or gold), create small dots along the base of the nail, in a line across the tip, or scattered randomly.
- Cure the dots.
- Apply top coat and cure.
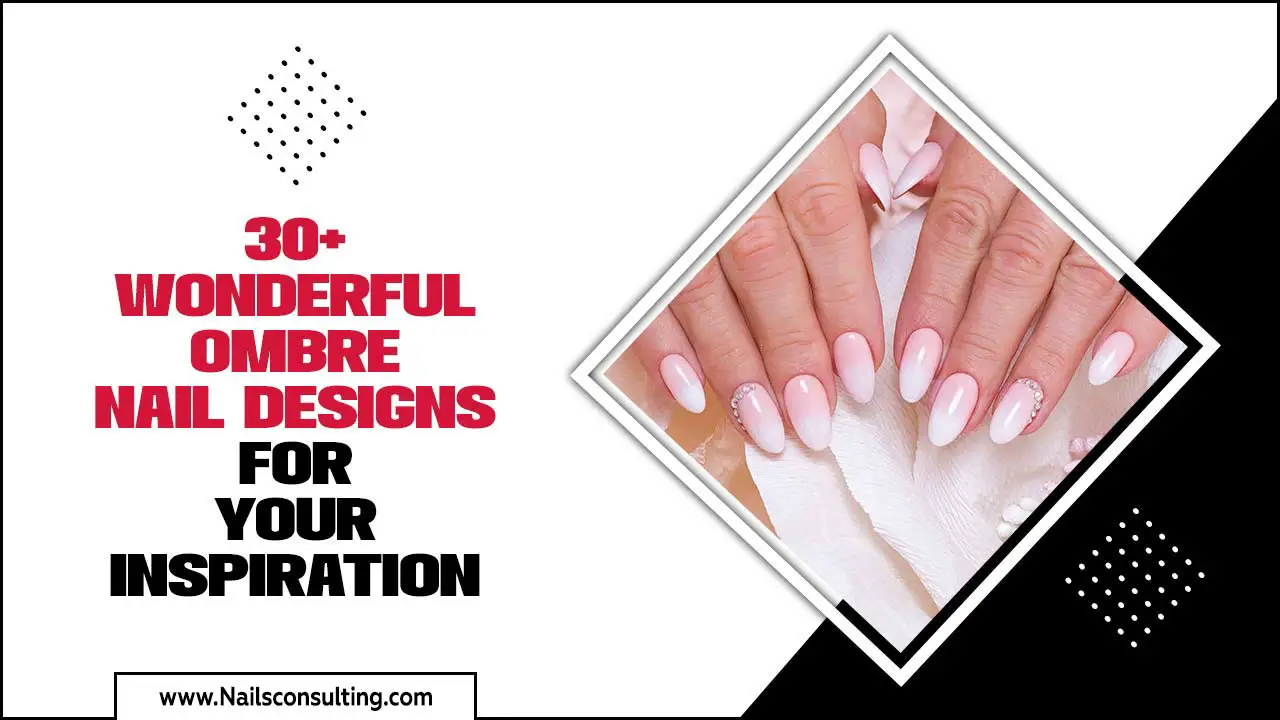
3. The Chic Ombre Effect
Ombre nails might look complicated, but they’re achievable with a little practice, especially using a sponge. This creates a beautiful gradient effect that’s very on-trend.
How-To:
- Apply base coat and cure.
- Apply one coat of your lighter gel color and cure.
- Apply a gradient of 2-3 colors onto a makeup sponge. For a beginner-friendly ombre, try two colors that blend well.
- Gently dab the sponge onto the nail, layering the colors. Repeat until you achieve your desired blend.
- Clean up any excess polish around your cuticles.
- Apply top coat and cure.
Expert Tip: For a smoother ombre, use a top coat that has a matte finish for a more subdued look!
4. Glitter Gradient Accent Nail
This is a fantastic way to add sparkle without going overboard. It’s simple, eye-catching, and perfect for adding a touch of glamour.
How-To:
- Apply base coat and cure.
- Apply 1-2 coats of your chosen base color and cure.
- On your accent nail (e.g., ring finger), take a glitter gel polish. Start applying it thickly at the tip of the nail, gradually feathering it down towards the cuticle, making it sheerer as you go.
- You can gently blend the edge of the glitter with a fine brush if needed.
- Cure the glitter layer.
- Apply top coat and cure.
5. Simple Geometric Lines
Clean, sharp lines are super modern and surprisingly easy to create with the right tools, or even by using tape for guides.
How-To:
- Apply base coat, your main gel color, and cure.
- Using a thin striping brush or a piece of nail tape, create a geometric design. For example, position a piece of tape diagonally across the nail, apply a contrasting gel color over the exposed section, and cure. Carefully peel off the tape while the polish is still slightly warm (but not uncured).
- You can create intersecting lines, triangles, or other shapes.
- Cure each color layer as you go.
- Apply top coat and cure.
6. Negative Space Designs
Negative space is a trendy technique where parts of the natural nail are left bare, creating a stylish, minimalist look. It’s also forgiving for beginners as you don’t need to cover the entire nail perfectly.
How-To:
- Apply base coat and cure.
- Apply your main gel color and strategically leave gaps or sections of the nail bare. You can use nail tape to create clean borders for these bare sections before applying polish.
- Alternatively, apply a clear gel or a very sheer color first, then add opaque color blocks or lines on top, leaving intentional spaces.
- Cure each layer.
- Finish with top coat and cure.
Pro Tips for Flawless Gel Nails
Want your gel designs to look even more professional? Here are some tried-and-true tips:
- Thin Layers are Key: Apply gel polish in thin, even coats. Thick coats are more prone to wrinkling, chipping, and improper curing.
- Cap Your Polish: Always “cap” the free edge of your nail by running your brush along the tip after applying color and top coat. This seals the edge and prevents lifting.
- Avoid the Skin: Try not to get gel polish on your cuticles or skin. It can cause lifting and allergic reactions. If you do, clean it up immediately with a wooden stick before curing.
- Proper Curing Time: Always follow the recommended curing time for your lamp and gel polish brand. Under-curing is a common cause of lifting and peeling.
- Clean Those Brushes: If you use special art brushes, clean them thoroughly with alcohol after each use to keep them in good condition.
- Storage Matters: Store your gel polishes away from direct sunlight or UV light to prevent them from curing prematurely.
Understanding Gel Polish Layers: A Quick Guide
Navigating the layers of gel polish might seem confusing at first, but they all serve a specific purpose. Think of it like building blocks for your perfect manicure.
| Layer Type | Purpose | Application Technique | Curing Needs |
|---|---|---|---|
| Base Coat | Adhesion, protection of natural nail, prevents staining. | Thin, even layer; cap the free edge. | Yes, typically 30-60 seconds (LED) or 2 minutes (UV). |
| Color Coat(s) | Provides the color and opacity of your design. | Thin, even layers; cap the free edge. Usually 2 coats are needed for full coverage. | Yes, after each coat. |
| Art/Design Layer | Creates the visual elements of your design (lines, dots, glitter, etc.). | Varies based on design; focus on precision. | Yes, after applying the design elements. |
| Top Coat | Seals the design, provides shine, and protects against chipping. | Thin, even layer; cap the free edge. | Yes, typically 30-60 seconds (LED) or 2 minutes (UV). |
| Cleanser/Wipe Off | Removes the sticky “inhibition layer” left after top coat curing (for non-wipe top coats, this step is skipped). | Wipe gently with alcohol or gel cleanser on a lint-free wipe. | N/A (this is the final step). |
Troubleshooting Common Gel Nail Issues
Even with careful application, you might encounter a small hiccup. Don’t worry, these are common and usually easy to fix!
Issue: Gel Polish is Peeling or Lifting
Likely Causes: Insufficient nail prep (oils left on the nail), base coat not fully adhered, gel touching cuticles/skin, under-curing, or improper capping of the free edge.
Solution: Ensure nails are thoroughly cleansed and dehydrated. Make sure the base coat is applied thinly and cured properly. Avoid flooding cuticles. Always cap the free edge with every layer, including the top coat. Check your lamp’s efficiency; older bulbs can weaken.
Issue: Gel Polish is Wrinkling or Bubbling
Likely Causes: Gel applied too thickly, under-curing, or placing nails too far from the lamp bulb.
Solution: Apply polish in thin, even coats. Ensure you are curing for the full recommended time. For LED lamps, make sure your fingers are positioned close to the bulbs. If using a UV lamp, ensure it’s functioning optimally – many professionals recommend replacing bulbs every 6-12 months depending on usage. For more information on nail health and safety, the Centers for Disease Control and Prevention (CDC) offers great resources on hygiene practices that are also relevant to nail care.
Issue: Polish is Dull After Top Coat
Likely Causes: Incomplete curing of the top coat, or oils/residue left on the nail surface.
Solution: Ensure the top coat is fully cured according to the product instructions. If you’re not using a “no-wipe” top coat, make sure you thoroughly clean off the sticky inhibition layer with alcohol or gel cleanser and a lint-free wipe. Some top coats are simply not as high-gloss as others.
Beyond the Basics: Maintaining Your Gel Nails
Once you’ve created your stunning gel design, you want it to last! Proper care ensures your manicure stays gorgeous for weeks.
- Be Gentle: Avoid using your nails as tools (e.g., prying open things, scraping).
- Moisturize: Apply cuticle oil regularly to keep your cuticles and surrounding skin hydrated. This also helps prevent lifting.
- Wear Gloves: When doing chores involving water or harsh chemicals (like washing dishes or cleaning), wear rubber gloves.
- Avoid Harsh Chemicals: Prolonged exposure to certain chemicals can dull the shine or even weaken the gel.
Frequently Asked Questions About UV Gel Nail Designs
What is the difference between UV and LED lamps for gel nails?
LED lamps cure gel polish much faster (often in 30-60 seconds) and use less energy than traditional UV lamps, which can take 2-3 minutes. LED lamps are also generally safer and don’t emit harmful UV radiation.
Can I use regular nail polish remover to remove gel polish?
No, you should not. Regular nail polish remover won’t effectively remove gel polish. You’ll need an acetone-based remover specifically designed for gel or a gentle soak-off method to safely remove gel polish without damaging your natural nails.
How long do UV gel nails typically last?
When applied correctly and cared for properly, UV gel nails can last anywhere from 2 to 3 weeks without chipping or losing their shine.
Do I need a special base coat and top coat for gel nails?
Yes, you do. Base coats and top coats designed for UV gel systems are formulated to cure under a lamp. Regular polish base and top coats will not harden correctly under a UV/LED lamp and will likely peel off.
Can I do nail art with UV gel polish?
Absolutely! UV gel polish is excellent for nail art because it stays tacky until cured, allowing you to create intricate designs, place embellishments, and build up textures before hardening. Gel art paints and liners are also available for more detailed work.
Is it safe to cure my nails under a UV/LED lamp?
Modern LED lamps are considered very safe for home use. While traditional UV lamps emit UV radiation, the exposure time is very short. For added protection, you can apply sunscreen or wear UV-protective gloves before applying gel polish, especially if you have concerns or are using a traditional UV lamp.
Conclusion
There you have it – your beginner-friendly guide to genius and essential UV gel nail design ideas! We’ve covered the must-have tools, essential prep steps, and shared some simple yet stunning design techniques that are perfect for kicking off your gel nail journey. Remember, practice makes perfect, and the most important thing is to have fun and express yourself. Don’t be afraid to experiment with colors, try out different ideas, and make them your own. With these foundational skills and a little creativity, you’re well on your way to achieving beautiful, long-lasting gel manicures that will

