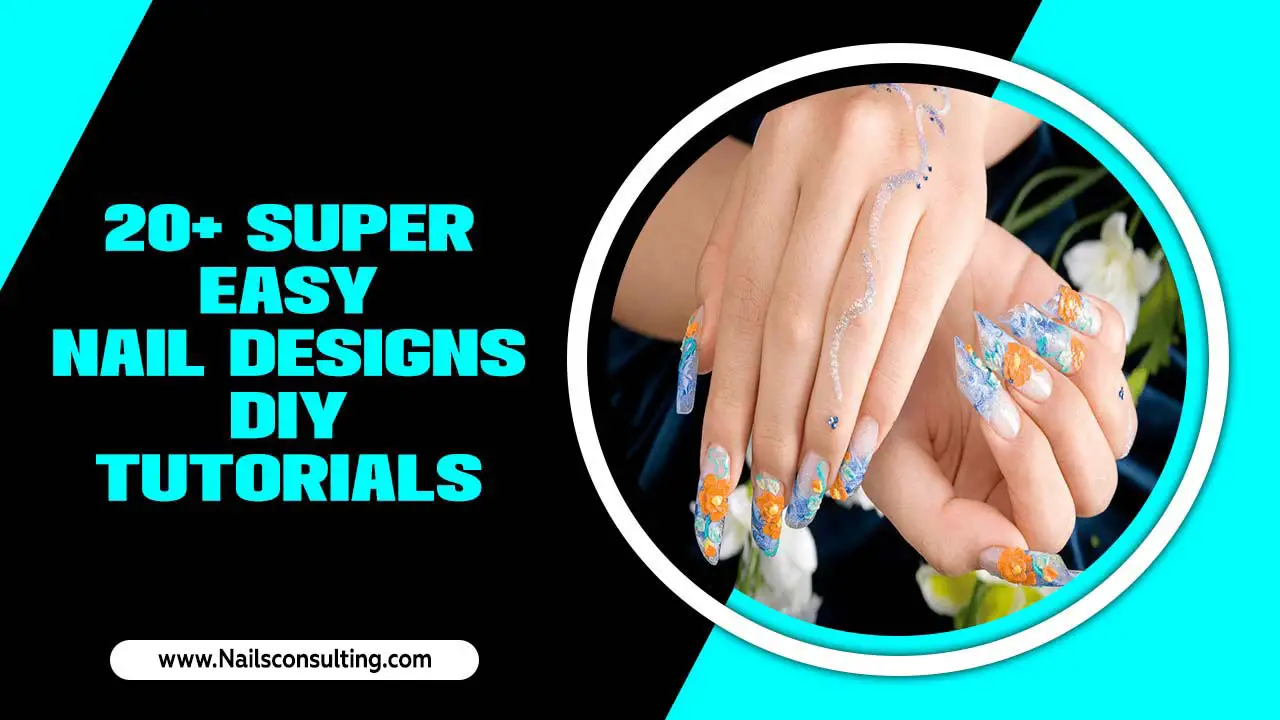
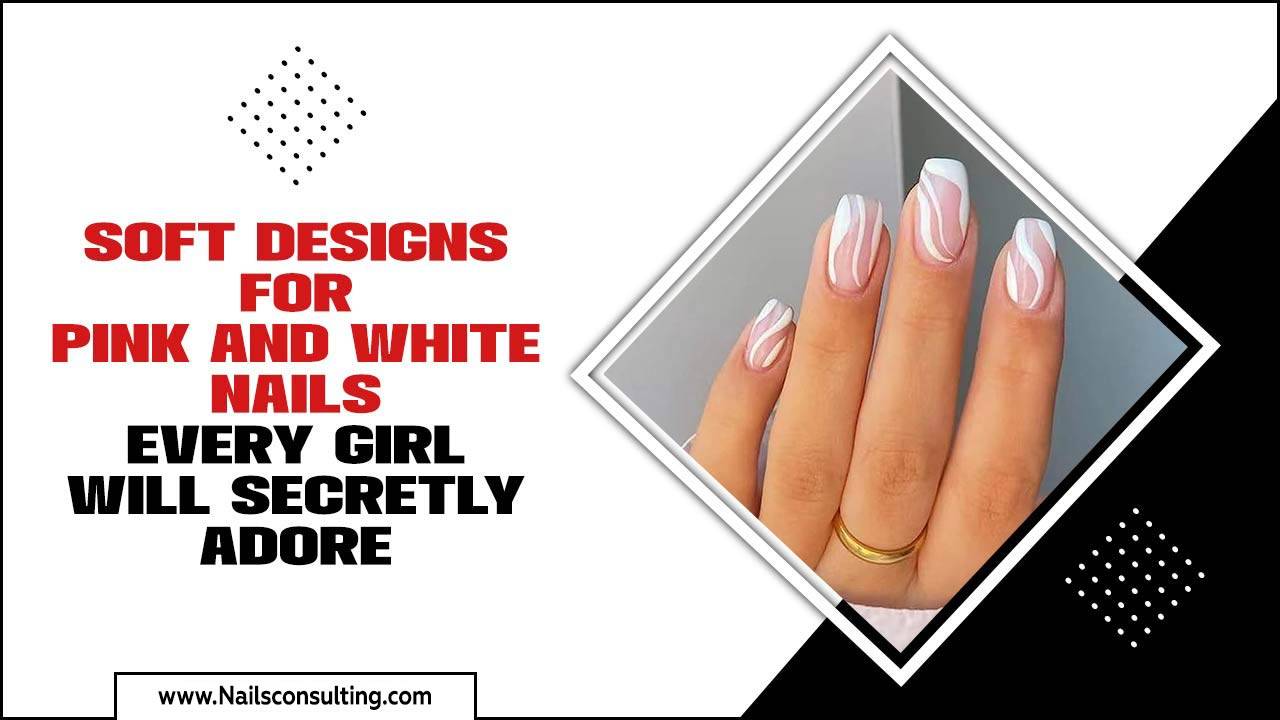
UV gel nail design ideas offer a fantastic way to achieve beautiful, long-lasting manicures at home. From simple elegance to eye-catching artistry, these essential styles are perfect for beginners and experienced nail lovers alike. Discover easy techniques and trendy looks to express your unique style with durable, chip-free gel polish.
Hello, nail enthusiasts! Are you ready to dive into the dazzling world of UV gel nails? Getting salon-quality results at home might seem tricky, but it’s more achievable than you think. Many of us dream of flawless, long-lasting nails, but struggle with chipped polish or designs that are too complicated. Don’t worry, we’ve all been there! Today, Nailerguy is here to guide you through some essential UV gel nail design ideas that are perfect for beginners. We’ll explore simple yet stunning styles that will boost your confidence and let your personality shine through. Get ready to unlock your inner nail artist!
Why Choose UV Gel Nail Designs?
UV gel nails have become incredibly popular for a good reason! They offer a beautiful, durable finish that traditional nail polish just can’t match. Here’s why they’re a fantastic choice for your next manicure:
- Long-Lasting Wear: Gel polish is known for its incredible durability. With proper application, it can last for two to three weeks without chipping, peeling, or fading. This means less time touching up and more time enjoying gorgeous nails!
- High Shine Finish: Gel manicures boast a brilliant, glossy shine that stays intact throughout their wear.
- Quick Curing Time: Unlike regular polish that needs to air dry, gel polish cures under a UV or LED lamp. This process takes just a minute or two, meaning your nails are instantly dry and ready to go. No more smudging!
- Strength and Protection: The gel formula adds a layer of strength to your natural nails, helping to prevent breakage and allowing your nails to grow longer.
- Endless Design Possibilities: UV gel formulas are perfect for creating intricate designs, adding embellishments, and achieving smooth, professional-looking finishes.
Essential Tools for UV Gel Nail Designs
Before we jump into the fun designs, let’s get you set up with the essentials. Having the right tools makes all the difference in creating beautiful, professional-looking gel nails at home.
| Tool | What it’s For | Beginner Tip |
|---|---|---|
| UV/LED Lamp | Cures (dries and hardens) the gel polish. LED lamps are faster and more energy-efficient. | Look for a lamp with a timer setting to avoid over-curing or under-curing. A 60-second setting is standard. |
| Gel Base Coat | Prepares the nail for color, prevents staining, and helps the gel adhere. | Apply a thin, even coat. Too thick can cause lifting. |
| Gel Color Polish | The fun part! Available in countless shades and finishes. | Start with a few versatile colors like classic red, nude, or a pretty pink. |
| Gel Top Coat | Seals the color, provides shine, and protects against chipping. Some are “no-wipe,” others require wiping off a sticky layer. | Ensure you cap the free edge of your nail to prevent lifting. |
| Nail Prep Solution/Dehydrator | Removes natural oils and moisture from the nail plate for better adhesion. | This is a crucial step for longevity! Don’t skip it. |
| Alcohol Wipes (90% Isopropyl Alcohol or higher) | Used to wipe away the sticky inhibition layer after curing the top coat (if it’s not a no-wipe top coat) or for cleaning brushes. | Have plenty on hand! You’ll need them for various steps. |
| Nail File & Buffer | To shape nails and gently buff the surface for better adhesion (if needed). | Use a fine-grit file (180-240 grit) for natural nails. |
| Cuticle Pusher & Nippers | To gently push back and tidy cuticles before application. | Be very gentle with cuticles; they protect your nail matrix. |
For more in-depth information on nail preparation and essential tools, you can refer to resources like those provided by the U.S. Food & Drug Administration (FDA) on cosmetics, which often touch upon product safety and ingredients that are relevant to at-home beauty practices.
Beginner-Friendly UV Gel Nail Design Ideas
Let’s get to the fun part! These designs are stunning, achievable, and perfect for dipping your toes into the world of gel nail art.
1. The Classic Solid Color Manicure
This is the foundation of any gel manicure. A perfect, flawless solid color is chic, timeless, and incredibly satisfying to wear.
Why it’s great for beginners:
- Requires minimal artistic skill.
- Focuses on perfecting application techniques.
- Looks polished and professional.
How to achieve it:
- Prep your nails: Clean, file, and gently push back your cuticles. Apply nail prep solution and let it dry.
- Apply base coat: Apply a thin layer of gel base coat and cure under your lamp according to the manufacturer’s instructions (usually 30-60 seconds).
- Apply color: Apply your chosen gel color in thin, even coats. Cure each coat individually. Most colors will require two coats for full opacity. Avoid flooding your cuticles.
- Apply top coat: Apply a thin layer of gel top coat, making sure to cap the free edge of your nail. Cure according to instructions.
- Clean up: If you used a regular top coat, wipe off the sticky inhibition layer with an alcohol-soaked wipe.
2. The Effortless French Manicure
The French manicure is a classic for a reason – it’s elegant and sophisticated. You can achieve a beautiful French tip even without a steady hand using a few tricks.
Why it’s great for beginners:
- Sophisticated look with minimal effort.
- Can be done with dotting tools or even sticker guides.
- Versatile for any occasion.
How to achieve it (using a nude or pale pink base and white tip):
- Apply base and color: Follow steps 1-3 from the “Classic Solid Color Manicure,” using your chosen nude or pale pink as the base. Cure each layer.
- Create the smile line:
- Option A (Dotting Tool/Thin Brush): Dip a fine-tipped brush or a dotting tool into white gel polish. Gently draw a thin line along the free edge of your nail, arching slightly. Connect the ends to create the tip. Cure.
- Option B (French Tip Guides): Place adhesive French tip guides along the edge of your nail, just below where you want the white tip to start. Brush white gel polish over the exposed tip. Carefully remove the guide before curing. Cure.
- Option C (Stamping Plate): Use a specialized French tip stamping plate and a stamper to transfer the white tip.
- Apply top coat: Once the white tips are cured, apply a thin layer of gel top coat, capping the free edge. Cure.
- Clean up: Wipe off tackiness if needed.
3. The Simple Ombre Effect
Ombre (or gradient) nails look chic and complex, but they’re surprisingly easy to create with gel polish.
Why it’s great for beginners:
- Looks artistic and detailed.
- Mistakes are often easily blendable.
- Can be done with two or more colors.
How to achieve it (using a sponge method):
- Apply base and color: Prep and apply your base coat, cure. Apply one coat of your lighter gel color and cure.
- Prepare the sponge: Cut a makeup sponge into smaller pieces. You can also use a specialized nail sponge.
- Apply colors to sponge: Paint stripes of your gel colors onto the sponge right next to each other. For a classic look, use a lighter shade and a contrasting or darker shade. Work quickly!
- Sponge onto nail: Gently dab the sponge onto your nail, pressing down to transfer the color. You may need to reapply color to the sponge and dab again to build up the gradient effect.
- Cure: Cure your nail under the lamp.
- Clean up edges: Use a brush dipped in alcohol or cleanser to carefully clean up any polish that got on your skin around the nail.
- Apply top coat: Apply a thin layer of gel top coat and cure.
- Optional: If the gradient isn’t smooth enough, you can apply another thin layer of a slightly blended color over the top and cure again.
4. The Dotted Delight
Adding simple dots is a fun and easy way to elevate a solid color base. It’s playful and can be customized in so many ways!
Why it’s great for beginners:
- Requires minimal artistic skill, just steady hands.
- Very forgiving – imperfect dots can look intentional.
- Easy to match with outfits or moods.
How to achieve it:
- Apply base and color: Prep and apply your base coat, cure. Apply 1-2 coats of your base gel color and cure each.
- Create dots: Dip a dotting tool (or the tip of a toothpick/pen) into a contrasting gel polish color. Gently place dots onto your nail. You can create rows, random patterns, or even simple shapes like hearts.
- Cure: Once you’re happy with the placement of your dots, cure your nails under the lamp.
- Apply top coat: Apply gel top coat and cure.
- Clean up: Wipe off tackiness.
5. The Glitter Glam
Glitter is always a good idea! Whether it’s a full glitter nail or just an accent, it adds instant sparkle and glamour.
Why it’s great for beginners:
- Glitter hides minor imperfections.
- Very little skill required for a full glitter nail.
- Instantly elevates any look.
How to achieve it:
- Option A (Full Glitter Nail):
- Prep and apply base coat, cure.
- Apply your gel color. For a sheer glitter, one coat might be enough. For opaque glitter, you’ll need 2-3 coats, curing each.
- Apply gel top coat and cure.
- Option B (Glitter Accent Nail):
- Prep and apply chosen base color on all nails, cure each layer.
- On your accent nail(s), apply a thin layer of top coat (or a clear gel polish).
- Dip a brush into loose glitter or use a glitter gel polish and gently press or dab it onto the wet top coat until you achieve desired coverage.
- Cure the nail with glitter.
- Apply another layer of top coat over the glitter to seal it. This might require 2 coats to ensure all glitter is encapsulated and smooth. Cure the top coat.
6. The Simple Geometric Accent
Adding a simple line or geometric shape can make a big impact. This is perfect for using your fine detail brush.
Why it’s great for beginners:
- Small details are less intimidating.
- Can be as simple or complex as you like.
- Modern and trendy.
How to achieve it:
- Apply base and color: Prep and apply your base coat, cure. Apply 1-2 coats of your base gel color and cure each. Ensure the surface is smooth and fully cured.
- Create the design: Dip a fine detail brush into a contrasting gel polish color.
- Paint a single thin line across one nail.
- Create a simple triangle or square.
- Draw a line from one side to the other along your smile line.
- Cure: Cure your nail under the lamp.
- Apply top coat: Apply gel top coat, ensuring it covers the design smoothly. Cure.
- Clean up: Wipe off tackiness.
Tips for Better Gel Nail Design Application
Mastering gel nails takes a little practice, but these tips will help you achieve salon-worthy results every time!
- Thin coats are key: This is probably the most important tip. Thick coats are more likely to wrinkle, peel, or lift. Apply multiple thin coats instead of one thick one.
- Shake, don’t stir: Gently shake your gel polish bottles before use to mix the pigment evenly. Stirring can introduce air bubbles.
- Avoid flooding cuticles: Make sure no gel polish touches your skin or cuticles. Gel polish can lift easily if it adheres to skin. Use an orangewood stick or a fine brush dipped in alcohol to clean up any errant polish before curing.
- Cap the free edge: Always paint a thin layer of color and top coat along the very tip (the free edge) of your nail. This seals the polish and is crucial for preventing chipping.
- Clean your brushes: If you’re using brushes for designs, clean them with isopropyl alcohol immediately after use and before curing the polish.
- Consistency is queen: Aim for even strokes and consistent application across all layers.
- Follow curing times precisely: Over-curing can make gel brittle, while under-curing can lead to lifting and premature peeling.
- Don’t forget the prep: A clean, dry, and oil-free nail plate is essential for longevity.
FAQ: Your Gel Nail Design Questions Answered
Q1: What’s the difference between UV and LED lamps for gel nails?
UV lamps use ultraviolet light to cure gel polish, while LED lamps use light-emitting diodes (LEDs). LED lamps are generally faster, more energy-efficient, and don’t emit heat, making

