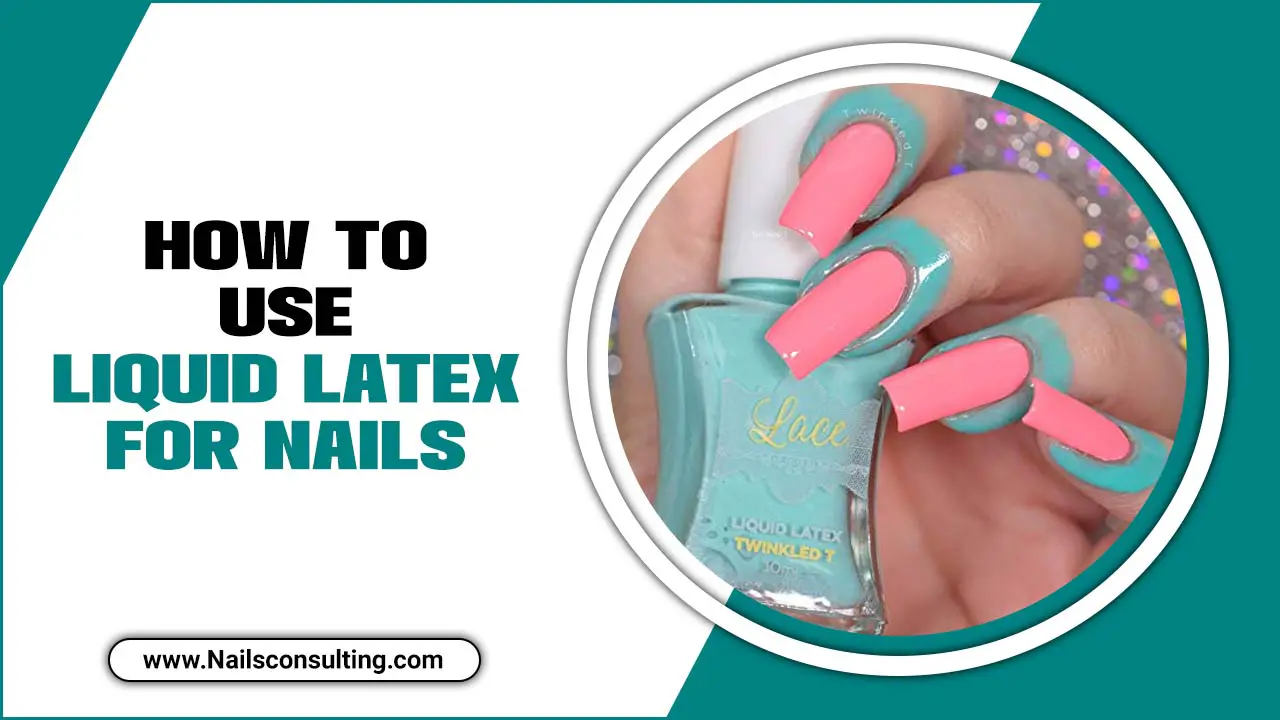
Liquid latex has become a popular alternative to traditional nail polish for creating unique and intricate nail designs. This versatile product is not only easy to use but also offers long-lasting and durable results.
However, for those who are new to using liquid latex for nails, it can be overwhelming to know where to start. That’s why we have put together this comprehensive guide on how to use liquid latex for nails, from preparing your nails to applying the product and creating stunning designs.
Here, we will cover everything you need to know to achieve flawless and professional-looking nails. Whether you’re a nail art enthusiast or a professional manicurist, mastering the use of liquid latex will take your nail game to the next level.
How To Use Liquid Latex For Nails – 7 Easy Steps
Liquid latex for nails is a versatile and innovative product that has gained popularity in the beauty industry. Designed to simplify and enhance the process of creating stunning nail designs, liquid latex offers a range of benefits for both professional nail technicians and DIY enthusiasts.
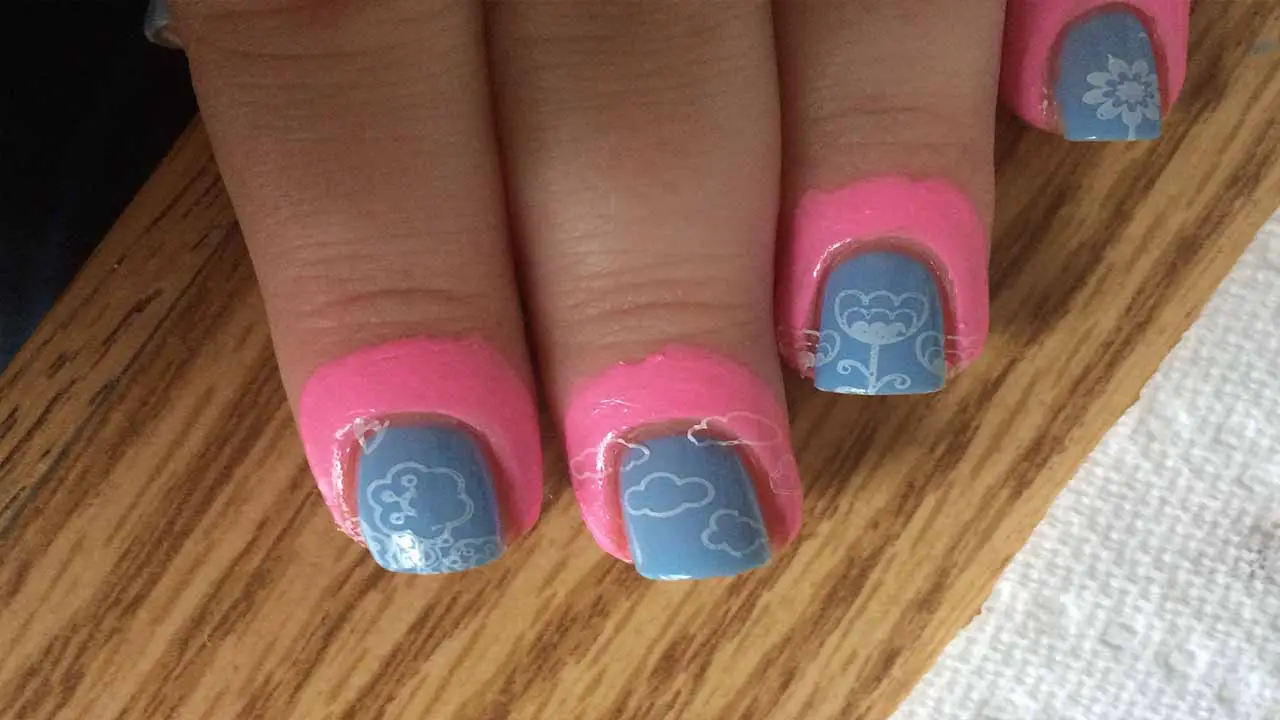
One of the key advantages of using liquid latex for nails is its ability to act as a protective barrier. By applying a thin layer of liquid latex around the nail bed creates a shield that prevents nail polish and other nail art materials from staining the skin. This not only saves time and effort in clean-up, but also ensures a neat and professional finish to any manicure or pedicure.
Liquid latex also facilitates the creation of intricate nail designs. With its peel-off formula, it allows for easy removal of excess polish, glitters, or other nail art elements, thereby facilitating precise and clean lines. Whether it’s creating geometric patterns, ombre effects, or intricate designs, liquid latex offers the precision and control. How to use liquid latex for nails:
1. Prep Your Nails
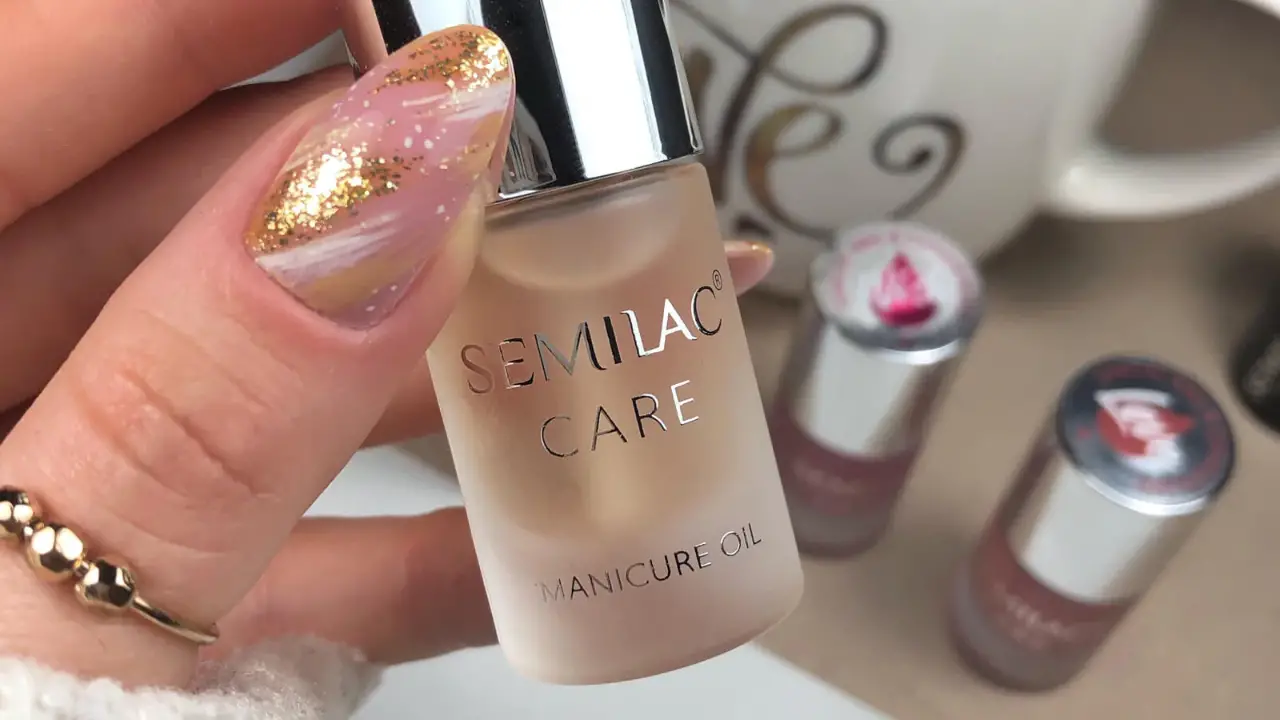
Start by cleaning your nails thoroughly and shaping them to your desired length and shape. Remove any old nail polish or residue.
Apply a layer of clear base coat to protect your nails and provide a smooth surface for the liquid latex to adhere to. Allow the base coat to dry completely before moving on to the next step.
Once your base coat is dry, it’s time to apply the liquid latex around your nails. Using a small brush or an applicator, carefully apply the latex around the edges of your nails, creating a barrier between your skin and the nail polish. Be sure to cover any areas where you don’t want the nail polish to touch.
Allow the liquid latex to dry completely before applying your desired nail polish color. This will ensure that the latex creates a tight seal, preventing any polish from seeping onto your skin.
Now it’s time to apply your nail polish. Apply the polish in thin, even coats, allowing each coat to dry before applying the next one. If any polish gets on the liquid latex barrier, simply use a toothpick or a small brush to gently remove it.
2. Apply A Base Coat
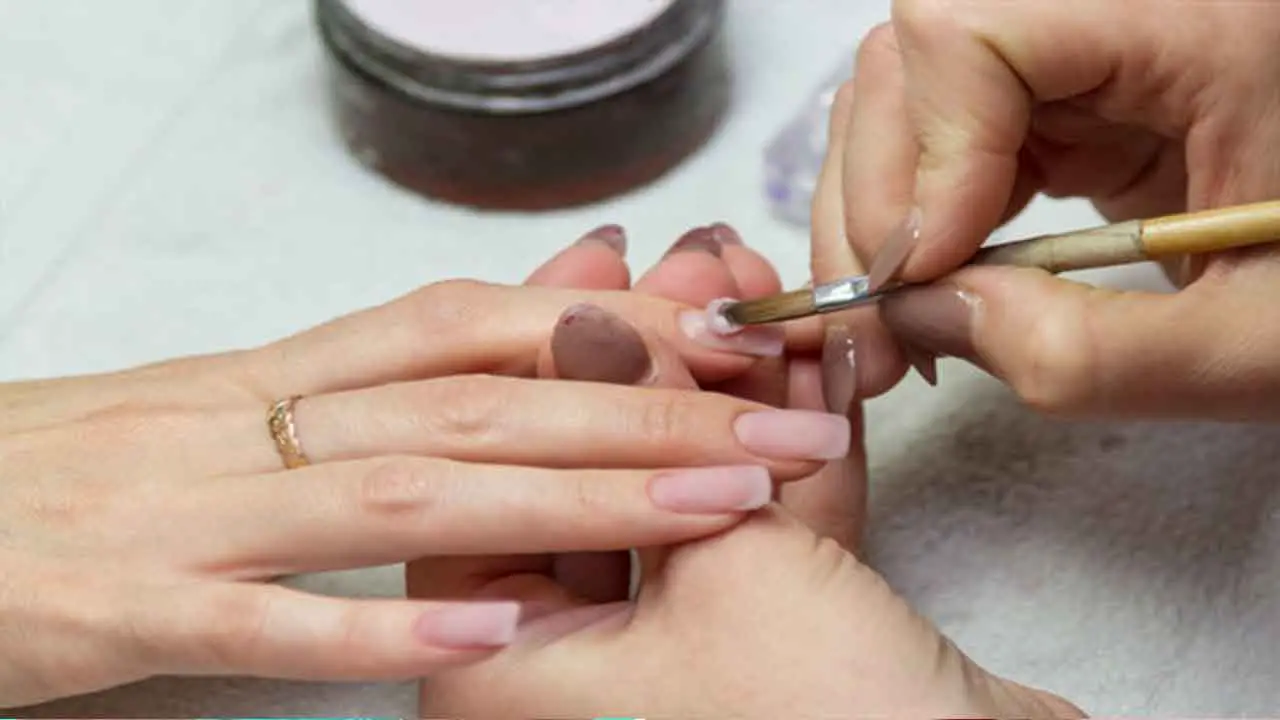
Apply a thin layer of base coat to protect your natural nails from staining and to create a smooth surface for the liquid latex application. shake the bottle of liquid latex well to ensure that the formula is properly mixed. Then, using the included brush or a small nail art brush, carefully apply a thin layer of the liquid latex around the edges of your nails.
This will act as a barrier, preventing any excess nail polish from getting onto your skin. Be sure to cover the entire area around your nails, paying special attention to the cuticles and sidewalls. Allow the liquid latex to dry for a few minutes until it forms a clear, rubbery layer. This will indicate that it is ready for the next step.
3. Shake The Liquid Latex
Shake the bottle of liquid latex well to ensure that the formula is well-mixed. Apply a thin layer of liquid latex around your nails, making sure to cover the skin surrounding the nail bed. This will act as a protective barrier, preventing any excess polish from getting on your skin.
Use a small brush or the applicator provided in the bottle to carefully apply the liquid latex. Be sure to avoid getting it on the actual nail surface, as it can affect the polish application. Allow the liquid latex to dry completely before proceeding to the next step. It should become clear and slightly tacky to the touch when fully dry.
4. Apply The Liquid Latex
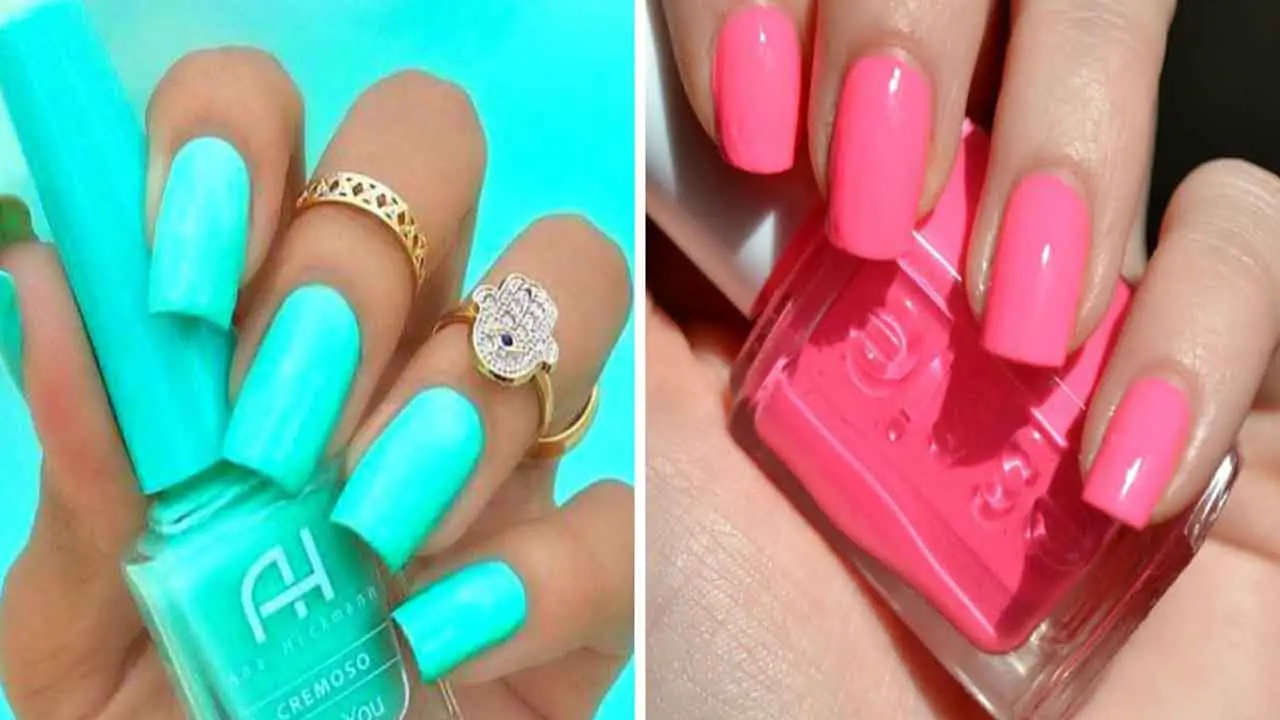
Using the brush applicator or a small nail art brush, apply a thin layer of liquid latex around your nails, leaving a small margin of skin around the nail bed uncovered. This will act as a barrier to catch any excess nail polish or nail art that may go outside the lines.
Once you have applied the liquid latex, allow it to dry completely before proceeding with your nail art. This usually takes a few minutes, but you can speed up the process by using a fan or a blow dryer on the lowest setting. Once the liquid latex is dry, you can proceed with your desired nail design.
Apply your base coat, nail polish, or any other nail art you want, being careful not to go over the liquid latex barrier. If any polish or nail art does get on the liquid latex, you can easily peel it off once your nails are dry. This saves you the hassle of trying to clean up any mistakes or smudges with a cotton swab and nail polish remover. Once your nails are dry and your design is complete, simply peel off the liquid latex barrier to reveal clean and perfectly manicured nails.
Remember to moisturize your cuticles and nails after removing the liquid latex to keep them healthy and hydrated. With a little practice, using liquid latex for your nails can help you achieve salon-quality results right at home.
5. Let It Dry
Allow the liquid latex to dry completely before proceeding with your nail polish application. This usually takes a few minutes, but it may vary depending on the brand and formula of the liquid latex. Once the liquid latex is dry, you can start applying your desired nail polish. The liquid latex acts as a protective barrier, preventing the polish from getting on the skin surrounding your nails. Make sure to apply your nail polish carefully, staying within the boundaries of the liquid latex.
If any polish does happen to get on the latex, simply wipe it away with a cotton swab or an orange stick. This will ensure a clean and professional-looking manicure. Once your polish is dry, carefully peel off the liquid latex by starting at one corner and gently pulling it away from your nails.
This will reveal clean, polished nails with no mess or smudges. Remember to moisturize your nails and cuticles afterwards to keep them healthy and nourished. With these simple steps, using liquid latex for your nail art can help you achieve flawless and precise manicures every time.
6. Apply Your Nail Polish Or Nail Art
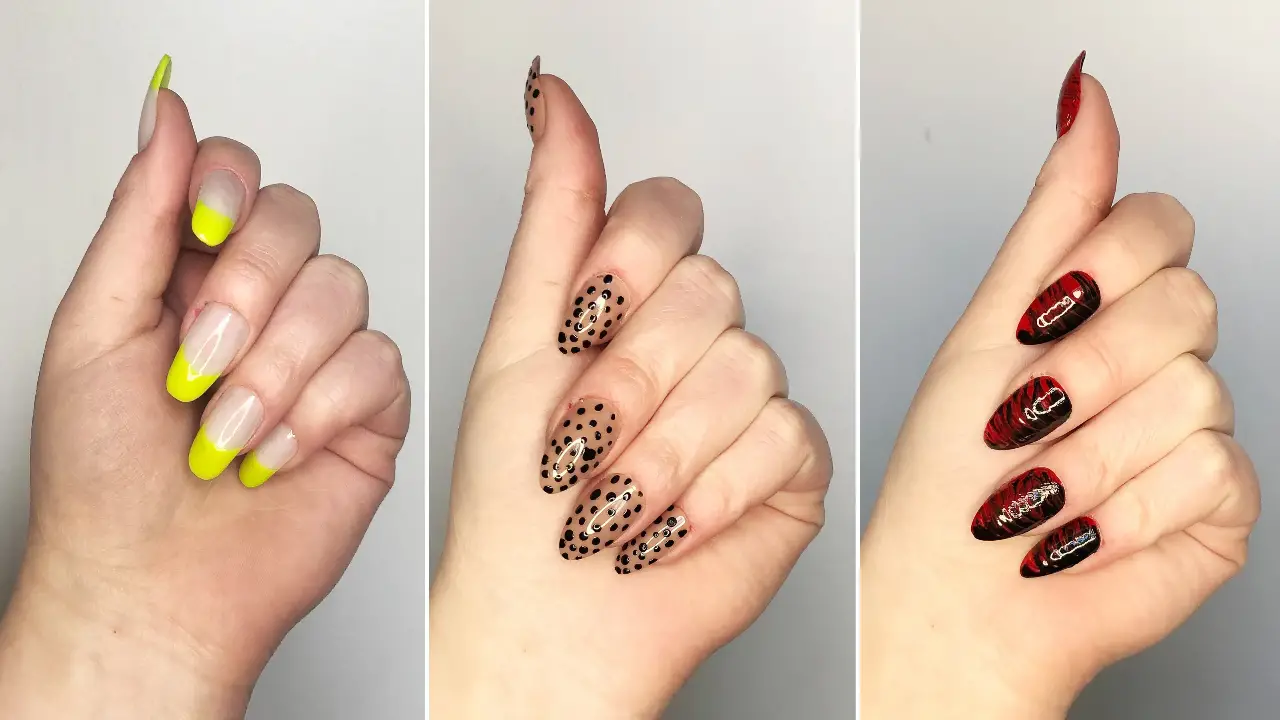
Once the liquid latex is completely dry, you can proceed with applying your desired nail polish color or nail art. You can be more creative and experimental with your designs knowing that any mistakes or excess polish can be easily peeled off. To begin, start by applying a base coat to your nails and let it dry completely. This will help protect your natural nails and provide a smooth surface for the polish to adhere to.
Once the base coat is dry, shake the liquid latex bottle well to ensure that the formula is mixed thoroughly. Carefully apply a thin layer of liquid latex around your nail, making sure to cover the surrounding skin. This will act as a barrier, preventing the polish from getting on your skin and making cleanup a breeze. Allow the liquid latex to dry completely before moving on to the next step.
7. Peel Off The Liquid Latex
After you have finished applying your nail polish or nail art and it has dried, carefully peel off the liquid latex from around your nails. Start by gently lifting one edge of the latex with your fingers or a pair of tweezers.
Slowly peel the latex away from your skin, making sure not to pull too hard or too quickly to avoid causing any discomfort or damage to your nails. As you remove the liquid latex, you’ll notice that any excess nail polish or nail art that might have gotten on your skin will come off with it, leaving clean and precise edges around your nails.
Be cautious not to rush this step, as being too hasty can result in smudging or ruining your freshly painted nails. Take your time and carefully remove all the latex until your nails are completely free from any residue. Once you have successfully removed the liquid latex, you can admire your beautifully manicured nails and enjoy the clean and professional-looking finish that the liquid latex provides.
Creating Clean And Crisp Nail Designs With Liquid Latex
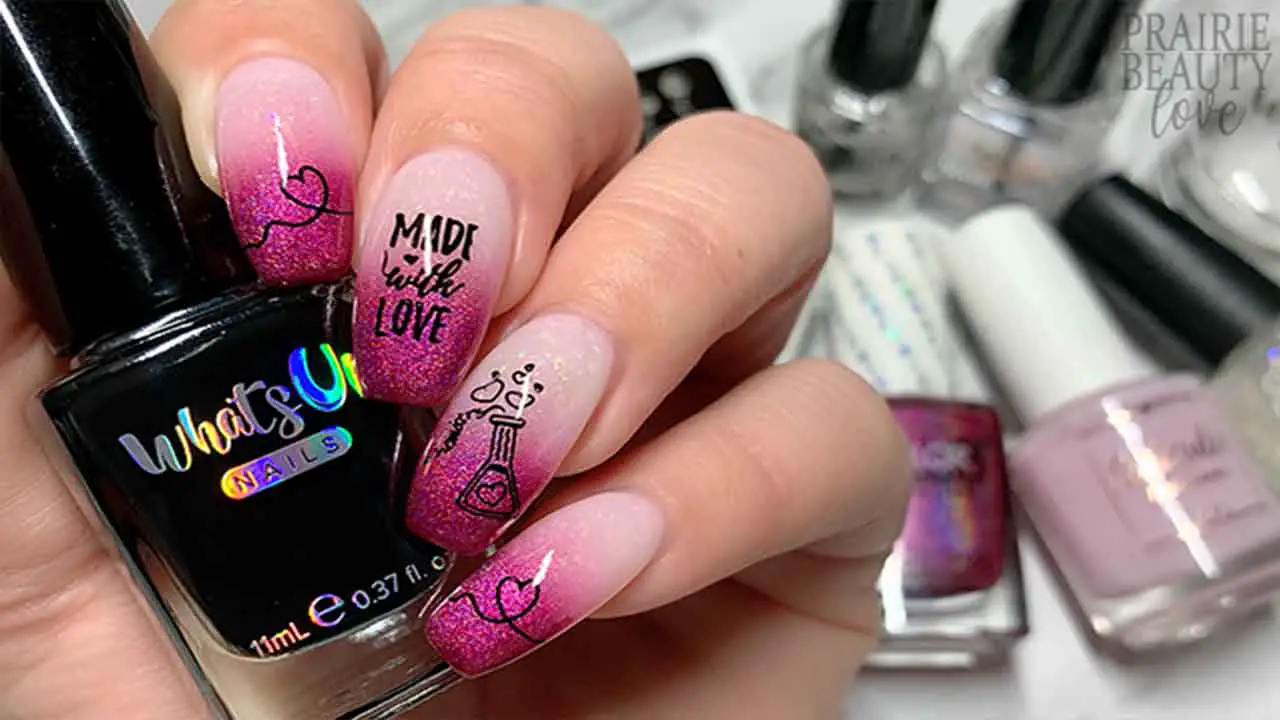
Creating clean and crisp nail designs with liquid latex is a popular technique in the world of nail art. Liquid latex is a peel-off barrier that helps prevent polish from getting on the skin surrounding the nails, resulting in a neat and professional-looking manicure. Here are some steps to achieve clean and crisp nail designs using liquid latex:
- Prepare Your Nails: Start by shaping and buffing your nails to your desired length and shape. Apply a base coat to protect your natural nails.
- Apply Liquid Latex: Using a brush or an applicator, carefully apply liquid latex around your nails, creating a barrier between the nail and the skin. Make sure to cover the entire area where you don’t want polish to go.
- Choose Your Design: Select the nail design you want to create. It could be a simple color block, a gradient, or even intricate nail art. The possibilities are endless.
- Apply Nail Polish: Once the liquid latex has dried completely, start applying your chosen nail polish over the entire nail. Don’t worry about getting polish on the liquid latex barrier.
- Clean Up: After applying the polish, use a clean-up brush or a pointed cotton swab dipped in nail polish remover to carefully remove any excess polish that may have gotten on the liquid latex.
- Peel Off The Liquid Latex: Once the nail polish has dried, gently peel off the liquid latex barrier. This will reveal clean and crisp nail designs with no messy edges or polish on the skin
Troubleshooting Common Issues With Liquid Latex Application
Liquid latex is a versatile and widely used material in various industries, including special effects makeup, body art, and crafting. However, like any other product, it is not without its challenges. In this paragraph, we will discuss troubleshooting common issues that may arise during the application of liquid latex. Troubleshooting Common Issues with Liquid Latex Application for Nails:
- Difficulty Peeling Off The Latex: If you find it challenging to remove the liquid latex from your nails, try applying a thicker layer next time. Thicker layers are easier to lift and peel off without leaving residue.
- Latex Getting Stuck In Cuticles: To prevent liquid latex from getting stuck in your cuticles, make sure to apply a barrier of oil or cuticle cream around your nails before applying the latex. This will create a barrier and make it easier to clean up any excess latex.
- Latex Not Drying Properly: If you notice that the liquid latex is taking too long to dry, ensure that you are applying thin layers. Thick layers take longer to dry and may remain tacky. Additionally, you can use a fan or a quick-dry top coat to speed up the drying process.
- Uneven Application: To achieve a smooth and even application of liquid latex, use a small brush or an angled brush to carefully apply the latex around your nails. Take your time and be precise to avoid any gaps or uneven coverage.
- Latex Peeling Off Polish: If you find that the liquid latex is pulling off your nail polish when you remove it, make sure to let your nail polish fully dry before applying the latex. Alternatively, you can use a peel-off base coat underneath your nail polish to create a barrier between the polish and the latex.
Removing Liquid Latex Safely And Effectively
For the safe and effective removal of liquid latex, it is important to follow proper procedures to ensure a smooth and hassle-free process. Liquid latex is commonly used in various applications such as special effects makeup, body painting, and even crafting. However, removing it can be a challenge if not done correctly. To remove liquid latex safely and effectively from your nails, follow these steps:
- Begin by preparing the necessary supplies: cotton balls or rounds, nail polish remover (preferably acetone-based), a small bowl or dish, and a cuticle pusher or orangewood stick.
- Pour a sufficient amount of nail polish remover into the bowl or dish. Make sure it is enough to soak your cotton ball or round it fully.
- Take a cotton ball or round and saturate it with the nail polish remover. Gently press it onto the nail covered with liquid latex. Hold it in place for a few seconds to allow the remover to penetrate and dissolve the latex.
- Using light pressure, start wiping away the liquid latex from the nail. It should come off easily as it softens with the nail polish remover.
- If there are any stubborn or hard-to-reach areas, use a cuticle pusher or orangewood stick to carefully scrape away the remaining latex. Be gentle to avoid damaging your nails.
- Repeat the process on all nails until all traces of liquid latex are removed.
- Once the liquid latex is completely removed, wash your hands with soap and warm water to remove any residue.
- Apply a nourishing cuticle oil or hand cream to moisturize your nails and cuticles after the removal process.
Maintenance And Care Tips For Long-Lasting Liquid Latex Nail Art

Liquid latex nail art has gained popularity in recent years due to its versatility and unique designs. Firstly, it is essential to apply a base coat before applying the liquid latex. This will create a protective barrier for your nails and prevent any staining or damage. Maintenance and Care Tips for Long-Lasting Liquid Latex Nail Art:
- Allow Sufficient Drying Time: After applying liquid latex to create nail art, make sure to allow it to fully dry before proceeding with the next step. This will help prevent smudging or smearing.
- Avoid Excessive Water Exposure: While liquid latex is water-resistant, prolonged exposure to water can cause it to peel or lift. To maintain the longevity of your liquid latex nail art, try to minimize contact with water as much as possible.
- Be Gentle with Your Nails: Avoid using your nails as tools or subjecting them to excessive pressure. This can cause the liquid latex to chip or peel off prematurely. Treat your nails with care to ensure the longevity of your nail art.
- Use a Top Coat: Applying a top coat over your liquid latex nail art can help seal and protect the design, making it last longer. Opt for a high-quality top coat that is compatible with liquid latex to ensure optimal results.
- Remove Carefully: When it’s time to remove your liquid latex nail art, gently peel it off starting from the edge. Avoid pulling or tugging forcefully, as this can damage your natural nails. If you encounter any resistance, use a non-acetone nail polish remover to help dissolve the liquid latex.
- Store Properly: Proper storage of your liquid latex is important for maintaining its quality. Ensure the container is tightly closed and stored in a cool
Conclusion
Liquid latex is a versatile and useful tool for nail art and design. Not only does it protect your skin from getting messy and stained during the nail painting process. But it also allows for clean and precise application.
To use liquid latex for nails, start by applying a thin layer around your cuticles and the skin surrounding your nail bed. This will create a barrier that will prevent any nail polish from seeping onto your skin. By following the proper application and removal techniques, you can achieve flawless and long-lasting designs without any mess or hassle.
As with any new product, it may take some practice to perfect your skills. But with patience and determination, you can create stunning and unique looks with liquid latex. So go ahead and give it a try, and see the difference it makes in your nail game. We hope you understand how to use liquid latex for nails.
FAQ
1.What Does It Mean For A Nail Polish To Be “Breathable”?
Ans: When a nail polish is described as “breathable,” it means that the formula allows air and moisture to pass through the polish and reach the nail bed. This is believed to promote healthier nails by preventing moisture build-up that can lead to brittleness, peeling, and discoloration.
Breathable nail polishes often claim to be more gentle on the nails and to allow them to “breathe,” which is typically associated with better nail health.
2.How Do You Apply Liquid Latex To Nails?
Ans: To apply liquid latex to nails, start by cleaning and prepping your nails. Then, apply a thin layer of liquid latex around the edges of your nails, being careful not to get it on your actual nail bed.
Allow the latex to dry completely before applying your desired nail polish or design. Once your nails are done, you can peel off the dried latex, taking any excess polish or design with it, leaving your skin clean and neat.
3.Does Liquid Latex Work For Nails?
Ans: Yes, liquid latex can be used for nails. It is often used as a protective barrier during nail art designs or when applying nail polish. Liquid latex can be applied around the nails to create a clean and easy cleanup process.
It helps to prevent polish from getting on the skin and makes it easier to remove any mistakes or excess polish. However, it is important to use a high-quality liquid latex specifically made for nails to avoid any potential skin irritation or damage.
4.How Long Does It Take For Liquid Latex To Dry On Nails?
Ans: Liquid latex typically takes about 5-10 minutes to dry on nails. However, this can vary depending on factors such as the thickness of the layer applied and the humidity in the environment.
5.How Do You Remove Liquid Latex Nails?
Ans: To remove liquid latex nails, you can start by soaking your nails in warm soapy water for about 10 minutes to soften the latex. Then, gently peel off the latex layer from the edges of your nails using a cuticle pusher or your fingertips. If the latex is stubborn, you can use a cotton ball soaked in acetone to dissolve it. Just place the soaked cotton ball on top of the latex and wrap your nails with aluminum foil for about 10-15 minutes.

