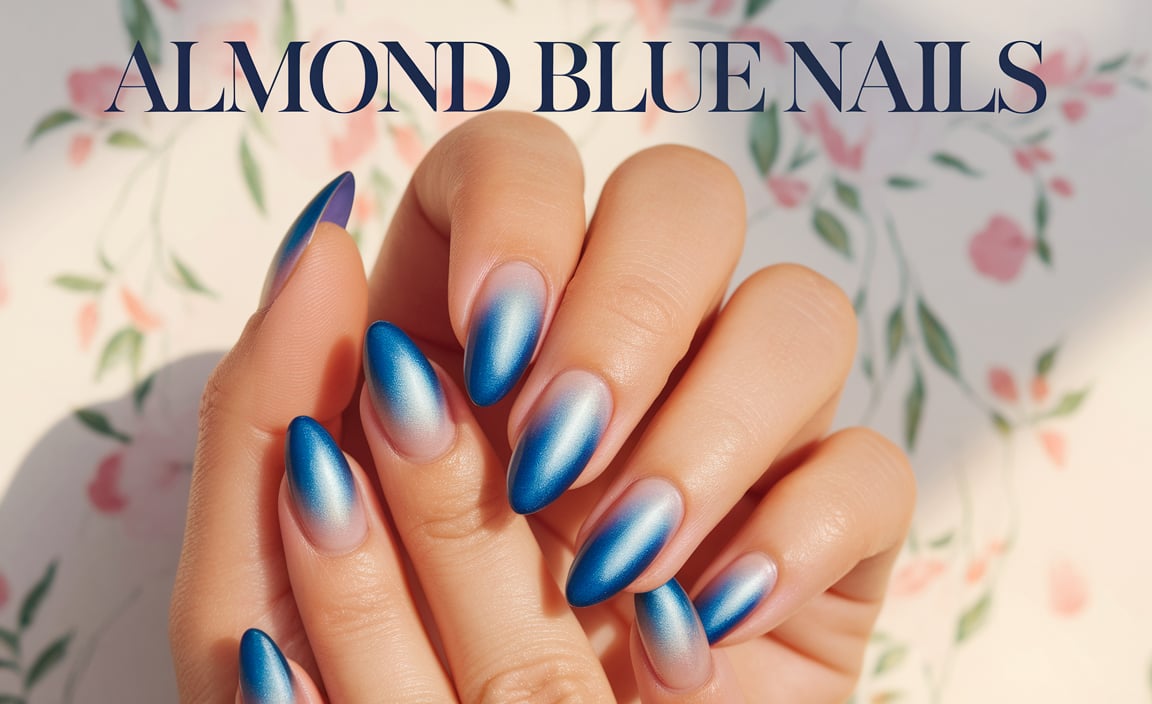
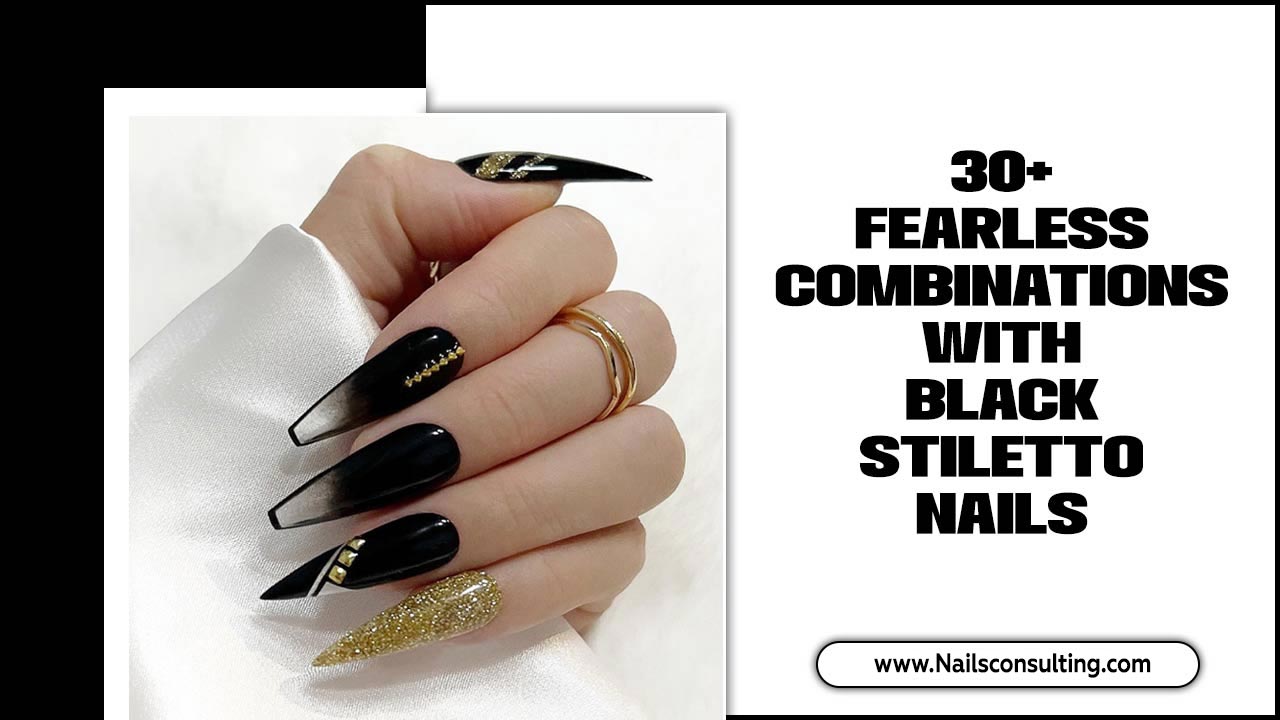
Underrated nail designs are creative, achievable looks that elevate your style without being overly complicated or trendy. Think minimalist accents, subtle textures, and unexpected color pairings.These brilliant yet often overlooked manicures are essential for adding a touch of personality and sophistication to your everyday look. Discover how to easily recreate them at home!
Hello, lovely! Ever feel like the nail art world is all about super intricate designs or the latest fleeting trend? It’s easy to get lost trying to keep up or feeling like amazing nails are out of reach. But what if I told you some of the most genius nail looks are actually the quietest? They’re the ones that add just the right pop of personal flair without being overwhelming. These “underrated nail designs” are perfect for anyone wanting to step up their manicure game with styles that are both chic and surprisingly simple to do yourself. Get ready to discover some seriously cool ideas that will make your nails stand out for all the right reasons!
Why Underrated Nail Designs are Your New Best Friend
Nail art shouldn’t require a degree in fine art or hours of painstaking effort. Underrated designs are the secret weapon for anyone who wants to express themselves through their nails without the fuss. They are often grounded in simple techniques but yield a sophisticated result. Think less about a full-blown mural and more about a strategically placed dot, a delicate line, or a unique color combination. These designs are versatile, fitting seamlessly into any occasion, from a casual coffee run to an important business meeting. They prove that beauty often lies in simplicity and thoughtful execution.
The beauty of these designs lies in their accessibility. You don’t need a professional kit or advanced skills. Many can be achieved with basic nail polish colors, a simple dotting tool (or even the tip of a bobby pin!), and a steady hand. They are essential because they are timeless. Unlike trends that fade, these understated looks remain stylish year after year. They are also a fantastic way to experiment with small touches of creativity, boosting confidence and making you feel polished and put-together.
Genius Underrated Nail Design Ideas You Can Do Now
Let’s dive into some specific design ideas that are criminally underrated. These are the looks that get subtle compliments because they’re just… good. They’re the kind of designs that make people do a double-take and think, “Wow, I love her nails!” but can’t quite pinpoint why they’re so special.
1. The Micro-French Manicure
Ah, the French manicure. It’s a classic. But the classic can sometimes feel a little… dated. Enter the micro-French. Instead of a thick, opaque white line, think a super fine, delicate line of color – white, black, gold, or even a pastel. This modern twist is sleek, chic, and incredibly flattering.
Why it’s genius: It’s a subtle update to a timeless look, offering sophistication without being loud. It elongates the appearance of the nail, which is always a win!
How to do it:
- Start with a clean, prepped nail. Apply a sheer nude, pink, or clear base coat.
- Once dry, carefully paint a super thin line of your chosen color along the free edge of your nail. Use a fine-tipped brush for precision.
- Alternatively, you can use a silicone stamper to pick up polish and gently stamp it onto the tip, or even use a striping tape for a super clean line.
- Let it dry completely before applying a glossy top coat.
2. The Minimalist Accent Nail
Why cover all your nails when one can do the talking? An accent nail is where you focus your design energy. This could be a single dot, a thin stripe, or a small geometric shape on one or two nails, while the rest are painted in a solid, complementary color.
Why it’s genius: It’s the perfect entry point for nail art beginners. You get the visual interest without the commitment or potential for error spread across all ten nails.
How to do it:
- Paint all nails (or all but one/two) in your chosen base color.
- On your accent nail(s), use a fine brush or dotting tool to create your minimalist design. A single dot at the cuticle or base is very chic. A vertical or horizontal stripe also works beautifully.
- Let dry and seal with a top coat.
3. Subtle Swirls and Wavy Lines
Forget elaborate floral patterns. Think delicate, thin swirls or a single wavy line wrapping around the nail. These organic shapes add a touch of artistry that feels effortless and modern.
Why it’s genius: They mimic natural, flowing forms, making them feel sophisticated and less “decorated.” They are forgiving, as perfection isn’t the goal.
How to do it:
- Apply your base color.
- Once dry, use a fine-tipped nail art brush dipped in a contrasting or complementary color to draw a thin swirl or a single wavy line. The placement can be near the cuticle, crossing the nail diagonally, or along the side.
- If you’re not confident with freehand, practice on paper first! A steady hand is key, but don’t stress about absolute perfection.
- Top coat.
4. The “Everything But The Kitchen Sink” Polish Combo
This isn’t about clashing; it’s about curated contrast. Think pairing a deep, moody shade with a surprising pop of a bright hue, or layering a metallic over a matte finish. It’s about using color theory in unexpected ways.
Why it’s genius: It shows confidence and a keen eye for color. It can be as simple as choosing two polishes from opposite ends of the color wheel or working with different finishes.
How to do it:
- Option 1 – Contrasting Colors: Choose two colors that are complementary on the color wheel (like blue and orange, or purple and yellow). Paint perhaps one hand in one color and the other hand in its complement, or use one as an accent.
- Option 2 – Matte & Shine: Apply a matte polish as your base. Once dry, use a glossy top coat to draw a simple design (like a stripe or a few dots) over the matte finish. The textural difference is striking.
- Option 3 – Metallic Pop: Paint your nails a solid color, then add a thin stripe of a complementary metallic polish along the cuticle or at the tip.
5. Negative Space Designs
Negative space means intentionally leaving parts of your natural nail exposed. This can be combined with simple lines, dots, or geometric shapes. It’s minimalist, chic, and surprisingly easy to adapt.
Why it’s genius: It’s incredibly modern and allows your natural nail to be part of the design. It also means touch-ups can be less obvious!
How to do it:
- Apply a clear base coat.
- Use striping tape or a fine brush to create geometric shapes (lines, triangles, squares) on your nail, leaving some areas bare.
- Paint the outlined sections with your desired polish color(s).
- Carefully peel off the tape while the polish is still slightly wet for a crisp line.
- Let dry and apply a top coat.
For more on understanding color theory in your manicures, check out this excellent guide from the Color-Theory.com resource.
Essential Tools for Underrated Nail Designs
You don’t need a salon’s worth of equipment. A few key tools can make all the difference in achieving those precise, yet simple, designs.
| Tool | What it’s for | Why it’s essential for underrated designs |
|---|---|---|
| Fine-Tipped Nail Art Brushes | Creating thin lines, dots, and intricate details. | Essential for micro-French tips, delicate swirls, and precise geometric shapes. |
| Dotting Tools | Making perfect dots of various sizes. | Ideal for minimalist accent nails, creating patterns, or adding small embellishments. |
| Striping Tape | Masking off areas for clean lines and geometric patterns. | Crucial for sharp edges in negative space designs and creating perfect French tips. |
| Silicone Stamper & Scraper (Optional) | Picking up polish from a plate and transferring it to the nail. | Can help achieve super clean lines and intricate designs with practice, especially useful for straight lines where tape might be tricky. |
| Good Quality Top Coat | Sealing the design, adding shine, and preventing chips. | Magnifies the simplicity of underrated designs by giving them a polished, professional finish. |
| Cotton Pads & Rubbing Alcohol/Nail Polish Remover | Cleaning up mistakes and prepping nails. | Allows for easy corrections when trying new designs, ensuring a clean canvas. |
Having these basic tools in your arsenal will make trying out these underrated designs not just possible, but enjoyable!
Step-by-Step: The Chic Minimalist Stripe
Let’s walk through a popular underrated design: the minimalist stripe. This is incredibly versatile and can be done vertically, horizontally, or diagonally. We’ll go with a diagonal stripe today.
Materials You’ll Need:
- Your favorite nail polish colors (at least two)
- A fine-tipped nail art brush or a dotting tool with a fine tip
- Base coat
- Top coat
- Nail polish remover and cotton pads for clean-up
The Steps:
- Prep Your Nails: Start with clean, dry nails. Push back your cuticles and shape your nails. Apply a good base coat to protect your natural nails and help polish adhere better. Let it dry completely.
- Apply Your Base Color: Paint your nails with your main polish color. For this design, a solid, opaque color works best to make the stripe stand out. Apply two thin coats for even coverage, allowing each to dry thoroughly.
- Create the Stripe: Dip your fine-tipped brush into your accent polish color. Wipe off any excess on a piece of paper or cotton pad so you have control.
- The Diagonal Sweep: Starting from one side of your nail (e.g., the top corner near your cuticle), gently draw a thin, straight line diagonally across your nail to the opposite corner. You can also opt for a stripe that goes from sidewall to sidewall, or even straight across the middle of the nail. The key is a thin, delicate line. If using a dotting tool, you can “draw” the line by creating a series of small, connected dots that form a line.
- Clean Up: If you make any wobbly lines or get polish where you don’t want it, dip a small, stiff brush (like an old eyeliner brush) or the tip of an orangewood stick into nail polish remover. Carefully trace around your stripe to clean up any mess. This step is crucial for a polished look!
- Let it Dry: Allow the accent stripe to dry completely. Rushing this step can smudge your hard work!
- Seal the Deal: Apply a generous layer of your favorite glossy top coat over the entire nail. This will smooth out any texture, protect your design, and give it that beautiful, professional sheen.
And there you have it! A simple, chic, and decidedly underrated nail design that looks like you spent ages on it.
Understanding Nail Health for Better Designs
Even the most stunning nail designs won’t look their best on unhealthy nails. Focusing on nail health is an underrated aspect of achieving great manicures. Strong, smooth nails provide a better canvas and make applying polish and creating designs much easier.
Key aspects of nail health:
- Hydration: Dry cuticles and nails can lead to peeling and breakage. Regularly apply cuticle oil and hand cream. The American Academy of Dermatology Association (AAD) recommends moisturizing hands and nails regularly, especially after washing them.
- Gentle Filing: File your nails in one direction, not back and forth like a saw. This prevents splitting and weakening.
- Proper Removal: Always remove old polish completely. Avoid peeling or scraping it off, as this can damage the nail plate.
- Balanced Diet: Nutrients like biotin, iron, and zinc are vital for nail strength.
- Limit Harsh Chemicals: Wear gloves when cleaning or doing chores that involve prolonged water exposure or chemicals.
Investing time in your nail health is just as important as choosing the right polish color. Healthy nails are the foundation of any beautiful manicure, underrated or not!
Underrated Nail Design Trends to Watch For
While these designs are timeless, there are always subtle shifts in how they’re interpreted. Here are a few current takes on underrated nail designs that are gaining traction:
| Trend | Description | Why it’s underrated |
|---|---|---|
| “Brownstone” Neutrals | Rich chocolatesto, warm caramels, and deep taupes as the primary color, often with a single fine gold or white accent line. | Moves beyond basic beige into sophisticated, earthy tones that complement most skin tones beautifully. |
| Gradient (Ombre) Accents | Instead of a full nail gradient, just a small section (like the cuticle area or a single stripe) features a soft color blend. | Offers the visual interest of ombre without being overwhelming or requiring perfect blending across the whole nail. |
| Textured Top Coats | Using top coats that create a matte, velvet, or subtle shimmer finish rather than glossy. | Adds sophistication and depth without needing extra colors or complicated application. A single shade looks completely different with a matte finish. |
| “Clean Girl” Nails with a Twist | The ultra-minimalist look of sheer pinks or nudes, but with a tiny, almost imperceptible dot of glitter or a metallic fleck near the cuticle. | It’s the subtle sparkle that elevates the perfectly “natural” look, making it feel intentionally put-together. |
These trends show that even in the world of subtle beauty, there’s always room for a little evolution. They prove that “less is more” can still be incredibly exciting.
Frequently Asked Questions About Underrated Nail Designs
Q1: Are underrated nail designs suitable for short nails?
A1: Absolutely! Many underrated designs, like micro-French tips, single dots, or fine stripes, are particularly flattering on shorter nail lengths. They add detail without overwhelming the nail shape.
Q2: How can I make my DIY nail designs look more professional?
A2: Key steps include starting with well-prepped nails, using a good base and top coat, taking your time, practicing your technique (even on paper!), and cleaning up any mistakes with a fine brush dipped in remover. Precision is more important than complex artistry for these looks.
Q3: What colors are best for minimalist nail designs?
A3: Neutrals like beige, taupe, white, black, and nudes are classic. However, you can also use pastels for a soft look or even Jewel tones like emerald or sapphire for a more dramatic effect. Don’t be afraid to experiment with complementary colors!
Q4: How long do these simple nail designs typically last?
A4: Like any regular manicure, their longevity depends on your nail care routine, the quality of your polish, and how you treat your hands. With a good top coat and careful handling, simple designs can last anywhere from 5-10 days before needing a touch-up or refresh.
Q5: Can I combine different underrated design elements?
A5: Of course! For example, an accent nail could feature a minimalist dot, while the other nails are a solid complementary color.


