The UK flag nail design is a fun and patriotic way to show your style! This guide breaks down simple steps and creative ideas for creating stunning Union Jack nails at home, perfect for beginners.
Hello, nail lovers! Are you looking for a way to add a splash of patriotic flair to your fingertips? Maybe you’ve got a special event coming up, or perhaps you just love a bold statement manicure. Whatever the reason, UK flag nail designs are a fantastic choice! They’re instantly recognizable, super stylish, and surprisingly easy to achieve, even if you’re new to nail art. Don’t worry if you’ve never painted a tiny flag on your nails before; we’ll walk through everything you need, from the basic tools to the most dazzling design ideas. Get ready to create some truly impressive Union Jack nails that will have everyone admiring your handiwork!
Mastering the Mini Union Jack: Your Essential Guide
Creating a UK flag on your nails might seem a bit tricky at first, but with the right approach, it’s totally achievable. We’ll cover the basics you need to know to get started, ensuring you have a smooth and fun experience.
What You’ll Need for UK Flag Nails
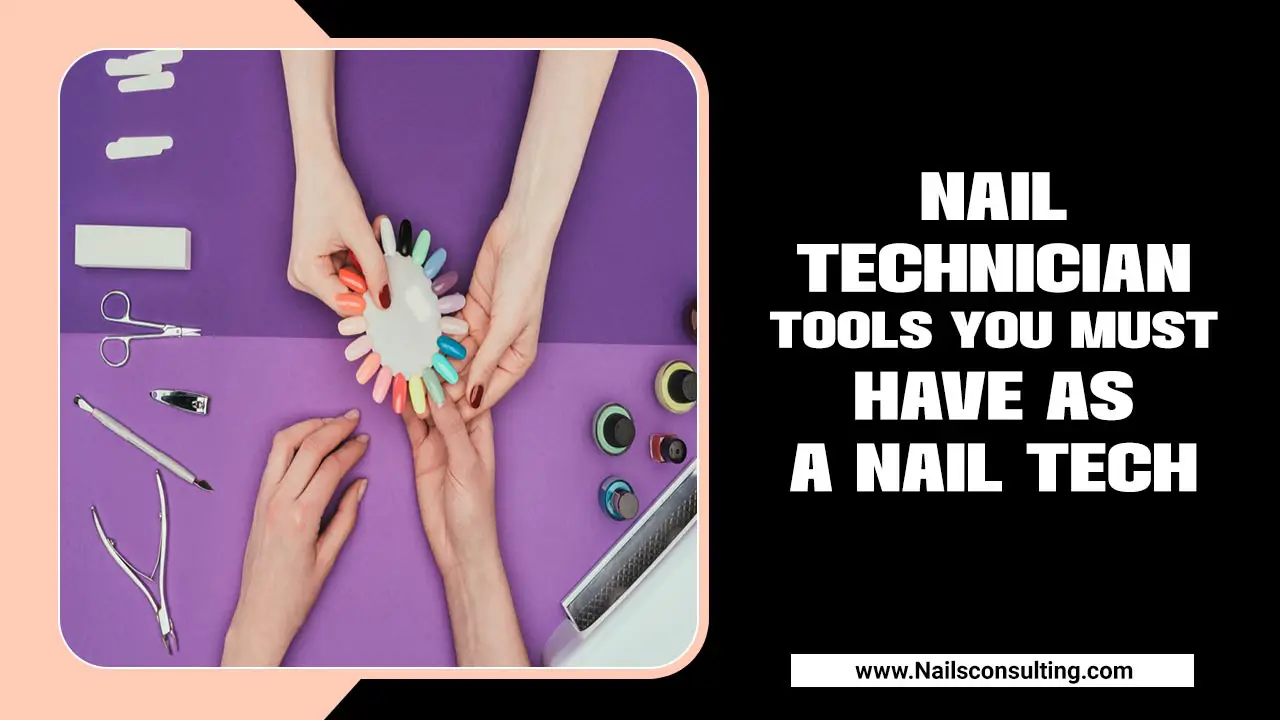
Gathering your supplies is the first step to nail art success. Think of it like prepping for any creative project! You don’t need a professional salon’s worth of tools to create amazing UK flag nails. Here’s a simple breakdown of what will help you create these iconic designs:
Base Coat: This protects your natural nails and helps your polish last longer.
Top Coat: This seals your design, adds shine, and prevents chipping.
Nail Polish Colors:
White (for the base)
Red (for the cross and diagonal lines)
Blue (for the background and diagonal lines)
Fine-Tipped Nail Art Brush or Dotting Tool: Essential for precise lines and details.
Nail Polish Remover and Cotton Swabs: For cleaning up any little mistakes.
Optional: Striping Tape: This can help create super clean lines if freehanding feels daunting.
Step-by-Step: The Classic Union Jack Design
Ready to paint? Let’s get started with the most popular UK flag design. It looks impressive, but it’s built on simple layers!
1. Prepare Your Nails: Start with clean, dry nails. Push back your cuticles gently. Apply one coat of your chosen base coat and let it dry completely.
2. Paint the Base Color: Apply two thin coats of white nail polish. White provides a bright, clean canvas for the red and blue of the Union Jack. Ensure each coat is fully dry before moving on to the next step.
3. Create the Red Cross:
Using your fine-tipped brush and red nail polish, paint a thick, horizontal stripe across the middle of your nail.
Next, paint a thick, vertical stripe down the middle, crossing over the horizontal one. You’re essentially painting a big red ‘+’ sign. Let this layer dry thoroughly.
4. Add the Diagonal Red Lines (St. Patrick’s Saltire): This is where the detail comes in!
With your red polish and fine brush, carefully paint two diagonal lines on each side of the central cross. Think of an ‘X’ shape intersecting the ‘+’. These lines don’t have to be perfectly straight; a slight wobble adds character!
5. Outline with Blue: Now, grab your blue nail polish.
Carefully outline the red cross and the red diagonal lines with thin blue lines. This step makes the red stand out and truly defines the Union Jack pattern. It’s like adding a dark border to make colored elements pop.
For a full flag look, you can also paint the entire nail blue, then add the red cross and diagonals on top of the dry blue. This method is a bit different but achieves a classic result.
6. Refine and Clean Up: Use a cotton swab dipped in nail polish remover to clean up any polish that got onto your skin. A steady hand is key here, but don’t stress if it’s not perfect – that’s what remover is for!
7. Apply Top Coat: Once all the polish is completely dry, apply one or two coats of a good quality top coat. This not only adds a beautiful shine but also protects your masterpiece from chipping.
This classic design looks fantastic as a full accent nail or repeated across all your fingers.
Beyond the Basics: Creative UK Flag Nail Design Ideas
Once you’ve mastered the classic Union Jack, why not have some fun with variations? These ideas offer different ways to incorporate the iconic British symbols into your manicure.
The Accent Nail Union Jack
This is one of the easiest and most popular ways to sport the UK flag.
How-to: Paint all your nails in a solid color – choose blue, red, or white. On one or two accent nails (usually the ring finger), create the full Union Jack design as described in the step-by-step guide.
Why it works: It’s a subtle nod to the flag without being overwhelming. It allows the intricate design to really shine on a single nail.
The French Tip Flag
A chic twist on the classic French manicure.
How-to:
1. Start with a nude or sheer pink base on all nails.
2. On your accent nails, paint the natural white tip with a band of red polish.
3. Using a fine brush and blue polish, paint a thin blue line just below the red tip, creating a red and blue stripe effect.
4. On another accent nail, paint the blue base and add a small red cross or diagonal lines within the blue tip area.
Why it works: It’s sophisticated and modern, blending a beloved nail style with patriotic colors.
The Half-and-Half Flag
A visually striking design that splits the nail.
How-to:
1. Pick two nails for this design.
2. On one nail, paint the top half blue and the bottom half white.
3. On the other nail, paint the top half red and the bottom half white.
4. Carefully paint the Union Jack details (crosses and diagonals) onto the blue and red sections respectively. You might only be able to fit parts of the design, focusing on the key elements.
Why it works: It’s abstract and eye-catching, offering a different perspective on the flag.
The Gradient Flag
Smooth transitions between patriotic colors.
How-to:
1. Use a makeup sponge to create a gradient effect on your nails. Start with blue at the base, transitioning to white in the middle, and then red at the tip.
2. Once the gradient is dry, use a fine brush to go back and carefully paint the red cross and diagonal lines over the gradient, creating the Union Jack effect.
Why it works: This technique adds depth and a modern, artistic feel to the traditional flag design.
The Abstract Flag
For those who love a more artistic take.
How-to: Instead of a perfect replica, use bold strokes of red, white, and blue. Think abstract shapes, scattered lines, and color blocking that hints at the Union Jack without being literal.
Why it works: It’s unique, creative, and allows for more personal interpretation.
Essential Tools and Techniques for Flawless UK Flag Nails
Let’s dive a little deeper into the tools and techniques that will really elevate your UK flag nail game. Even beginners can achieve professional-looking results with a few tips!
Choosing Your Polish and Brushes
Polish Quality: Using good quality nail polish makes a huge difference. Look for brands known for their pigment payoff and smooth application. Opaque formulas are best for bold colors like red and blue.
Brush Types:
Fine-Liner Brush: Perfect for drawing the thin, precise lines of the Union Jack. Look for brushes with very fine synthetic bristles. You can find these at most beauty supply stores or online. For example, brands like essie and OPI offer excellent polishes that work beautifully with nail art brushes.
Dotting Tools: Available in various tip sizes, these are great for creating dots, but also for applying small amounts of polish for lines if a brush feels too tricky.
Striping Tape: If freehanding lines is a challenge, striping tape is your best friend. You lay down the tape, paint over it, and peel it off when the polish is almost dry (but not quite, or it will smudge). This gives you razor-sharp lines every time. For inspiration on materials, consider looking at options from Amazon for a wide variety.
Nail Art Techniques Explained
Freehand Painting: This requires a steady hand and practice. Start with simple lines and gradually build up complexity. Don’t be afraid to paint slowly and deliberately.
Stamping: For the ultimate in precision and speed, nail stamping is a fantastic option. You’ll need a stamping plate with Union Jack designs, a stamper, and a scraping tool. Apply polish to the design on the plate, scrape off the excess, and stamp it onto your nail. Companies like Moyou London offer a wide array of stamping plates.
Stencils: Pre-cut stencils can also be used. Paint your base color, apply the stencil, paint over it with your contrasting colors, and then carefully remove the stencil.
Essential Nail Care for a Perfect Canvas
Even the most stunning nail art won’t look its best on unhealthy nails. Taking care of your nails is crucial for a beautiful manicure and long-term nail health.
Daily Nail Care Habits
Moisturize: Keep your nails and cuticles hydrated. Use a good cuticle oil or hand cream regularly. This prevents dryness and brittleness.
Protect: Wear gloves when doing household chores, especially washing dishes or using cleaning products. This protects your polish and your nails from harsh chemicals.
Avoid Harsh Chemicals: Limit exposure to nail polish removers containing acetone, as they can be drying. Opt for acetone-free removers when possible.
Preparing Nails for Art
Cleanliness is Key: Always start with clean nails. Remove any old polish thoroughly.
Shape Matters: File your nails into your desired shape. A consistent shape provides a better canvas. Filing in one direction helps prevent splitting.
Buffing: Gently buffing the nail surface can create a smooth base for polish to adhere to. Be very gentle; over-buffing can thin your nails.
The Importance of Base and Top Coats
Base Coat: This is non-negotiable! It prevents staining (especially from dark polishes like red and blue), fills in ridges, and helps your polish adhere better, leading to a longer-lasting manicure.
Top Coat: This is your final protector. It seals in your design, adds a glossy finish, and is critical for preventing chips. Reapply a clear top coat every few days to extend the life of your manicure. For a long-lasting manicure, consider using a gel-effect top coat. The UK government provides guidance on consumer product safety, which includes cosmetics, ensuring ingredients are regulated for safety.
UK Flag Nail Design Inspiration: Beyond the Nails
While we’re focusing on nails, the Union Jack is a globally recognized symbol that can inspire more than just your fingertips!
Color Palette Inspiration: Think about the classic reds, whites, and blues. These colors can be incorporated into your wardrobe, makeup, or even home decor for a cohesive look.
Event Styling: UK flag nails are perfect for national holidays, sporting events, royal celebrations, or even themed parties. They’re a fun way to show national pride.
Personal Expression: Ultimately, your nail design is a form of self-expression. Whether you go for a full flag or just a hint of patriotic color, it’s about what makes you feel confident and celebrated.
Troubleshooting Common UK Flag Nail Art Issues
Even with the best intentions, nail art can sometimes be a little… unpredictable! Here are solutions to common problems:
Messy Lines?
Solution: Dip a small, stiff brush (or a specialized clean-up brush) in nail polish remover. Carefully trace around the edges of your design to neaten the lines. Go slow and steady! Practicing on a piece of paper first can also help.
Polish Smudging?
Solution: This usually happens when designs are not fully dry before the next step or the top coat is applied too soon. Be patient! Allow ample drying time between coats and before applying the top coat. If you’ve smudged a line, you can very carefully try to fix it with a fine brush and the correct polish color, then let it dry completely before topping.
Bubbles in Polish?
Solution: Bubbles can form if you shake your polish bottle vigorously (swirl instead!) or if you apply polish too thickly. Apply thin, even coats and let each dry before the next. Don’t rush the process! Applying polish in a cool, dry environment can also help.
Design Doesn’t Look Quite Right?
* Solution: Embrace imperfection! Nail art, especially freehand, doesn’t need to be perfect to be beautiful. A slightly wobbly line or an asymmetrical element can add character. If it’s really not working, removing it and starting over is always an option, or you can simply apply a solid color top coat over the whole nail to salvage it.
Frequently Asked Questions About UK Flag Nail Designs
Here are some common questions beginners have about creating their own Union Jack nails.
Can beginners really do UK flag nail designs?
Absolutely! While intricate flag designs can look complicated, they are built on simple steps. By using a steady hand and the right tools (like a fine brush or striping tape), even beginners can achieve stunning results. Start with an accent nail to build confidence!
What are the main colors needed for a Union Jack nail design?
The essential colors are red, white, and blue. You’ll typically need white or blue for the base, and red and blue for the flag elements. A good quality top coat and base coat are also crucial for longevity and a professional finish.
How can I make my flag lines neat and straight?
For super neat lines, consider using nail striping tape or nail art stencils. If you’re freehanding, use a very fine-tipped brush and a steady hand. Painting slowly and deliberately in a cool, dry environment can also help prevent wobbles.
How long do UK flag nail designs usually last?
With proper application – including a good base coat, thin, even layers of polish, and a strong top coat – your UK flag nail designs can last anywhere from 5 to 10 days. Reapplying a top coat every 2-3 days can help extend their life.
What if I make a mistake while painting?
Don’t panic! That’s what nail polish remover and cotton swabs are for. Dip a fine-tipped brush or a pointed cotton swab into nail polish remover and carefully trace around the mistake to clean it up. Minor errors can often be corrected with a fine brush and the correct polish color before the polish fully dries.
Can I use nail polish stickers or decals for a UK flag design?
Yes! Nail stickers and decals are a fantastic shortcut for nail art. You can find pre-made Union Jack designs that simply adhere to your nail. Just apply a base coat, place the sticker carefully, and seal it with a top coat for a quick and easy patriotic manicure.
Are there simpler versions of the UK flag design for beginners?
Definitely! Instead of the full Union Jack, try a simple design with just red and blue stripes, or paint one nail solid blue and accent it with a small red cross. Another easy option is to paint all nails white and add a single red or blue stripe across each.
Conclusion: Wear Your Pride with Confidence!
And there you have it – your comprehensive guide to creating stunning UK flag nail designs! From the essential tools and a step-by-step breakdown of the classic Union Jack to creative variations and helpful tips for perfection, you’re all set to transform your nails into patriotic masterpieces.
Remember, nail art is a journey of creativity and self-expression. Don’t be discouraged if your first attempt isn’t flawless. With a little practice and patience, you’ll be creating intricate and eye-catching designs that showcase your personal style and national pride. So, gather your polishes, grab your brushes, and have fun painting! Your fabulous UK flag nails are just a manicure away. Go ahead, wear your pride with confidence!


