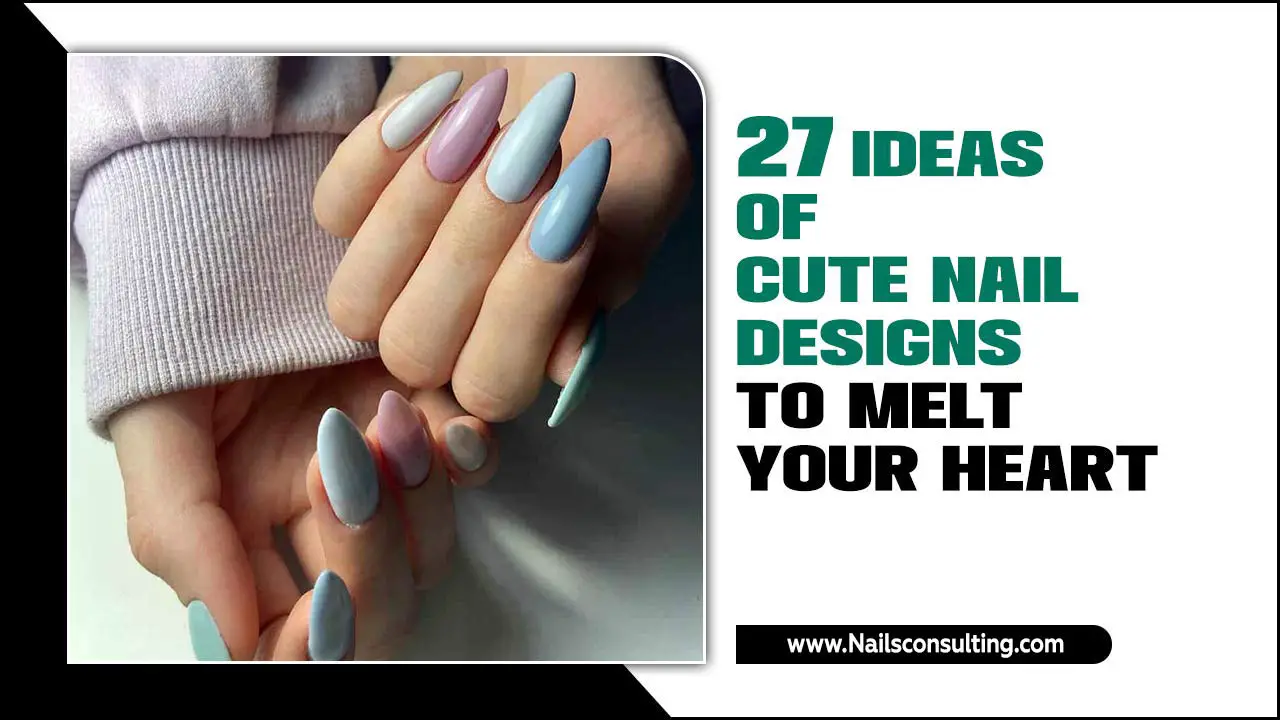
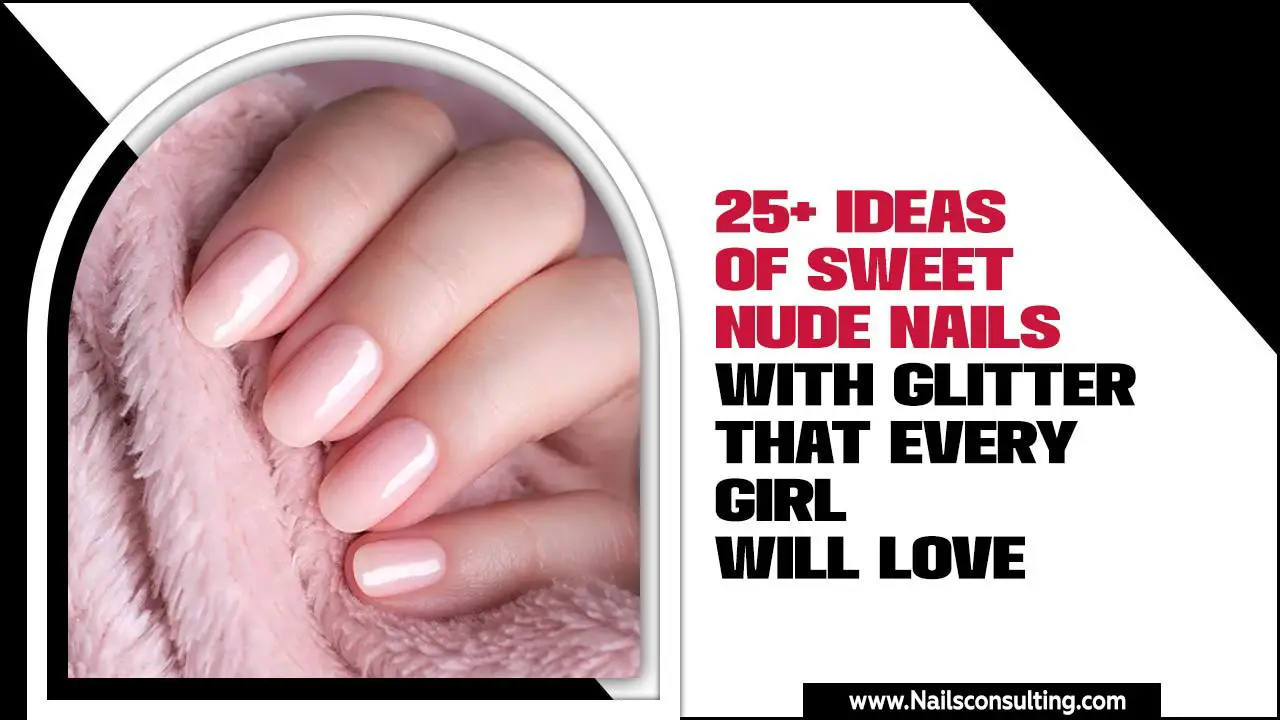
Two-tone nails are a simple yet chic way to add a playful pop of color and depth to your manicure. From classic contrasts to modern color-blocking, this versatile trend offers endless creative possibilities for any skill level. Master essential styles to elevate your nail game easily!
Tired of your nails looking a little… blah? You’ve seen those gorgeous, multifaceted manicures online and wondered, “Can I do that?” The answer is a resounding YES! Two-tone nails, also known as color-blocking or split nails, are a fantastic entry point into creative nail art. They’re less about intricate designs and more about smart color pairings and clean lines, making them super achievable for beginners. Dive in, and you’ll discover how easy it is to create stunning looks that express your unique style.
This guide is your new best friend for mastering the most popular two-tone nail styles. We’ll break down exactly what they are, how to achieve them, and share essential tips to make your DIY manicures look salon-perfect. Get ready to transform your nails into mini works of art!
What Exactly Are Two-Tone Nails?
Two-tone nails are a manicure style where two different colors are intentionally applied to each nail. This isn’t just about having different colors on different fingers; it’s about combining two distinct shades on a single nail to create a visual effect. Think of it as a mini design element woven into your polish. The beauty of two-tone nails lies in their adaptability. They can be as simple or as elaborate as you like, making them a perfect playground for experimenting with color and style.
Why Two-Tone Nails Are Perfect for Beginners
If you’re just dipping your toes into the world of nail art, two-tone nails are your ideal starting point. Why? Let’s break it down:
- Simplicity: Most two-tone designs involve straightforward application techniques that don’t require a master’s degree in art.
- Forgiveness: A slightly imperfect line is often part of the charm, especially with certain styles. A good topcoat can often smooth out minor wobbles.
- Impact: Even the simplest color combination can make a significant visual statement, giving you a high-fashion look with minimal effort.
- Customization: The color pairings are entirely up to you! This is where your personal style truly shines through. You can match your outfit, your mood, or just go with a combination you love.
- Cost-Effective: You don’t need a vast collection of polishes or fancy tools to get started. Just two favorite colors and a steady hand are often enough.
Essential Two-Tone Nail Styles to Master
Ready to get creative? Let’s explore some of the most popular and easy-to-achieve two-tone nail styles. We’ll cover the basic concept for each and how to approach them.
1. The Classic Half-and-Half
This is arguably the most straightforward two-tone nail design. It involves dividing the nail into two equal (or sometimes unequal) halves, with each half painted a different color. It’s clean, graphic, and always stylish.
How to Achieve the Classic Half-and-Half:
- Prep Your Nails: Start with clean, dry nails. File them to your desired shape and push back your cuticles.
- Apply Base Coat: A good base coat protects your natural nails and helps polish adhere better.
- Choose Your Division: Decide if you want a vertical or horizontal split. The vertical split (down the middle of the nail) is very popular and looks great with longer nails. The horizontal split (across the nail, either at the cuticle or further up) mimics the French manicure style.
- Paint the First Color: Carefully paint one half of your nail with your first color. Be precise! Let it dry completely. This is crucial to prevent colors from bleeding. You might need two coats for opaque coverage.
- Apply Second Color: Use a clean brush or nail polish pen to paint the other half with your second color. If you’re doing a vertical split, it’s often easiest to work from the center line outwards on each side. For a horizontal split, paint up to the desired line. Let this also dry completely.
- Clean Up Edges: Use a small brush dipped in nail polish remover to clean up any mistakes around the cuticle and sidewalls.
- Apply Top Coat: Finish with a generous layer of clear topcoat to seal the design and add shine.
Pro Tip: For a super sharp, clean line, especially with a vertical split, you can use striping tape or a fine nail art brush to create a defined border. Alternatively, embrace a slightly imperfect, hand-painted look!
2. The Accent Nail Two-Tone
This style keeps things simple by focusing the two-tone effect on just one or two accent nails (typically the ring finger). The other nails are painted a solid color, which can be either one of the two tones used on the accent nail or a complementary shade.
How to Achieve the Accent Nail Two-Tone:
- Decide on Your Colors: Pick two colors that look good together. Think complementary colors (like blue and orange) or shades from the same family (like navy and sky blue).
- Paint Your Base Manicure: Paint all your nails except the accent nail(s) with your chosen solid color. Let them dry.
- Create the Two-Tone Effect on the Accent Nail: Apply your two-tone style (e.g., half-and-half, a gradient, or a color-blocked tip) to the accent nail(s).
- Ensure Dryness: Make sure both the accent nail and the solid nails are completely dry before moving on.
- Seal with Topcoat: Apply a topcoat to all nails to protect the design and add shine.
This is a fantastic way to experiment with a bolder two-tone idea without committing to it on every nail.
3. The Two-Tone French Manicure
Put a modern twist on the classic French manicure! Instead of the traditional white tip, use two contrasting colors. This could mean a colored base with a colored tip, or even two colors making up the “smile line.”
How to Achieve the Two-Tone French Manicure:
- Base Color First: Apply one color to the entire nail as your base. Let it dry completely.
- Choose Your Tip Color: Select your second color for the tips.
- Create the Tip:
- Method A (Freehand): Carefully paint a line across the tip of your nail with your second color. Aim for a smooth “smile line” that follows your natural nail curve.
- Method B (Using a Guide): Apply French tip guides or striping tape where you want the tip to begin. Paint the tip area with your second color. Once slightly tacky (not fully dry), carefully peel off the tape to reveal a crisp line.
- Let it Dry: Allow the tips to dry thoroughly.
- Topcoat: Seal everything with a clear topcoat.
Variations: You can also do a “reverse French” where the two-tone effect is at the cuticle line, or have the tip be a different shape, like a V-shape.
4. The Color-Blocked Nail
Color-blocking is a design trend borrowed from fashion that involves using large, distinct blocks of color. On nails, this translates to painting sections of the nail in different solid colors. Think geometric shapes, stripes, or even abstract color placement.
How to Achieve Color-Blocked Nails:
- Plan Your Design: Sketch out your idea or decide on the color blocks. Will they be horizontal, vertical, diagonal, or abstract?
- Start with the Background: Paint your entire nail with the lightest or background color. Let it dry completely.
- Use Guides for Precision: This is where striping tape or nail stencils become your best friend. Place tape to section off the areas you want to keep in the base color or to create sharp dividing lines. Press the tape down firmly to prevent polish from bleeding underneath.
- Paint the Next Color: Apply your second color to the exposed section(s). Let it dry until it’s no longer wet but slightly tacky.
- Remove Tape: Carefully peel off the tape while the polish is still a bit tacky. This helps prevent chipping and ensures a cleaner line. If you wait until it’s fully dry, the polish might lift with the tape.
- Repeat for More Colors: If your design includes more than two colors, repeat steps 3-5, applying tape over dry polish before adding the next color.
- All-Over Topcoat: Once all colors are dry, apply a generous topcoat.
Tip: For intricate color blocks, consider using nail polish pens or very fine brushes for more control.
5. The Gradient Two-Tone (Ombre)
While often seen as a single color fading into another, a two-tone gradient, or ombre, can also involve two distinct colors blending into each other. This creates a soft, seamless transition.
How to Achieve a Gradient Two-Tone Nail:
- Apply Base Coat: Start with a base coat.
- Apply First Color: Paint your entire nail with your first color. Let it dry.
- Apply Second Color (Optional Base): You can paint your entire nail with the second color or just apply it to the tips.
- Use a Sponge: The easiest way to achieve a gradient is with a makeup sponge. Dab two colors onto the sponge side-by-side (or one above the other).
- Dab Onto Nail: Gently press the sponge onto your nail, dabbing lightly to transfer the colors. Hold the sponge at an angle if you want the colors to blend diagonally. You might need to reapply colors to the sponge for multiple layers to build up opacity.
- Clean Up: Use a cleanup brush dipped in nail polish remover to clean up any excess color on your skin or cuticles.
- Repeat to Build Color: You may need to repeat the sponging process a couple of times to get the desired depth of color.
- Topcoat: Apply a thick, shiny topcoat to smooth out the texture of the sponge application and seal the gradient.
This method requires a bit of practice, but the result is a beautifully blended, sophisticated look.
Tools and Supplies for Two-Tone Nails
You don’t need a professional kit to create amazing two-tone nails. Here are some essentials:
- Nail Polish: Obviously! Choose two of your favorite colors that complement each other. Consider finishes too – matte, glossy, glitter, metallic can all add unique flair.
- Base Coat: Protects your nails and helps polish last longer.
- Topcoat: Seals the design, adds shine, and prevents chipping.
- Nail Polish Remover: For cleaning up mistakes.
- Cotton Swabs or Small Brush: For precise cleanup around the cuticles. A fine-tipped brush or an old, clean makeup brush works wonders.
- Striping Tape or Nail Stencils (Optional but helpful): For creating perfectly straight lines, especially in color-blocking and French tips. You can find these at most beauty supply stores or online. For perfectly straight lines, ensure the tape adheres well. Visit Nailite for a variety of striping tapes designed for nail art.
- Makeup Sponge: For creating gradient (ombre) effects. A simple kitchen sponge cut into small pieces can also work in a pinch!
- Tweezers (Optional): For precisely placing striping tape or decals.
Color Combinations to Inspire You
Choosing the right colors is key to a stunning two-tone manicure. Here are some ideas to get you started:
| Style Type | Color Pairings | Vibe |
|---|---|---|
| Classic Contrast | Black & White | Chic, Sophisticated, Timeless |
| Classic Contrast | Navy Blue & Pink | Bold, Energetic, Playful |
| Monochromatic | Light Grey & Charcoal Grey | Subtle, Modern, Sleek |
| Monochromatic | Pale Pink & Fuchsia | Feminine, Vibrant, Fun |
| Nature-Inspired | Olive Green & Beige | Earthy, Serene, Chic |
| Nature-Inspired | Sky Blue & Cloud White | Calm, Airy, Fresh |
| Bold & Bright | Coral & Teal | Tropical, Energetic, Striking |
| Bold & Bright | Mustard Yellow & Burgundy | Autumnal, Warm, Fashion-Forward |
| Metallic Accents | Nude & Gold Glitter | Glamorous, Elegant, Festive |
| Metallic Accents | Deep Purple & Silver Chrome | Mysterious, Futuristic, Luxe |
Don’t be afraid to experiment! The best color combinations are often the ones you feel most confident wearing. Consider the undertones of your skin when choosing colors; some shades might pop more than others. The American Academy of Dermatology Association has some helpful tips on understanding skin undertones, which can translate wonderfully to nail polish choices.
Tips for Fl awless Two-Tone Application
Even with simple designs, a few tricks can elevate your two-tone nails from good to gorgeous:
- Dry Time is Your Friend: Patience is key! Ensure each layer of polish is completely dry before applying the next color or tape. Rushing this step is the most common cause of smudging and color bleeding. If you’re impatient, a quick-dry topcoat can help speed things up.
- Thin Coats are Better: Applying polish in thin, even coats is generally better than one thick, gloppy layer. It dries faster and looks neater.
- Work in Good Lighting: Natural light is best for seeing true colors and spotting mistakes.
- Steady Your Hand: Rest your wrists or elbows on a stable surface while painting. You can even prop your elbows on a table.
- Clean Up as You Go: Don’t wait until the end to clean up smudges. Dip a small brush or cotton swab in nail polish remover and carefully trace around your cuticles and sidewalls for a crisp finish.
- Invest in a Good Topcoat: A quality topcoat not only adds shine but also smooths out any slight imperfections and protects your hard work. Look for one that claims to be “quick-dry” or “gel-like” for a super smooth finish.
- Consider Nail Health: Healthy nails are the best canvas! Regularly moisturize your cuticles and consider using a nail strengthener. Good cuticle care (pushing them back gently rather than cutting) is also important for a clean look.
- Practice Makes Perfect: If your first attempt isn’t flawless, don’t worry! Every manicure is a learning experience. The more you practice, the steadier your hand will become, and the better you’ll get at applying tape and cleaning up edges.
Frequently Asked Questions About Two-Tone Nails
Q1: How do I get a super sharp line between two colors on my nails?
A: For the crispest lines, striping tape or nail stencils are your best bet. Apply the tape over completely dry polish, press it down firmly, paint the next color, and then carefully peel the tape away while the polish is still slightly tacky. Clean up any minor bleeds with a fine brush dipped in remover.
Q2: Can I do two-tone nails if I have short nails?
A: Absolutely! Two-tone nails are fantastic for short nails. A vertical half-and-half split or a simple color-blocked design can make short nails look chic and modern. Avoid overly complex patterns that can overwhelm smaller nail beds.
Q3: My polish is bleeding under the tape! What should I do?
A: Ensure the tape is pressed down very firmly, especially around the edges. Also,


