Quick Summary: Tulip nail designs are the perfect, cheerful way to embrace spring, offering a variety of simple yet stunning looks. From delicate French tips to bold floral patterns, these designs are easy for beginners to create and bring a fresh, vibrant feel to your manicure year after year.
Spring is here, and it’s time to let your nails bloom! Are you looking for a way to capture that fresh, vibrant feeling of the season? Tulip nail designs are an absolute showstopper, bringing a touch of floral elegance and playful charm to your fingertips. If you think intricate nail art is out of reach, think again! We’re diving into the world of tulip nail designs, proving they’re not only beautiful but surprisingly easy for anyone to achieve. Get ready to transform your nails into a garden of delights!
Why Tulip Nail Designs Are Perfect for Spring
Tulips are practically synonymous with spring. Their elegant, cup-shaped blooms and vibrant colors embody the season of renewal and joy. This makes tulip nail designs an instant mood-booster and a stylish way to update your look as the weather warms up. They’re versatile, too! Whether you prefer a minimalist touch or a full-blown floral explosion, there’s a tulip design for everyone.
Beyond their aesthetic appeal, tulip nail designs are fantastic because they offer a range of complexity, making them accessible for nail art beginners. You can opt for a single, beautifully detailed tulip on an accent nail, or embrace a pattern of smaller, simpler blooms across all your nails. The key is to choose a design that speaks to your personal style and skill level. Plus, the sheer variety of tulip colors means you can match them to any outfit or occasion.
Getting Started: Your Tulip Nail Design Toolkit
Before we jump into the fun designs, let’s make sure you have the essentials. Don’t worry, you don’t need a professional salon setup to create gorgeous tulip nails!
Must-Have Nail Art Supplies:
- Base Coat: Protects your natural nails and helps polish adhere.
- Top Coat: Seals your design and adds shine for longevity.
- Nail Polish: In your desired tulip colors (pinks, yellows, reds, whites, purples) and a green for stems and leaves.
- Thin Nail Art Brush or Dotting Tool: For delicate details like petals and stems.
- Optional: Stencils or Nail Stickers: For super-easy, perfectly shaped tulips.
- Nail Polish Remover & Cotton Pads: For cleaning up any mistakes.
- Clean-up Brush: A small, fine-tipped brush (an old eyeliner brush works!) for tidying edges.
Gathering these few items will set you up for success. Remember, practice makes perfect, and even a few simple tools can unlock a world of creative possibilities!
Easy Tulip Nail Designs for Beginners
Ready to get your hands on some tulip-inspired nail art? Here are some simple, beginner-friendly designs that are guaranteed to impress.
1. The Delicate French Tip Tulip
This is a subtle yet chic way to incorporate tulips. It’s perfect for those who love a classic look with a spring twist.
How to Create:
- Apply your favorite nude or sheer pink base polish and let it dry completely.
- Using a fine-tipped nail art brush and white polish, paint a thin stripe across the free edge of each nail, just like a traditional French tip.
- Once the white is dry, switch to a soft pink or yellow polish. With your detail brush, carefully paint a tiny, simple tulip shape on top of the white tip. Think of it as a little blooming flower peeking over the edge.
- Add a tiny dot of green polish underneath the tulip to create a short stem.
- Finish with a clear top coat for shine and protection.
2. The Single Accent Tulip
This design is all about impact with minimal effort. Focus your beautiful tulip on one or two nails, and keep the others simple.
How to Create:
- Paint all your nails with your chosen base color. A soft pastel, creamy white, or even a light lilac works wonderfully.
- On your accent nail (usually the ring finger), use your detail brush and a vibrant tulip color (like red or hot pink) to paint a simple tulip outline. You can create a slightly elongated ‘U’ shape for the base of the bloom, with curved lines meeting at the top.
- Fill in the outline carefully. You can add a small curve or two inside to suggest petals.
- Add a green stem extending downwards from the bloom.
- For added depth, you can use a slightly darker shade of your tulip color to create tiny shadows within the petals.
- Once dry, apply top coat to all nails.
3. The Blooming Tulip Field
This design is a bit more playful and uses smaller, repeating motifs to create a lovely artful effect.
How to Create:
- Start with a light green or sky-blue polish for your base.
- With a small dotting tool or the tip of your detail brush, place small dots of your chosen tulip colors (e.g., pink, yellow, white) scattered across your nails.
- Use the same brush to gently pull and shape each dot into a simplified tulip bloom. Think of simple petal shapes radiating from a central point. Don’t worry about perfection; the abstract look is part of the charm!
- Add tiny green stems connecting some of the flowers, or even a few simple green leaves.
- Seal with a clear top coat.
4. Tulip Stickers & Stencils: The Easy Way
For the absolute beginner or those short on time, nail stickers and stencils are your best friends!
How to Use:
- Apply your base color and let it dry completely.
- Carefully peel your chosen tulip nail sticker from its backing and place it onto your nail. Gently press down to ensure it adheres smoothly.
- Alternatively, place a stencil over your dried polish. Lightly dab polish over the stencil openings with a sponge or a stiff brush. Carefully peel off the stencil while the polish is still slightly wet to reveal the tulip shape.
- Clean up any excess polish around the cuticle with a clean-up brush dipped in remover.
- Apply a generous coat of top coat to seal everything in.
Tips for Flawless Tulip Nail Art
Even with simple designs, a few pro tips can elevate your tulip nail art from good to gorgeous!
- Thin Coats are Key: Apply polish in thin, even layers. It’s better to do two thin coats than one thick, gloopy one that will take ages to dry and is prone to smudging.
- Let Each Layer Dry: Patience is a virtue in nail art! Ensure each layer of polish is completely dry before adding the next to avoid dragging and smearing.
- Clean Up Mistakes Immediately: Keep a small brush dipped in nail polish remover handy. Dip it and carefully trace around your cuticle and nail edges to tidy up any stray polish before it dries. This makes a huge difference! A cosmetic brush like an angled eyeliner brush works wonders.
- Steady Your Hand: Rest your wrists on a flat surface or coffee table when painting intricate details. This minimizes wobbles and helps you create cleaner lines.
- Don’t Fear Imperfection: Hand-painted nail art is meant to be unique! A slightly imperfect petal or a wobbly stem can add character and a handmade charm. It shows your personal touch.
Beyond the Basics: Elevating Your Tulip Designs
Once you’ve mastered the basics, you might want to experiment with more advanced techniques or variations.
1. Ombre Tulip Backgrounds
Create a soft, blended background for your tulips by applying two or three complementary colors using a makeup sponge. Blend a soft pink into a creamy white, or a pastel yellow into a light peach, before adding your tulip details.
2. Pearlescent or Metallic Tulips
Instead of matte polishes, try metallic or pearlescent finishes for a more glamorous look. A metallic rose gold or a pearlescent white can make your tulips truly shine.
3. Adding Greenery and Dewdrops
Don’t stop at the bloom! Add delicate green swirls for stems, tiny leaves, or even small dots of white polish near the top of the bloom to mimic dewdrops. This adds a beautiful, realistic touch.
4. Glitter Accents
For a touch of sparkle, add a fine glitter polish to the edges of your petals or create a glitter accent nail. A clear glitter top coat over your entire design can also add a subtle shimmer.
5. Negative Space Tulips
This modern take involves painting around the shape of a tulip, leaving the nail bed beneath visible. It’s chic, artistic, and often easier than filling in solid shapes.
Tulip Nail Color Palettes for Every Mood
The beauty of tulips is their incredible color range. You can tailor your designs to match your personal style or the season’s vibe.
| Color Palette | Vibe | How to Use | Best For |
|---|---|---|---|
| Pastel Pink, Lilac, Creamy White | Soft, Romantic, Feminine | Create delicate blooms on a sheer or white base. | Everyday wear, spring showers, bridal looks. |
| Bold Red, Deep Pink, Bright Yellow | Vibrant, Energetic, Playful | Use as statement flowers or mixed patterns. | Easter celebrations, summer previews, adding a pop of color. |
| White, Ivory, Pale Yellow | Elegant, Classic, Sophisticated | Ideal for French tip variations or minimalist designs. | Formal events, office-appropriate looks, clean and chic style. |
| Orange, Coral, Peach | Warm, Sunny, Cheerful | Perfect for a sunset-inspired tulip field. | Vacations, warm-weather occasions, boosting your mood. |
Choosing your colors is half the fun! Don’t be afraid to mix and match or try combinations you might not have considered before. For more on color theory in nail art, you might find resources from art schools helpful, like guides on color mixing from educational institutions.
Maintaining Your Tulip Manicure
Once your beautiful tulip nails are done, a little care will help them last longer.
- Reapply Top Coat: Every 2-3 days, apply another layer of clear top coat to refresh the shine and protect the design.
- Wear Gloves: When doing chores, washing dishes, or gardening, wear rubber gloves to protect your nails from harsh chemicals and excessive moisture.
- Moisturize: Keep your cuticles and hands hydrated with a good cuticle oil or hand cream. Healthy cuticles make your manicure look polished and prevent hangnails.
- Avoid Using Nails as Tools: Resist the urge to pick, scrape, or pry with your nails. This can lead to chips and breaks, ruining your artwork.
Frequently Asked Questions About Tulip Nail Designs
Here are some common questions beginner nail art enthusiasts have about tulip designs:
Q1: What are the best colors for tulip nail designs?
A1: Tulips come in almost every color! Popular spring choices include pinks, yellows, reds, whites, and purples. Green is essential for stems and leaves. You can also explore softer pastels or even deeper jewel tones depending on your desired look.
Q2: Do I need special brushes for tulip nail art?
A2: While specialized nail art brushes (like fine liners or detail brushes) are helpful for precision, you can start with a regular small paintbrush, a toothpick, or even the tip of a dotting tool. The key is to have something fine enough for details.
Q3: How can I make my tulip nail art last longer?
A3: Always start with a good base coat and finish with a durable top coat. Reapply top coat every few days. Wearing gloves for household chores and keeping your nails moisturized also significantly extends the life of your manicure.
Q4: My lines are shaky. How can I get a cleaner look?
A4: Steady your hand by resting your wrists on a flat surface. Practice drawing thin lines on a piece of paper first. Clean up any wobbly bits immediately with a brush dipped in nail polish remover before the polish fully cures. Thin coats also help!
Q5: Can I do this on short nails?
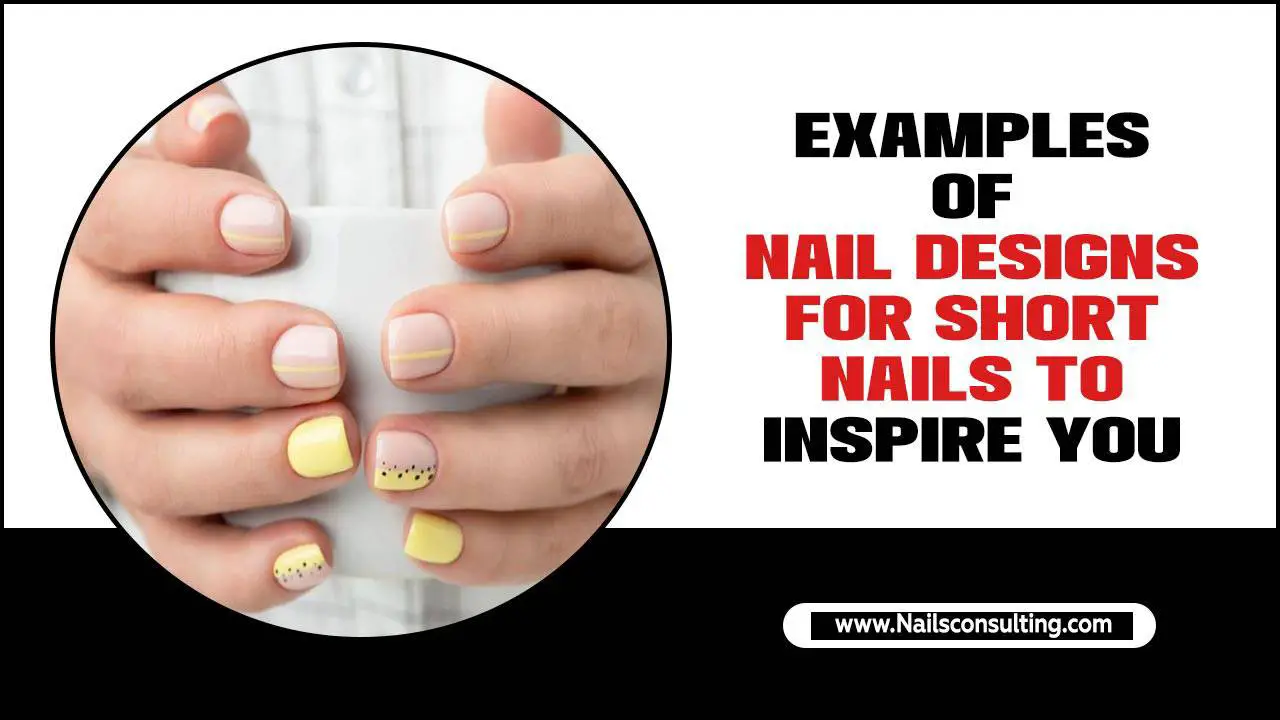
A5: Absolutely! Smaller, simpler tulip designs work beautifully on short nails. You might opt for just a small bloom near the cuticle or a single tulip on an accent nail rather than a full field. Tulip stickers are also great for short nail lengths.
Q6: How long does it take to do a tulip nail design as a beginner?
A6: For a simple design like the French tip tulip or single accent tulip, expect to spend about 30-60 minutes on your first few tries. As you get more practice, you’ll likely speed up significantly. Using stickers or stencils can cut down the time even more!
Conclusion
As the flowers start to unfurl and the world bursts into color, your nails deserve to join the celebration! Tulip nail designs offer a perfect blend of elegance, cheerfulness, and creativity, proving that beautiful nail art is accessible to everyone, no matter your skill level. From the simplest, delicate accents to vibrant floral patterns, these designs are a delightful way to welcome spring and express your personal style. Grab your polishes, a fine brush, and let your fingertips bloom. You’ve got this, and the results will be absolutely gorgeous!


