Tropical fruit nails offer a vibrant, playful way to express your style, and stunning easy designs are totally achievable for beginners! Get ready to create fun fruity manicures with simple steps and popular fruit motifs.
Dreaming of a vacation vibe? Want to add a splash of fun to your fingertips? Tropical fruit nail designs are your ticket to a mini-getaway, right on your nails! These designs bring sunshine, sweetness, and a whole lot of personality to your manicure. Whether you’re heading to the beach or just want to brighten your day, these fruity looks are perfect. You might think intricate nail art is only for experts, but I’m here to show you how simple and fun creating your own tropical fruit nails can be. We’ll walk through easy techniques that will have you feeling like a nail art pro in no time. Get ready to explore a rainbow of colors and delicious-looking fruit designs that are surprisingly easy to do yourself!
Tropical Fruit Nail Designs for Beginners
Embracing the tropical fruit nail trend doesn’t require a professional nail technician’s skillset! With a few basic supplies and a little patience, you can recreate these delightful designs at home. We’ll focus on methods that are forgiving and deliver maximum impact with minimum fuss. Think vibrant colors, simple shapes, and easy-to-follow steps.
Essential Tools for Your Tropical Nail Journey
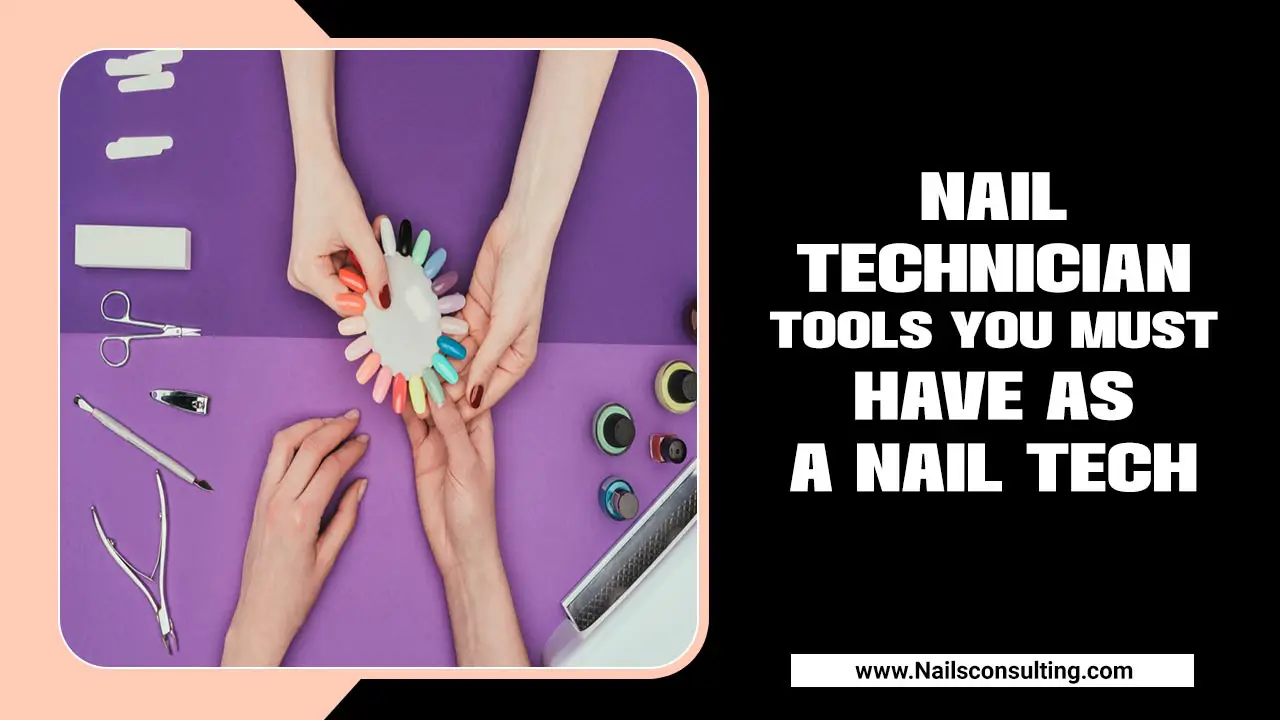
Before we dive into the fruity fun, let’s gather our nail art essentials. Having the right tools makes all the difference in achieving a polished look, even for the simplest designs.
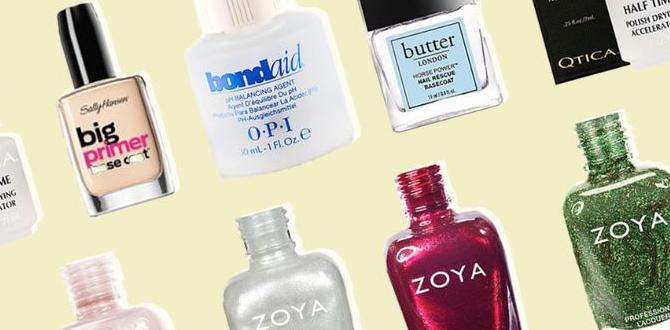
- Base Coat: Protects your natural nails and helps polish adhere better.
- Top Coat: Seals your design, adds shine, and makes your manicure last longer.
- Nail Polish Colors: Think bright yellows, oranges, pinks, greens, and reds to mimic your favorite fruits.
- Dotting Tools or Toothpicks: Perfect for creating small dots, seeds, and intricate details. You can find various dotting tools online that come in different sizes.
- Thin Nail Art Brushes: Great for drawing lines, outlines, and more detailed fruit elements like leafy crowns.
- Cleanup Brush or Cotton Swabs: Essential for tidying up any polish mistakes around your cuticles.
- Nail Polish Remover: For those inevitable oops moments.
- Optional: Glitter polish for a little sparkle or fine glitter to add extra pizzazz.
Getting Started: Prep Work is Key!
Just like any good recipe, starting with a clean slate is crucial for stunning nail art.
- Clean Your Nails: Remove any old polish. Wash and dry your hands thoroughly.
- Shape Your Nails: File them to your desired shape – almond, square, or round, all work beautifully for tropical designs.
- Push Back Cuticles: Gently push back your cuticles using an orange stick or cuticle pusher. This gives you more surface area to work with and a neater finish.
- Apply Base Coat: This is a non-negotiable step. Apply one thin layer of base coat and let it dry completely.
Easy Tropical Fruit Nail Design Tutorials
Let’s get creative! Here are a few simple yet stunning tropical fruit nail designs perfect for beginners.
1. Sunny Pineapple Nails
Pineapples are the quintessential tropical symbol, and their design is surprisingly easy to recreate!
What You’ll Need:
- Yellow nail polish
- Brown or dark orange nail polish
- Green nail polish
- Dotting tool or toothpick
- Thin nail art brush (optional)
Step-by-Step Guide:
- Base Color: Paint your nails with a solid yellow polish. Apply two coats for full opacity and let them dry completely.
- Create the Texture: Using your dotting tool or toothpick, lightly dab small, uneven dots or short dashes of brown or dark orange polish in a criss-cross pattern across the yellow nail. This mimics the pineapple’s textured skin. Don’t aim for perfection; organic patterns look best!
- Add the Crown: With a thin green polish and a small brush (or the tip of your dotting tool), paint a few jagged, leaf-like shapes at the base of the nail, extending slightly upwards. Think of a spiky crown.
- Add Shine: Once everything is dry, seal your design with a clear top coat for a glossy finish.
2. Sweet Strawberry Nails
Strawberries are adorable and bring a pop of cheerful red to your nails.
What You’ll Need:
- Red nail polish
- Green nail polish
- Black or dark brown nail polish
- Dotting tool or toothpick
- White nail polish (optional, for highlights)
Step-by-Step Guide:
- Red Base: Apply two coats of vibrant red nail polish to your nails. Let them dry completely.
- Add the Seeds: Using your dotting tool or toothpick dipped in black or dark brown polish, create small dots all over the red nail. Space them out randomly to mimic strawberry seeds.
- Paint the Leaves: With a thin green polish and a brush, paint a small, v-shaped leaf or a few jagged leaf outlines at the tip (base) of the nail.
- Highlight (Optional): For a little extra dimension, use a tiny dot of white polish on one side of some of the “seeds” to create a subtle shine.
- Seal the Deal: Apply a clear top coat to protect your fruity art.
3. Tropical Watermelon Slices
Watermelon is juicy, refreshing, and makes for a super cute nail design. We’ll focus on simple slices!
What You’ll Need:
- Bright pink or red nail polish
- Green nail polish
- Black nail polish
- White or light green nail polish (optional)
- Thin nail art brush or dotting tool
Step-by-Step Guide:
- Pink/Red Base: Paint your nails a bright, juicy pink or red. Two coats are best. Let dry.
- Create the Rind: On the tip of each nail, paint a curved line of dark green polish. Then, right above that, add a thinner line of white or light green polish to represent the lighter part of the rind.
- Add the Seeds: Using a dotting tool dipped in black polish, randomly add small dots on the pink/red part of the nail to look like seeds.
- Outline Slice (Optional): For a more defined slice look, you can carefully outline the curved edge of the pink with a very thin line of dark green polish.
- Top Coat: Finish with a glossy top coat.
4. Citrus Lemon and Lime Nails
Bright yellow and zesty green – lemon and lime designs are simply chic and easy!
What You’ll Need:
- Yellow nail polish
- Green nail polish
- White nail polish
- Black or dark brown nail polish
- Thin nail art brush or dotting tool
Step-by-Step Guide:
- Base Color: Paint some nails yellow (for lemon) and others green (for lime). Apply two coats and let dry.
- White Highlights: With a thin brush or dotting tool and white polish, paint a small, curved line on one side of the yellow or green nail to mimic the curve of a citrus fruit.
- Add Texture/Juiciness: Using a very fine brush or toothpick and white polish, add a few thin, slightly wavy lines radiating from the “white highlight” area towards the center of the nail. This adds a touch of juiciness.
- Seeds (Optional): On the yellow (lemon) nails, add a few tiny “seeds” with black or dark brown polish.
- Final Shine: Seal with a clear top coat.
5. Simple Tropical Fruit Accent Nails
Don’t want to commit to fruit on every nail? Try accent nails!
What You’ll Need:
- Your favorite bright base color (e.g., turquoise, coral, sunny yellow)
- Colors for your chosen fruit (e.g., orange for mango, pink for dragon fruit)
- Dotting tools, toothpicks, or fine brushes
Step-by-Step Guide:
- Choose Your Base: Pick a fun, vibrant color for most of your nails. Apply two coats and let dry.
- Select Your Accent Nail(s): Decide which nail(s) you want to feature a fruit design (usually the ring finger or thumb).
- Create a Simple Fruit Shape: On your accent nail, paint a simple shape of your chosen fruit. For example:
- Mango: An orange oval with a brown pit detail.
- Dragon Fruit: A pink base with tiny black seed dots.
- Coconut: A light tan or white circle with brown speckles.
Keep the shapes very basic. You’re looking for the essence, not perfection.
- Add Minimal Details: Use a dotting tool to add seeds, pits, or texture. A tiny leaf (green) can also elevate the look.
- Seal Everything: Apply a top coat to all nails, including the accent one.
Tips for Long-Lasting Tropical Nails
Want your fruity creations to last? A little extra care goes a long way!
- Always Use a Top Coat: This is your best friend for sealing in the design and adding protection. Reapply every couple of days if needed.
- Be Gentle: Avoid using your nails as tools (like opening cans or scraping things). This is a quick way to chip even the best manicures.
- Moisturize: Keep your nails and cuticles hydrated with cuticle oil or hand cream. Healthy nails are less prone to breaks and lifting.
- Wear Gloves: When doing household chores, especially washing dishes or using cleaning products, wear rubber gloves. Water and harsh chemicals can break down polish.
- Touch-Ups: If you get a tiny chip, don’t despair! A small dab of polish and a touch-up layer on that one nail can save the day.
Tropical Nail Art Color Palettes and Inspiration
The beauty of tropical fruit nails lies in their versatility and vibrant color potential. Think beyond the fruit itself and draw inspiration from the tropical environment!
Color Combinations:
- Sunrise Citrus: Oranges, yellows, pinks, with a hint of coral.
- Lush Oasis: Greens, blues, and whites, reflecting palms and water.
- Berry Blast: Deep reds, vibrant pinks, and touches of purple.
- Mango Tango: Oranges, yellows, and a bright pink accent.
- Kiwi Cool: Greens, blacks (for seeds), and creamy whites.
Fruit Inspiration Chart
Here’s quick reference for popular tropical fruits and their key colors:
| Fruit | Main Colors | Accent Colors/Details |
|---|---|---|
| Pineapple | Yellow, Gold | Green (for leaves), Brown/Orange (for texture) |
| Watermelon | Pink, Red | Green (rind), White/Light Green (rind edge), Black (seeds) |
| Mango | Orange, Yellow, Red hues | Brown (pit), Green (stem/leaf) |
| Kiwi | Brown (skin), Green (flesh) | Black (seeds), White (outline of seeds) |
| Passion Fruit | Purple, Yellow | Brown/Black (seeds) |
| Papaya | Orange, Pinkish-Orange | Black (seeds) |
| Dragon Fruit | Pink, Magenta, White | Black (seeds) |
| Coconut | Tan, Brown (husk), White (flesh) | Brown speckles |
Troubleshooting Common Nail Art Challenges
Even with the easiest designs, you might encounter a few hiccups. Here’s how to fix them!
- Polish Streaky or Uneven: This is often due to too little polish on the brush or a polish that’s too thin. Try dabbing gently instead of brushing, or use a polish with better coverage. Apply thin coats and let them dry fully between applications.
- Blobs or Thick Lines: Too much polish on your brush or dotting tool. Wipe off excess polish before applying it to the nail. For lines, try a thinner brush and lighter pressure.
- Mistakes Around Cuticles: This is where your cleanup brush or cotton swab with nail polish remover comes in handy! Clean up the edges after the polish has dried slightly, but not fully hardened, for the cleanest finish.
- Designs Smudging: You likely touched the design before it was completely dry. Wait longer than you think you need to, and always use a good quality quick-dry top coat.
- Polish Not Drying: Some polishes, especially darker or glittery ones, can take longer. Ensure you’re applying thin coats. A quick-dry top coat can also help speed things up.
FAQ: Your Tropical Nail Questions Answered
Q1: How long do DIY tropical fruit nails usually last?
With proper prep, application, and a good top coat, you can expect your tropical fruit nails to last anywhere from 5-10 days. Longevity depends on your nail care habits, how rough you are with your hands, and the quality of your polishes.
Q2: Do I need special nail polish for fruit designs?
No! Standard nail polishes in vibrant colors are perfect. You might find it helpful to have a good quality base coat, top coat, and possibly some specialized nail art brushes or dotting tools for finer details, but regular polish works wonderfully.
Q3: Can I do these designs on short nails?
Absolutely! Simpler designs like fruit slices, dots for seeds, or small fruit shapes work beautifully on short nails. In fact, sometimes minimalist fruit designs look even more chic on shorter nail lengths.
Q4: What if I don’t have dotting tools?
No problem! You can achieve similar results using common household items. Toothpicks are excellent for dots and small lines. The tip of a bobby pin can create small dots, and even a fine-tipped pen with nail polish carefully applied can work for tiny details in a pinch. Just be sure they are clean!
<h3 id="q5-how-do-i-get-clean-lines-for


