Short nails can absolutely rock the latest trends! Discover genius, easy-to-achieve designs that make your hands look chic and stylish, no matter your nail length. From minimalist chic to playful patterns, learn how to elevate your short nail game with simple techniques and trendy ideas.
Are you dreaming of stylish, eye-catching nails but have shorter nail beds? You’re not alone! Many believe that intricate nail art and trendy designs are reserved for long nails. It can be frustrating to see amazing manicures online and think they’re just out of reach. But guess what? Short nails are incredibly versatile and can look just as fabulous, if not more so, with the right designs. We’re here to show you how to embrace your natural length and make it a canvas for gorgeous, on-trend looks. Get ready to ditch the nail envy and discover a world of possibilities for your short nails!
Why Short Nails Are the Perfect Canvas
Let’s be honest, long nails are beautiful, but they aren’t always practical for everyone. Short nails offer a fantastic blend of style and functionality. They are less prone to breaking, easier to maintain, and surprisingly adaptable to a wide array of designs that can actually make your fingers appear longer and more elegant. The key is choosing designs that complement, rather than overwhelm, your nail shape and size. Think of it as a charming, intimate artwork right at your fingertips!
Trendy Nail Designs for Short Nails: Genius Looks Unveiled
Ready to dive into the fun? We’ve curated some of the most stunning and achievable trendy nail designs for short nails. These looks are perfect for beginners and seasoned DIY nail artists alike, proving that great style comes in small packages.
1. The Minimalist Masterpiece: Negative Space Designs
Negative space manicures are a dream for short nails. They create an illusion of length by leaving parts of your natural nail visible. This approach is chic, modern, and super easy to master.
How to Achieve it:
- Prep: Start with clean, shaped nails. Apply a clear base coat.
- Design: Use striping tape or a fine-tipped brush to create clean lines, geometric shapes, or even a simple outline of a design.
- Color: Fill in the desired sections with a solid color (nudes, pastels, or bold hues work well). Let the natural nail show through in other areas.
- Seal: Apply a top coat to protect your artwork.
Pro Tip: Experiment with different shapes like triangles, half-moons, or abstract lines. A nude or sheer pink base color can further enhance the lengthening effect.
2. The Bold Statement: Accent Nail Art
Why decorate all your nails when one can do the talking? An accent nail is a fantastic way to play with trends without overdoing it on short nails. It draws the eye and adds a pop of personality.
Ideas for your Accent Nail:
- Glitter Gradient: Blend glitter polish from the tip or cuticle down.
- Tiny Gems: Place a few small rhinestones or pearls near the cuticle.
- Hand-Painted Detail: A delicate flower, a tiny star, or a simple leopard spot can be surprisingly effective.
- Bold Color Block: Paint one nail a completely different, striking color.
Tip: Keep the accent nail clean and uncluttered. Too many elements can make short nails look busy.
3. The Chic Combination: Two-Tone Nails
Sometimes, simplicity is the ultimate sophistication. Two-tone nails, where you use two complementary or contrasting colors, can be incredibly stylish on short nails. Think of it an elegant way to add depth and interest.
Popular Pairings:
- Classic Contrast: Black and white, navy and beige, or deep red and cream.
- Subtle Harmony: Two shades of the same color family, like a light pink and a rose gold.
- French Tip Twist: Instead of white tips, use a contrasting color.
How-To: Paint one or two nails entirely in one color, and the rest in the complementary shade. Or, get creative with a diagonal split!
4. The Geometric Genius: Lines and Shapes
Geometric patterns are on-trend and work wonderfully on short nails because they introduce clean lines that can visually lengthen the nail. Think minimalist stripes, dots, or abstract squares.
Easy Geometric Designs:
- Vertical Stripes: Perfect for adding the illusion of length. Use striping tape for precision.
- Dotting Tool Delight: Create neat rows or clusters of dots along the free edge or near the cuticle. Check out resources for dotting tool techniques, like those found on reputable beauty blogs or nail artist websites often cited by experts in the field.
- Color Block Squares: Divide the nail into geometric sections and fill with different colors.
Tools You’ll Need: A good top coat, striping tape (optional), and a fine-tipped nail art brush or dotting tools are your best friends here.
5. The Sweet Surprise: Micro French Manicure
The classic French manicure gets a modern update with a thin, delicate line. This is a fantastic way to get the French tip look without it overwhelming shorter nails.
Achieving the Micro French:
- Base Color: Apply a sheer nude, pink, or milky white polish as your base.
- The Line: Using an ultra-fine nail art brush or a specialized French tip tool, carefully paint a very thin line along the very edge of your nail.
- Color Options: Stick to classic white or try a pop of color like a soft pastel or even a metallic shade for the tip.
- Seal: Finish with a clear, glossy top coat.
This design is subtle yet sophisticated, adding just a hint of detail to make your manicure pop.
6. The Playful Polish: Dotted Details
Dots are incredibly versatile and can be as simple or as complex as you like. They add a touch of fun and are super easy to create with a dotting tool or even the end of a bobby pin.
Dotting Design Ideas:
- Reverse French: Place a row of tiny dots along the cuticle line.
- Full Nail Coverage: Create a confetti of dots all over the nail.
- Accent Dot: A single, larger dot on an otherwise plain nail.
- Pattern Play: Arrange dots to form simple shapes or lines.
Beginner Hack: If you don’t have a dotting tool, the rounded end of a toothpick or a sharpened pencil eraser can work in a pinch!
7. The Metallic Moment: Foils and Flakes
Metallic accents are a huge trend, and they look stunning on short nails. They catch the light beautifully and add a touch of glamour.
How to Use Metallics:
- Foil Transfer: Apply a special foil glue or top coat to the nail (or a section of it), let it get tacky, and press a metallic foil sheet onto it. Peel off to reveal a shiny design.
- Chrome Powder: Rub a small amount of chrome powder over a cured gel top coat for a mirror-like finish.
- Metallic Flakes: Sprinkle loose metallic flakes onto a tacky polish or top coat.
Tip: Foils and powders can be applied to the entire nail or just a part, like the tip or a stripe, for a delicate touch.
8. The Subtle Shine: Ombre Effect
Ombre (gradual color blending) can be achieved on short nails too! It creates a soft, blended look that can elongate the appearance of the nail.
Easy Ombre:
- Sponge Technique: Apply two blended colors close together on a makeup sponge. Gently dab the sponge onto your nail, repeating until the desired blend is achieved.
- Brush Blending: Paint one color, then use a clean brush to gently blend the second color into the tip or cuticle while the polish is still wet.
Color Choices: Nudes to pinks, soft blues to whites, or even deeper jewel tones can create a beautiful ombre effect.
9. The Natural Beauty: Sheer and Milky Tones
Sheer polishes and milky whites are incredibly chic and universally flattering. They offer a polished look without being overwhelming, perfect for everyday wear on short nails.
Why They Work:
- Illusion of Length: These light, translucent shades can make nails appear longer.
- Clean and Polished: They provide a “my nails but better” look.
- Versatile Base: They are excellent bases for subtle nail art accents like tiny dots or a single stripe.
Brands to Explore: Many brands offer beautiful sheer and milky finishes that are perfect for a sophisticated, minimalist manicure. Look for terms like “sheer,” “jelly,” or “milky” in product descriptions.
10. The Classic with a Twist: Colored French
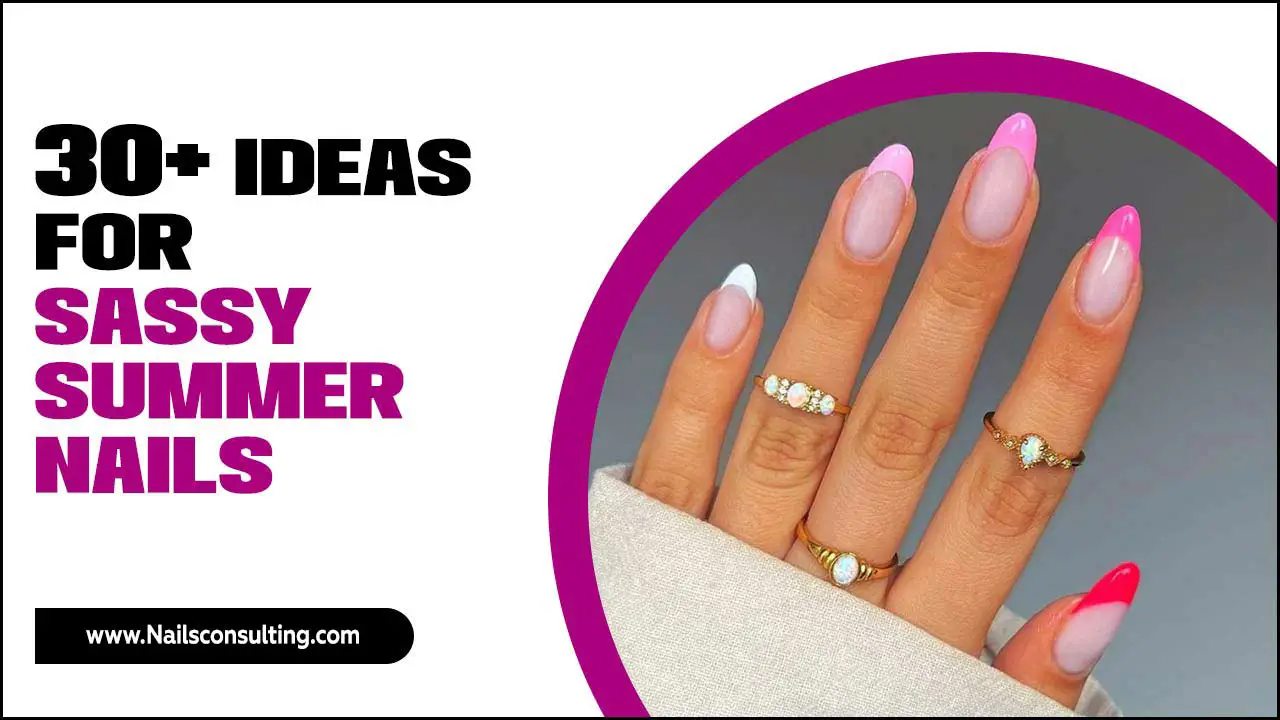
Take the traditional French manicure and inject some fun! Instead of white, use vibrant colors, pastels, or even metallics to outline the tips of your short nails.
How to Create:
- Paint your base color (nude, sheer pink, or clear).
- Once dry, use a fine brush to paint the colored tips.
- Alternatively, use striping tape for cleaner lines.
- Seal with a good top coat.
This adds a playful yet sophisticated detail that’s perfectly suited for short nail lengths.
Essential Tools for Short Nail Art
You don’t need a professional salon setup to create amazing designs. Here are a few key tools that will make your DIY nail art journey much easier and more enjoyable:
| Tool | What it Does | Why it’s Great for Short Nails |
|---|---|---|
| Fine-Tipped Nail Art Brushes | For drawing thin lines, dots, and intricate details. | Allows for precision on a smaller canvas. |
| Dotting Tools | Creates perfect, uniform dots in various sizes. | Easier than freehand for consistent patterns on small nails. |
| Striping Tape | Creates crisp, clean lines and geometric sections. | Ensures sharp edges for designs like stripes or half-moons. |
| Nail Polish Remover & Cotton Swabs | For cleaning up mistakes and refining edges. | Essential for maintaining the clean look of small designs. |
| Base Coat & Top Coat | Protects natural nails and your art, and adds shine/longevity. | Crucial for any manicure, especially delicate designs. |
| Nail File | Shapes and smooths nails. | Keeping nails neatly shaped is key for any design. Refer to the NailPro guide for best practices. |
Caring for Your Short Nails & Manicures
To keep your trendy nail designs looking their best, a little care goes a long way. Short nails often require less intensive maintenance than long ones, but consistency is key.
Daily Habits:
- Moisturize: Apply hand cream and cuticle oil daily. This keeps your skin and nail beds healthy, preventing dryness and hangnails that can detract from your design.
- Protect: Wear gloves when doing household chores or washing dishes to shield your polish from harsh chemicals and water exposure.
- Gentle Handling: Avoid using your nails as tools to open cans or scrape surfaces.
Maintenance Tips:
- Top Coat Refresh: Apply an extra layer of top coat every 2-3 days to refresh the shine and protect your design from chipping.
- Minor Touch-ups: For small chips or smudges, a tiny dab of matching polish or a touch of clear polish can often fix it right up.
- Proper Removal: When it’s time to remove your polish, use a good quality remover and avoid harsh scrubbing, which can damage your nails.
Maintaining healthy nails will make applying any design easier and ensure your manicure looks good for longer. For more in-depth nail health information, consult resources from dermatological associations for scientifically backed advice on nail care.
FAQ: Your Short Nail Design Questions Answered
We know you might have a few more questions as you embark on your short nail design adventures. Here are some common ones!
Q1: Can I really make my short nails look longer with certain designs?
A1: Absolutely! Vertical lines, subtle V-shapes at the tip, and negative space designs can create a visual illusion of length. Ombre effects can also help elongate the look of the nail.
Q2: What nail shape is best for short nails?
A2: Shorter, rounded, or squoval (a square with softened edges) shapes are often the most flattering and practical for short nails. They are less prone to snags and breaks than sharp corners.
Q3: How do I avoid making my short nails look stubby with nail art?
A3: Avoid very wide or chunky designs. Opt for thin lines, small accents, and patterns that work with the length of your nail rather than against it. Think delicate and precise!
Q4: Is gel polish necessary for trendy short nail designs?
A4: Not at all! While gel polish offers durability and shine, you can achieve almost any of these trendy designs with regular nail polish. It might just require a bit more care to prevent chipping compared to gel.
Q5: How often should I change my nail design on short nails?
A5: This is up to your preference! However, for a clean and polished look, it’s generally recommended to refresh your manicure every 1-2 weeks, especially if you notice any chips or significant wear. Shorter nails grow out faster, so touch-ups might be needed sooner.
Q6: Are there any beginner-friendly nail art tools that are a must-have for short nails?
A6: Definitely! A set of dotting tools in various sizes and a fine-tipped striper brush are incredibly useful for creating precise details on a small nail canvas. A good pair of tweezers can also help place small embellishments.
Q7: How can I make my nail art last longer on short nails?
A7: Always start with a good base coat and finish with a high-quality, quick-drying top coat applied evenly. Reapply your top coat every couple of days to seal in the design and add shine. Moisturizing your cuticles daily also helps keep the skin around your nails healthy, which contributes to overall nail appearance.
Conclusion: Your Short Nails, Your Style Statement
See? Trendy nail designs for short nails are not only possible but incredibly fun and rewarding to create. You’ve learned how to use negative space, accent nails, geometric patterns, micro French tips, and so much more to craft chic and stylish looks. With the right techniques and a few handy tools, your short nails can be a vibrant canvas for your personal style and creativity.
Embrace the versatility, experiment with colors and designs that speak to you, and most importantly, have fun with it! Nails are a fantastic way to express yourself, and with these genius looks, you can confidently rock the latest trends, no matter the length. So go ahead, pick your favorite design, and let your fingertips do the talking!


