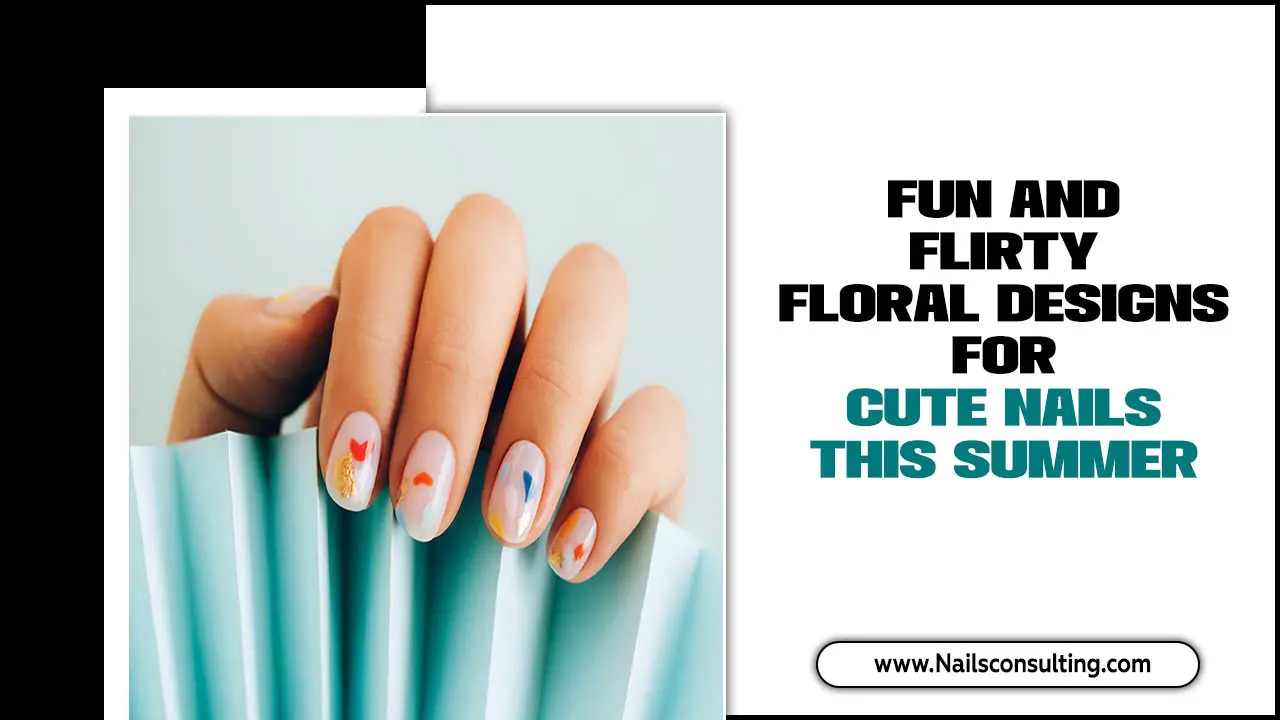
Trending nail designs this year are all about playful sophistication and personal flair! From minimalist chic to bold artistic statements, this guide breaks down the hottest looks and the easy essentials you need to recreate them at home. Get ready to elevate your manicure game with simple steps and smart tips for gorgeous nails that express your unique style!
Are you dreaming of nails that wow but feel overwhelmed by all the creative ideas out there? You’re not alone! Keeping up with the latest nail trends can feel like a whirlwind, and sometimes, what looks amazing on screen is tricky to achieve yourself. But don’t worry, beautiful nails are totally within reach! Nailerguy is here to guide you through this year’s most exciting and achievable nail designs. We’ll focus on the essentials, making it fun and easy for you to rock your favorite looks. Let’s dive into the trends and discover how simple it can be to add a touch of glamour and personality to your fingertips.
This Year’s Hottest Nail Trends: Your Beginner’s Guide
This year’s nail scene is bursting with creativity, blending classic elegance with playful, modern twists. Nail art is no longer just for special occasions; it’s a way to express yourself daily! We’ve seen a rise in designs that are both stylish and surprisingly simple to recreate. This season is all about finding what speaks to you, whether it’s a subtle shimmer or a vibrant statement. Ready to explore what’s trending and how you can make it yours?
1. The “Quiet Luxury” Manicure: Understated Elegance
This trend is all about sophistication without shouting. Think polished, refined, and effortlessly chic. It’s perfect for those who love a clean, minimalist look or a polish that goes with absolutely everything.
What it is:
- Neutrals and Soft Tones: Think milky whites, soft nudes, pale greys, and muted blush pinks.
- Sleek Finishes: High-gloss or satin finishes are key.
- Impeccable Application: The beauty is in the perfect, smooth coat.
- Subtle Accents: Sometimes, a tiny pearl or a hint of gold foil on one nail is all you need.
Genius Essentials for the Quiet Luxury Look:
- High-Quality Base Coat: Crucial for a smooth canvas and protecting your nails.
- Neutral Polish Colors: Invest in a few go-to shades like sheer beige, soft pink, or light grey. Brands like OPI, Essie, and Sally Hansen offer beautiful options.
- Good Top Coat: For that glossy, long-lasting shine.
- Fine-tip Brush or Toothpick: For any subtle accent application.
- Cuticle Oil: Healthy cuticles are the foundation of a polished look.
How to Achieve It:
- Prep your nails: Clean, shape, and buff them.
- Apply a clear base coat.
- Apply two thin coats of your chosen neutral polish, allowing each to dry completely.
- Finish with a generous layer of high-gloss top coat.
- For accents, carefully add a dot of glue and place a tiny pearl or a small piece of gold foil with tweezers.
2. Chrome & Metallic Shine: Mirror, Mirror on My Nails
Chrome nails are undeniably eye-catching and have been a massive hit! They give a futuristic, polished look that’s surprisingly versatile. From full mirror-shine to subtle metallic tips, this trend is all about reflection.
What it is:
- A highly reflective, metallic finish that mimics chrome.
- Available in various colors: silver, gold, rose gold, and even vibrant hues like blue or pink chrome.
- Can be applied as a solid color or over other base colors for different effects.
Genius Essentials for Chrome Nails:
- Black Gel Polish: Most chrome powders adhere best to a sticky black gel base.
- Chrome Powder/Pigment: These come in small pots and are applied with a silicone tool or eyeshadow applicator. You can find them on Amazon or at beauty supply stores.
- No-Wipe Gel Top Coat: Essential for sealing the chrome without dulling the shine.
- Silicone Tool or Eyeshadow Applicator: For buffing the powder onto the nail.
- Gel Lamp: Required for curing gel polish and top coats.
How to Achieve It (Gel Method):
- Prep your nails and apply a gel base coat, curing under your lamp.
- Apply two coats of black gel polish, curing each layer. Ensure the final coat is slightly tacky but fully cured.
- Dip your silicone tool into the chrome powder and gently rub it over the nail surface until it’s fully covered and has a mirror-like finish.
- Gently brush off any excess powder.
- Apply a no-wipe gel top coat and cure it under your lamp.
Beginner Tip: If gel isn’t your thing, some iridescent polishes can give a similar, albeit less reflective, effect.
3. Aura Nails: Soft, Blended Hues
Aura nails mimic the gentle diffusion of color seen in tie-dye or watercolor paintings. They give a dreamy, ethereal vibe and are easier to achieve than they look!
What it is:
- Soft, circular gradients of 2-3 colors that blend into each other.
- Often features lighter, pastel, or neon colors for a vibrant yet diffused look.
- Can be done on natural nails or gel polish bases.
Genius Essentials for Aura Nails:
- Base Polish: White works best for vibrant aura colors to pop.
- 2-3 Complementary Polish Colors: Choose shades that blend well together.
- Makeup Sponge or Small Stippling Brush: These are perfect for blending the colors smoothly.
- Top Coat: To seal the design.
How to Achieve It:
- Apply a base coat and at least one coat of your white or light base polish. Let it dry.
- Using your makeup sponge or brush, gently dab your first color in a circular motion in the center of the nail.
- Lightly dab the second color around the edges of the first color, blending gently.
- If using a third color, repeat the blending process around the second color.
- Work in light layers. You can dab gently until you achieve your desired blend.
- Seal with a good top coat.
4. French Tips Reimagined: A Modern Twist
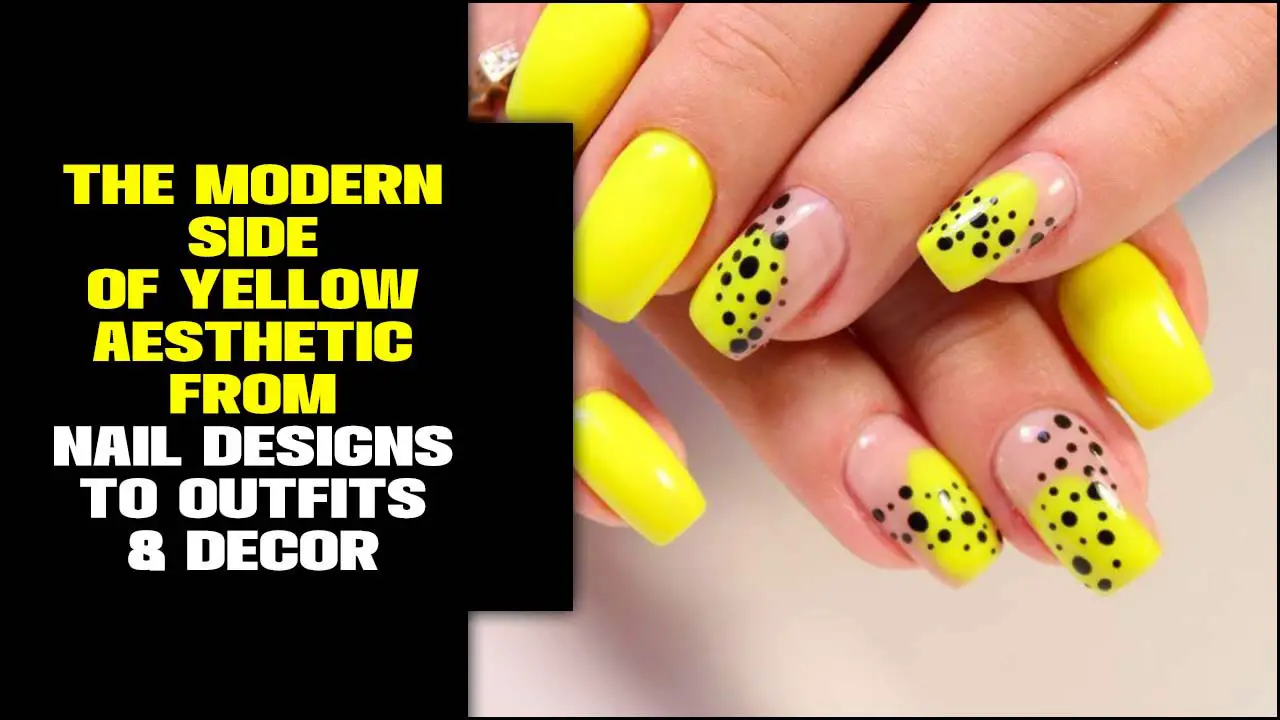
The classic French manicure is back, but with a playful, modern update! Forget the stark white line; we’re seeing colored tips, asymmetrical designs, and even glittery accents.
What it is:
- Colored Tips: Instead of white, think pastels, neons, or deep jewel tones.
- Micro Tips: Very thin, delicate lines along the free edge.
- Double French: Two parallel lines of color.
- V-Shaped or Angled Tips: A departure from the rounded smile line.
Genius Essentials for Modern French Tips:
- Thin Striping Brush or Nail Art Pen: For precise lines.
- Stencils or French Manicure Guides: For a clean edge, especially for beginners.
- A Variety of Polish Colors: To experiment with.
- Steady Hand (or Practice!): The key to clean lines.
How to Achieve It (with Guides):
- Apply your base coat and preferred nail color (or leave natural). Let dry completely.
- Place a French tip sticker or guide slightly above where you want your tip to be.
- Carefully paint the tip of your nail above the sticker with your chosen color.
- Immediately peel off the sticker while the polish is still wet.
- Let dry and apply a top coat.
5. Abstract Art & Swirls: Express Yourself
This trend is all about embracing creativity and imperfection. Abstract designs can range from simple dots and lines to more intricate, free-flowing patterns. It’s a fantastic way to let your personality shine!
What it is:
- Non-representational designs, often featuring organic shapes, lines, and color blocks.
- Swirls, squiggles, and hand-painted lines are very popular.
- Can be minimalist with a few lines or a more complex composition.
Genius Essentials for Abstract Art:
- Dotting Tools: For creating dots of various sizes.
- Fine-Tip Nail Art Brushes: For drawing lines, swirls, and details.
- Contrasting Polish Colors: To make your art pop against the base color.
- Patience and a Willingness to Experiment!
How to Achieve It (Simple Swirls):
- Apply your base polish and let it dry.
- With a fine-tip brush and a contrasting color, draw a loose swirl or a few wavy lines.
- Don’t aim for perfection; embrace the organic feel.
- Add a few dots if you like, or keep it simple.
- Seal with a top coat once fully dry.
Resource: For more advanced abstract techniques, check out the Artists Network guide on abstract art for inspiration on form and composition.
6. Natural & Enhanced: The “Clean Girl” Aesthetic
This trend focuses on healthy, well-maintained nails with a subtle enhancement. It’s about looking polished and put-together with minimal fuss.
What it is:
- Short to medium length, neatly filed nails.
- Clear or sheer polish.
- Healthy-looking cuticles and a smooth nail surface.
- Sometimes includes a “lip gloss” effect with a sheer pink or nude polish and a very high-gloss top coat.
Genius Essentials for the “Clean Girl” Look:
- Nail File: For shaping.
- Cuticle Pusher: To gently tidy cuticles.
- Nail Strengthener or Clear/Sheer Polish: For a healthy sheen.
- Hydrating Cuticle Oil: Essential for soft, neat cuticles.
- Buffing Block: For a smooth surface.
How to Achieve It:
- File your nails into your desired shape.
- Gently push back your cuticles.
- Buff the surface of your nails to smooth out any ridges.
- Apply a clear nail strengthener or a sheer, milky polish.
- Finish with a very glossy top coat.
- Apply cuticle oil regularly.
Essential Tools & Products for Trending Nails
Nail art doesn’t have to be complicated! A few key tools and quality products can transform your DIY manicures. Here’s a breakdown of the must-haves for tackling this year’s trends:
| Tool/Product | Why You Need It for Trends | Beginner-Friendly Tips |
|---|---|---|
| High-Quality Base & Top Coats | Ensure smooth application, protect nails, and give a long-lasting, glossy finish crucial for most trends. | Look for “chip-resistant” or “quick-dry” formulas. A good top coat adds instant shine! |
| Fine-Tip Nail Art Brushes | Essential for detailed lines, swirls, French tips, and delicate patterns. | Start with 2-3 brush sizes: very fine for dots/lines, medium for thicker strokes. |
| Dotting Tools | Create perfect dots for patterns, outlines, or accent art. | These come in various tip sizes. Use the larger ones for bigger dots and smaller ones for precise details. |
| Nail Polish Remover & Cotton Pads | For cleaning up mistakes and prepping nails. | Use acetone-free remover if you have sensitive skin or artificial nails. Lint-free pads prevent fuzzy residue. |
| Cuticle Oil | Keeps cuticles healthy and soft, making for a cleaner, more professional-looking manicure. Essential for “clean” looks and polished finishes. | Apply daily, especially after removing polish or before bed. |
| Nail Files and Buffers | For shaping nails and smoothing surfaces. A smooth surface is key for many polished trends. | Use a finer grit file (180-240 grit) for natural nails. Buff gently to avoid thinning the nail. |
| Colored Gel Polishes (Optional) | If you’re diving into chrome or want super-long-lasting, vibrant color for trends like modern French tips. | Start with a few trendy colors. Remember you’ll need a UV/LED lamp and a gel top coat. |
| Nail Art Stickers/Stencils | Helpful for creating clean lines, French tips, or simple patterns without needing a super steady hand. | Experiment with different shapes and sizes to see what you like best. |
Easy Nail Care Tips for Healthy, Beautiful Nails
No matter what trend you’re trying, healthy nails are the best canvas. Taking good care of your nails doesn’t require a lot of time or complicated routines. A little consistent effort goes a long way!
Daily Habits:
- Moisturize: Apply hand cream and cuticle oil daily to keep nails and skin hydrated. This prevents dryness and breakage.
- Protect Your Hands: Wear gloves when doing chores involving water or harsh chemicals (like washing dishes or cleaning). This is crucial for preventing nail damage and dryness.
Weekly Maintenance:
- File Gently: File your nails in one direction to prevent splitting. Use a fine-grit file.
- Push Cuticles: After a shower, when they are soft, gently push back your cuticles with an orange stick or cuticle pusher. Never cut them, as this can lead to infection.
- Buff (Occasionally): For a smooth surface for polish, gently buff your nails. Don’t overdo it, as too much buffing can thin the nail.
- Hydrate & Nourish: Use a good cuticle oil to nourish the nail bed.
For more in-depth nail health information and recommendations, the NHS guide on healthy skin, hair, and nails provides excellent general advice.
FAQ: Your Trending Nail Design Questions Answered
Here are some common questions beginners have about rocking this year’s nail trends:
Q1: I’m new to nail art. Which trend is easiest to start with?
A1: The “Quiet Luxury” manicure or the “Clean Girl” aesthetic are fantastic starting points! They rely on perfect polish application and healthy nails, which are foundational skills. Simple swirls or dots with a fine-tip brush are also relatively easy for beginners to pick up.
Q2: Do I need special tools for chrome nails?
A2: Yes, for the true mirror-like finish, you’ll need chrome pigment powder and a no-wipe gel top coat. Gel polish and a UV/LED lamp are also required for this specific technique. Regular polish won’t achieve the same reflective effect.
Q3: How can I make my nail art last longer?
A3: A good quality base coat and, especially, a durable top coat are your best friends! For gel polish users, ensuring proper curing under the lamp is key. For regular polish, avoid prolonged submersion in water and reapply top coat every few days if needed.
Q4: My French tips always look messy. What’s the secret?
A4: Precision and patience! Using French tip stencils or guides can help immensely. Alternatively, a very fine striping brush allows for control. Don’t overload your brush, and try to keep the polish thin and even. Practicing on an old nail or toe can help build confidence.
Q5: Can I wear trendy nail designs even if my nails are short?
A5: Absolutely! Many trends, like abstract art, colored French tips, or aura nails, look stunning on short

