Travel nail art is all about choosing designs and techniques that are easy to maintain, quick to apply (or touch up) on the go, and perfectly complement your vacation vibe. Think less fuss, more fun, and consistently chic nails throughout your trip!
Ever packed for a trip and realized your nails are looking… less than vacation-ready? It’s a common travel hiccup! We want our nails to look gorgeous for those vacation photos, but the thought of achieving intricate nail art in a hotel bathroom can be daunting. Don’t worry, stylish travel nails are totally achievable without turning your trip into a salon marathon. Get ready to discover simple yet stunning nail art ideas and smart tips that’ll keep your manicure looking fabulous from takeoff to touchdown and beyond! We’ll cover everything you need to know to achieve effortless style with your travel nail art, no matter where your adventures take you.
Frequently Asked Questions About Travel Nail Art
Q1: What’s the easiest nail art to do while traveling?
The easiest travel nail art often involves solid colors, subtle accent nails (like a glitter tip or a single stripe), or simple geometric shapes. Think minimalist dots, French tips in a fun color, or even just a really gorgeous shade that pops. Stick to designs that don’t require intricate lines or multiple colors if you’re short on time or space.
Q2: How can I make my nail art last longer on vacation?
Start with clean, dry nails and apply a good quality base coat and top coat. Avoid harsh chemicals or prolonged water exposure when possible. If you’re doing your nails yourself, opt for gel polish if you have access to a UV/LED lamp, as it’s much more durable. For at-home applications, a strategically applied top coat can seal in your design and add extra shine and protection.
Q3: What nail art tools are essential for travel?
For minimalist travel nail art, you might only need a few key items: a cuticle pusher, a nail file, your chosen polishes, and a good quick-dry top coat. If you want a little more flair, consider a dotting tool for simple designs and a small bottle of nail polish remover for clean-ups. A travel-sized LED lamp is also a game-changer if you opt for gel polish.
Q4: Should I get acrylics or gel nails before a trip?
Yes, both acrylics and gel nails can be excellent choices for travel as they are very durable and less prone to chipping than regular polish. Gel nails offer a natural look and great shine, while acrylics provide extra strength and length. The best option depends on your personal preference and how long you want your manicure to last. It’s wise to get them done a few days before your trip to allow them to ‘settle’.
Q5: What colors are best for travel nail art?
Consider your destination! Bright, bold colors are perfect for tropical getaways, while elegant neutrals or deep jewel tones suit city breaks or cooler climates. A classic red or a sophisticated nude is always a safe bet. Don’t be afraid to experiment with metallic shades or glitter for a touch of holiday sparkle.
Q6: How do I fix a chipped nail on vacation?
Carry a small bottle of your base polish and top coat, plus a small nail file. You can often file down the chip, reapply a small amount of polish to the affected area, and then seal it with a quick-dry top coat to get you through the rest of your trip.
Nail Your Vacation: Planning Your Travel Nail Art
Packing for a trip is exciting, but sometimes our nails get overlooked until the last minute. The goal of travel nail art is to have beautiful nails that require minimal fuss while you’re away, so you can focus on relaxing and exploring. It’s about looking polished without the constant worry of chips and smudges.
Think about your destination, the activities you’ll be doing, and your personal style. Are you hitting the beach, exploring a bustling city, or enjoying a cozy mountain retreat? Your nail art can be a fun extension of your travel wardrobe and mood. We’re skipping the complicated stuff and focusing on easy wins that look amazing.
Choosing Your Travel Nail Style
The Classic Minimalist: Think elegant neutrals, subtle French tips, or a single metallic accent nail. These are timeless, chic, and forgiving if a tiny chip occurs. They go with everything!
The Tropical Pop: Bright corals, turquoise, or sunny yellows are perfect for beach destinations. You can go for a solid color on all nails or use them for fun accent designs.
The City Chic: Deep reds, sophisticated blues, or metallic shades offer an urban edge. Consider geometric patterns or negative space designs for a modern feel.
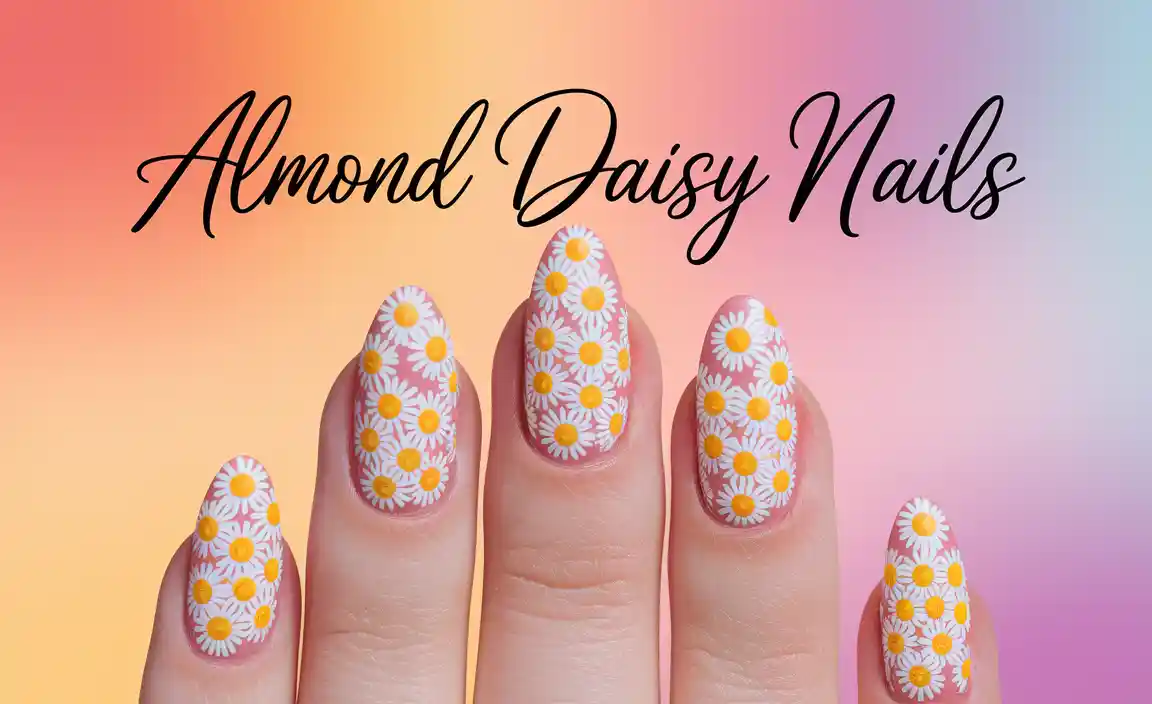
The Whimsical Wanderer: Don’t be afraid to play with subtle patterns like tiny stars, dots, or simple floral motifs. These add a touch of personality without being overwhelming.
Essential Prep: Laying the Foundation for Fab Nails
Before you even think about color or design, proper nail prep is key to making your travel nail art last. Taking a few minutes to prepare your nails will save you potential headaches on your trip. Think of this as building a strong base for your beautiful vacation mani.
Your Pre-Trip Nail Care Routine
- Cleanliness is Next to Godliness: Ensure your nails are completely free of old polish, oils, and lotions. Use a good nail polish remover.
- Shape Up: File your nails to your desired shape. For travel, slightly shorter, rounded nails are often more practical as they’re less likely to snag or break. A glass nail file, like those from GlassNails.com, is great because it seals the nail edge, preventing future splitting.
- Cuticle Care: Gently push back your cuticles using a cuticle pusher. Hydrating them with a cuticle oil is a great idea a day or two before you plan to do your polish. Avoid cutting cuticles right before polishing, as it can lead to unevenness.
- Buffing (Optional but Recommended): A gentle buff can create a smooth surface for polish adhesion. Don’t overdo it; just a light one will do.
- Wipe Down: After prepping, use a lint-free wipe soaked in nail polish remover or rubbing alcohol (isopropyl alcohol is often available at pharmacies) to remove any remaining dust or oils. This is super important for polish longevity!
Base Coat Magic
Never skip the base coat! It’s the invisible hero of a long-lasting manicure. A good base coat:
- Prevents nail stains, especially from darker polishes.
- Creates a smooth surface for your color to adhere to, improving longevity.
- Helps prevent chipping by providing a grippy layer.
Look for a strengthening or quick-drying formula to save precious time.
Effortless Travel Nail Art Ideas (Beginner-Friendly!)
Now for the fun part! These designs are chosen for their ease of application, durability, and overall chic factor. They’re perfect for DIYers who want stylish nails on vacation without a fuss.
1. Solid Color Chic
Why it’s great for travel: The ultimate easy win! A beautiful solid color looks polished and sophisticated with minimal effort. Plus, if a tiny chip happens, it’s usually less noticeable than on intricate designs.
How to do it:
- Apply your base coat and let it dry completely.
- Apply two thin coats of your chosen polish. Let each coat dry partially before applying the next.
- Finish with a high-quality, quick-drying top coat. This is your best friend for locking in color and shine.
Travel Tip: Pack a small bottle of your chosen color and a quick-dry top coat for touch-ups. A small file can also help smooth down any chips.
2. Subtle Accent Nail
Why it’s great for travel: Adds a touch of personality without requiring perfect execution on every nail. If one nail gets slightly damaged, it’s often easy to fix or even remove the accent and have a solid color!
How to do it:
- Prep nails and apply base coat.
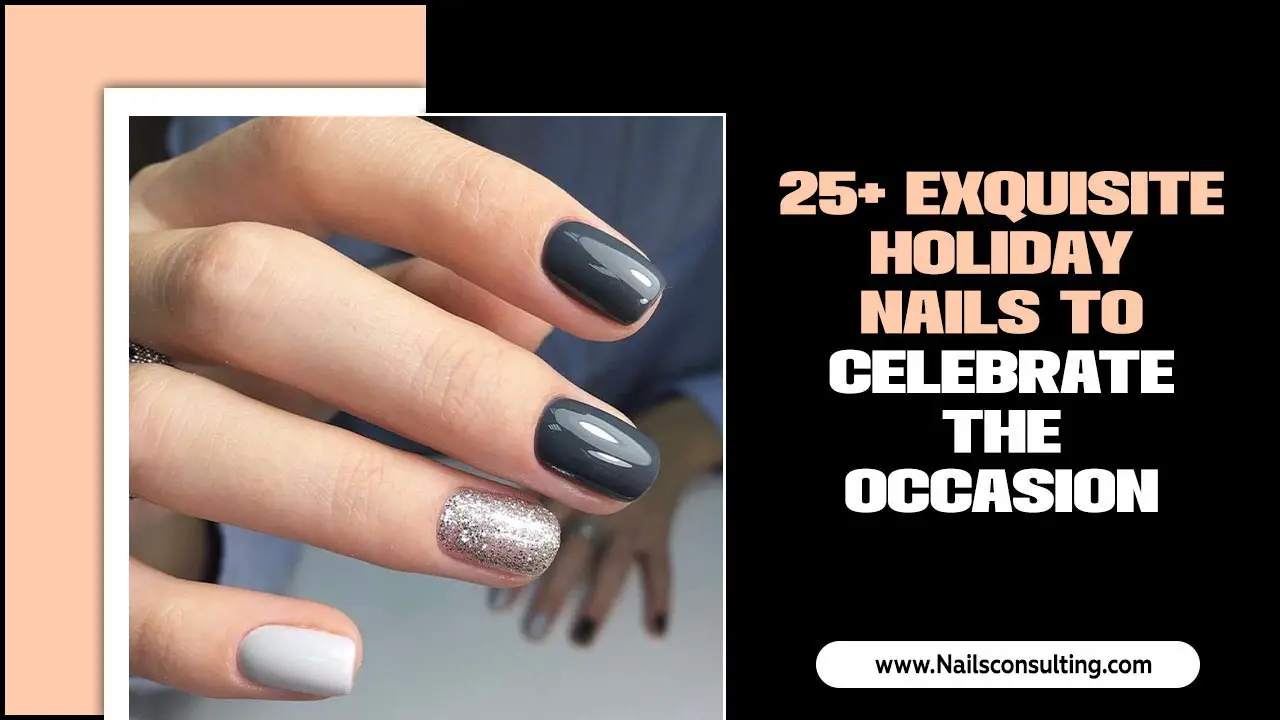
- Paint all nails except one (usually the ring finger) with your main polish color.
- Apply a contrasting color, glitter polish, or apply a simple design (like a stripe or dots) on the accent nail.
- Once dry, apply a top coat to all nails.
Accent Nail Ideas:
- A metallic shade (gold, silver, rose gold).
- A glitter polish.
- A single stripe in a contrasting color.
- A few small dots.
Practical Tools & Products for the Go
You don’t need a full salon in your suitcase! These travel-sized essentials will help you maintain your gorgeous nails.
| Item | Why it’s essential for travel | Pro Tip |
|---|---|---|
| Travel-Size Nail File | For quick fixes on chips or snags. | Glass files are gentle and help seal the nail edge. |
| Quick-Dry Top Coat | Locks in polish, adds shine, and dries rapidly to prevent smudges. | Can be used as a refresh over your polish mid-trip. |
| Cuticle Oil Pen | Keeps cuticles hydrated, preventing dryness and hangnails. | Apply before bed for best results. |
| Small Bottle of Polish Remover | For cleaning up mistakes or removing polish entirely. | Opt for acetone-free if you have extensions or gels. |
| Travel-Size Hand Cream | Hydrates hands, which complements your freshly manicured nails. | Apply after hand washing to keep skin soft. |
Pro Tips for Long-Lasting Travel Manis
Here are some of Lisa’s favorite secrets for keeping your travel nail art looking salon-fresh:
- The Power of Two Coats: Always do two thin coats of your colored polish. One thick coat is more likely to chip.
- Seal the Deal with Top Coat: Apply a generous layer of top coat over your dried color. For extra durability, consider a top coat with UV protection to prevent fading, especially if you’re headed somewhere sunny. You can reapply top coat every few days to refresh your manicure.
- Avoid Water Woes: While you can’t avoid water entirely, try to minimize prolonged soaking of your hands. Wear gloves when doing dishes or using harsh cleaning products.
- Be Gentle: Your nails are not tools! Avoid using them to pry things open or scrape. This is a common cause of chips and breaks.
- Embrace the Touch-Up Kit: A small pouch with your main polish color, a quick-dry top coat, and a mini nail file can be a lifesaver for spontaneous touch-ups.
- Consider Gel or Dip: If you have access to a UV/LED lamp, gel polish offers incredible durability. Alternatively, opting for a gel or dip powder manicure before your trip is a fantastic way to ensure long-lasting, chip-free nails for the entire duration. Companies like OPI and Essie offer high-quality gel polishes. For more information on nail care and durability, the NailCareAndAdvice.com website provides in-depth information on nail anatomy and health.
- Pack Smart: If you’re bringing polish, place them upright in a plastic bag within your toiletries to prevent leaks.
3. The Dot Habit
Why it’s great for travel: Dots are incredibly easy to create with a simple dotting tool or even the tip of a toothpick/pen. They add a playful, dainty touch.
How to do it:
- Apply base coat and two coats of your main polish color.
- Dip your dotting tool (or toothpick) into a contrasting polish color.
- Place dots onto your nail. You can make a pattern (like evenly spaced dots, clusters, or a simple line of dots), or just a few scattered ones.
- Let dry completely, then apply your top coat.
Travel Tip: Practice a few dots before you leave. A minimal number of dots on a neutral background is chic and easy to maintain.
4. The Simple Stripe
Why it’s great for travel: A single stripe, whether vertical or horizontal, adds a geometric, modern feel. It’s easy to control and less prone to messy edges than complex patterns.
How to do it:
- Apply base coat and your main polish color.
- Once the main color is dry, carefully draw a single stripe using a fine-tipped brush or a striping tool with a contrasting polish. You can place it at the tip (like a French tip variation), at the base, or diagonally across the nail. Alternatively, use striping tape for a perfectly straight line.
- If using striping tape, apply it after the base color is fully dry, paint over it, and peel off the tape carefully while the color is still slightly wet.
- Let dry, then apply top coat.
Travel Tip: A metallic stripe on a matte or creme finish can look very sophisticated and holds up well.
5. The Half-Moon Mani
Why it’s great for travel: This retro-chic design is surprisingly easy and can hide regrowth better than a standard manicure.
How to do it:
- Apply base coat and your first polish color (this will be the “moon” color). Let it dry completely.
- Use a small circular sticker or a guide (like a round cut-out of cardstock) to cover the half-moon area at the base of your nail.
- Paint the rest of the nail with your second polish color.
- While the second color is still wet, carefully peel off the sticker/guide.
- Let dry and apply top coat.
Travel Tip

