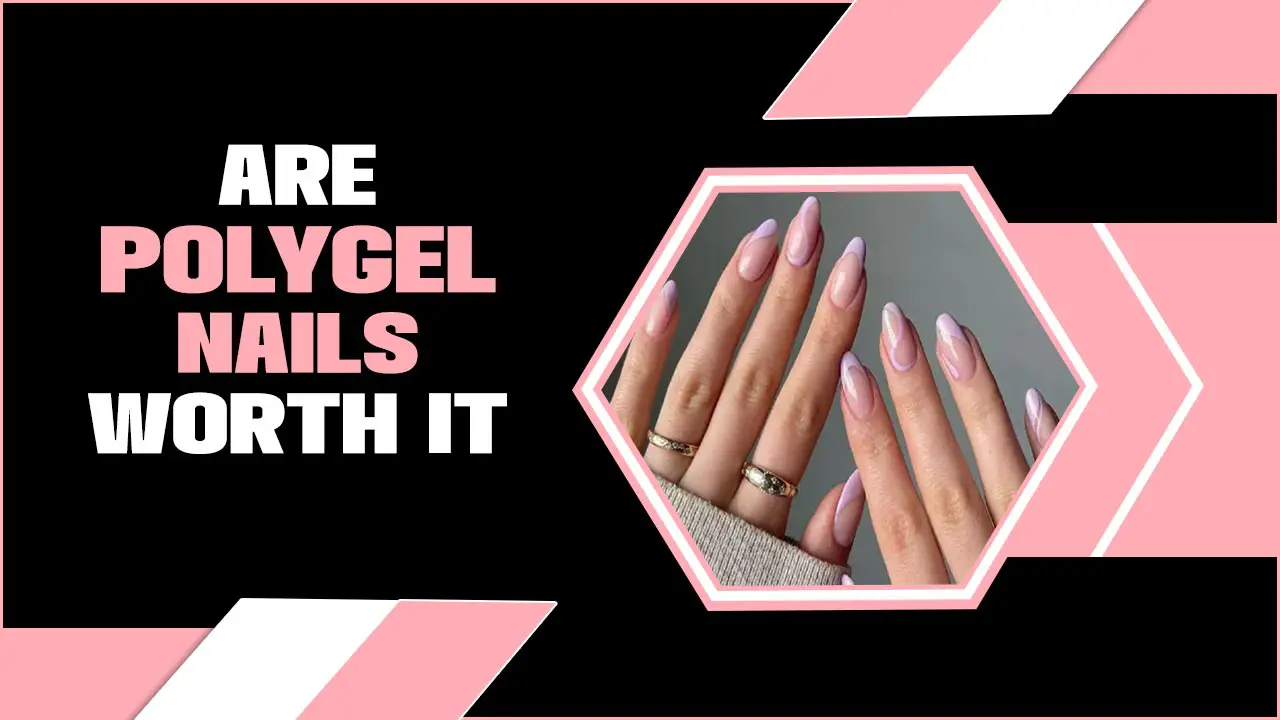
Translucent nails offer a chic, minimalist aesthetic that’s surprisingly easy to achieve and customize. Perfect for everyday wear and special occasions, this trend is all about subtle elegance and glowing, healthy-looking nails.
So, you’ve seen those gorgeous, almost-see-through nails and wondered, “How can I get that look?” It’s not as complicated as it might seem! Translucent nails are like a soft whisper of color, giving your fingers a polished, ethereal glow. They’re perfect when you want something super chic but not overpowering. Whether you’re headed to work or a fancy event, this trend is your new best friend. Let’s dive in and learn how to make your nails shine with this effortlessly beautiful style, no salon appointment needed!
Translucent Nails: Your New Go-To Chic
Translucent nails, sometimes called “jelly nails” or “glass nails,” have taken the beauty world by storm. They offer a subtly sophisticated look that’s incredibly versatile. Think of it as a wash of color that lets the natural look of your nail bed peek through, creating a soft, luminous effect. This trend is fantastic for anyone who loves a minimalist aesthetic or wants a polished finish that doesn’t scream for attention.
Why are they so popular? They’re incredibly flattering, easy to achieve at home, and can be customized to match any mood or outfit. Plus, they give your nails a healthy, “your-nails-but-better” vibe.
What Exactly Are Translucent Nails?
At its core, a translucent nail look is achieved by using a sheer or jelly-like polish. Unlike opaque polishes that completely cover the nail, translucent polishes allow light to pass through, giving them a delicate, almost see-through appearance. This creates a beautiful depth and a soft, glowing effect.
The magic of translucent nails lies in their subtlety. They enhance your natural nail color without masking it, offering a refined and elegant finish. This makes them a perfect choice for various occasions, from everyday wear to more formal events.
Why You’ll Love This Trend
There are so many reasons to try out the translucent nail trend:
Effortless Chic: They exude a sophisticated, minimalist vibe that’s always in style.
Versatile Color Options: From sheer pinks and peaches to soft blues and greens, the color possibilities are endless.
Natural-Looking Glow: They enhance your natural nail shape and color, making your nails look healthy and radiant.
Beginner-Friendly: You don’t need advanced nail art skills to achieve a beautiful translucent look.
Customizable: You can play with different shades, finishes, and even add subtle accents.
Work-Appropriate: Their sheer nature makes them a perfect choice for professional environments.
The Essential Tools for Your Translucent Nail Journey
Getting started with translucent nails is easy with just a few key tools. You likely already have some of these in your nail kit!
Here’s what you’ll need:
Nail File: To shape your nails perfectly.
Cuticle Pusher/Orange Stick: To gently push back your cuticles for a clean canvas.
Nail Buffer: To smooth out any ridges and create a nice surface for polish.
Base Coat: Essential for protecting your natural nails and helping polish adhere.
Translucent Nail Polish: This is the star of the show! Look for “jelly” or “sheer” polishes.
Top Coat: To seal in your color, add shine, and protect against chipping.
Rubbing Alcohol or Nail Polish Remover: For cleaning the nail plate before applying polish.
Cotton Pads/Balls: For applying remover.
Optional: Fine glitter, small nail art brushes for subtle designs.
Step-by-Step Guide to Achieving Translucent Nails
Ready to get your glow on? Follow these simple steps for gorgeous translucent nails right at home.
Step 1: Prep is Key!
A good manicure always starts with proper nail preparation. This ensures your polish lasts longer and looks its best.
Clean Your Nails: Gently remove any old polish with a cotton pad and nail polish remover.
Shape Your Nails: Use your nail file to shape your nails to your desired length and style. Aim for smooth, even strokes.
Push Back Cuticles: Carefully use a cuticle pusher or orange stick to gently push back your cuticles. This creates a cleaner nail surface. Avoid cutting your cuticles at home unless you’re experienced, as it can lead to infection.
Buff Your Nails: Lightly buff the surface of your nails to smooth out any ridges and create a slightly textured surface for the polish to grip onto. Once buffed, wipe your nails with a damp cloth or alcohol to remove dust.
Step 2: Apply a Base Coat
A clear base coat is crucial. It protects your natural nails from staining (especially important with colored polishes) and provides a smooth, even surface for your translucent polish to adhere to. Apply one thin layer and let it dry completely.
Step 3: Choose and Apply Your Translucent Polish
This is where the magic happens! Translucent polishes come in a rainbow of shades. For a classic translucent look, opt for sheer pinks, peaches, or nudes.
First Layer: Apply a thin, even coat of your chosen translucent polish. Don’t worry if it looks streaky or too light; this is normal for sheer polishes. The key is to apply thin coats.
Drying Time: Allow the first coat to dry completely. This is vital! Rushing this step can lead to a streaky or smudged finish.
Second Layer (Optional): If you want a slightly more opaque or richer color, apply a second thin coat. Again, let it dry thoroughly. For a true “jelly” effect, you might only need one or two thin coats. You can also mix a drop of opaque polish into a clear polish for a custom translucent shade.
Pro Tip: If you’re aiming for the “glass nail” effect, a commonly used technique involves thinning down an opaque polish with a specialized thinner or even a clear top coat. This takes practice to get the right consistency for a translucent, stained-glass look. For beginners, starting with pre-made jelly or sheer polishes is much easier!
Step 4: Add Subtle Embellishments (Optional)
Want to elevate your translucent nails? Consider adding subtle accents:
Fine Glitter: A tiny sprinkle of ultrafine holographic or iridescent glitter over the wet polish can add a beautiful shimmer.
Minimalist Art: Use a fine brush and a contrasting polish to draw a delicate line or a tiny dot near your cuticle.
French Tip: A very fine, translucent French tip can be stunning.
Step 5: Seal with a Top Coat
Once your translucent polish and any embellishments are completely dry, apply a shiny top coat. This step is essential for:
Protection: It seals in your color and prevents chipping.
Shine: It gives your nails a polished, high-gloss finish.
Longevity: It helps your manicure last longer.
Apply one to two layers of top coat, making sure to cap the free edge of your nail (sweep the brush lightly over the tip of your nail) to prevent lifting and chipping. Let your top coat dry completely before any harsh contact.
Exploring Translucent Nail Shades and Styles
The beauty of translucent nails lies in their adaptability. You’re not just limited to one look! Let’s explore some popular shades and how to wear them.
Popular Translucent Nail Colors
Sheer Pink: The quintessential “your-nails-but-better” shade. It’s universally flattering and adds a healthy flush of color. Perfect for minimalists and a great starter shade.
Milky White/Creamy Beige: These semi-opaque shades offer a soft, creamy look that’s sophisticated and modern. They provide a bit more coverage than a sheer pink but still maintain a translucent feel.
Soft Peach/Coral: These warm tones add a delicate, sun-kissed glow. They’re cheerful and perfect for spring and summer.
Pale Lavender/Baby Blue: For a touch of subtle color, these pastel shades are elegant and refreshing. They offer a hint of personality without being overpowering.
Translucent Red/Berry: If you love a classic red but want a softer take, a sheer red or berry shade gives a stained-glass effect that’s both bold and refined.
Customizing Your Translucent Look
Layering for Depth: Apply two to three thin coats of the same sheer polish to build up color intensity.
Color Blocking: Use two different translucent shades on alternating nails or in sections for a subtle color play.
Ombre Effect: Blend two complementary translucent shades from cuticle to tip for a soft gradient.
Adding Sheen: Mix a tiny bit of pearlescent pigment or fine holographic glitter into a clear polish base for an iridescent translucent finish.
“Glass Jelly” Effect: This advanced technique involves using a highly pigmented, but fluid, colored polish or ink. A tiny amount is mixed with a clear top coat or builder gel to create a “stain” that gives the appearance of colored stained glass. Remember to use very little product to maintain transparency.
Translucent Nails vs. Opaque Nails: A Quick Comparison
Here’s a handy table to see how translucent nails stack up against their more solid counterparts:
Feature
Translucent Nails
Opaque Nails
Coverage
Sheer, allows light to pass through
Full coverage, solid color
Finish
Luminous, soft glow, subtle
Matte or High Gloss, bold
Application
Generally easier for beginners, forgiving
Can show brush strokes, requires precision
Versatility
Minimalist, elegant, natural-looking
Bold statements, vibrant colors, intricate designs
Common Issues
Streaking if applied too thick or unevenly
Chipping, requires more maintenance for complex designs
Best For
Everyday wear, professional settings, subtle elegance
Statement manicures, bright colors, nail art
Translucent Nails and Nail Health
One of the great benefits of translucent nails is how they can beautifully showcase healthy nails. The sheer nature of the polish allows your natural nail color to show through, giving an appearance of health and vitality. However, it’s still important to maintain good nail health:
Hydration: Keep your cuticles and nails moisturized with cuticle oil. This prevents dryness and hangnails, which can detract from the polished look of translucent nails.
Protection: Always use a base coat to protect your natural nail from staining.
Breaks: Give your nails a break from polish every so often to allow them to breathe and recover.
For more information on maintaining healthy nails, the American Academy of Dermatology Association has excellent resources.
Maintaining Your Translucent Manicure
Translucent manicures are generally quite durable, especially when sealed with a good top coat. However, here are some tips to help them last:
Cap the Edges: Always sweep your top coat (and base coat) across the free edge of your nails. This creates a seal that prevents chipping.
Avoid Harsh Chemicals: Wear gloves when doing household chores, washing dishes, or using cleaning products.
Reapplication of Top Coat: If your nails start to lose their shine or you notice minor wear, apply an extra layer of top coat every few days. This can revive the look and add extra protection.
Gentle Removal:** When it’s time for a change, use a good quality nail polish remover and soak your nails for a moment rather than aggressively scraping.
Frequently Asked Questions About Translucent Nails
Here are some common questions beginners have about achieving this trendy look:
Q1: What is the difference between “jelly” and “sheer” nail polish?
While often used interchangeably for this trend, “jelly” polishes tend to have a slightly more buildable, translucent color that looks almost like colored glass or jelly. “Sheer” polishes are typically lighter and offer a more subtle, wash-like color. Both achieve a translucent effect, but jelly polishes can sometimes offer a richer saturation.
Q2: Can I achieve translucent nails with regular nail polish, or do I need gel?
You can absolutely achieve translucent nails with regular nail polish! Look for polishes specifically labeled as “jelly” or “sheer.” Gel polishes can also create a beautiful translucent effect and often offer more durability, but they require a UV/LED lamp for curing.
Q3: My translucent polish looks streaky. What am I doing wrong?
Streaking is common with sheer polishes, especially if applied too thickly or unevenly. The key is to apply thin coats and let each coat dry completely* before applying the next. A good base coat and a smooth application technique help immensely.
Q4: How many coats of translucent polish should I use?
It depends on the polish and the look you desire! Typically, one to three thin coats are sufficient. Start with one coat, let it dry, and then add more until you achieve your desired color depth and translucency.
Q5: Can I have translucent nails if I have natural nail issues like ridges?
Yes! A good nail buffer can smooth out minor ridges before you apply your base coat. If you have significant nail damage or very pronounced ridges, a smoothing base coat can be incredibly helpful before applying your translucent polish.
Q6: How do I make my translucent nails last longer?
The best way to ensure longevity is to properly prep your nails, use a good quality base coat and top coat, and cap the free edges of your nails with each polish coat. Wearing gloves for chores also makes a big difference!
Q7: Is the “glass nail” effect the same as translucent nails?
The “glass nail” effect is a specific type of translucent nail art, often achieved by creating very thin, colored “shards” that resemble stained glass. While all glass nails are translucent, not all translucent nails are “glass nails.” The general translucent trend is much simpler to achieve and focuses on a soft, jelly-like color wash.
Conclusion
Translucent nails are a beautiful, understated way to elevate your style. They offer a polished, healthy-looking finish that’s perfect for any occasion and incredibly easy to achieve at home. From the classic sheer pink to soft, sun-kissed peaches and calming pastels, there’s a translucent shade to suit everyone’s taste.
By following these simple steps and using the right tools, you can confidently create stunning translucent manicures that will have your friends asking for your secret. Remember, the goal is to embrace a subtle elegance and let your nails glow. So, grab your favorite sheer polish, get creative, and enjoy the chic simplicity of translucent nails. Happy polishing!


