Learn to create delicate, chic toothpick French nails at home with this easy-to-follow guide. Perfect for beginners, this tutorial breaks down the technique for a flawless, salon-worthy manicure using simple tools you already have. Achieve elegant French tips effortlessly!
Dreaming of those perfectly crisp French tips but find them a little tricky to master? You’re not alone! Many of us struggle to draw that flawless white line with a regular brush, leading to wobbly edges or uneven smiles. But what if I told you there’s a super simple tool hiding in your kitchen drawer that can help? That’s right, we’re talking about the humble toothpick!
Toothpick French nails are a game-changer for DIY manicures. They offer incredible precision and control, making it easier for even the absolute beginner to achieve a professional-looking French manicure. Forget the frustration; get ready to create elegant, clean, and chic nail art that will impress everyone.
In this guide, I’ll walk you through everything you need to know. We’ll cover the handy tools you’ll need, a super simple step-by-step process, and some pro tips to make your toothpick French nails absolutely perfect. Get ready to elevate your nail game!
Why Toothpick French Nails Are a Beginner’s Best Friend
Traditional French manicures often require a steady hand and a fine-tipped brush, which can be intimidating for newcomers. The toothpick, however, acts like a tiny, precise pen. Its pointed tip allows for intricate control, letting you draw thin, delicate lines or build them up gradually. This means less mess, fewer mistakes, and more confidence as you paint.
Plus, it’s incredibly budget-friendly! You likely already have toothpicks at home, making this a fantastic way to achieve a salon-quality look without the salon price tag or the need for specialized nail art tools. It’s the perfect introduction to the world of nail art, proving that beautiful nails are accessible to everyone.
Essential Tools for Your Toothpick French Manicure
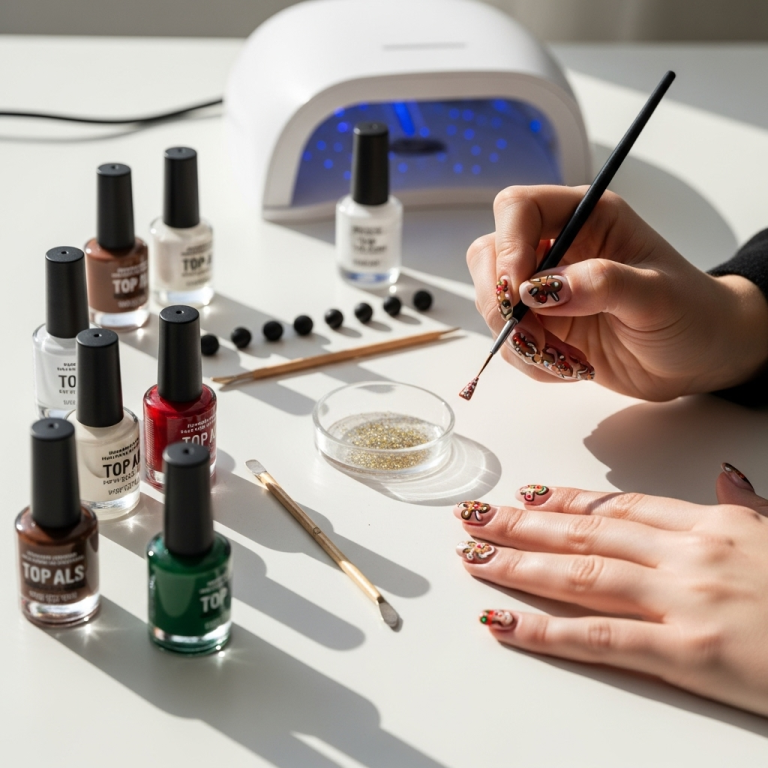
Gathering the right supplies is key to a smooth and successful manicure. You don’t need a lot of fancy gadgets for this! Here’s what you’ll want to have on hand:
- Base Coat: This protects your natural nails and helps your polish last longer.
- Nude or Pale Pink Nail Polish: This will be your nail bed color.
- White Nail Polish: Choose a good quality, opaque white for your tips.
- Toothpicks: Aim for standard wooden toothpicks. Wooden ones absorb a tiny bit of polish, giving you more control than plastic.
- Top Coat: This seals your design, adds shine, and prevents chipping.
- Cuticle Oil (Optional but Recommended): For a polished, moisturized finish.
- Nail Polish Remover and Cotton Swabs/Pads: For cleaning up any small mistakes.
Step-by-Step: Your Toothpick French Nail Tutorial
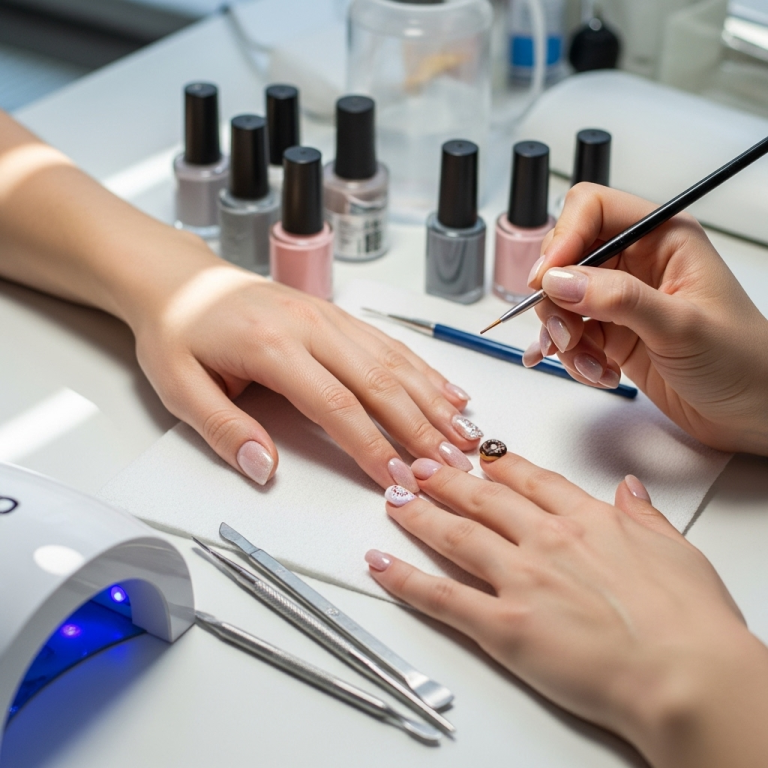
Ready to dive in? Follow these simple steps, and you’ll have beautiful toothpick French nails in no time. Remember, practice makes perfect, so don’t worry if your first try isn’t flawless. The process is forgiving!
Step 1: Prep Your Nails
A great manicure starts with great prep. Make sure your nails are clean, dry, and free of any old polish. Gently file them into your desired shape. For French tips, a squarer shape with slightly rounded corners, often called a “squoval” shape, or a soft almond shape works beautifully.
Push back your cuticles gently using a cuticle pusher or an orangewood stick. This creates a clean canvas and prevents polish from flooding the cuticle area, which can make the polish lift and chip faster. A clean cuticle line also makes drawing the white tip much easier.
Step 2: Apply Your Base Coat
Apply one thin layer of your base coat to each nail. This is crucial for protecting your natural nails from staining, especially from lighter polishes, and it provides a smoother surface for your color polish to adhere to. Let it dry completely before moving on.
A good base coat acts as a bridge between your natural nail and the polish, improving longevity. For information on how nail polish chemicals can affect nail health, you can refer to resources like the FDA’s Cosmetics page on nail products, which discusses safety and ingredients.
Step 3: Apply Your Nail Bed Color
Now, apply your nude or pale pink polish. A light, sheer color is classic for a French manicure, as it mimics the natural look of a healthy nail bed. Apply one or two thin coats, depending on the opacity of the polish. Make sure each coat is completely dry before applying the next, or before starting the white tips.
Taking your time here ensures an even base. If your polish application isn’t perfect, don’t stress! This layer is mostly hidden by the white tip, but a smooth, even base color makes the final result look much more polished.
Step 4: Get Ready to Draw the White Tips
This is where the magic happens! Open your white nail polish and dip a clean, dry toothpick into the polish. You only need a small amount of polish on the tip of the toothpick – too much will create a thick, messy line. Wipe off any excess on the rim of the bottle.
Now, hold the toothpick like a pen (or an artist’s brush). You’re going to use the very tip of the toothpick to draw the white line (the “smile line”) on the free edge of your nail.
Step 5: Draw the Smile Line
Start by making a small dot or a shallow curve on one side of the nail tip, where you want the smile line to begin. Then, gently guide the toothpick across the tip of your nail to the other side, creating a smooth curve. Think of it as drawing a tiny smile! If you make a mistake, don’t panic. Grab a cotton swab dipped in nail polish remover and clean it up immediately before it dries.
If you’re finding it hard to get a smooth curve, try making a series of small dots with the toothpick, and then gently connecting them. You can also try drawing light, thin lines and building up the color and shape gradually. The toothpick’s fine point gives you this amazing control. Remember, it’s easier to add more polish than to take it away!
Step 6: Refine and Perfect
Once you’ve drawn your initial smile lines on all your nails, take a moment to look at them. Are they even? Is one side higher than the other? This is where the toothpick really shines. You can use the dry tip of the toothpick to gently scrape away any small imperfections or excess polish while it’s still slightly wet. Or, use a cotton swab with a tiny bit of remover to carefully clean up any stray lines or uneven areas.
For a crisper line, you can go back over the white tip with the toothpick and a tiny bit more white polish to sharpen the curve or fill in any gaps. The key is to use just a small amount of polish on the toothpick and work precisely.
Step 7: Apply Your Top Coat
Once your white tips are completely dry and you’re happy with the look, it’s time for the top coat. Apply one generous, even layer of your favorite top coat over your entire nail, including the white tips and the base color. This will seal everything in, add a beautiful glossy shine, protect your hard work from chipping, and make your manicure last longer.
Be sure to cap the free edge of your nail with the top coat – that means running your brush along the very edge of your nail tip. This is a crucial step in preventing chips and extending the life of your manicure. Let your top coat dry thoroughly.
Step 8: Moisturize and Admire!
Once your nails are completely dry, apply a little cuticle oil around your nails. Gently massage it in. This rehydrates your skin after the polishing process and makes your manicure look extra professional and finished.
Take a moment to admire your work! You’ve just created beautiful, elegant toothpick French nails all by yourself. How amazing is that?
Tips and Tricks for Flawless Toothpick Manicures
Even with the best tutorial, a few extra tips can make all the difference. Here are some of my favorite secrets for achieving perfect toothpick French nails:
- Work on One Nail at a Time: Especially when you’re learning, focus on completing one nail from base coat to top coat before moving to the next. This prevents mistakes and ensures your polish doesn’t dry out too quickly.
- Thin Coats are Key: Just like with regular polish application, thin coats of both the base color and white tip polish will dry faster and look smoother. Avoid thick, gloopy layers.
- Toothpick Freshness Matters: Use a new toothpick for each nail, or at least for each fresh dip of polish. A toothpick with dried polish on it won’t give you a precise line.
- Angle is Everything: Experiment with the angle you hold the toothpick. Sometimes a slight tilt can give you a smoother application.
- Practice on a Stamp or Paper: Before you go near your nails, try drawing a few lines on a piece of paper or an old nail stamp to get a feel for the control a toothpick offers.
- Patience, Patience, Patience: Nail art takes a little time and the willingness to accept a few learning curves. Don’t rush the drying process between coats.
- White Polish Choice: Some white nail polishes are more opaque and less streaky than others. Experiment to find one you love! A polish specifically designed for French tips can sometimes be a good choice.
What Kind of Toothpick is Best?
When it comes to creating toothpick French nails, the type of toothpick you use can impact your results. Here’s a quick breakdown:
| Toothpick Type | Pros | Cons |
|---|---|---|
| Standard Wooden Toothpicks | Absorbent (holds a small amount of polish), widely available, inexpensive, natural feel for grip. | Can splinter occasionally; tip can break if too much pressure is applied. |
| Plastic Toothpicks | Smooth surface, doesn’t splinter. | Polish doesn’t adhere as well, can be slippery to hold, less control. |
| Bamboo Toothpicks | Often have a finer, more consistent point; eco-friendly alternative. | May be slightly harder to find than standard wooden ones; can still splinter. |
Generally, standard wooden toothpicks are the most recommended for nail art like this. Their slight absorbency helps control the amount of polish you pick up, and their familiar shape makes them easy to handle. If you find a bamboo toothpick with a very fine, sharp point, that can also be an excellent option.
Common Mistakes and How to Fix Them
Even experienced nail artists run into little hitches! Here’s how to tackle some common issues when doing toothpick French nails:
- Wobbly Smile Line: If your line isn’t smooth, use the dry tip of another toothpick to gently etch and reshape the line while the polish is still wet. You can also use a fine-tipped brush (cleaned with remover) to refine the edge.
- Thick, Globby White Line: This usually happens from applying too much polish onto the toothpick. Carefully use the edge of another toothpick to scrape away excess before it dries. Alternatively, use a very fine brush with nail polish remover to carefully thin out the line.
- Uneven White Tips: Compare your nails side-by-side. Use a dry toothpick to gently lift and adjust polish in a specific spot, or carefully add a tiny bit more polish to build up a lower side.
- Polish Smudging: This is almost always due to not letting coats dry fully. If you smudge, gently try to smooth it over with a clean fingertip (quickly!) or carefully smooth the edge with a clean toothpick. If it’s bad, you might need to remove and reapply that nail’s tip.
- Polish on Cuticles/Skin: Dip a cotton swab or a specialized cleanup brush (a fine-tipped brush works well) into nail polish remover. Carefully trace around your nail to clean up any stray polish. Do this immediately after painting the white tip for the easiest cleanup.
Beyond the Classic White: Creative Toothpick French Ideas
Once you’ve mastered the classic white French tip, why stop there? The toothpick’s precision opens up a world of creative possibilities. Here are a few ideas to inspire your next manicure:
- Colored Tips: Swap the white polish for any color you love! Pastels, neons, deep jewel tones – the possibilities are endless.
- Reverse French: Instead of painting the tip, paint a curve along your cuticle line. The toothpick is perfect for this delicate work near the base of your nail.
- Double French: Create two thin lines on the tip – perhaps one white and one colored, or two different complementary colors.
- Half-Moon French: Paint a half-moon shape at the base of your nail, leaving the rest of the nail plain or with a sheer color.
- Glitter Tips: Apply a thin line of glitter polish to the tips for a touch of sparkle. The toothpick can help ensure a neat edge for the glitter.
- Ombre French Tips: While more advanced, you can use the toothpick to carefully blend a lighter shade into the white tip for a subtle ombre effect.
The key is to use the toothpick to guide the polish precisely where you want it. Start small, and don’t be afraid to experiment!
FAQ: Your Top Toothpick French Nail Questions Answered
Here are some common questions beginner nail enthusiasts ask about creating toothpick French nails:
Q1: How long does it take to do toothpick French nails?
A1: For beginners, expect to spend about 30-45 minutes on a full set. As you get more comfortable with the technique, you can likely speed it up to 20-30 minutes. Remember to factor in drying time between coats!
Q2: Do I need special polish for toothpick French tips?
A2: Not at all! Regular nail polish works perfectly. You’ll need a good base coat, your chosen nail bed color, an opaque white polish for the tips, and a top coat. The magic is in the application tool, not necessarily the polish itself.
Q3: Can I use the same toothpick multiple times?
A3: It’s best to use a fresh toothpick for each nail or at least every few nails. Once a toothpick has dried polish on it, it becomes less effective and can create a rough or uneven line. Keep a few handy!
Q4: My white lines are too thick. How can I make them thinner?
A4: This usually means you’re using too much polish on the toothpick. Try dipping just the very tip into the polish and wiping off the excess on the bottle’s rim. You can also use a dry toothpick to gently scrape away excess polish while it’s still wet to refine the line.
Q5: What if I mess up the white line? Can I fix it?
A5: Absolutely! The beauty of the toothpick method is its precision. If you make a mistake, you can use another clean toothpick to gently reshape the line while the polish is wet. For more significant errors, use a cotton swab dipped in nail polish remover for a precise cleanup without disturbing the rest of your manicure.
Q6: How can I make my French tips last longer?
A6: Ensure you’ve prepped your nails well, applied thin coats of polish, allowed each coat to dry properly, and sealed your design with a good quality top coat. “Capping” the free edge of your nail with your top coat is especially important for preventing chips.
Q7: Can I do this on my toenails too?
A7: Yes! The toothpick method is just as effective on toenails. You might find it even easier to get precise lines on your toenails due to their shape and the way you hold your foot during application. Just remember to use the same steps for prep and finishing.
Conclusion
There you have it – your complete guide to creating beautiful toothpick French nails! You’ve learned how this simple kitchen staple can transform your DIY manicures, offering precision and ease that even beginners can master. From proper nail prep to drawing that perfect smile line with a toothpick, you’re now equipped with the knowledge and confidence to achieve salon-worthy French tips right at home.
Remember to be patient with yourself, especially during your first few attempts. Nail art is a skill that develops with practice. Embrace the process, have fun experimenting with colors and styles, and don’t be afraid to use that toothpick for more than just cleaning! Your nails are a canvas for self-expression, and with toothpick French nails, you’ve unlocked a new level of chic and stylish creativity. So go ahead, grab those toothpicks, and let your fingertips do the


