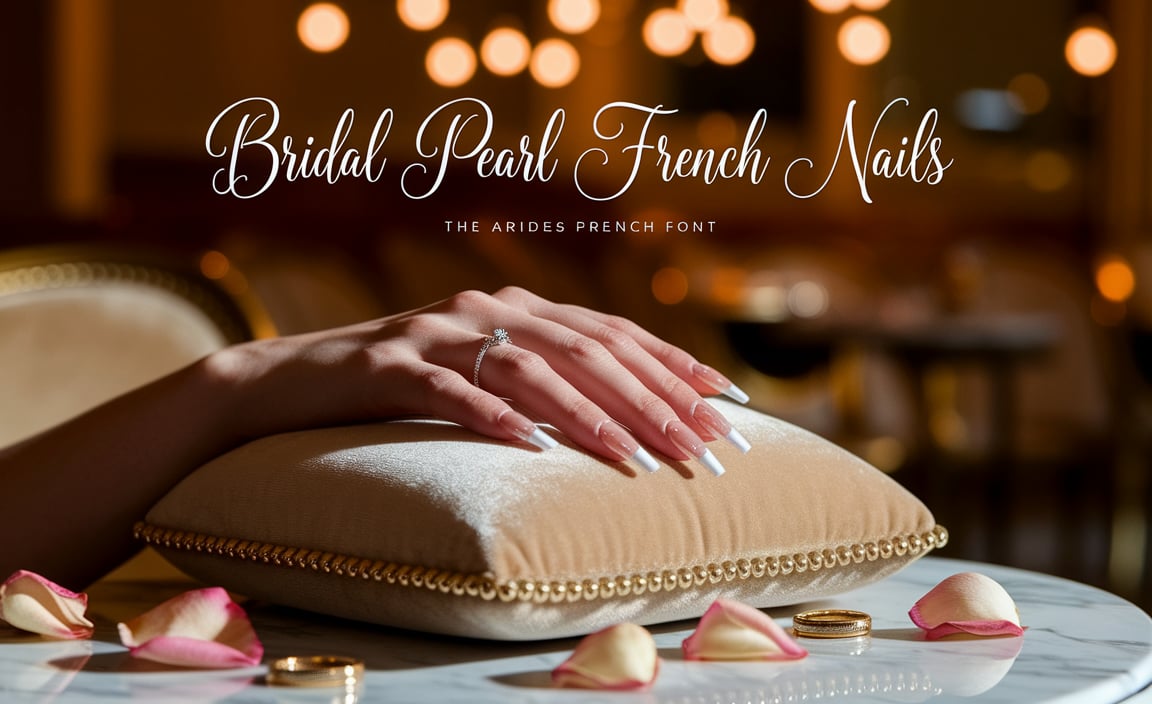
Toothpick French nails offer a quick, chic way to achieve a classic French manicure look using a common household item for precise tip application. This beginner-friendly guide shows you how to create elegant, clean french tips effortlessly at home, making salon-worthy nails accessible to everyone.
Looking for a super easy way to get that classic French manicure look? Traditional French tips can be tricky, especially for beginners. We’ve all been there, fumbling with brushes, trying to get that perfect white line. It can feel frustrating when your tips look a little wobbly. But what if I told you a simple toothpick could be your secret weapon for flawless French nails?
That’s right! With just a toothpick and a few nail polish essentials, you can achieve a clean, sophisticated French tip manicure right at home. This guide will walk you through everything you need to know, step-by-step. Get ready to transform your nails into symbols of effortless chic! We’ll cover the tools, the technique, and how to make your toothpick French nails look salon-perfect.
Why Toothpick French Nails Are Your New Best Friend
The beauty of the toothpick French manicure lies in its simplicity and the incredible precision it offers. For anyone who finds freehanding French tips a challenge, this method is a game-changer. It’s accessible, budget-friendly, and the results are consistently elegant.
Why are they so popular?
Precision: A toothpick’s fine point allows for incredibly accurate application of polish, creating crisp, clean lines for your French tips.
Ease of Use: For beginners, it’s far less intimidating than using a fine nail art brush. The learning curve is minimal!
Affordability: You likely already have a toothpick at home! No need for expensive nail art tools.
Chic Aesthetic: The French manicure is a timeless classic. It’s universally flattering and adds a touch of polished sophistication to any look. Toothpick French nails deliver this classic style with ease.
Speed: Once you get the hang of it, this method can significantly speed up your DIY manicure time.
It’s the perfect way to achieve that desirable, clean-cut look that’s always in style.
What You’ll Need: Your Toothpick French Nail Toolkit
Gathering your supplies is the first step to a successful at-home manicure. Don’t worry, you won’t need a professional nail kit! Most of these items are probably already in your bathroom or kitchen drawer.
Here’s your essential shopping list:
Base Coat: To protect your natural nails and help polish adhere better.
Nude or Pale Pink Polish: This is your base color for the nail.
White Nail Polish: The star of the show for your tips! A good quality opaque white polish works best.
Toothpicks: The critical tool for applying your white tips. Choose standard wooden toothpicks; they have a good point.
Top Coat: To seal your design, add shine, and increase longevity.
Nail Polish Remover: For any little mistakes or cleaning up edges.
Cotton Swabs or Small Brush: For precise cleanup around the cuticle and sidewalls.
Tool Spotlight: The Humble Toothpick
The toothpick might seem too simple to be an effective nail art tool, but its design is perfect for this technique. The fine, pointed tip allows for controlled application of polish, much like a very fine brush, but with added stability for those just starting out. It’s a brilliant hack that democratizes a classic nail look. For more tips on nail tools, check out resources from the American Dental Association on oral hygiene products, which often include toothpicks and why a good point is important!
Step-by-Step Guide: Creating Your Toothpick French Nails
Ready to get started? Follow these simple steps to achieve beautiful toothpick French nails. Remember, practice makes perfect, so don’t get discouraged if your first attempt isn’t magazine-ready.
Step 1: Prep Your Nails
Proper nail preparation is key to a lasting manicure.
Clean: Remove any old polish with nail polish remover.
Shape: File your nails into your desired shape. Almond or squoval shapes are classic for French tips.
Cuticles: Gently push back your cuticles. Avoid cutting them if you’re a beginner, as this can lead to damage.
Buff (Optional): Lightly buff the surface of your nails to smooth out any ridges and create a slightly textured surface for better polish adhesion.
Wash: Wash your hands thoroughly to remove any dust or oils. Ensure your nails are completely dry before proceeding.
Step 2: Apply Base Coat
Apply one thin layer of your chosen base coat. This primer helps prevent staining from darker polishes and creates a smooth canvas for your color.
Let the base coat dry completely, which usually takes about 1-2 minutes.
Step 3: Apply Your Base Color
Apply your nude or pale pink polish as your base color. Two thin coats are usually better than one thick coat for an even finish.
Allow each coat to dry for at least 2-3 minutes before applying the next or moving on. This prevents smudging and ensures a smooth surface.
Step 4: Prepare Your White Polish and Toothpick
Open your white nail polish.
Dip a clean toothpick into the white polish. You only need a small amount on the tip of the toothpick – don’t overload it. A little goes a long way!
Wipe off any excess polish on the rim of the bottle to prevent globs.
Step 5: Create The French Tip
This is where the magic happens!
Angle Your Hand: Hold your hand at a comfortable angle. Many find it easiest to tilt their hand so the nail is at an angle to their line of sight.
Dab and Swipe: Gently touch the tip of the toothpick to the edge of your nail where you want the white tip to start.
Create the Smile Line: Carefully “draw” or “dab” the white polish across the tip of your nail, creating a curved “smile line.” Work from one side to the other, or start in the middle and pull outwards. The goal is a clean, curved edge.
Refine: If you make a mistake or need more polish, re-dip your toothpick (after wiping off excess from the bottle rim!) or use a clean part of the toothpick. You can use the side of the toothpick to gently smooth or shape the line.
Repeat: Do this for all your nails. Work one nail at a time. It’s easier to manage and gives you time to correct any slips.
Step 6: Clean Up Edges
Dip a cotton swab or a small, stiff brush into nail polish remover.
Carefully clean up any stray white polish around your cuticles or along the sidewalls of your nail. Precision here makes a huge difference in the final look.
You can also use the damp swab to gently sharpen the smile line if needed.
Step 7: Apply Top Coat
Once your white tips are completely dry (wait at least 5-10 minutes after applying the white polish), apply a generous layer of top coat.
This seals in your design, adds incredible shine, and protects your manicure from chipping.
Make sure to cap the free edge of your nail by swiping the top coat brush along the very edge. This helps prevent tip wear.
Tips for Perfect Toothpick French Nails
Even with a simple method, a few extra tricks can elevate your toothpick French manicure game.
Practice on a Flat Surface: Before tackling your nails, try drawing lines on a piece of paper or a plastic baggie with the toothpick dipped in polish. This helps you get a feel for the polish flow and control.
Thin Coats are Key: Avoid thick layers of polish for both the base color and the white tip. Thin, even coats dry faster and look more refined.
Toothpick Quality Matters: While any toothpick works, some may have a more splintered or blunt end. Try a few to find one with a nice, sharp yet sturdy point.
Don’t Rush the Drying Time: Patience is crucial! Allowing each layer to dry sufficiently prevents smudges and makes cleanup much easier.
Less is More with Polish: Start with a small amount of white polish on the toothpick. You can always add more, but removing excess can be messy.
Clean Your Toothpick: If you’re going back for more polish or making adjustments, wipe the toothpick clean with a paper towel or a bit of remover to avoid dragging old polish.
Consider a Peel-Off Base Coat: For easier cleanup, especially around the cuticle area, you can apply a layer of peel-off base coat around your nail before painting. Once the polish is dry, you can peel it off, taking any excess color with it.
Toothpick French Nails: A Comparative Look
While the toothpick method is fantastic for beginners, it’s helpful to see how it stacks up against other French manicure techniques. This table highlights the pros and cons.
| Feature | Toothpick French Nails | French Tip Guides/Stencils | Freehand with Nail Art Brush | Stamper Method |
| :—————— | :————————————————— | :——————————————————- | :———————————————————– | :————————————————————- |
| Beginner Friendliness | Excellent – Very forgiving and easy to learn. | Good – Can take practice to align perfectly. | Challenging – Requires a steady hand and good control. | Good – Once you get the hang of placement. |
| Precision | Excellent – Fine point allows for accuracy. | Good – Creates clean lines but can be thick. | Excellent – Maximum control for skilled users. | Good – Depends on the stamper head’s clarity. |
| Tool Cost | Minimal – Toothpicks are very inexpensive. | Low to Moderate – Stencils are reusable or disposable. | Moderate – Requires a dedicated nail art brush. | Moderate – Requires a stamper and stamper plate. |
| Time Investment | Moderate – Can be quicker than freehand for beginners. | Moderate – Application and removal take time. | Variable – Can be fast for experts, slow for beginners. | Moderate – Transfer can be quick, but prep varies. |
| Ease of Correction | Excellent – Easy to clean up mistakes. | Moderate – Mistakes can be harder to fix without remover. | Challenging – Small mistakes are hard to hide. | Moderate – Smudging the transferred polish is possible. |
| Result Quality | Chic, clean, classic. | Clean, defined lines. | Professional, customizable. | Can achieve intricate patterns, but tips can be less clean. |
As you can see, the toothpick method truly shines for its accessibility and ease of achieving a classic, polished look without a steep learning curve.
Variations to Elevate Your Toothpick French Nails
Once you’ve mastered the basic toothpick French manicure, why not play around with variations? The toothpick’s precision is perfect for experimenting!
Color Pops: Instead of white, use a pastel color, a bright hue, or even a glitter polish for your tips! A neon tip can be fun for summer.
Double French: After your first white tip line is dry, use the toothpick to add a second, thinner line just above the first for a subtle enhancement.
Reverse French (Half Moon): Instead of the tip, use the toothpick to carefully create a half-moon shape at the base of your nail, near the cuticle. This is a bit more advanced but achievable with practice!
Micro French Tips: For an ultra-subtle and sophisticated look, use the very tip of the toothpick to create a super-thin white line across your nail edge.
Glitter Fade Tips: Apply your base color, then dip your toothpick in glitter polish. Lightly dab the glitter onto the tip of your nail, allowing it to fade down the nail for a sparkly effect.
Consider the materials you use. Using a high-quality top coat from a reputable brand can significantly enhance the longevity and shine of your manicure. Look for brands that offer quick-dry formulas for busy individuals.
How to Make Your Toothpick French Manicure Last Longer
Getting your toothpick French nails looking great is one thing, but keeping them that way is key! Here are some tips for maximum wear:
Thorough Drying: Ensure every layer of polish, especially the white tips and the top coat, is completely dry before you resume normal activities. A quick-dry top coat can help here.
Avoid Harsh Chemicals: Wear gloves when washing dishes or using cleaning products. Many household chemicals can break down nail polish.
Hydrate Your Cuticles: Keep your cuticle oil handy. Applying it daily helps keep your nails and surrounding skin healthy, preventing chips that can start at the cuticle.
Carry a Mini Top Coat: A quick touch-up of top coat midway through the week can refresh the shine and seal any minor wear.
Be Gentle: Try not to use your nails as tools. Opening cans or scraping surfaces can easily chip even the best manicure.
Frequently Asked Questions About Toothpick French Nails
Here are some common questions beginners have about creating toothpick French nails.
Q1: How do I get a clean smile line with a toothpick?
A1: Dip the toothpick in polish, wipe off excess, and gently dab or draw a curved line across the nail tip. Work slowly and use the side of the toothpick to refine the curve. Practice on paper first!
Q2: My white polish is too thick or too thin on the toothpick, what should I do?
A2: For thick polish, wipe off more excess on the bottle rim. For thin polish, you might need to re-dip, or use a polish that has a slightly thicker consistency. Polish thinner can also help regulate consistency.
Q3: How long does it take for toothpick French nails to dry?
A3: It depends on the polish, but generally, allow base coat to dry for 1-2 mins, base color between coats for 2-3 mins, white tips for 5-10 mins, and top coat for at least 10-15 mins before active use. Quick-dry top coats can speed this up.
Q4: Can I use any type of toothpick?
A4: Standard wooden toothpicks work best due to their pointed tip. Avoid plastic or oddly shaped ones. Look for ones with a consistent, sharp point.
Q5: What if I mess up my French tip?
A5: Don’t panic! Dip a cotton swab or pointed brush in nail polish remover and gently clean up the mistake before the polish dries. You can then reapply the white tip.
Q6: How do I make my French tips look thinner or thicker?
A6: For thinner tips, use less polish on the toothpick and be more precise. For thicker tips, use slightly more polish and create a wider curve. You can also build up thin layers.
Q7: Do I need a special base color for toothpick French nails?
A7: No! While nude or pale pink is classic, any sheer or opaque base color works. You can even go clear if you prefer a more natural look with just the white tips.
Conclusion: Your Chic French Manicure Awaits!
And there you have it – your comprehensive guide to creating effortlessly chic toothpick French nails! From understanding why this method is a beginner’s dream to mastering the step-by-step application and even exploring fun variations, you’re fully equipped to achieve salon-worthy results at home.
Remember, manicures are all about self-expression and a little bit of fun. Don’t be afraid to experiment with colors, techniques, and even your own creative twists. The humble toothpick has proven itself to be a powerful tool for achieving sophisticated style with ease. So grab your polish, a trusty toothpick, and get ready to flaunt those elegant French tips. Your nails will thank you for the touch of classic chic, created by you, for you! Happy polishing!

