No Tools Nail Art: Effortless & Genius Designs for Stunning Nails Instantly! Discover amazing nail art creations you can achieve with zero special tools.
Dreaming of gorgeous, decorated nails but feel intimidated by all the tiny brushes and dots (or maybe you just don’t own them)? You’re not alone! Many of us see stunning nail art and think, “That’s way too hard for me,” especially when it looks like it requires a whole nail art studio. But what if I told you that you can create beautiful, eye-catching designs using just what you already have at home? It’s totally possible! Get ready to unlock your inner nail artist without any fancy gadgets. We’ll explore super simple, creative ways to transform your nails into tiny canvases of art, proving that amazing nail looks are well within your reach.
Unleash Your Creativity: The Magic of No-Tool Nail Art
Think nail art is all about expensive kits and professional techniques? Think again! The most exciting part of nail art is its endless potential for self-expression. And guess what? You don’t need a single special tool to make your nails stand out. We’re talking about using everyday items in clever ways to achieve salon-worthy looks right from your own home. Forget the frustration of trying to master complex techniques. We’re diving into the world of “no tools nail art ideas” that are not only beginner-friendly but genuinely ingenious. Get ready to have fun and discover how easy it is to give your nails a fabulous makeover!
Why Go Tool-Free? The Benefits You’ll Love
Sticking to no-tool nail art isn’t just about avoiding a trip to the beauty store. There are so many fantastic perks!
- Budget-Friendly: Why spend money on specialized tools when your kitchen drawer or bathroom cabinet is already full of what you need? Save your cash for more polish!
- Super Accessible: Anyone can do this! If you can hold a nail polish bottle, you can create these designs. No steep learning curves here.
- Quick & Easy: Designs that look intricate can often be achieved in minutes. Perfect for busy bees or spontaneous style changes.
- Creativity Booster: Using unconventional items sparks new ideas. You’ll see everyday objects in a whole new light!
- Less Clutter: Keep your beauty space tidy. Fewer tools mean less to store and organize.
- Travel-Friendly: Packing for a trip? You can easily pack a few polishes and create amazing art anywhere.
The “Must-Haves” for Your No-Tool Toolkit
Before we jump into the fun designs, let’s gather your secret weapons. These aren’t fancy nail art tools, but common items that will become your best friends for creating amazing patterns and effects. You might already have most of these!
- Your Favorite Nail Polishes: This is a given! Stock up on a few colors you love.
- A Base Coat and Top Coat: These are essential for making your polish last and protecting your nails.
- Toothpicks: Perfect for tiny dots, delicate lines, and even creating marble effects.
- Bobby Pins/Hairpins: The round tips are great for creating dots of varying sizes.
- Rubber Bands: Wonderful for creating crisp, straight lines and French tip effects.
- Scotch Tape/Masking Tape: For creating geometric shapes and clean lines.
- Cotton Swabs (Q-tips): For cleaning up mistakes or creating soft, diffused color effects.
- Plastic Wrap/Saran Wrap: For creating amazing textured, marbled, or “galaxy” looks.
- An Old Pen or Pencil (with the cap): The plastic cap end can be used for larger dots.
- A Credit Card or Old Gift Card: Great for creating smooth, sweeping lines or abstract textures.
Tips for Success with Your DIY Tools
To get the best results with your everyday items, keep these tips in mind:
- Cleanliness is Key: Make sure your “tools” are clean before you use them on your nails to avoid transferring dirt or oils.
- Practice on Paper First: If you’re unsure about a technique, try it on a piece of paper or even a fake nail tip before committing to your actual manicure.
- Work in Thin Coats: Whether it’s polish or using your DIY tools, thin layers are always easier to control and dry faster.
- Patience with Drying Time: Allow each layer of polish to dry sufficiently before moving to the next step. This prevents smudging.
- Embrace Imperfection: The beauty of DIY and no-tool art is often in its unique, slightly imperfect charm! Don’t stress if it’s not factory-perfect.
Effortless “No Tools” Nail Art Ideas to Try Now
Ready to get your hands (or rather, your nails) busy? Here are some incredibly easy and genius nail art designs you can create with just polish and common items. These are perfect for beginners and busy bees alike!
1. The Dotty Delight
Dots are classic, versatile, and incredibly easy thanks to everyday items.
How-To:
- Apply your base coat, then your desired color polish. Let it dry completely.
- Dip the round end of a bobby pin, a toothpick, or the plastic cap of a pen into a contrasting polish color.
- Gently tap the polish-loaded tip onto your nail to create a dot.
- Repeat to create a pattern (e.g., a line of dots, a cluster, or random placement). For larger dots, use the pen cap; for smaller ones, the bobby pin or toothpick works wonders.
- For an even more intricate look, use a toothpick dipped in polish to connect dots with thin lines or create tiny dots around larger ones.
- Finish with a top coat to seal your design.
Variations:
- Gradient Dots: Use a few shades of the same color to create dots that go from light to dark.
- Negative Space Dots: Apply a clear or sheer polish, then add colored dots strategically.
- French Tip Dots: Create tiny dots along the free edge of your nail for a fun twist on a French manicure.
2. The Striped Sensation
Clean lines and stripes are surprisingly simple to achieve without striping tape!
How-To (using Tape):
- Paint your nails with your base color and let them dry thoroughly.
- Cut small strips of scotch tape or masking tape.
- Apply the tape to your nail, pressing down the edges firmly to prevent polish from seeping underneath. You can create horizontal, vertical, or diagonal stripes.
- Paint over the taped area with your second color.
- While the second color is still wet, carefully peel off the tape. This is the crucial step – if the polish is too dry, it might peel with the tape. If it’s too wet, it will smudge. Aim for “tacky” but not fully dry.
- Let the stripes fully dry, then apply a top coat.
How-To (using Rubber Bands):
- Paint your nails with your first color and let them dry completely.
- Carefully wrap a small rubber band around the tip of your finger, just above where you want your stripe to be (closer to the cuticle for a band near the tip, or in the middle for a central stripe). Ensure it’s snug but not cutting off circulation.
- Paint the area above the rubber band with your second color.
- While the second color is still wet, carefully unwrap the rubber band.
- Let the design dry completely before applying a top coat.
Variations:
- Geometric Designs: Use tape to create triangles, squares, or chevrons.
- Color Blocking: Tape off sections of your nail to create bold, distinct color blocks.
- Thin Lines: Cut very thin strips of tape for delicate pinstripes.
3. The Marbled Masterpiece
Create a sophisticated marble or agate look that looks complex but is surprisingly easy with plastic wrap.
How-To:
- Apply your base color and let it dry completely.
- Choose two or three complementary polish colors for your marble effect.
- Apply a bit of each chosen color onto a small piece of foil or a palette.
- Dip a small piece of plastic wrap into one of the colors, then dab it onto the foil next to the other colors. Then, lightly dab it into another color, and then the third. You want to pick up streaks of color, not fully saturated blobs.
- Gently dab this multi-colored plastic wrap onto your nail. Don’t press too hard; just light dabs to transfer the colors and create a swirled effect.
- Repeat with a clean section of plastic wrap or less polish for more subtle effects.
- While the polish is still slightly wet, you can use a toothpick to gently swirl or drag the colors a little more if needed.
- Let it dry thoroughly, then apply a generous top coat to smooth out the texture and add shine.
Tips for Best Results:
- Don’t oversaturate the plastic wrap with polish.
- Dab lightly and unevenly.
- Work relatively quickly before the polish dries too much.
4. The Abstract Swirl
This technique uses a credit card or old card to create fluid, abstract designs.
How-To:
- Paint your nails with a base color and let it dry completely.
- Apply a generous stripe or blob of a contrasting polish color onto your nail. Don’t worry about perfection; this is abstract!
- Take an old credit card, gift card, or even a stiff piece of cardboard.
- Hold the card at an angle and gently scrape it across the polish on your nail, sweeping it from one side to another. This will pull the color and create abstract lines and textures.
- Clean the card immediately or use a new edge for the next nail.
- If you want more layers, let the first layer dry a bit, then repeat with another color swipe.
- Finish with a top coat.
Variations:
- Gradient Scrapes: Use a lighter color on top of a darker one for an interesting depth.
- Textured Stripes: Instead of a full scrape, just drag the edge of the card through thick polish for a rougher stripe.
5. The French Manicure Flip
Achieve a flawless French tip or a chic reverse French manicure with no guide stickers needed.
How-To (Classic French Tip):
- Apply a nude or sheer pink base coat and let it dry completely.
- Take a white polish and dip a toothpick or the tip of a bobby pin into it.
- Gently draw a smile line along the free edge of your nail. Don’t aim for perfection initially; thicker lines can be cleaned up.
- Alternatively, use the edge of a small piece of tape to get a cleaner line (like the tape method for stripes, but just for the tip).
- Let it dry, then apply a top coat.
How-To (Reverse French Tip – Moon Manicure):
- Apply your base color (e.g., deep red or black) and let it dry completely.
- For the “moon” shape at the base of your nail, you can use the edge of a small circular sticker (like a hole punch reinforcement sticker) or carefully freehand it with a dotting tool (or toothpick/bobby pin).
- Apply a contrasting color (like gold, white, or silver) to the moon area.
- Let it dry, then apply a top coat.
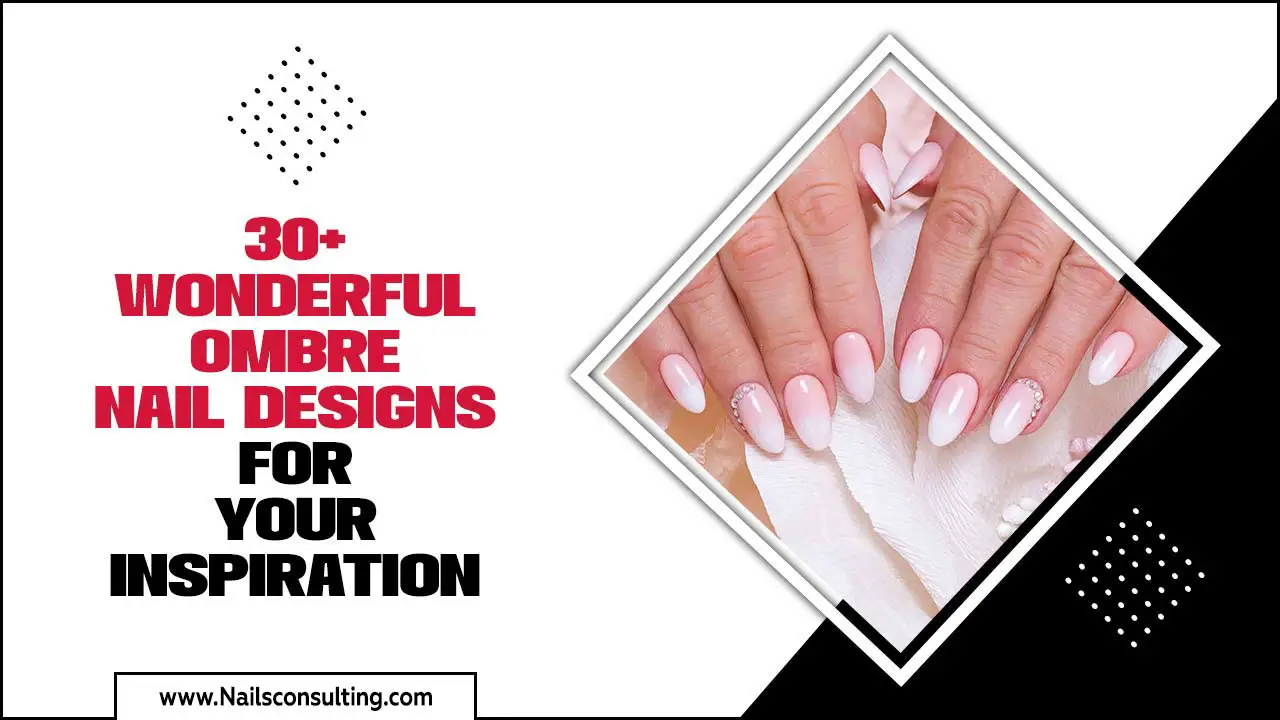
6. The Gradient/Ombre Effect
Create a beautiful blend of colors with a sponge or even a makeup sponge you no longer use.
How-To:
- Paint your nails with your lightest polish color and let it dry.
- Cut a small piece from a makeup sponge or use a regular kitchen sponge (the softer side).
- Apply stripes of two or three colors of polish directly onto the sponge.
- Gently dab the sponge onto your nail, starting at the tip and working downwards, or just dabbing where you want the gradient. You’ll need to reapply polish to the sponge for each nail or section.
- Repeat dabbing until you achieve the desired color blend and opacity.
- Clean up the edges around your nails with a cotton swab dipped in nail polish remover.
- Once dry, apply a top coat to smooth out the sponge texture.
Tips:
- Use a makeup sponge that has a finer texture for a smoother gradient.
- Don’t press too hard; a light dabbing motion is best.
7. The “Accidental” Artistry (Cotton Swab Smudge)
Sometimes, a little mishap can lead to the coolest design. This uses cotton swabs and a bit of controlled “messiness.”
How-To:
- Paint your nails with a base color and let it dry.
- Apply a few random blobs or streaks of another color onto your nail with the polish brush.
- Take a dry cotton swab and gently smudge or spread these colors outwards. You can also slightly dab them to create a softer effect.
- For a more blended look, use a cotton swab dipped in a tiny bit of nail polish remover to lightly smudge and blend the edges of the colored blobs. This creates a diffused, watercolour-like effect.
- Clean up the edges with a precision cotton swab and remover.
- Apply a top coat.
8. The Simple Stamp (with a Pen Cap!)
Use the flat, rounded end of a pen cap for larger, consistent dots.
How-To:
- Apply your base and accent colors and let them dry.
- Dip the inside rim of a clean pen cap into your desired polish color.
- Press the polish-loaded rim onto your nail to create perfect circles.
- Repeat to create patterns or cover your nail.
- Seal with a top coat.
Comparing No-Tool Methods: Quick Reference
Here’s a handy table to help you decide which everyday item is best for your next nail art project:
| Design Element | Best “Tool” | Effect / Notes |
|---|---|---|
| Small Dots | Toothpick tip, Bobby pin end | Precise, tiny dots for detailed work. |
| Medium Dots | End of bobby pin, Pen cap end | Consistent, neat dots for patterns. |
| Large Dots | Back of lipstick brush handle, Pen cap | Bold, impactful dots. |
| Straight Lines/Stripes | Tape (scotch/masking), Rubber band | Sharp, clean lines. Tape allows for angles; rubber bands are great for tips. |
| Marble/Swirls | Plastic wrap, Toothpick | Organic, artistic patterns. Plastic wrap for texture; toothpick for fine swirls. |
| Geometric Shapes | Tape | Enables precise blocking and shaping. |
| Smudged/Watercolour | Cotton swab (dry or with remover) | Soft, diffused, artistic effects. |
| Abstract Scrapes | Credit card/stiff card | Dynamic, textured lines and effects. |
Essential Next Steps: Sealing and Cleanup
No matter how simple or intricate your no-tool nail art is, two final steps are crucial for that professional, long-lasting finish:
The Power of the Top Coat
A good top coat is your nail art’s best friend. It:
- Seals the Design: It locks in all your hard work, preventing chipping and peeling.
- Adds Shine: It gives your nails that glossy, salon-finished look.
- Smooths Texture: For designs like the plastic wrap marble, a top coat helps smooth the surface.
- Protects Your Work: It acts as a barrier against minor bumps and everyday wear.
Apply a generous, smooth layer of top coat over your entire nail, making sure to cap off the free edge (paint a tiny bit along the very tip of your nail) to prevent lifting. For gel-like finishes, look for top

