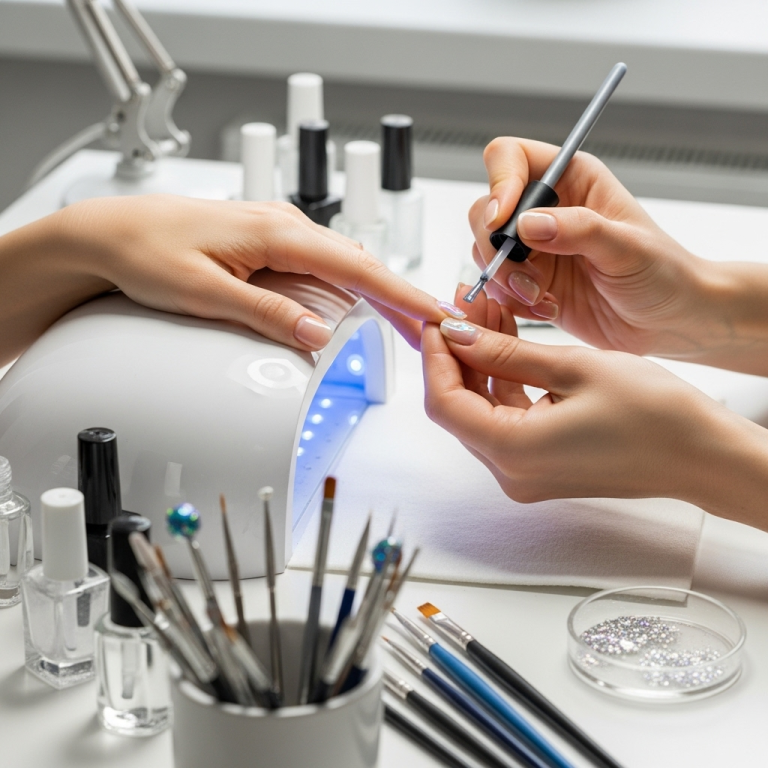
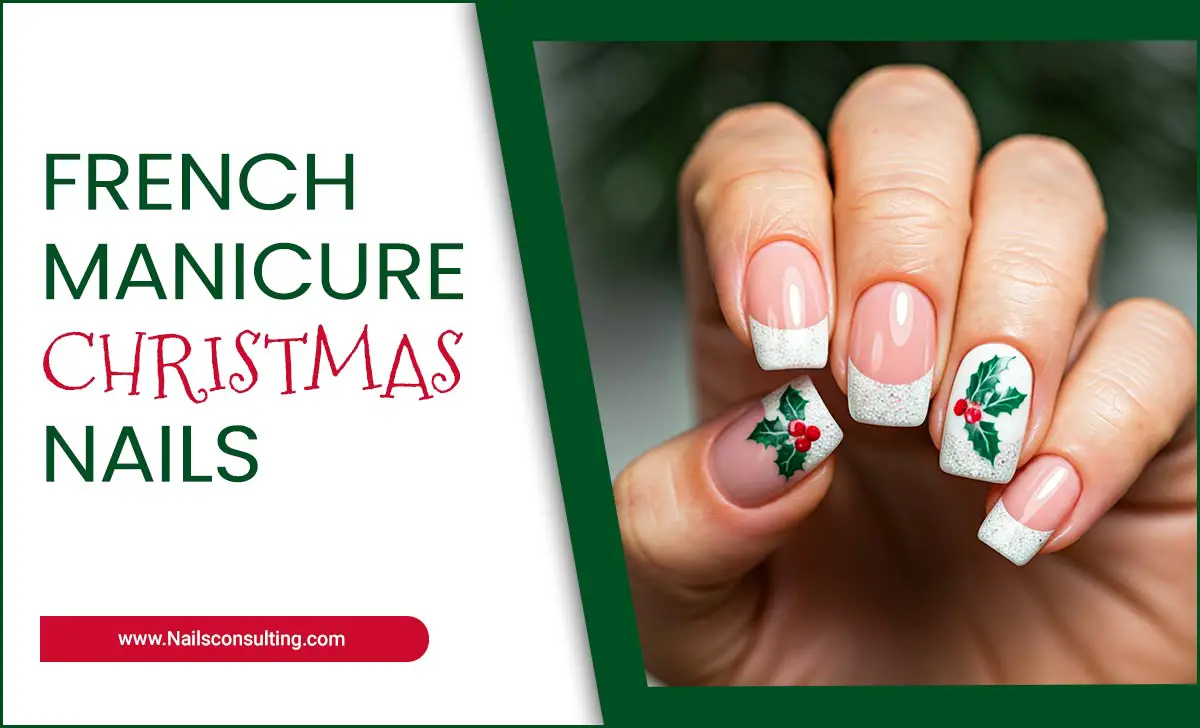
Tiramisu nail designs are a chic and delicious way to elevate your manicure, blending creamy coffee hues with cocoa-inspired touches for a sophisticated look. Master these genius tips to create stunning, coffee-lover-approved nails that are surprisingly easy to achieve, even for beginners.
Hey nail lovers! Are you ready to indulge in a manicure that’s as delightful as the classic Italian dessert? Tiramisu nail designs are all the rage, and for good reason! They’re elegant, cozy, and perfect for any season. But sometimes, getting that perfect creamy swirl or rich cocoa dusting at home can feel a little tricky. Don’t worry, I’m here to help! We’ll break down exactly how to get those chic, dessert-inspired nails without any fuss. Get ready to create some truly delicious-looking manicures that will have everyone asking, “Where did you get your nails done?”!
What Are Tiramisu Nail Designs?
Tiramisu nail designs are inspired by the iconic Italian dessert. Think layers of creamy mascarpone, rich espresso, and a dusting of cocoa powder. On your nails, this translates to a beautiful color palette of soft beiges, creamy whites, warm browns, and sometimes even deep coffee or dark chocolate shades. The designs often mimic the dessert’s textures and layers, featuring swirls, dappled effects, or clean color blocking to represent the different elements of tiramisu.
These designs are fantastic because they’re sophisticated yet approachable. They offer a neutral yet interesting look that can be dressed up or down. Plus, they’re incredibly versatile, fitting perfectly for a cozy fall look, a chic summer vibe, or even as a unique everyday manicure.
The Essential Color Palette for Tiramisu Nails
To capture the essence of tiramisu, you need the right shades. It’s all about creating that delicious layered effect! Here’s your go-to color guide:
- Mascarpone Cream: Think off-white, creamy beige, or a soft ivory. This is your base for a smooth, decadent feel.
- Espresso & Coffee: Rich medium to dark browns are key for that coffee-soaked ladyfinger vibe. A true espresso shade or a deep mocha works beautifully.
- Cocoa Dusting: A slightly warmer, lighter brown or even a muted terracotta can represent the cocoa powder. This adds depth and a rustic charm.
- Caramel Drizzle (Optional): A touch of subtle caramel or a muted gold can add a special highlight, mimicking a sweet syrup.
Don’t be afraid to mix and match these! The beauty of tiramisu is its imperfect, layered nature, so playing with variations in brown tones will only enhance the design.
Gathering Your Tiramisu Nail Design Toolkit
Before we dive into the fun part, let’s make sure you have the right tools. Having these handy will make your DIY manicure a breeze! You don’t need a whole professional kit; just a few key items will do.
Here’s what you’ll want to have on hand:
- Nail Polish: Your chosen tiramisu color palette (see above!).
- Base Coat: To protect your natural nails and help polish adhere.
- Top Coat: To seal your design, add shine, and improve longevity.
- Dotting Tools or Toothpicks: For creating small dots or fine lines.
- Thin Nail Art Brush: For drawing delicate lines or swirls.
- Sponge (Makeup Sponge or Nail Art Sponge): For creating a dappled or gradient effect.
- Cleanup Brush or Cotton Swabs: For tidying up any stray polish around your cuticles.
- Nail Polish Remover: For cleaning up those inevitable little spills.
Having a good quality nail file and cuticle pusher is also always a plus for prepping your nails!
Genius Tip #1: Perfect Your Base – The Creamy Canvas
Every delicious dessert starts with a perfectly prepared base, and your tiramisu nails are no different! This first step is crucial for a smooth, long-lasting manicure. Think of it as preparing the perfect canvas for your edible art.
Here’s how to get it right:
- Clean and Prep: Start with clean, dry nails. Remove any old polish.
- Shape and File: File your nails into your desired shape. A soft, natural shape often complements the organic feel of tiramisu.
- Push Back Cuticles: Gently push back your cuticles. This creates a clean nail plate, making your polish application look more professional. For a deeper understanding of cuticle care, resources like the American Academy of Dermatology on Nail Care offer excellent advice.
- Apply Base Coat: Apply a thin layer of your favorite base coat. This acts as a protective barrier and gives your color polish something to grip onto, preventing chips and staining. Let it dry completely.
- Apply Your Creamy Base Color: Now, apply your chosen creamy base color – that soft beige, ivory, or off-white. Apply two thin coats for even coverage, allowing each coat to dry for a minute or two before applying the next. A smooth, opaque base is essential for the tiramisu effect to truly shine.
Patience at this stage pays off! A well-prepped, smoothly applied base color makes all the difference.
Genius Tip #2: Mastering the Coffee Swirl
This is where the magic happens! The coffee swirl is a signature element of many tiramisu designs. It mimics the rich espresso, creating a beautiful, organic pattern. Don’t be intimidated; it’s easier than you think!
Here’s the technique:
- Choose Your Coffee Shade: Select a rich brown nail polish.
- The ‘Drip’ Method: For a freehand swirl, dip your thin nail art brush or a toothpick into the brown polish. Don’t overload the brush.
- Create the Swirl: Lightly touch the brush to your dried base color nail. Gently drag it across the nail in a fluid, wavy motion. Think of drawing a single ‘S’ or a loose swirl. You can also try a more random pattern, letting the polish create its own organic flow.
- Build Layers (Optional): For a more intense coffee look, you can add a second, lighter swirl once the first one is mostly dry.
- The Smudge Effect: For an even more authentic, dessert-like appearance, you can use a very slightly damp (with polish remover) cleanup brush to gently feather the edges of the brown swirl while it’s still wet. This creates a softer, more blended look, like coffee seeping into cream. Use this technique sparingly and with caution!
Pro Swirl Tip:
Less is more! A few well-placed, delicate swirls are often more effective than trying to cover the entire nail. You can also alternate which nails have swirls to keep the design balanced and chic.
Genius Tip #3: The Cocoa Dusting Technique
The final touch that makes your tiramisu nails look truly authentic is the dusting of cocoa powder. This adds texture and depth, giving your manicure that realistic, finished dessert look.
Here are a few ways to achieve this:
- Using a Sponge:
- Apply a light coat of top coat to the entire nail or just to the areas where you want the “cocoa dust.”
- Lightly dab a dry makeup sponge or a nail art sponge into your cocoa brown polish. Blot off most of the excess on a piece of paper.
- Gently tap the sponge onto the nail, focusing on the edges or areas where you see the “swirls.” The aim is a light, dappled effect, not solid color.
- Build the effect gradually until you’re happy with the dusting.
- Using a Brush:
- Dip a stiff-bristled nail art brush or even an old, clean makeup brush into your cocoa brown polish.
- Hold the brush over the nail and gently flick the bristles with your finger. This will create fine splatters, resembling dusted cocoa. Practice this on scrap paper first to control the intensity.
- Alternatively, if you have a slightly thicker brown polish, you can use a fine-tip brush to create very small, subtle dots in areas where cocoa would naturally settle.
Important Cleanup:
After applying your cocoa dusting, use your cleanup brush or cotton swab dipped in nail polish remover to carefully tidy up any harsh edges or excess polish around your cuticles and the sides of your nails.
Genius Tip #4: Accent Nail Ideas for Extra Flair
Sometimes, less is more, and an accent nail can be the perfect way to showcase your tiramisu design without overwhelming your manicure. It’s a great way to experiment with the design elements!
Try these accent nail ideas:
- The ‘All Over’ Dessert: Dedicate one nail (usually the ring finger) to a full tiramisu design, incorporating swirls and cocoa dusting, while the other nails are a simple creamy base color.
- The ‘Coffee Drizzle’ Accent: Keep most nails a solid creamy color. On your accent nail, create a more intricate or layered coffee swirl pattern, perhaps with a touch of cocoa dusting.
- The ‘Layered Stripes’: Use your thin nail art brush to create thin, horizontal stripes of your coffee and cocoa shades across your accent nail, mimicking the layered filling of the dessert.
- The ‘Dotted Delight’: On your accent nail, use a dotting tool with your coffee and cocoa shades to create a pattern of small dots, evocative of the distinct layers.
- The ‘Subtle Texture’: For a minimalist approach, keep all nails one creamy color and use the sponge technique with a very light dusting of cocoa brown on just the very tips of your accent nail.
Accent nails are a fantastic way to add a focal point and elevate your entire look. They’re also perfect if you’re just starting with nail art!
Genius Tip #5: Achieve Perfect Edges and Clean Lines
Sharp, clean lines and perfectly finished edges make any nail design look professionally done. This is especially true for tiramisu designs, where the distinct layers and swirls benefit from crispness.
Here’s how to get those flawless finishes:
- The Cleanup Brush is Your Best Friend: Keep a small, flat-topped brush (often called a cleanup brush) handy. Dip it lightly in nail polish remover. Use it to swipe away any polish that has crept onto your cuticles or the sides of your nails. Do this while the polish is still wet for the easiest cleanup.
- Thin Lines: For those delicate coffee swirls or cocoa speckles, always use a fine-tipped nail art brush or a toothpick. Load it with just a small amount of polish. If lines are too thick, they can look messy.
- Water Marbling Aid: If you’re feeling adventurous and want to try a more diffused swirl effect reminiscent of marbling, you can carefully use a tiny amount of water-based medium (like a specialized marbling fluid or even a drop of dish soap in water, though practice is key!) to help spread and blend your polish on the nail. This is an advanced technique, so start simple! For more on nail art mediums, check out resources on nail art supply guides to understand different product functionalities.
- Precision Top Coat Application: When applying your top coat, be careful not to accidentally blur any crisp lines or swirls. Apply it smoothly and evenly, letting it seal the design without disturbing it.
Remember, practice makes perfect! The more you refine your technique with cleanup and precision, the better your designs will look.
Genius Tip #6: Matte vs. Glossy – The Finish Factor
The finish you choose for your tiramisu nails can completely change the vibe! Both glossy and matte finishes have their charm and can really enhance the dessert-like quality of your design.
Let’s look at the options:
| Finish Type | Description | How it Enhances Tiramisu Design | Best For |
|---|---|---|---|
| Glossy | A classic, high-shine finish. It makes colors pop and gives a sleek, polished look. | Adds a rich, decadent sheen that can mimic the sweetness and moisture of dessert components. It makes the coffee swirls look beautifully deep and the creamy base look smooth. | Everyday wear, adding a touch of luxury, making colors appear more vibrant. |
| Matte | A non-shiny, velvety finish. It gives a sophisticated, modern, and often softer look. | This is fantastic for mimicking the powdery texture of cocoa or the subtle matte appearance of some cream fillings. It can make the design feel more grounded and earthy, like the actual dessert. | Modern and chic looks, subtle designs, achieving a dusty or velvety texture. |
How to Choose:
- For a truly decadent, rich look: Go glossy! It will make your coffee and cream colors pop with vibrancy.
- For a sophisticated, subtle, or textured feel: Opt for matte. It’s especially great if you’re going for a heavy “cocoa dusting” effect.
- Mix and Match: Don’t be afraid to apply a matte top coat to your cocoa-dusted areas and a glossy top coat to your creamy base and coffee swirls for an ultra-realistic, multi-textured effect! This is a pro move that will make your nails truly stand out.
Genius Tip #7: Longevity Tips – Making Your Tiramisu Last
You’ve put in the effort to create beautiful tiramisu nail designs, so you want them to last! A few simple habits and techniques can significantly extend the life of your manicure.
Follow these tips:
- Seal Everything with Top Coat: This is non-negotiable! A good quality top coat not only adds shine (or smoothness, if matte) but locks in your design. Make sure to cap off the free edge of your nail with the top coat by running your brush along the very tip. This prevents chipping from the edge.
- Reapply Top Coat Weekly: For maximum longevity, add an extra thin layer of top coat every 3-4 days. This refreshes the shine and reinforces the protective layer.
- Be Gentle with Your Hands: While the polish is tough, prolonged exposure to water and harsh chemicals can weaken it. Wear gloves when doing dishes, cleaning, or gardening.
- Avoid Using Nails as Tools: Try not to pick at labels, scrape things, or pry open boxes with your nails. This is a common cause of chips and breaks.
- Moisturize Regularly: Keeping your hands and cuticles hydrated with lotion or cuticle oil helps prevent dryness that can lead to snags and can make your manicure look fresher for longer.
By following these simple maintenance tips, you can keep your delicious tiramisu nails looking flawless for up to two weeks!
FAQ: Your Tiramisu Nail Design Questions Answered
Q1: Can I achieve a good tiramisu nail design without specialized nail art brushes?
A1: Absolutely! You can achieve great results using everyday items like toothpicks for dots and fine lines, or even the edge of a nail polish brush for creating swirls. A makeup sponge is excellent for a dappled cocoa effect.
Q2: How long does it take to do a tiramisu nail design?
A2: For beginners, plan for about 30-60 minutes per hand, especially if you’re taking your time with drying between coats and perfecting your design. As you get more comfortable, you can speed up the process!
Q3: My coffee swirls look messy. How can I make them neater?
A3: Practice makes perfect! Use a thin brush or toothpick with a small amount of polish. Start with simpler, thinner swirls. Don’t press too hard. If it’s still a bit messy, a slightly damp cleanup brush with nail polish remover can help blend the edges for a softer, more organic look.
Q4: How do I prevent my light base color from staining my nails?
A4: Always use a good quality base coat! It acts as a barrier between your natural nail and the colored polish. Ensure your base coat is completely dry before applying your colored polish. For extra protection with very pigmented polishes, you might consider a nail strengthener that also acts as a base coat.
Q

