Unlock trending TikTok nail designs like a pro! Discover essential, easy-to-create looks that will elevate your manicure game. Perfect for beginners, these genius ideas transform your fingertips into wearable art with simple techniques and stunning results. Get ready to wow!
Hello nail lovers! Are you scrolling through TikTok and mesmerized by the incredible nail art you see? It can feel a little overwhelming, right? You might think those flawless finishes and intricate designs are only for the pros. But guess what? They’re totally achievable for you, even if you’re just starting out!
Nail trends on TikTok are everywhere, showcasing creativity that makes everyone want to try something new. From dazzling glitter to minimalist chic, there’s a style waiting for you to discover. It’s easy to feel like you’re missing out, but don’t worry! I’m here to break down some of the most genius and essential TikTok nail designs that are perfect for beginners. We’ll go through simple steps, helpful tools, and tips to make your DIY manicures shine. Get ready to express yourself and have fun with your nails!
Frequently Asked Questions About TikTok Nail Designs
Can beginners really do these TikTok nail designs?
Absolutely! The designs I’ll show you are chosen because they look amazing but are surprisingly easy to learn. We focus on simple techniques and readily available tools. You can totally nail it!
What are the essential tools for TikTok nail art?
You don’t need a whole salon! Key tools include a good base coat, top coat, your favorite nail polish colors, a dotting tool (or toothpick!), a fine-tip brush, and nail polish remover for clean-ups. We’ll chat more about these soon!
How long do DIY TikTok nail designs usually last?
With proper application and care, your DIY designs can last anywhere from 5 to 10 days. Using a quality base and top coat is super important! Avoiding harsh chemicals and excessive moisture also helps them stay gorgeous longer.
Where can I find inspiration for new TikTok nail designs?
TikTok itself is your best friend! Search hashtags like #tiktoknails, #nailarttutorial, #diynails, and #nailinspo. You’ll find endless creators sharing amazing ideas. Pinterest is also a fantastic visual search engine for nail art!
How do I prevent my nail polish from chipping with nail art?
A strong base coat is crucial – it protects your nails and helps polish adhere better. Always finish with a good top coat, paying extra attention to sealing the free edge (the tip of your nail). Reapply a thin layer of top coat every couple of days to refresh the shine and protection.
Can I use regular nail polish for TikTok nail designs, or do I need special gel polish?
You can definitely use regular nail polish! Many TikTok trends use classic polishes. Gel polish offers more durability and a high-gloss finish, but it requires a UV/LED lamp and proper removal. For beginners, starting with regular polish is often easier and more budget-friendly.
How can I achieve clean lines in my nail designs?
Clean lines come with practice and the right tools! A fine-tip detailing brush (or even a clean-up brush dipped in nail polish remover) is key. Work slowly, and don’t be afraid to use your nail polish remover and a small brush to clean up any wobbly bits before your polish completely dries.
Genius & Essential TikTok Nail Designs: Your Beginner’s Guide
Scrolling through TikTok, you see nails that sparkle, pop, and tell a story. It’s like a mini art gallery on your fingertips! If you’ve ever felt a pang of ‘I wish I could do that,’ you’re in the right place. We’re diving into some of the most popular and totally doable TikTok nail designs that are perfect for anyone just starting out in the nail art world. Forget complicated techniques or expensive tools – we’re all about making beautiful, trendy nails accessible and fun!
Why TikTok is a Nail Art Game-Changer
TikTok has become the place to discover what’s hot in the beauty world, especially for nails. Short, snappy videos make it incredibly easy to see a trend, learn a quick technique, and get inspired all in one go. Plus, the community is super supportive, always sharing tips and tricks. It’s democratized nail art, showing that anyone can create something beautiful.
The beauty of these trending designs is their versatility. They can be adapted to fit your personal style, color preferences, and skill level. Whether you’re rocking a bold statement nail or a subtle accent, there’s a TikTok-inspired look designed to make you feel amazing. Ready to get your hands on some gorgeous nails? Let’s get started!
Essential Tools to Get You Started
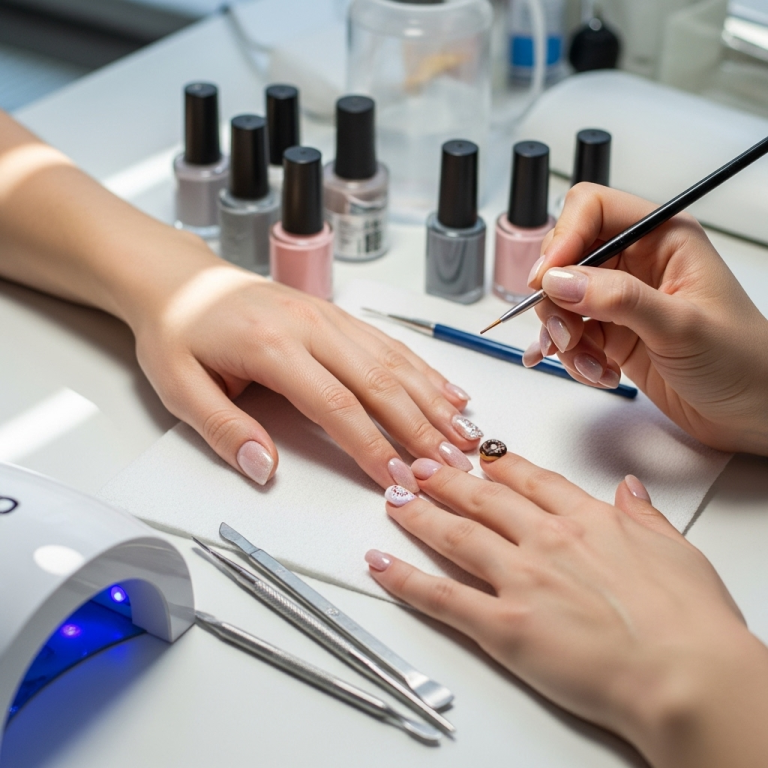
Before we dive into the designs, let’s talk about what you’ll need. The great news is you probably have most of these items already, or they are super affordable and easy to find. Having the right tools makes all the difference for a smooth, professional-looking finish.
The Must-Haves:
- Good Quality Nail Polish: Of course! Having a collection of colors you love is key.
- Base Coat: This is non-negotiable! It protects your natural nails from staining and helps polish last longer. Check brands like OPI, Essie, or Sally Hansen for reliable options.
- Top Coat: Equally important! A good top coat seals your design, adds shine, and prevents chips. Look for a quick-dry formula if you’re in a rush.
- Nail Polish Remover & Cotton Pads: For mistakes and clean-up.
- Cuticle Pusher/Orange Stick: To gently push back your cuticles before painting for a cleaner look.
- Fine-Tip Applicator or Toothpick: Perfect for creating small dots or simple lines. A clean-up brush (a small, flat brush) is also fantastic for tidying edges.
- Dotting Tools: These come in various sizes and are amazing for creating polka dots, swirls, and other small details.
- Small, Flat Brush: You can use a craft brush or even an old, clean makeup brush. It’s great for creating fine lines or cleaning up edges with nail polish remover.
With these basics, you’re ready to tackle almost any beginner-friendly TikTok nail design. Remember, practice makes perfect, so don’t be discouraged if your first attempt isn’t flawless – it’s all part of the fun!
Genius TikTok Nail Designs, Broken Down
Let’s explore some of the most iconic and easy-to-recreate TikTok nail designs. We’ll break them down into simple steps so you can start creating them right away.
1. The Viral Milky White Mani
This look is all about clean, soft, and ethereal vibes. It’s minimalist but incredibly chic, making it perfect for any occasion. The key is a sheer, milky white or off-white polish that gives a subtle “your nails but better” effect.
Why it’s Genius for Beginners:
- Minimalist
- One-color focus
- High-impact, low-effort visual
What You’ll Need:
- Base coat
- Sheer milky white or off-white nail polish (e.g., Essie’s “Ballet Slippers” or a dedicated sheer white)
- Top coat
How to Get the Look (Step-by-Step):
- Prep Your Nails: Start by pushing back your cuticles and ensuring your nails are clean and dry.
- Apply Base Coat: Apply one coat of your base coat and let it dry completely.
- Apply Color: Apply one thin coat of your milky white polish. Let it dry for a minute or two.
- Second Coat (for opacity): Apply a second thin coat. This is where you build up the milky effect. You want it opaque but still slightly sheer, not stark white. If it’s not milky enough, a third thin coat can work, but avoid making it thick.
- Apply Top Coat: Once the color is dry to the touch, apply a generous coat of your favorite top coat. Ensure you cap the free edge of your nail.
- Clean Up: Use a small brush dipped in nail polish remover to clean up any polish on your skin.
2. The Chunky Glitter Accent Nail
This is a fun way to add a pop of glamour without going overboard. The trend often features one or two accent nails with chunky holographic or multi-colored glitter, paired with a solid color base. It’s festive, eye-catching, and surprisingly simple to apply.
Why it’s Genius for Beginners:
- Easy to apply glitter
- Focuses impact on one nail
- Instantly elevates a simple mani
What You’ll Need:
- Base coat
- A solid nail polish color for your non-accent nails (e.g., nude, pink, black)
- A chunky glitter nail polish
- Top coat
How to Get the Look (Step-by-Step):
- Prep Your Nails: As always, start with clean, dry nails and push back cuticles.
- Apply Base Coat: Apply one coat of base coat to all nails.
- Paint Base Colors: Paint all your nails (except your accent nail) with your chosen solid color. Apply two thin coats for full opacity.
- Glitter Accent: On your accent nail(s), apply your chunky glitter polish. You might need to dab it on rather than brush to get an even distribution of the chunky pieces. A second coat can be applied if needed. Let it dry completely.
- Apply Top Coat: Once both the solid color and glitter are dry, apply a solid layer of top coat over all nails. For glitter, sometimes a thicker top coat or two thin top coats can help smooth out the texture.
- Careful Clean-Up: Tidy up any mistakes with nail polish remover and a brush.
3. Mini Half-Moon Nails
This vintage-inspired look is making a huge comeback, often seen in soft pastels or classic colors. The idea is to paint a small, rounded half-moon shape at the base of your nail, leaving the rest of the nail solid or a different color. It’s subtle, sophisticated, and surprisingly easy to create with a steady hand and the right tool.
Why it’s Genius for Beginners:
- Distinct visual element
- Can be done with minimal colors
- Relatively easy to control
What You’ll Need:
- Base coat
- Two complementary nail polish colors (or one color if you leave the rest of the nail bare)
- A fine-tip brush or a small circle sticker/stencil (optional)
- Top coat
How to Get the Look (Step-by-Step):
- Prep and Base Coat: Prepare your nails and apply a base coat.
- Apply Main Color: Paint your nails with your main color, letting it dry completely. This will be the color of the majority of your nail. For a classic look, many people leave their cuticle area bare or use a nude shade.
- Create the Half-Moon:
- Using a Brush: Dip a fine-tip brush into your second color. Starting at one side of your cuticle, paint a small, curved line moving towards the center, then curve back to the other side, forming a half-moon. You can use a pencil eraser’s tip or a small round sticker placed strategically near the cuticle as a guide if freehanding is tricky.
- Using a Sticker: Place a small circular sticker or a half-moon sticker on the nail near the cuticle. Paint over it with your second color. Once dry, carefully peel off the sticker for a clean line.
- Second Coat (if needed): Apply a second thin coat of your accent color if needed for opacity. Let it dry thoroughly.
- Top Coat: Seal the entire nail with a top coat.
- Clean Edges: Tidy up any smudges with your clean-up brush and remover.
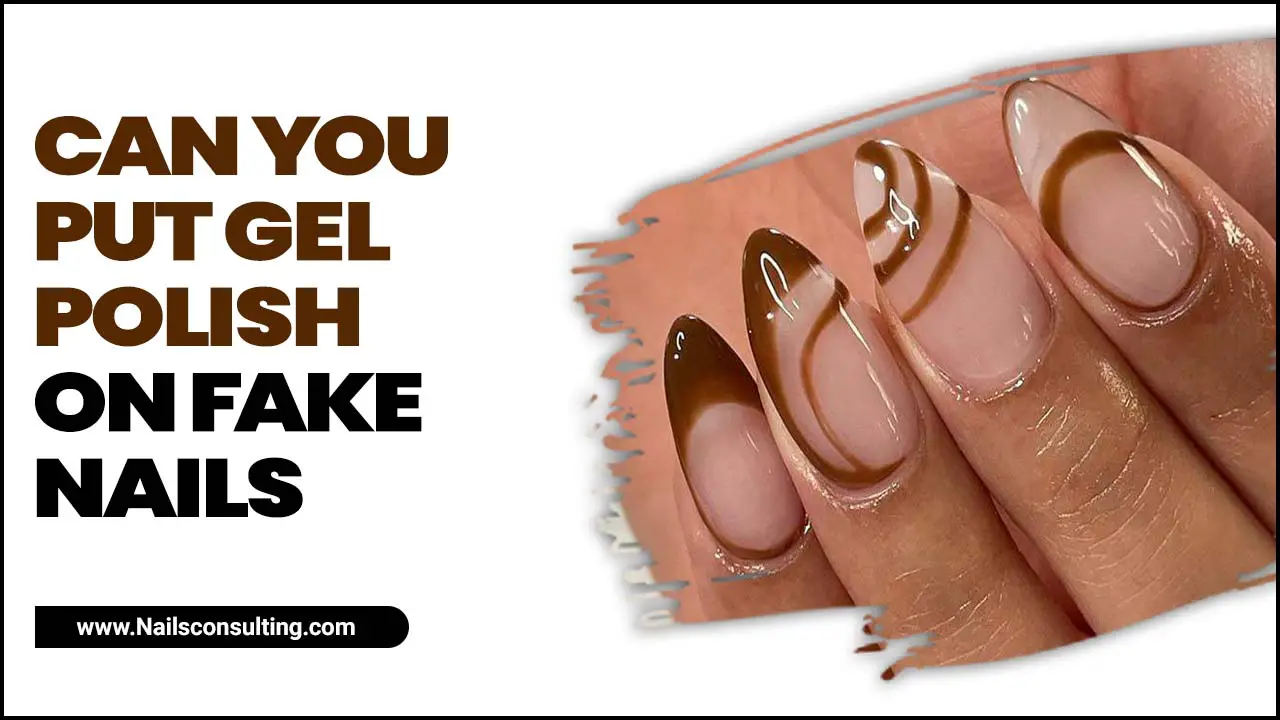
4. The Abstract Swirl Trend
This is a super popular and forgiving design. Unlike precise art, abstract swirls embrace imperfections and flowing lines. You can create them with a fine brush, a dotting tool, or even the brush from the nail polish bottle if you’re careful. Think organic, free-flowing patterns.
Why it’s Genius for Beginners:
- Embraces ‘mistakes’
- Endless design possibilities
- Can be as simple or complex as you like
What You’ll Need:
- Base coat
- One or more nail polish colors for your base and swirls
- A fine-tip brush, dotting tool, or toothpick
- Nail polish remover
- Top coat
How to Get the Look (Step-by-Step):
- Prep and Base Coat: Start with clean nails and apply your base coat.
- Apply Base Color: Paint your nails with your chosen base color. Apply two thin coats for an even finish. Let it dry completely.
- Create the Swirls:
- With a Brush: Dip your fine-tip brush into your swirl color. Start near the cuticle or one side of the nail and gently draw a line that curves and flows across the nail bed. You can make one or multiple swirl lines. Don’t worry about them being perfectly symmetrical!
- With a Dotting Tool: Place a few dots of your swirl color on the nail where you want your swirl to start and end. Then, use a toothpick or the clean-up brush to gently drag the dots into a swirled pattern.
- Add More Details (Optional): You can add smaller swirls or dots in a different color if you like.
- Let Dry: Allow all the nail art to dry completely.
- Top Coat: Apply a good layer of top coat over all the nails to seal your design.
- Final Clean-Up: Use your clean-up brush and remover to neaten any stray marks.
5. The Chic French Tip Reimagined
The classic French manicure gets a modern makeover on TikTok. Instead of just white tips, you’ll see colorful tips, glitter tips, or even double French tips. Sticking to a single, bold color for the tip is a fantastic way to start.
Why it’s Genius for Beginners:
- Familiar concept (tip painting)
- Easy to experiment with color
- Still elegant and


