Get ready for Thanksgiving with gorgeous fall-toned nail designs! This guide offers simple, stunning ideas perfect for beginners, featuring easy techniques and beautiful autumn colors to celebrate the season with style.
Hello, nail lovers! Thanksgiving is just around the corner, and it’s the perfect time to show off your holiday spirit with a festive manicure. If you’ve ever felt overwhelmed by intricate nail art or worried about getting it wrong, you’re in the right place! Achieving beautiful Thanksgiving nails doesn’t have to be complicated. We’re going to explore easy, elegant designs that capture the warm, inviting feel of autumn using gorgeous fall tones. From cozy earth colors to pops of festive sparkle, you’ll find inspiration to create a look you absolutely love. Get ready to make your nails the perfect accessory for your Thanksgiving feast!
Thanksgiving Nail Design Ideas in Stunning Fall Tones
As the leaves turn golden and the air gets a little crisper, our wardrobes get a cozy makeover, and it’s only natural that our nails should follow suit! Thanksgiving nail design ideas that embrace stunning fall tones are all about warmth, comfort, and a touch of autumnal elegance. Think rich browns, burnt oranges, deep reds, golden yellows, and forest greens. These shades don’t just look beautiful; they evoke the feeling of harvest, gratitude, and the cozy vibes of the holiday.
For beginners, the key is to choose designs that are simple to execute but deliver maximum impact. We’re talking about using beautiful colors strategically, employing easy patterns, and maybe even a touch of subtle glitter or leaf accents. Let’s dive into some inspiring ideas that will have your nails looking holiday-ready for any Thanksgiving gathering!
Why Fall Tones Are Perfect for Thanksgiving
Fall tones are the undisputed stars of the Thanksgiving season, and for good reason! They directly reflect the natural beauty of autumn landscapes and harvest bounty.
- Warmth & Comfort: Rich, earthy colors like deep browns, warm oranges, and golden yellows create a sense of coziness and comfort, mirroring the feeling of gathering with loved ones around a festive table.
- Elegance of Nature: These colors are directly inspired by nature’s most beautiful autumn display – the changing leaves. They offer an effortless, sophisticated beauty.
- Versatility: Shades like cranberry red, pumpkin spice, and olive green complement a wide range of skin tones and Thanksgiving outfits.
- Harvest Symbolism: Many fall colors are associated with harvest and abundance, making them a natural fit for a holiday that celebrates gratitude for what we have.
Essential Tools for Your Thanksgiving Mani
Before we jump into the designs, let’s make sure you have the right tools. Don’t worry, you don’t need a nail art salon setup at home! These are basics that will help you create beautiful Thanksgiving nail designs.
- Nail Polish Remover: For fixing mistakes and starting with a clean slate.
- Cotton Balls or Pads: To apply the remover.
- Nail File: To shape your nails.
- Cuticle Pusher or Orange Stick: To gently push back cuticles.
- Base Coat: Essential for protecting your natural nails and helping polish adhere better.
- Top Coat: To seal your design, add shine, and make your manicure last longer.
- A Selection of Fall-Themed Nail Polishes: The stars of the show! We’ll cover color suggestions below.
- Dotting Tools (Optional but handy): Great for creating small dots, French tips, or simple patterns. You can even use the tip of a toothpick if you don’t have these.
- Thin Nail Art Brush (Optional): For creating fine lines, swirls, or adding details.
- Sponge (for ombre effect): A makeup wedge or specific nail sponge works perfectly.
Choosing Your Perfect Fall Color Palette
The foundation of any great Thanksgiving nail design is the color palette. For fall, think rich, warm, and inviting. Here are some must-have shades:
- Deep Cranberry Red: A sophisticated, festive, and versatile shade.
- Burnt Orange/Pumpkin Spice: Evokes all things autumn and Thanksgiving dinner.
- Warm Mustard Yellow/Goldenrod: Adds a touch of sunshine and harvest feel.
- Rich Chocolate Brown: A grounding, earthy tone that pairs beautifully with others.
- Olive or Forest Green: Sophisticated and subtle, reminiscent of fall foliage.
- Creamy Beige/Nude: A perfect neutral base or a chic standalone color.
- Sparkling Gold or Bronze: For a touch of holiday glamour.
Mixing and matching these shades can create truly dynamic looks. Don’t be afraid to try a deep brown with a hint of gold, or a cranberry red with a creamy nude accent.
Easy Thanksgiving Nail Designs for Beginners
Let’s get creative! These designs are perfect for anyone new to nail art, focusing on simple techniques that yield stunning results.
1. The Classic Fall Ombre
An ombre effect is surprisingly easy and looks incredibly chic. It’s a great way to blend two or three complementary fall shades.
How-To Steps:
- Prep: Start with clean, shaped nails. Apply a base coat and let it dry completely.
- Base Color: Apply a light nude or cream color as your base. This helps the transition of other colors to appear smoother. Let it dry thoroughly.
- Color Blending: On a makeup sponge or nail art sponge, paint two or three stripes of your chosen fall colors, side-by-side. For example, you could use mustard yellow, burnt orange, and a touch of cranberry red.
- Apply Ombre: Gently dab the sponge onto your nail, concentrating the color. You might need to reapply polish to the sponge and dab again to build up the intensity and blend the colors.
- Clean Up: Use a small brush dipped in nail polish remover to clean up any polish that got on your skin around the nail.
- Seal: Once the polish is dry to the touch, apply a thick layer of top coat to smooth out the sponge texture and seal the design.
2. The Subtle Fall Leaf Accent
This design adds a touch of nature’s beauty with minimal effort. You can use nail art stickers or a simple freehand technique.
How-To Steps (Using Stickers):
- Prep: Apply base coat, then paint your nails in a solid fall color like chocolate brown, burnt orange, or olive green. Let it dry completely.
- Apply Leaf Decals: Carefully select small, pre-made fall leaf nail art stickers or decals.
- Placement: Gently peel a sticker from its backing and place it onto one or two accent nails (like your ring finger). Press down firmly to ensure it adheres smoothly.
- Seal: Apply a generous top coat over the entire nail, making sure to cover the edges of the sticker to prevent lifting.
How-To Steps (Freehand – Beginner Variation):
- Prep: Base coat, followed by a solid fall color. Let dry.
- Dotting Tool ‘Leaf’: Using a dotting tool or the tip of a toothpick, place a small dot of a contrasting fall color (e.g., gold on brown, or red on orange) near the cuticle of an accent nail.
- Drag & Shape: With a thin nail art brush or the toothpick, gently drag the edges of the dot outwards and upwards to create a simple leaf shape. Don’t worry about perfection; abstract can be beautiful!
- Seal: Apply top coat.
3. The Cozy Color Block
Color blocking is modern, stylish, and incredibly beginner-friendly. It involves applying distinct blocks of color to each nail.
How-To Steps:
- Prep: Base coat. Choose two complementary fall colors (e.g., cream beige and deep cranberry).
- First Color: Paint about half to two-thirds of your nail with the first color (e.g., cream beige). Let it dry completely.
- Second Color: Apply the second color (e.g., cranberry red) to the remaining part of the nail, creating a clean line where the colors meet. You can either paint it directly or use nail tape for a super crisp edge.
- Nail Tape Method: For a super clean line, once the first color is completely dry, apply a strip of Washi tape or nail tape where you want the color division. Paint the second color over the tape. Once the second color is dry to the touch, carefully peel off the tape.
- Seal: Apply top coat to all nails.
4. The Simple Gold or Bronze Tip
Elevate a solid fall color with a touch of metallic festive flair. This is like a minimalist French manicure with a holiday twist.
How-To Steps:
- Prep: Base coat. Paint all your nails in a solid, deep fall color like forest green, chocolate brown, or burnt orange. Let it dry completely.
- Apply Metallic: Using a metallic gold or bronze polish, carefully paint a thin line across the tip of each nail. You can do this freehand with the polish brush, or use a striping tape for a perfectly straight line.
- Freehand Tip: If painting freehand, hold your hand steady and take your time. It’s okay if it’s not perfectly uniform; a slightly imperfect line adds character!
- Tape Tip: For tape perfection, ensure your base color is fully dry. Apply a piece of tape across the tip of your nail, then paint the metallic over the tape edge. Remove tape once dry.
- Seal: Apply a top coat to seal everything in.
5. The Two-Tone Fall Palette Mani
This is simplicity at its finest. Assign a different, yet complementary, fall color to each finger.
How-To Steps:
- Prep: Base coat.
- Color Selection: Choose 3-4 colors from your fall palette that you love together (e.g., cream, mustard, burnt orange, brown).
- Paint Each Nail: Paint each nail a different color. For example:
- Thumb: Cream
- Index Finger: Mustard Yellow
- Middle Finger: Burnt Orange
- Ring Finger: Chocolate Brown
- Pinky Finger: Cream (or repeat a favorite color)
- Let Dry: Ensure each coat is dry before applying the next.
- Seal: Apply a clear top coat over all nails for shine and protection.
6. The Subtle Glitter Gradient
Add a touch of sparkle without going overboard. A glitter gradient is easy and looks stunning, like falling confetti.
How-To Steps:
- Prep: Base coat. Paint your nails in a solid fall color (e.g., deep red or olive green). Let it dry completely.
- Apply Glitter: Take a glitter polish (gold, bronze, or even a multi-colored fall-toned glitter).
- Gradient Effect: Apply the glitter polish starting heavily at the tip of the nail and feathering it downwards towards the cuticle with the brush. You can also use a sponge to dab the glitter on for a more concentrated effect at the tip that fades out.
- Second Coat: Apply a second coat of glitter polish to enhance the gradient effect, focusing even more glitter on the tips.
- Seal: Because glitter can be textured, you might need two coats of top coat to get a smooth finish.
Thanksgiving Nail Design Inspiration and Fall Tones Table
Here’s a quick reference table to help you pair design ideas with perfect fall tones.
| Design Idea | Primary Fall Tones Suggested | Accent Colors / Sparkle | Beginner Friendly? |
|---|---|---|---|
| Classic Fall Ombre | Mustard Yellow, Burnt Orange, Cranberry Red | N/A | Yes (with sponge) |
| Subtle Fall Leaf Accent | Chocolate Brown, Olive Green, Cream Beige | Gold, Bronze, or matching leaf decals | Yes (especially with decals) |
| Cozy Color Block | Cream Beige, Cranberry Red, Deep Brown | N/A | Yes (use tape for crisp lines) |
| Simple Gold/Bronze Tip | Forest Green, Burnt Orange, Deep Red | Metallic Gold, Bronze | Yes (tape recommended for beginners) |
| Two-Tone Palette | Any 3-4 complementary fall shades (e.g., Beige, Mustard, Orange, Brown) | N/A | Very Yes |
| Subtle Glitter Gradient | Deep Red, Olive Green, Chocolate Brown | Gold Glitter, Bronze Glitter | Yes |
Quick Tip for Clean Lines
Creating clean lines, especially with the gold tips or color blocking, can be tricky. A fantastic trick is to use Washi tape or specialized nail art tape. Apply the tape firmly over a fully dried polish color where you want the line to be. Paint the new color over the tape, let it dry to the touch, and then carefully peel off the tape. This gives you a super sharp, professional-looking edge! For more nail health tips, the American Academy of Dermatology Association offers great general advice for maintaining healthy nails.
Tips for Making Your Thanksgiving Nails Last
You’ve put in the effort, and you want your beautiful Thanksgiving nail designs to stick around! Here are some simple tips to extend the life of your manicure:
- Always Use a Base Coat: This prevents staining and creates a smooth, grippy surface for your polish.
- Apply Thin Coats of Polish: Two thin coats of color are usually better than one thick one. Let each coat dry before applying the next.
- Seal with a Good Top Coat: A quality top coat locks in color and shine. Reapply every couple of days if needed.
- Avoid Hot Water Soaks: Prolonged exposure to hot water can soften nails and cause polish to chip.
- Wear Gloves for Chores: Protect your hands (and nails!) when washing dishes or cleaning.
- Be Gentle: Avoid using your nails as tools to scrape or pry things open.
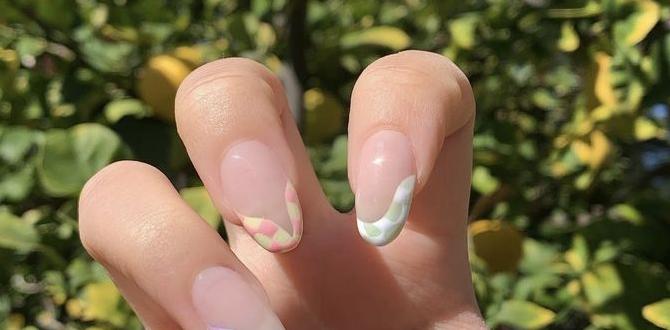
French Tips with a Thanksgiving Twist
Let’s talk about a classic nail style with a fall update! Standard French tips are lovely, but we can easily give them a Thanksgiving makeover.
How-To:
- Prep: Apply your base coat and paint your nails with a neutral or soft fall color (like a creamy beige or light tan). Let it dry completely.
- Fall-Colored Tips: Instead of white, use a rich fall color for the tips. Think deep cranberry, burnt orange, or even a dark chocolate brown.
- Application: You can freehand this with the polish brush, aiming for a smile line. For a cleaner line, use nail guides or tape.
- Accent Nail (Optional): On one accent nail, you could do a full nail of a metallic accent color (gold or bronze) instead of the French tip.
- Seal: Finish with a top coat.
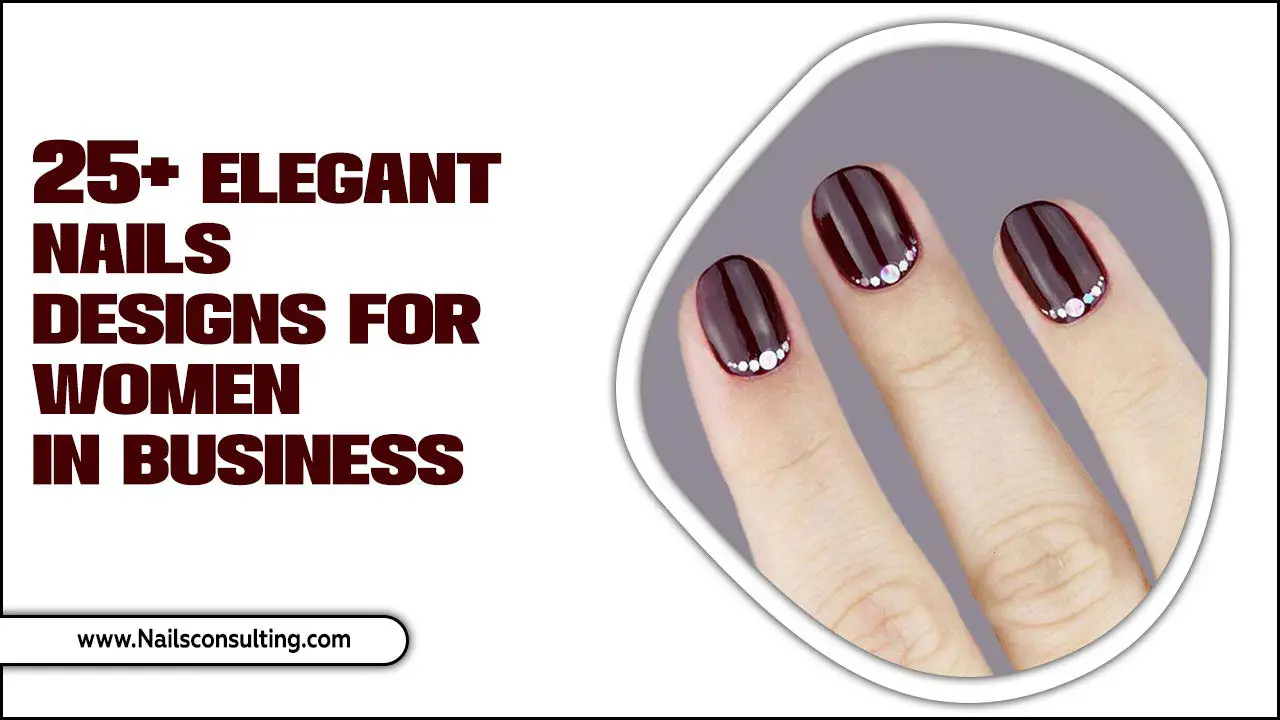
Adding a Touch of Texture with Nail Gems
For those who love a little extra sparkle and dimension, small nail gems or rhinestones can add a sophisticated touch.
How-To:
- Prep: Base coat, then apply your main fall color polish and let it dry fully.
- Placement: On an accent nail (like the ring finger), apply a tiny dot of nail glue or a bit of your top coat where you want to place a gem.
- Apply Gems: Using tweezers or a wax pencil, carefully pick


