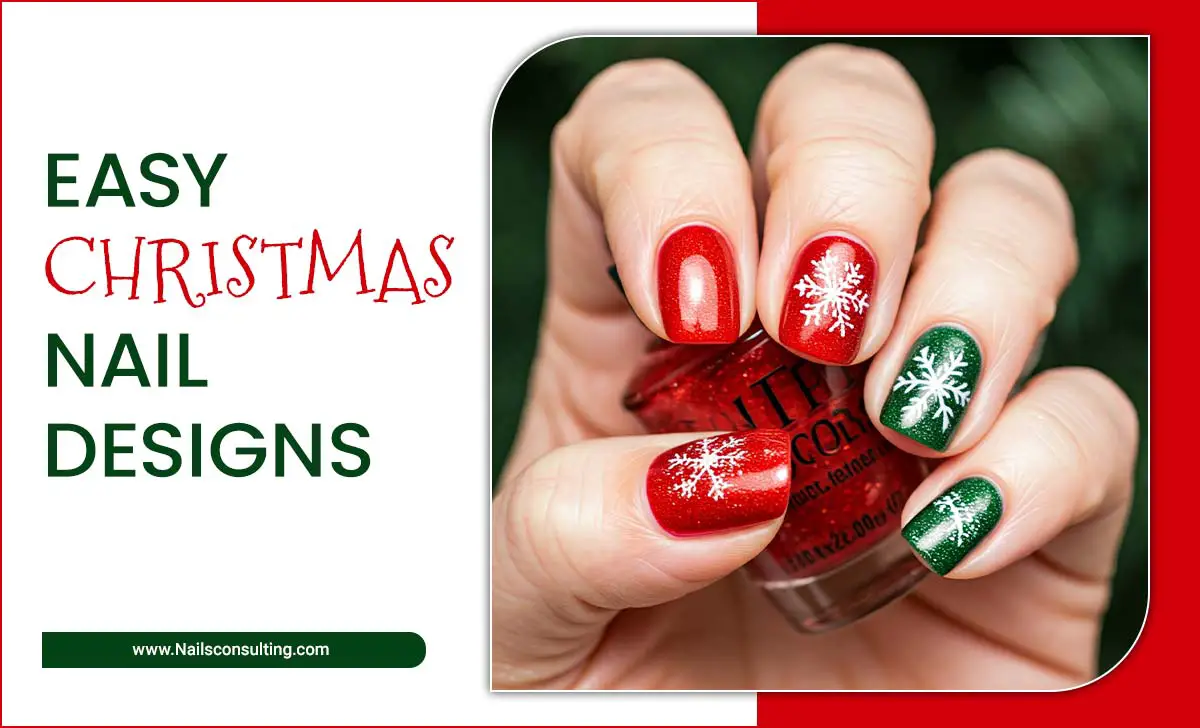
Textured nail art is an easy way to add dimension and style to your manicure. These designs use simple techniques and readily available materials to create eye-catching effects, perfect for beginners looking to elevate their nail game effortlessly.
Nails are a fantastic way to express yourself! If you’ve ever admired unique nail designs and thought, “I could never do that,” I’m here to show you how achievable and fun textured nail art can be. Forget complicated tools and impossible steps. We’re diving into simple designs that add instant wow factor, making your nails stand out.
Ready to transform your nails from basic to brilliant with easy textures? Let’s get your hands on some amazing new nail art skills!
Frequently Asked Questions
What exactly is textured nail art?
Textured nail art refers to manicures where the nail surface isn’t smooth. It involves adding elements or using specific techniques to create a raised, bumpy, or visually interesting tactile surface. Think of it like adding dimension to a flat canvas!
Do I need special tools for textured nail art?
Not necessarily! While some tools can help, many textured effects can be achieved with things you might already have, like toothpicks, sponges, or even everyday items. We’ll cover all you need.
Is textured nail art hard to do?
Definitely not! The designs we’ll explore are specifically chosen for their beginner-friendliness. The key is using simple techniques that create a big impact with minimal effort.
How long does textured nail art typically last?
The longevity depends on the materials used and how well you care for your nails. Most textured designs, when sealed with a good top coat, can last as long as a regular manicure, usually 7-14 days.
Can I create texture with things other than nail polish?
Absolutely! While polish is the base, you can incorporate materials like glitter, tiny beads, flocking powder, or even create texture with strategic placement of thicker polish layers.
How do I remove textured nail art?
Removal is usually similar to regular polish. For designs with added elements, soaking with an acetone-based remover and gently pushing off the material is key. Avoid scrubbing too hard to protect your natural nails.
Are there any preventative measures for nail damage with textured art?
Yes! Always start with a good base coat to protect your nails. When removing any nail art, be gentle. Ensure your nails are properly prepped and, if using heavy embellishments, consider a stronger nail glue or gel top coat for extra hold and protection.
What You’ll Need to Get Started
Before we jump into the fun designs, let’s gather our essential supplies. Don’t worry if you don’t have everything; I’ll suggest easy swaps!
Basic Manicure Tools
- Nail file and buffer: To shape and smooth your nails.
- Cuticle pusher: To gently push back cuticles for a clean canvas.
- Nail polish remover: For cleaning up mistakes and starting fresh.
- Cotton pads or lint-free wipes: For applying remover.
Essential Nail Products
- Base coat: Crucial for protecting your natural nails and helping polish adhere.
- Top coat: Seals your design, adds shine, and helps it last longer. A quick-dry top coat is a lifesaver!
- Your favorite nail polish colors: The stars of the show!
Tools for Adding Texture
- Thin striper brush or a toothpick: For drawing lines, dots, and creating fine details.
- Sponge (makeup sponge or kitchen sponge): Great for gradient effects and stippling.
- Dotting tools: For creating perfect circles and patterns. If you don’t have these, the back of a bobby pin or a toothpick can work!
- Tweezers: For picking up small embellishments like rhinestones or glitter.
Optional Embellishments for Extra Dimension
- Glitter: Loose glitter, glitter polish, or glitter flakes.
- Rhinestones or studs: Tiny gems for a touch of sparkle.
- Flocking powder: For a fuzzy, velvet-like texture.
- Caviar beads: Tiny beads for a unique, bumpy effect.
Effortless Textured Nail Art Designs for Beginners
Now for the exciting part! These designs are simple, effective, and perfect for your first foray into textured nail art.
Design 1: The Chic Stippled Effect
This design uses a sponge to create a soft, uneven texture that looks sophisticated.
What You’ll Need:
- Base coat
- Two complementary nail polish colors (e.g., a nude and a deep berry, or a light gray and a vibrant blue)
- A clean makeup sponge or a piece of a kitchen sponge
- Top coat
Step-by-Step Guide:
- Prep Your Nails: Start with clean, dry nails. Apply a thin layer of base coat and let it dry completely.
- Apply Base Color: Paint your nails with your first color. This is the color that will peek through the texture. Let it dry fully.
- Prepare Your Sponge: Cut a small piece from your sponge. You want it to be easy to hold and dab. You can even stick it onto the end of a popsicle stick or a pencil eraser for a handle.
- Add Texture Color: Apply a small amount of your second color onto a clean surface like a piece of paper or a tile.
- Dab and Stipple: Gently dab the sponge into the second color, picking up a little bit of polish. Then, lightly dab and stipple this color onto your nails, focusing on the tips or random areas. The goal is uneven coverage, creating a textured, almost painterly look. Don’t aim for solid coverage; you want the base color to show through.
- Build the Texture: Repeat the dabbing process, adding more of the second color where you want more depth. You can vary the pressure and coverage.
- Let It Dry: Allow the stippled layers to dry completely. This is important before applying the top coat.
- Seal the Deal: Apply a generous layer of top coat to seal the design, smooth out some of the texture, and add shine.
Lisa’s Tip:
For a more cohesive look, ensure your two colors have a good contrast but still feel harmonious. Think of it as creating a subtle ombré or a marbled effect with the sponge.
Design 2: The Effortless Glitter Fade
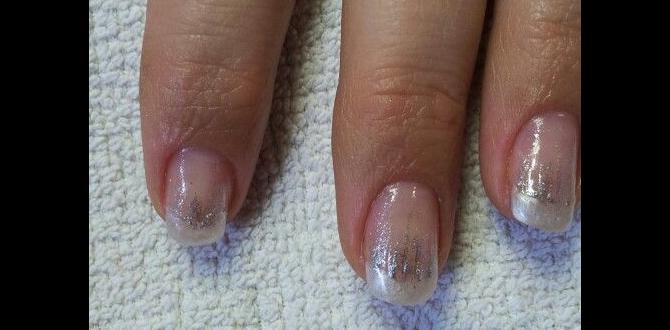
This is a classic for a reason! A glitter fade adds sparkle and texture without being overwhelming.
What You’ll Need:
- Base coat
- Your favorite polish color
- Glitter polish or loose glitter
- A makeup sponge (optional, for a smoother gradient)
- Top coat
Step-by-Step Guide:
- Prep and Base: Apply your base coat and let it dry. Then, apply one or two coats of your main polish color and let it dry.
- Option A (Direct Glitter Polish): Apply a coat of glitter polish starting from the tip of your nail and fading downwards. You can concentrate more glitter at the very tip and use fewer strokes as you move towards the cuticle.
- Option B (Loose Glitter): While your last coat of regular polish is still slightly wet, gently sprinkle loose glitter over the tips of your nails. Let it sit for a minute, then carefully tilt your hand to shake off the excess.
- Option C (Sponge Technique): Apply a bit of glitter polish onto a makeup sponge. Lightly dab the sponge onto the tip of your nail, building up the glitter intensity. This method creates a softer, more diffused blend.
- Build the Fade: For a more intense fade, apply another layer of glitter polish or repeat the sponging technique, focusing on the very tips of your nails.
- Smooth It Out: Once dry, apply one or two generous coats of top coat. Glitter can feel rough, so the top coat is essential for a smooth finish and to really make the glitter pop.
Lisa’s Tip:
Experiment with different glitter sizes and colors! Fine glitter gives a sparkly, smooth finish, while chunkier glitter adds more noticeable texture. For a truly dimensional look, consider layering a fine glitter polish with a top coat of chunkier glitter.
Design 3: Simple Dotted Texture
Dots are versatile, and when used for texture, they can create anything from subtle speckles to bold patterns.
What You’ll Need:
- Base coat
- A contrasting nail polish color
- A toothpick, dotting tool, or the tip of a bobby pin
- Top coat
Step-by-Step Guide:
- Apply Base Coat: Start with a clean nail and a good base coat.
- Paint Your Nails: Apply one or two coats of your chosen nail polish color. Let it dry completely.
- Get Ready to Dot: Dip your dotting tool (or toothpick/bobby pin tip) into a small amount of contrasting nail polish. For the best results, don’t overload the tool.
- Create Your Pattern:
- Random Speckles: Lightly tap the tool onto your nail in a random pattern. This creates a subtle textured, almost speckled effect.
- Uniform Dots: Place dots in a regular pattern, like stripes or a grid, for a more graphic look.
- Varying Sizes: Use different-sized dotting tools (or the tip and side of a toothpick) to create dots of varying sizes for added visual interest.
- Build Layers (Optional): If you want a more pronounced texture, wait for the first layer of dots to dry slightly, then add another layer of dots, perhaps slightly overlapping.
- Seal the Texture: Once your dots are completely dry, apply a thorough layer of top coat. Ensure you cover all the dots to make them last and create a smoother finish.
Lisa’s Tip:
If your contrasting polish starts to dry on your tool, wipe it off with a bit of nail polish remover on a cotton pad and redip. This ensures clean, crisp dots every time.
Design 4: The Velvet Touch with Flocking Powder
Flocking powder is a fantastic way to get a soft, fuzzy, almost velvet-like texture that’s surprisingly simple to achieve. You can find flocking powder online or at craft stores. For safety and nail health, check out the U.S. Food & Drug Administration’s guidelines on cosmetic ingredients for peace of mind.
What You’ll Need:
- Base coat
- Nail polish color of your choice
- Flocking powder (available in various colors)
- Tweezers or a small brush
- Top coat (opted for this design, as it can sometimes flatten the texture if applied too heavily immediately)
Step-by-Step Guide:
- Apply Base and Color: Prep your nails with a base coat. Then, apply one or two coats of your desired nail polish color. Let the polish dry completely. This is crucial so the flocking powder adheres only to the wet polish you’ll apply later.
- Create Your Textured Area: Apply a layer of your main polish color (or a contrasting color, if you want the flocking to stand out more) only where you want the velvet texture to appear. This could be the entire nail, just the tips, or a stamped design. Work quickly, as this polish needs to be wet.
- Apply Flocking Powder: While that last layer of polish is still wet, gently sprinkle or apply flocking powder onto the wet polish. You can use tweezers to carefully place it or a small brush to dust it on. Ensure the powder covers the wet polish completely.
- Press and Coat: Gently press the flocking powder into the wet polish. You can use the back of your brush or a clean finger for this.
- Remove Excess: Once the polish has set slightly (not fully dry, but no longer super wet), carefully brush away any loose, excess flocking powder from surrounding areas with a dry brush. Don’t brush too hard, or you’ll remove the adhered powder.
- Wait and Cure: Let your nails air dry for several minutes. The flocking powder needs to set into the polish.
- The Top Coat Dilemma: Applying a top coat can flatten the velvet texture. If you want to preserve that fuzzy feel, you might skip the top coat for designs where the texture is the main focus. However, for durability, you can apply a very thin layer of top coat only on the edges or very carefully over the textured area, avoiding direct contact with the bulk of the flocking. Some people prefer to apply flocking powder over gel polish and cure it, which doesn’t affect the texture as much.
Lisa’s Tip:
If you want to create specific shapes or lines with flocking powder, paint the design with your chosen polish, then carefully use a small brush dipped in flocking powder to build up the texture only on the painted areas.
Design 5: Abstract Swirls and Lines
This design uses a thin brush or toothpick to create flowing lines and swirls, adding an artistic, textured flair.
What You’ll Need:
- Base coat
- A base color polish
- A contrasting polish for your lines/swirls
- A thin striper brush, toothpick, or even a very fine-tipped pen tool
- Top coat
Step-by-Step Guide:
- Prep and Base Color: Apply your base coat and let it dry. Paint your nails with your chosen base color and allow it to dry completely.
- Prepare Your Tool: Dip your striper brush or toothpick into your contrasting polish. Wipe off any excess on the edge of the bottle neck or a lint-free wipe. You want just enough polish to create a clean line.
- Start Creating: Begin drawing your lines and swirls onto the dry nail. Don’t overthink it! Abstract is all about freeform creativity. You can:
- Draw thin, wavy lines across the nail.
- Create small, delicate swirls.
- Draw abstract geometric shapes.
- Add a few strategic dots to complement the lines.
- Build Up Layers (Optional): If you want to add more dimension or a slightly thicker line, wait for the first layer of lines to dry, then carefully go over them again or add more lines.
- Clean Up Mistakes: If you make a mistake, use a tiny brush dipped in nail polish remover to carefully clean up the line before it dries.
- Seal the Art: Once your lines are completely dry, apply a generous layer of top coat to seal your design and add shine.
Lisa’s Tip:
For a matte finish instead of a glossy one, use a matte top coat after your colored lines have dried. This gives an even more unique textural dimension!
Design 6: The Chunky Glitter Accent Nail
This is similar to the glitter fade but focuses the texture on one accent nail, using chunkier glitter for a distinct effect.
What You’ll Need:
- Base coat
- Base color polish for all nails
- Chunky glitter polish or a mix of fine and chunky loose glitters
- A toothpick or small brush
- Top coat
Step-by-Step Guide:
- Base Colors: Apply base coat to


