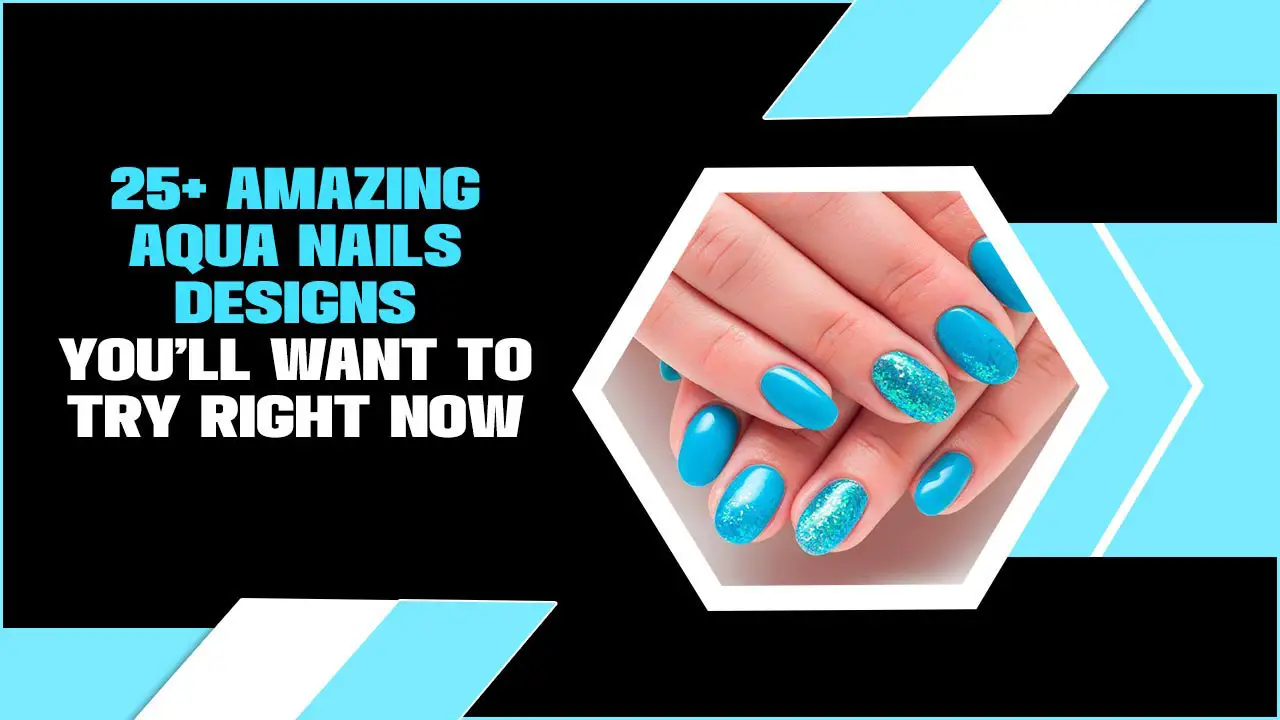
Teen nail designs offer a fun, creative way for teens to express themselves. From simple yet stylish polish to intricate patterns and easy-to-apply decals, there’s a perfect idea for every skill level and occasion. Discover genius, essential looks that are easy to try at home!
Feeling a bit blah about your nails? Want to add some sparkle or show off your unique personality? You’re in the right place! Many teens want cool nail designs but don’t know where to start. Maybe you think it’s too complicated, or you don’t have the right tools. Don’t worry! Creating awesome nail art is totally doable, even if you’re a total beginner. We’ll walk through super fun and easy ideas that will make your nails pop.
Ready to transform your fingertips into mini masterpieces? Let’s dive into a world of color, shine, and creativity. We’ll cover everything from choosing the right colors to simple techniques that look super professional. Get ready to feel confident and express yourself like never before with these genius teen nail design ideas!
Why Nail Art is a Teen’s Best Friend
Nails are like tiny canvases for your personality. For teens, this is a fantastic way to experiment with style, moods, and trends without making a huge commitment. It’s also an incredibly affordable form of self-expression. Think of it: a new outfit can be pricey, but a new nail color or a simple design can change your whole vibe in minutes!
Beyond just looking pretty, practicing nail art encourages creativity and fine motor skills. It’s also a great way to relax and de-stress after a busy day of school, homework, and life. Plus, who doesn’t love a little compliment on their amazing nails?
Getting Started: Essential Tools for Teen Nail Designs
You don’t need a fancy salon setup to create incredible teen nail designs. A few basic tools can go a long way. Having these on hand will make your nail art journey so much smoother and more enjoyable. Here’s a breakdown of the essentials:
Must-Have Nail Art Tools:
- Nail Polish: Of course! Grab a few of your favorite colors, plus a clear topcoat and a base coat.
- Base Coat: Protects your nails from staining and helps polish last longer.
- Topcoat: Seals your design, adds shine, and prevents chips.
- Dotting Tools: These come in different sizes and are perfect for creating dots, swirls, and small details. You can even use the tip of a bobby pin or a ballpoint pen in a pinch!
- Thin Nail Art Brush: Great for drawing thin lines, intricate patterns, or filling in small spaces.
- Nail Polish Remover: For corrections and cleaning up edges.
- Cotton Balls or Pads: For remover application.
- Orange Stick or Cuticle Pusher: To clean up polish around the cuticle and push back cuticles.
- Optional Extras: Glitter polish, nail stickers/decals, stencils, striping tape.
Remember, you can find many of these items at your local drugstore or beauty supply store. Don’t feel pressured to buy everything at once. Start with the basics and add more as you get comfortable!
Easy Teen Nail Designs for Beginners
Ready to paint? These designs are perfect for beginners and use the tools we just talked about. They’re chic, trendy, and super achievable. Let’s get creative!
1. The Classic French Tip with a Twist
The French manicure is timeless, but let’s give it a modern teen spin!
How-To:
- Start with a clean, shaped nail. Apply a clear or nude base coat and let it dry completely.
- Paint a thin, crisp line of white or colored polish across the tip of your nail. You can use a steady hand, or for a cleaner line, try using tape (like washi tape or special nail tape) to guide your brush.
- Let the tip dry thoroughly.
- Apply a sparkly or colored topcoat over the whole nail for a subtle shimmer, or leave it as is for a clean look.
Beginner Tip: If you mess up, don’t fret! Just dip an orange stick or a small brush in nail polish remover and carefully clean up the edge before it dries.
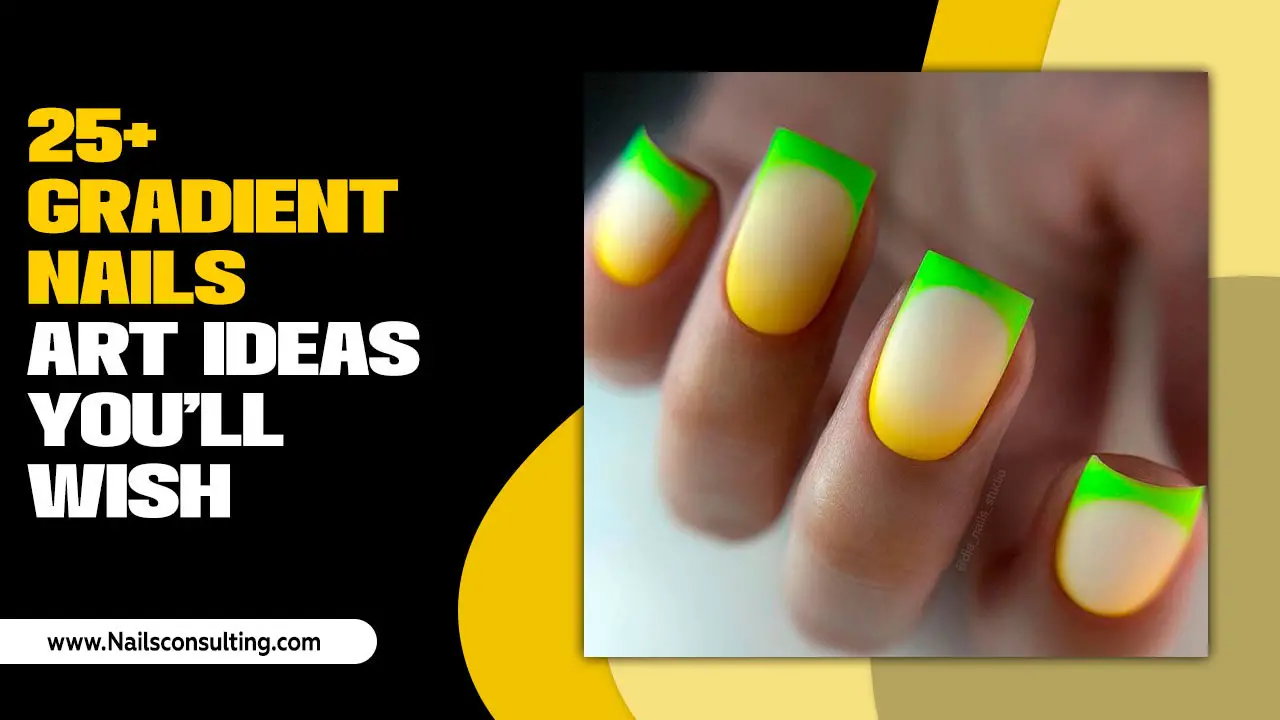
2. Gradient/Ombre Nails
This looks super pro but is surprisingly easy. It’s like a sunset on your nails!
How-To:
- Paint your nails with a light base color (white or a pale shade works best). Let it dry fully.
- Grab a makeup sponge (the kind you use for foundation works great).
- Apply 2-3 colors of polish side-by-side onto the sponge.
- Quickly press the sponge onto the nail, starting from the cuticle and gently rolling upwards.
- Repeat this dabbing motion to build the color intensity.
- Clean up any excess polish around your nails with an orange stick and remover.
- Finish with a clear topcoat.
Pro Tip: For an even smoother blend, try using polishes that are similar in tone. You can find great guides on FDA guidelines for cosmetic ingredients, which can be helpful when choosing colors and products: FDA Enforcement Actions Related to Cosmetics.
3. Polka Dot Perfection
Dots are fun, versatile, and incredibly easy to create.
How-To:
- Start with a solid base color. Let it dry completely.
- Dip your dotting tool (or the tip of a bobby pin) into a contrasting polish color.
- Gently dab dots onto your nail. Vary the size of the dots by using different sized dotting tools or applying more/less pressure.
- Create patterns: you can make neat rows, scattered random dots, or even little flowers by making a few dots close together.
- Seal with a topcoat once everything is dry.
Design Ideas: Try a black base with white dots, a pastel base with brighter dots, or even a glitter polish for the dots!
4. The Half-Moon Manicure
This retro-chic look is simple yet eye-catching.
How-To:
- Apply your base color and let it dry.
- Use a small round sticker (like binder reinforcement stickers) or a stencil to cover the part of your nail where you want the unpainted “moon” to be, typically near the cuticle.
- Paint the rest of your nail with a contrasting color.
- Carefully peel off the sticker or stencil while the polish is still slightly wet.
- Let it dry and seal with a topcoat.
Color Combos: Think nude with black, navy with gold, or even two shades of the same color family for a subtle effect.
5. Glitter Gradient
Add instant glam with glitter! This is perfect for a party or just when you want to feel extra fancy.
How-To:
- Apply your base color (a darker shade often works well) and let it dry.
- Take a glitter polish. Start applying it at the tip of your nail, building up the concentration as you move towards the free edge.
- You can feather the glitter down the nail, creating a gradient effect. Use dabbing motions with the brush.
- Let it dry, then apply a smooth topcoat to cover any texture from the glitter.
Tip: For a more intense glitter look, apply glitter polish over a slightly sticky base coat or use a sponge to dab on the glitter. This helps pack the glitter on more densely.
Intermediate Teen Nail Designs: Level Up Your Skills
Once you’ve mastered the basics, you might want to try designs with a little more detail. These still remain beginner-friendly but offer a chance to explore more techniques and creativity.
6. Marble Effect
This looks complex but can be done easily with a water marbling technique or simpler brush strokes.
How-To (Simplified Water Marble-Free Method):
- Paint your nails a solid light color (like white or nude). Let dry.
- Take a dark polish (like black or royal blue). Add a few drops of this polish onto a piece of foil or a palette.
- Dip a thin nail art brush into the dark polish.
- Gently drag the brush across your nail in thin, wispy lines, like veins. Don’t overdo it!
- Use a clean brush dipped in polish remover to clean up any mistakes or to thin out the lines further.
- Let dry and apply a topcoat.
Advanced Tip: For true water marbling, you’ll need a cup of water, polishes that spread well, and a steady hand. There are tons of great video tutorials online to guide you through this!
7. Simple Floral Accents
A tiny flower or two can add a whimsical touch.
How-To:
- Paint your nails a solid color. Let dry.
- Using a dotting tool, create a small cluster of 3-5 dots in a circle to form petals.
- Use a smaller dotting tool or the tip of a fine brush to add a tiny dot in the center for the flower’s middle.
- Let it dry completely before adding a topcoat.
Variations: Try making simple leaf shapes with a green polish and a fine brush, or use different sized dots to create a variety of flower shapes.
8. Geometric Shapes
Lines and shapes are sleek and modern.
How-To (using Striping Tape):
- Paint your nails your base color and let them dry completely.
- Apply small pieces of striping tape or washi tape onto your nail to create geometric patterns (e.g., triangles, squares, diagonal lines). Ensure the tape is pressed down firmly to prevent polish from bleeding underneath.
- Paint over the taped areas with a contrasting color or even multiple colors.
- While the polish is still wet, carefully peel off the tape. This reveals the negative space or the base color underneath.
- Let dry and seal with a topcoat.
Tip: You can also achieve geometric looks with stencils or by freehand drawing lines with a thin nail art brush.
9. Glitter Accent Nail
Want a pop of sparkle without full glitter coverage? An accent nail is perfect!
How-To:
- Paint all your nails EXCEPT one (usually the ring finger) with your chosen base color.
- Paint the accent nail with a glitter polish OR use the base color and then cover it with glitter polish using the gradient technique.
- Once dry, apply a topcoat to all nails.
This is a super quick way to elevate a simple manicure. It adds just the right amount of bling!
Advanced Teen Nail Designs: Unleash Your Inner Artist
Feeling confident? These designs take a bit more practice but offer incredible results that will have everyone asking who your nail tech is!
10. Character Nails
Show off your favorite cartoon characters, emojis, or even zodiac signs!
How-To (Simplified):
- Start with a base color related to your character.
- Using fine brushes and different colored polishes (or even acrylic paints for more detail), carefully paint simple shapes and features of your character onto the nail.
- For example, for a smiley face: use a yellow base, then black dots for eyes and a curved black line for the mouth.
- For more complex characters, consider using nail stickers or pre-made nail art transfers after painting your accent colors.
- Seal with a good topcoat.
Where to Find Inspiration: Look at emojis, icons, or simple drawings online to get ideas for the shapes you’ll need to create.
11. Negative Space Designs
This trend is all about showing off the natural nail beneath.
How-To:
- The key here is creating clean sections of polish and leaving parts of the nail bare.
- Use striping tape or stencils to block off areas of the nail.
- Paint the exposed sections with color.
- Carefully remove the tape/stencil to reveal the unpainted areas.
- Or, paint the whole nail with a sheer color and then add precise lines or shapes with opaque polish, leaving gaps.
- Seal with a topcoat.
The Appeal: Negative space designs often look very sophisticated and modern, and they grow out gracefully.
12. Galaxy Nails
A bit of a challenge, but the result is out-of-this-world!
How-To (using a sponge method):
- Start with a black or dark blue base coat. Let it dry.
- Grab a makeup sponge and apply a few colors like deep purple, pink, teal, and white polish onto the sponge.
- Gently dab the sponge onto your nail, layering the colors to create a cosmic effect. Don’t be afraid to experiment!
- Once you have the basic colors down, dip a stiff brush (like an old toothbrush) into white polish and flick it over the nails to create “stars.”
- Add tiny white dots with a dotting tool for individual stars.
- Seal with a clear topcoat to protect your starry creation.
YouTube is Your Friend: Searching for “galaxy nail tutorial” will bring up many fantastic visual guides that are incredibly helpful for this technique.
Care and Maintenance for Your Masterpieces
You’ve created amazing teen nail designs – now let’s keep them looking good!
Keeping Your Manicure Fresh:
- Apply a Topcoat Regularly: A fresh coat of topcoat every 2-3 days can revive shine and add extra protection.
- Moisturize: Keep your cuticles and hands hydrated with cuticle oil and hand lotion. Dryness can lead to chips and breaks.
- Wear Gloves: When doing chores like washing dishes or cleaning, wear gloves to protect your nails from harsh chemicals and prolonged water exposure.
- Be Gentle: Avoid using your nails as tools to open things or scrape surfaces.
- Touch-Ups: For small chips, you can sometimes dab on a little clear polish or the original color to mend the spot until you have time for a full redo.
Choosing the Right Colors and Finishes
Choosing colors is half the fun! Think about:
- Your Outfit: Do you want your nails to match or contrast?
- Your Mood: Bright, bold colors for energy? Soft pastels for calm? Dark shades for a moodier vibe?
- The Occasion: Sparkly for parties, subtle for school, or fun for a weekend?
- Finishes: Beyond standard cream polishes, explore matte, metallic, glitter, holographic, and neon finishes for added flair.
Don’t be afraid to mix and match! A matte base with glossy polka dots, or a metallic accent nail with a cream polish, can create unique textures and looks.
Teen Nail Designs: A Quick Guide to Polish Types
Here’s a look at different nail polish types you might encounter:
| Polish Type | Description | Best For |
|---|---|---|
| Traditional Enamel | The most common type. Dries relatively quickly and comes in endless colors and finishes. | Everyday wear, base colors, simple designs. |
| Gel Polish | Requires a UV/LED lamp to cure. Lasts much longer (2-3 weeks) and is very chip-resistant. | Long-lasting manicures, durable designs. |
| Quick-Dry Polish | Formulated to dry in a fraction of the time of traditional polish. | Busy schedules, preventing smudges. |
| Matte Topcoat | Applied over dried polish to give it a non-shiny, flat finish. | Creating matte versions of glossy polishes, unique finishes. |
| Glitter Polish | Contains small particles of glitter. Can be sheer or opaque with glitter. | Accent nails, gradients, adding sparkle. |
For beginners, traditional enamels and quick

