Tea nail designs are a delightful way to express your love for your favorite brew! These easy, beginner-friendly ideas transform your nails into miniature cups of comfort, from delicate tea cup art to cozy color palettes inspired by your favorite teas. You’ll discover simple techniques and charming looks perfect for any skill level.
Hello nail lovers! Are you looking for a way to add a touch of cozy charm and personality to your manicure? Maybe you’re a huge tea enthusiast and want to show it off. Sometimes, finding nail designs that are both super cute and incredibly easy to do can feel like searching for a lost teabag in a crowded cupboard! Don’t worry, I’ve got you covered. We’re diving into the wonderful world of “tea nail designs” – simple, stylish, and utterly charming ideas that anyone can master. Get ready to discover how to make your nails as delightful as a warm cuppa. Let’s brew up some creativity and learn some genius, easy tea-inspired nail looks!
Why Tea Nail Designs Are Totally Brew-tiful
Tea isn’t just a drink; it’s an experience. It’s about relaxation, warmth, and a moment of peace. Translating that feeling onto your nails is a fantastic way to bring a little bit of that calm and joy into your day. Plus, tea-inspired colors and motifs are incredibly versatile. Think soft pastels, rich earthy tones, and delicate patterns – they all fit perfectly into a chic nail aesthetic. And the best part? So many tea nail designs are surprisingly simple, making them perfect for beginners who want to explore nail art without needing a nail technician’s skill set.
The beauty of tea nail designs lies in their simplicity and the warmth they evoke. They’re like a little hug for your fingertips! Whether you love a steaming mug, delicate tea leaves, or the soothing colors of your favorite infusions, there’s a design waiting for you. We’ll explore how to get these adorable looks with minimal fuss, perfect for busy lives and budding nail artists.
Getting Started with Your Tea Nail Design Journey
Before we dive into the fun part – the designs themselves! – let’s make sure you have the basic tools and a clean canvas. A good manicure starts with healthy nails and the right essentials.
Essential Tools for Beginners
You don’t need a professional salon’s worth of gadgets to create cute tea nail designs. Here are a few basics that will make your DIY nail art journey much smoother:
Nail Polish Remover: To start with a clean slate. Make sure it’s acetone-free if you have dry nails.
Cotton Balls or Pads: For applying polish remover.
Nail File and Buffer: To shape your nails and smooth any ridges.
Base Coat: This protects your natural nails and helps polish adhere better.
Top Coat: Seals your design and adds shine, making it last longer.
Various Nail Polish Colors: Think creamy whites, soft beiges, warm browns, muted greens, and gentle pinks for a classic tea vibe. You might also want a fine-tip brush or dotting tool for details.
Optional: Small nail art brushes or dotting tools for creating finer details like tea leaves or steam.
Preparing Your Nails
Proper nail prep is key to a long-lasting and beautiful manicure. Follow these simple steps:
1. Remove Old Polish: Use nail polish remover and a cotton pad to get rid of any lingering color.
2. Shape Your Nails: File your nails into your desired shape. Keep them neat and even.
3. Buff Gently: Use a nail buffer to smooth the surface of your nails. Be gentle – you’re just aiming for a silky canvas, not removing much.
4. Cleanse: Wash your hands to remove any dust from buffing. Ensure your nails are completely dry before applying polish.
5. Apply Base Coat: This one is crucial! A good base coat will prevent staining (especially with darker colors) and help your polish grip. Let it dry completely.
Genius Easy Tea Nail Design Ideas You Can Do Today!
Now for the really fun part! These designs are chosen for their simplicity and adorable aesthetic, perfect for showing off your love for tea.
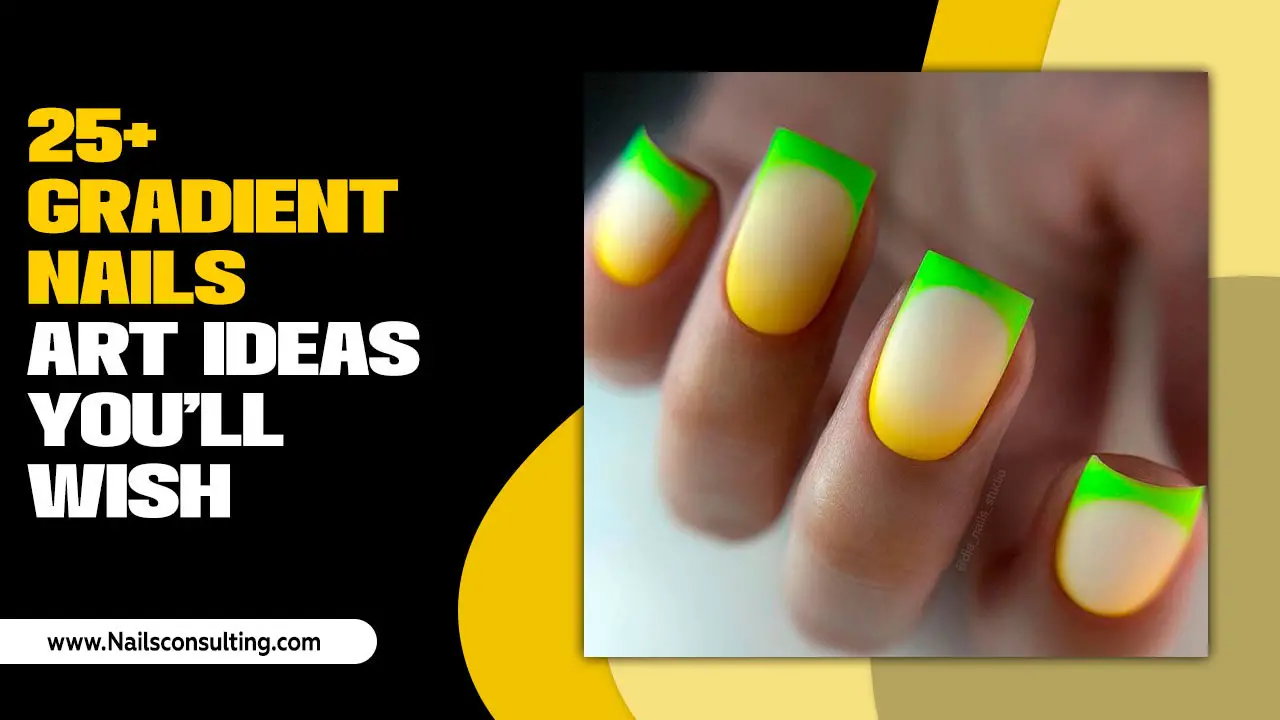
1. The “Cozy Brew” Gradient
This design mimics the beautiful, layered colors of different teas, like a perfectly steeped Earl Grey or a creamy latte.
What You’ll Need:
Base coat
3-4 polish colors that blend well (e.g., beige, light brown, deep brown; or a creamy white, a soft peach, a rose pink)
Makeup sponge (a clean, dry one works best)
Top coat
How to Create It:
1. Apply your chosen base coat and let it dry.
2. On your makeup sponge, paint stripes of your colors, starting with the lightest and ending with the darkest. Work quickly!
3. Gently dab the sponge onto your nail, pressing down to blend the colors. You might need a few dabs to get the opacity you want.
4. Repeat on all nails, or choose an accent nail.
5. Once dry, apply a generous layer of top coat to smooth out the gradient and add shine. Clean up any excess polish around your cuticles with a small brush dipped in remover.
2. The “Little Teacup” Accent Nail
This is an absolute classic and easier than it looks! It’s perfect for an accent nail on your ring finger.
What You’ll Need:
Base color polish (e.g., white, cream, or a soft pastel)
Black or dark brown polish for the teacup outline
A small detail brush or a toothpick
Top coat
How to Create It:
1. Paint your nails with your chosen base color. Let it dry completely on all nails, especially the accent nail.
2. On your accent nail, use your fine brush or toothpick dipped in black or dark brown polish.
3. Start by painting a simple U-shape for the body of the teacup.
4. Gently draw a curved line from one side of the U upwards and away to create the handle of the cup.
5. You can add a tiny saucer underneath if you’re feeling adventurous!
6. Carefully fill in the teacup with your base color polish, or leave it as an outline.
7. Let it dry thoroughly before applying a top coat.
3. The “Steeped Leaves” Simple Dotting
Inspired by loose-leaf tea, this design uses simple dots to create a pattern reminiscent of tea leaves.
What You’ll Need:
A neutral base polish (e.g., nude, light beige, pale green)
A contrasting color for the “leaves” (e.g., dark green, black, deep brown)
Dotting tool or a toothpick
Top coat
How to Create It:
1. Apply your base color and let it dry.
2. Dip your dotting tool or toothpick into the contrasting polish.
3. Create small dots or tiny elongated oval shapes all over your nail, or just in a pattern. You can vary the size and spacing for a more natural look.
4. Think about how leaves are scattered on a surface.
5. Let the dots dry completely before sealing with a top coat.
4. The “Chai Spice” Warm Tones
This design uses rich, warm colors to capture the essence of spiced teas like chai. Pinks, oranges, reds, and browns are your friends here!
What You’ll Need:
A base color polish (e.g., creamy white or nude)
Accent colors: Terracotta, rusty red, warm brown, a touch of gold
A thin nail art brush
Top coat
How to Create It:
1. Paint all nails with your base color and let dry.
2. On an accent nail (or all of them!), use your thin brush to paint simple abstract lines or shapes in your spice-toned colors. Think organic, flowing shapes.
3. You can layer colors or create little “swirls” reminiscent of spices mixing.
4. Once everything is dry, apply your top coat for a glossy finish that makes these warm colors pop.
5. The “Earl Grey Elegance” Classic
This design is all about sophistication and the simple beauty of Earl Grey tea. Think deep blues, greys, and a touch of yellow or gold.
What You’ll Need:
A sophisticated grey or deep blue nail polish
Yellow or gold polish for accents
A fine-tip nail art brush
Top coat
How to Create It:
1. Apply your grey or deep blue polish as your base. Let it dry completely.
2. On an accent nail, use your fine-tip brush and yellow or gold polish.
3. You can create a delicate swirl pattern, a small dot pattern, or even a thin accent line near the cuticle or tip.
4. For a touch of citrusy Bergamot, a tiny gold sparkle can make it extra special.
5. Seal with a top coat for that polished, elegant finish.
6. The “Tea Ceremony” Minimalist
This design is super chic and focuses on subtle details, perfect for those who prefer a cleaner look.
What You’ll Need:
Sheer nude, milky white, or pale pink polish
A very fine glitter polish or a metallic accent polish (gold, rose gold)
Top coat
How to Create It:
1. Apply one or two thin coats of your sheer polish. The goal is a “my nails but better” look. Let dry.
2. On one nail, or a few, apply a very thin line of glitter or metallic polish along the tip, or in a crescent shape at the base of the nail.
3. Alternatively, use a tiny dotting tool to place a few small metallic dots.
4. Finish with a clear top coat to seal the minimalist beauty.
Quick Tips for Tea-Inspired Nail Success
Color Palette is Key: Think about the actual colors of teas! Black tea, green tea, herbal teas (like chamomile or lavender) all have distinct color families.
Less is More: For beginners, start with simple one-color nails or one accent nail with a design.
Practice Makes Perfect: Don’t get discouraged if your first attempt isn’t salon-perfect. Keep practicing, especially with tools like dotting pens and brushes.
Cleanliness: Always ensure your nail polish remover and clean-up brush are handy for any polish mishaps.
Patience with Drying: Rushing the drying process is the quickest way to smudged nails.
Advanced (but still easy!) Touches for Your Tea Designs
Once you’ve mastered the basics, you can add a few extra touches to elevate your tea nail designs.
Adding Texture and Dimension
Matte Top Coat: For a sophisticated, sophisticated matte finish that can make earthy tea tones look even richer.
Topical Designs: Think about adding tiny, subtle 3D elements. Maybe a tiny pearl bead near the cuticle for a “sugar cube” vibe, or a sprinkle of fine glitter for a “tea leaves” effect.
Negative Space: Incorporate parts of your natural nail or the base coat showing through. This is super easy for designs like outlined teacups or simple lines.
The “Steam” Effect
This is a fun, whimsical touch!
What You’ll Need:
Base color polish
White or cream polish
Fine detail brush or toothpick
Top coat
How to Create It:
1. Paint your nail with your chosen base color and let it dry.
2. Using your fine brush or toothpick, paint a few wispy, wavy lines in white or cream emerging from the cuticle area or the tip of your nail.
3. Make them look delicate and airy, like wisps of steam.
4. Let them dry and seal with a top coat.
Tools for Precision: A Deeper Dive
While dotting tools and toothpicks are great, here are some other accessible tools that can help refine your tea nail designs:
Nail Art Brushes
These come in various shapes and sizes and can make a huge difference for detailed work.
| Brush Type | Best For | Beginner Tip |
| :—————- | :———————————————- | :——————————————————— |
| Fine Liner | Thin lines, outlines, writing, patterns | Use with a steady hand; practice strokes on paper first. |
| Dotting Tool | Dots of various sizes, small flowers, accents | Use the larger end for bigger dots, smaller end for tiny ones. |
| Angled Brush | Creating sharp angles, filling in shapes | Great for blending or creating leaf shapes quickly. |
| Fan Brush | Ombre effects, subtle gradients, dust removal | Can be used gently with polish for a watercolor look. |
Where to Find Nail Art Supplies
You don’t need to go to a specialty store! Many general beauty retailers, online marketplaces like Amazon, and even drugstores carry affordable nail art brushes and dotting tools. Look for sets that include a variety of tip sizes for maximum versatility.
Maintaining Your Tea-riffic Manicure
Once you’ve created your beautiful tea nail designs, you’ll want them to last!
Reapply Top Coat: About every 2-3 days, a fresh layer of top coat can help refresh the shine and protect your design.
Avoid Harsh Chemicals: Wear gloves when doing dishes or using strong cleaning products.
Moisturize: Keep your cuticles and hands hydrated with cuticle oil and hand cream. Healthy skin makes your manicure look even better.
Frequently Asked Tea Nail Design Questions
Q1: I’m terrible at painting straight lines. How can I do designs like outlines or borders?
A1: Practice makes perfect! For straight lines, try holding your hand very still and moving your arm rather than just your fingers. You can also use tape (like striping tape or even masking tape cut very thin) to create crisp lines, especially for French tip styles or geometric accents.
Q2: My nail polish always chips so fast. What can I do?
A2: Ensure you’re using a good base coat and a quality top coat. Seal the free edge* of your nail (the tip) with your top coat – this little step makes a surprisingly big difference in preventing chipping. Also, try to avoid using your nails as tools for opening things!
Q3: Can I do tea nail designs on short nails?
A3: Absolutely! In fact, simpler designs often look best on shorter nails. A single teacup on an accent nail, a few scattered dots, or a solid chic color like a muted green or warm beige are perfect for shorter lengths.
Q4: What kind of nail polish colors are best for tea-inspired looks?
A4: Think natural and comforting! Creamy whites, soft beiges and nudes, gentle browns (from light tan to deep espresso), muted greens (like matcha or sage), dusty rose, and warm oranges or reds are all fantastic choices. Sheer washes of color also work wonderfully.
Q5: How do I clean up polish mistakes easily?
A5: The easiest way is with a small, fine-tipped brush (like a synthetic makeup brush or a specialized clean-up brush) dipped in nail polish remover. Gently wipe away any stray polish around your cuticle and sidewalls. Regular Q-tips can be too bulky for precision clean-up and can smudge your design.
Q6: Should I use gel polish or regular nail polish for these designs?
A6: You can use both! Regular nail polish is easier for beginners because it dries by air. Gel polish requires a UV/LED lamp to cure and is more durable but has a steeper learning curve. If you’re just starting, stick with regular polish.
Q7: Can I combine different tea design elements?
A7: Of course! Feel free to mix and match. You could have a gradient on one nail, a teacup on another, and simple dots on the rest. It’s all about creating a cohesive look that you love.
Embracing Your Inner Nail Artist
Creating “tea nail designs” is more than just painting your nails; it’s about bringing a bit of joy, creativity, and personal expression to your fingertips. Whether you’re enjoying a quiet moment with English Breakfast or a lively chat over herbal tea, your nails can reflect that cozy, comforting feeling.
As you’ve seen, you don’t need to be a professional to create adorable and stylish tea-inspired manicures. With a few basic tools, some accessible polish colors, and these easy-to-follow ideas, you can transform your nails into tiny works of art. Remember to have fun with it! Nail art should be a relaxing and enjoyable process, a way to de-stress and beautify. Don’t be afraid to experiment, to mix colors, and to put your own unique spin on these designs. Happy painting, and may your nails always be as delightful as your favorite cup of tea!

