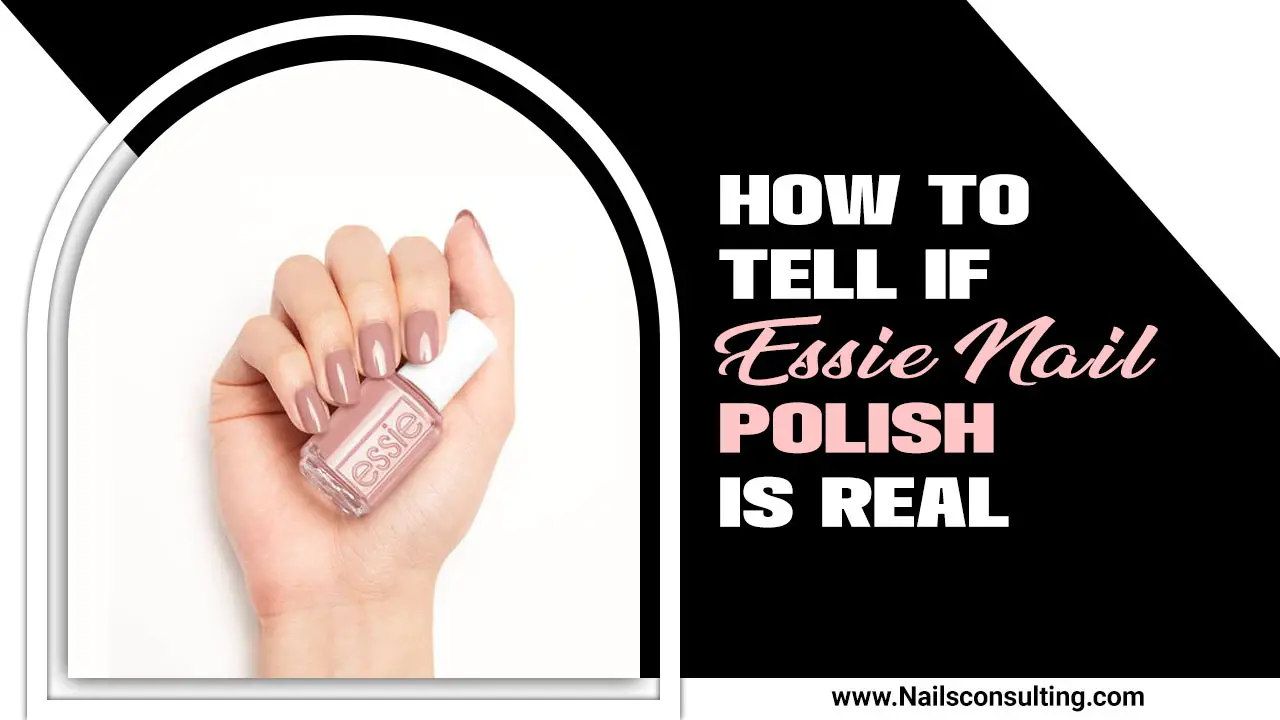
Taupe nail designs are the ultimate versatile and chic choice for any occasion. This neutral shade complements all skin tones and outfits, offering endless design possibilities from minimalist elegance to glamorous accents. Get ready to discover easy, stunning taupe manicures perfect for beginners!
Hey there, nail lovers! Lisa Drew here, your go-to for all things nails that are fun, fabulous, and totally doable. Ever find yourself staring at your polish collection, wishing for that one perfect shade that just works with everything? That’s exactly where taupe comes in! It’s not quite brown, not quite gray, but a beautiful blend that’s sophisticated and super stylish.
Many of us struggle to find nail colors that feel both trendy and timeless. We want something that pops without being too loud, and that effortlessly elevates our look. If you’ve ever felt overwhelmed by nail art or unsure how to make a neutral shade exciting, you’re in the perfect spot. Today, we’re diving deep into the wonderful world of taupe nail designs. We’ll explore why this shade is an absolute essential and unlock some stunning, beginner-friendly ideas that you can rock right away.
Get ready to fall in love with taupe. We’ll cover everything from understanding the shade to simple techniques that will have your nails looking salon-ready. Let’s get started on creating some truly gorgeous taupe looks!
Why Taupe Nails Are an Absolute Essential
Taupe is a chameleon of a color. It’s a magical mix of brown and gray, creating a sophisticated neutral that’s universally flattering. Whether you have fair, medium, or deep skin, taupe somehow just glows. It’s like the perfect pair of jeans for your nails – always in style, always appropriate, and always making you look put-together.
Think about your go-to outfits. Taupe literally goes with everything. It’s a fantastic alternative to basic beige or stark white, offering a bit more depth and intrigue. It’s the color that whispers elegance rather than shouting it. This makes it perfect for:
- Everyday Wear: From running errands to casual Fridays, taupe is your chic companion.
- Professional Settings: Its refined nature makes it ideal for the office or any formal environment.
- Special Occasions: Dress it up with glitter or jewels for weddings, parties, or date nights.
- Seasonal Versatility: Taupe transitions seamlessly from warm summer days to cozy autumn evenings and beyond.
Beyond its versatility, taupe nail designs are also incredibly easy to execute, even for beginners. The subtle nature of the color means that small design elements can have a big impact. It provides a beautiful canvas for experimentation without the pressure of bold colors.
Understanding Taupe: Shades and Undertones
When we talk about “taupe,” it’s not just one single shade. The beauty of this color lies in its variations. Understanding these differences can help you choose the perfect taupe for your skin tone and the desired look.
Generally, taupe nail polishes fall into a few categories based on their undertones:
- Cool Taupes: These have a stronger gray or even a hint of purple undertone. They look fantastic on cooler skin tones and can make fingers appear more slender.
- Warm Taupes: These lean more towards the brown side, often with a peachy or slightly rosy undertone. They tend to be incredibly flattering on warmer skin tones.
- True Taupes: These are the perfect balance, offering an equal mix of brown and gray without leaning too far in either direction. They are the most versatile and suit a wide range of complexions.
The finish of the polish also plays a role. A creamy, opaque taupe offers a classic look, while a taupe with a subtle shimmer can add a touch of glamour. A matte taupe can feel very modern and sophisticated.
Pro Tip: When in doubt, opt for a true taupe or try a few shades on your nails in-store (if possible) to see what complements your skin best. You can also check out reviews online for swatches on different skin tones.
Essential Tools for Taupe Nail Designs
You don’t need a professional kit to create stunning taupe nail designs. A few basic tools will set you up for success. Here’s what I recommend for creating beautiful, simple designs:
- Base Coat: This protects your natural nails and helps your polish adhere better.
- Top Coat: Crucial for sealing your design, adding shine, and preventing chips.
- Your Chosen Taupe Polish: Make sure it’s a good quality one for smooth application.
- A Contrasting / Accent Polish: White, black, gold, silver, or even a deep berry can work beautifully as accents.
- Dotting Tools: These come in various tip sizes and are perfect for creating dots, simple swirls, or connecting lines.
- Thin Nail Art Brush: Great for fine lines, French tips, or adding small details.
- Nail Polish Remover & Cotton Pads/Balls: For cleaning up mistakes.
- Optional: Glitter Polish, Rhinestones, Stencils (if you want to elevate your design).
For beginners, a good quality base and top coat are non-negotiable. They’ll make your manicure last longer and look much more professional. Invest in a reliable brand. For example, OPI’s base and top coats are a salon favorite for a reason, providing excellent longevity.
Beginner-Friendly Taupe Nail Design Ideas
Ready to get creative? These taupe nail designs are simple, effective, and perfect for anyone just starting out:
1. The Classic Taupe Manicure
Sometimes, simplicity is best. A flawless, opaque taupe polish on all your nails is a timeless look that never fails. It’s chic, sophisticated, and incredibly easy to achieve.
How to:
- Apply a base coat and let it dry completely.
- Apply the first thin coat of your chosen taupe polish. Let it dry for a minute or two.
- Apply a second coat for full opacity.
- Once the second coat is touch-dry, apply a generous layer of top coat.
- Let it dry thoroughly.
2. Taupe with a Sparkly Accent Nail
This is a fantastic way to add a touch of glam without overdoing it. Choose one nail (usually the ring finger) and make it sparkle!
How to:
- Complete steps 1-3 from “The Classic Taupe Manicure” on all nails except your accent nail.
- On your accent nail, apply your chosen taupe polish.
- While the second coat of taupe polish is still wet, carefully apply a glitter polish over the entire nail or just the tips. Alternatively, place glitter polish over a dry taupe base.
- Once dry, apply a top coat over all nails, including the glitter nail. You might need two layers of top coat on the glitter nail to make it smooth.
3. Simple Taupe French Tips
Update the classic French manicure with a taupe twist. Instead of white tips, use a crisp white, black, or even a metallic gold against your taupe base.
How to:
- Apply base coat and two coats of your taupe polish to all nails. Let dry completely.
- For clean lines, you can use French tip guides or stencils, or carefully freehand it with a thin nail art brush.
- Dip your brush into your accent polish (white, black, gold, etc.).
- Gently paint a thin line across the tip of each nail.
- Let the tips dry completely.
- Apply a top coat over all nails.
4. Taupe Dots with a Contrasting Color
Dots are super easy to create and look so chic! Use a dotting tool for uniform circles or even the tip of a bobby pin for a quick fix.
How to:
- Apply your taupe polish as usual (base coat, two coats of taupe, top coat). Let the top coat dry until it’s only tacky, not completely hard.
- Alternatively, apply your base coat and two coats of taupe, let them dry completely, and then apply a layer of top coat to activate it for dotting.
- Dot your contrasting polish (e.g., white, black, gold) onto the tacky top coat or into a small dish to dip your dotting tool.
- Create dots along the cuticle line, at the tip, or randomly scattered across the nail.
- Let the dots dry completely before applying another layer of top coat to seal them in.
5. Minimalist Taupe Half-Moon Manicure
This design adds a subtle pop of contrast right at the base of your nail, creating a sophisticated, retro vibe.
How to:
- Apply your taupe polish as usual, and let it dry completely.
- This design works best with dotting tools or small stencils. You can use a contrasting color (like white, black, or gold) or even a metallic taupe if you have one.
- Using a small round dotting tool, create a small, neat arc at the base of your nail, following the curve of your cuticle.
- Alternatively, use the tip of your accent polish brush to draw a fine line and then fill it in with a dotting tool.
- Let the accent color dry thoroughly.
- Apply a clear top coat over all nails to seal the design.
6. Taupe with Simple Lines
Thin, elegant lines can elevate a taupe base instantly. You can go for vertical, horizontal, or even diagonal lines.
How to:
- Apply base coat and two coats of taupe polish. Let dry completely.
- Using a thin nail art brush or striper polish in a contrasting color (gold is stunning here!), carefully draw a single line. This could be down the center of the nail, diagonally, or across the tip.
- For a more intricate look, you can add a second thin, parallel line.
- Allow the lines to dry fully.
- Seal with a top coat.
7. Ombre Effect with Taupe
An ombre, or gradient, effect can be achieved with taupe and a lighter or darker shade for a seamless blend.
How to:
- Apply a base coat and then two coats of your primary taupe shade. Let it dry completely.
- For the ombre: You can use a makeup sponge or a fine-tip brush.
- Sponge Method: Apply your primary taupe color to a makeup sponge. Then, apply your secondary color (e.g., a lighter beige, a creamy white, or a deeper brown) directly next to it on the sponge. Gently dab the sponge onto the nail to blend the colors. You’ll likely need a few passes.
- Brush Method: Apply your taupe base. Then, use a fine nail art brush loaded with your accent color to blend upwards from the tip or downwards from the cuticle.
- Clean up any stray polish on your skin with nail polish remover.
- Apply a thick layer of top coat to smooth out the texture from the sponge and seal the design.
Step-by-Step: Mastering the Taupe Polish Application
Achieving a smooth, streak-free taupe manicure at home is totally within your reach. It’s all about technique and a little bit of patience.
Prep is Key:
- Gather Your Supplies: Base coat, your favorite taupe polish, top coat, nail polish remover, and cotton pads.
- Clean Your Nails: Make sure your nails are free from old polish, oils, and lotions. A quick swipe with nail polish remover works wonders.
- Push Back Cuticles: Gently push back your cuticles. This creates a clean canvas and helps your polish look like it’s truly growing from your nail bed.
- Buff (Optional): A quick buff with a fine-grit buffer can smooth ridges and create a slightly more even surface for polish adhesion.
Application Steps:
- Base Coat First: Apply one thin layer of base coat. This protects your nails from staining and gives your color something to grip onto. Let it dry for about 60 seconds.
- First Coat of Taupe: This is where technique matters! Don’t overload your brush. Wipe off most of the excess polish on the neck of the bottle. Start in the center of your nail, then do one stroke down each side. Aim for thin, even coats. If you get polish on your skin, don’t worry; you can clean it up later. Let this coat dry for at least 1-2 minutes.
- Second Coat for Opacity: Apply another thin coat of taupe polish, following the same method. This coat should provide full, even coverage. If you still see streaks or thin spots, a third thin coat might be needed, but try to avoid thick layers as they can lead to longer drying times and smudging.
- The Crucial Top Coat: Once your color coats are dry to the touch, apply a generous, smooth layer of top coat. Extend the top coat slightly over the free edge of your nail (the tip) – this is called “capping” and it helps prevent chips. Good top coats, like Seche Vite, can also speed up drying time.
- Clean Up Mistakes: Dip a small, flat brush (or even a toothpick) into nail polish remover and carefully trace around your cuticles to remove any polish you may have gotten on your skin.
- Patience is a Virtue: Let your nails dry for at least 10-15 minutes before doing anything that might smudge them. While top coats speed things up, giving them ample time to harden is key.
Elevating Taupe: Advanced Tips & Tricks
Once you’re comfortable with the basics, you can start experimenting with more intricate taupe nail designs. Here are a few ideas to take your taupe manicures to the next level:
Geometric Shapes: Use striping tape or stencils to create clean lines, triangles, or squares. A taupe base with sharp black or white geometric accents looks incredibly modern.
Marble Effect: This looks complex, but with some practice, you can achieve a beautiful taupe marble. Swirl white and taupe polishes on a palette or directly onto a wet top coat for a sophisticated blend. You can find great tutorials on recreating this effect.
Adding Texture: Try a matte top coat over a glossy taupe polish for a sophisticated two-texture look. You could also add a single fine line of glitter polish along the cuticle or tip.
Negative Space Designs: This involves leaving parts of your natural nail visible. For example, paint only a geometric shape or a line in taupe, leaving the rest of the nail clear. This is very chic and modern.
Inspiration from Nature: Think about adding subtle floral outlines in a contrasting color, or abstract swirls that mimic natural patterns. Taupe provides a muted yet elegant background.
You can also find incredible inspiration from well-regarded nail artists on platforms like Instagram or Pinterest. Search for #taurenails #taipedesigns #neutralnails for endless ideas. For example, the Nail It Magazine website often features trending nail art and techniques that can be adapted to taupe.
Taupe Nail Design Tables: Quick Reference
To help you decide on your next taupe manicure, here’s a quick comparison of some popular design elements:
| Design Element | Vibe/Occasion | Beginner Friendliness | Accent Color Ideas | Tools Needed |
|---|---|---|---|---|
| Classic Opaque Taupe | Everyday, Professional, Timeless | Very High | N/A | Base & Top Coat |
| Glitter Accent Nail | Glamorous, Parties, Evenings | High | Gold, Silver, Holographic | Glitter Polish |
| French Tips (Taupe Base) | Chic, Classic Update, Professional | Medium | White, Black, Gold | Thin Brush or Guides |
| Polka Dots | Playful, Cute, Casual |

