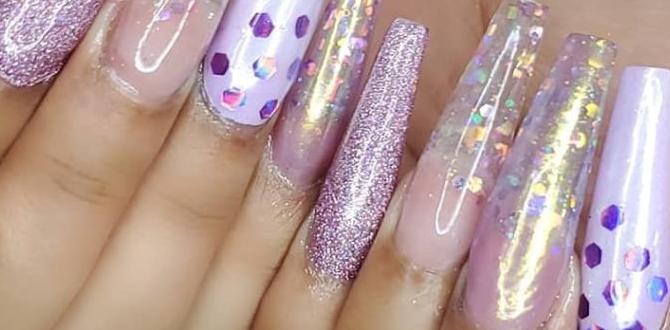
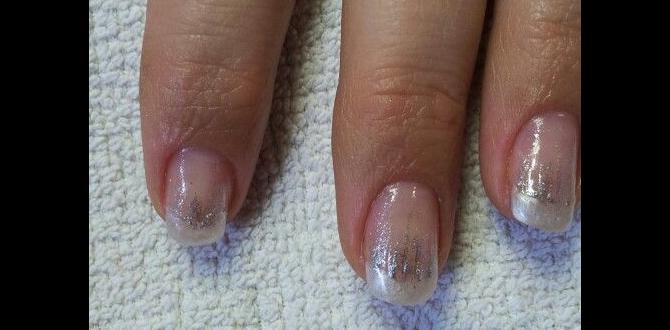
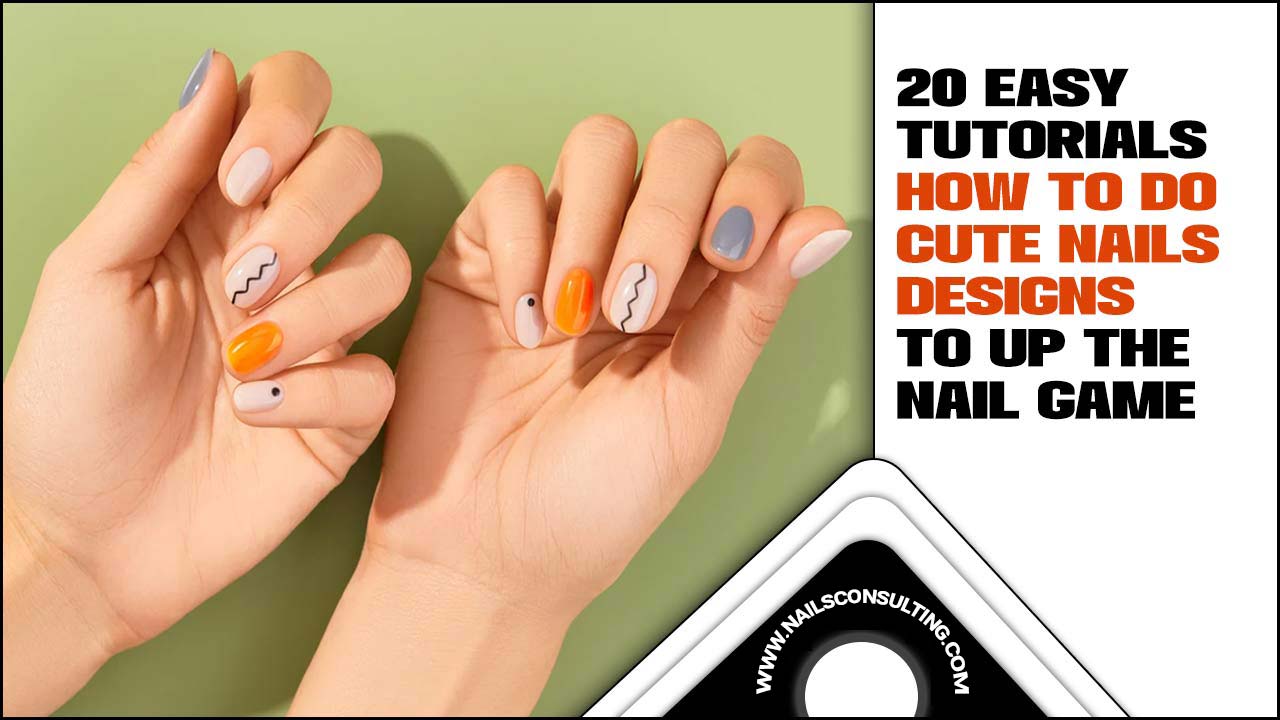
Syrup nails design offers a chic, glossy, and translucent finish, resembling sweet syrup. This beginner-friendly trend involves layered sheer polishes or special jelly-like formulas to achieve depth and a vibrant glow. Let’s explore how to create these stunning, eye-catching looks that are perfect for any occasion.
Hey nail lovers! Are you ready to dive into a nail trend that’s as sweet as it sounds? Syrup nails are all over the place, and for good reason! They give your manicure a beautiful, see-through glow that’s totally unique. Imagine your nails looking like perfectly dipped candies – that’s the magic of syrup nails.
Sometimes, getting that perfect translucent effect can feel a bit tricky, especially if you’re new to nail art. You might wonder about the right polishes to use or how to build up that gorgeous depth without making a mess. Don’t worry, I’ve got your back! We’ll break down everything you need to know, step-by-step, so you can achieve salon-worthy syrup nails right at home.
Get ready to unlock the secrets to creating absolutely stunning syrup nail designs that will have everyone asking, “Where did you get your nails done?!” We’ll cover the basics, explore gorgeous design ideas, and share tips to make your syrup nails shine. Let’s get started on this sweet nail adventure!
What Exactly Are Syrup Nails?
So, what’s the buzz about syrup nails? Think of them as the sophisticated cousin of jelly nails. They’re characterized by their translucent, glossy finish that has a beautiful depth to it. Instead of a solid opaque color, syrup nails allow a hint of your natural nail or base color to show through, creating a rich, layered effect. This effect is often achieved using specialized “jelly” polishes or by artfully layering sheer lacquers. The result is a luminous, almost liquid-like appearance that’s incredibly chic and eye-catching. It’s like having precious gemstone-toned liquid adorning your fingertips!
Why You’ll Love Syrup Nails
Syrup nails are more than just a trend; they’re a whole vibe! Here’s why they’re a must-try for any nail enthusiast:
Stunning Visual Depth: The translucent layers create a captivating illusion of depth that opaque polishes can’t replicate.
Versatile Color Palette: From vibrant berries and juicy oranges to cool mints and deep blues, the possibilities are endless. You can customize the shade to match your mood or outfit.
Chic and Sophisticated: Syrup nails offer a refined yet playful aesthetic that works for both casual and formal occasions.
Beginner-Friendly: While they look complex, achieving a basic syrup nail look is surprisingly easy, making it perfect for DIY manicures.
Endless Design Potential: You can wear them as a solid glossy color or build upon the translucent base with glitter, chrome, or subtle art.
Essential Tools for Your Syrup Nails Journey
Before we start creating magic, let’s gather our tools. You don’t need a whole nail salon in your bathroom to achieve amazing syrup nails! Here’s a quick rundown of what you’ll need:
Base Coat: This protects your natural nails and helps polish adhere better.
Sheer or Jelly Nail Polish: These are the stars of the show! Look for polishes specifically labeled “jelly” or “sheer.” You might need a couple of sheer polishes in complementary shades for layering.
Top Coat: Crucial for that ultra-glossy, smooth finish and long-lasting wear.
Nail Polish Remover & Cotton Pads: For any oopsies or cleaning up edges.
Cuticle Pusher/Orange Stick: To gently push back your cuticles for a clean canvas.
Nail File & Buffer: To shape your nails and smooth the surface.
Optional: Glitter, Chrome Powder, or Other Embellishments: For those who want to take their syrup nails to the next level!
How to Achieve the Perfect Syrup Nails Design: A Step-by-Step Guide
Ready to get your hands on this gorgeous trend? Follow these simple steps, and you’ll have trendy syrup nails in no time!
Step 1: Prep Your Nails
A good manicure starts with a clean slate.
1. Remove Old Polish: Make sure all traces of old nail polish are gone with a good quality nail polish remover.
2. Shape Your Nails: File your nails to your desired shape. Whether you love almond, square, or stiletto, a uniform shape is key.
3. Buff the Surface: Gently buff the surface of your nails to create a slightly smooth base for the polish to adhere to. Don’t over-buff!
4. Cleanse: Wipe your nails with nail polish remover or rubbing alcohol on a lint-free pad to remove any oils or dust. This ensures your polish will stick.
5. Push Back Cuticles: Gently push back your cuticles using a cuticle pusher. This will give you a clean edge to paint up to.
Step 2: Apply the Base Coat
This is an important step for nail health and polish longevity.
1. Apply One Layer: Apply a thin, even layer of your favorite base coat.
2. Cure (if using gel): If you’re using gel polish, cure this layer under a UV/LED lamp according to the product’s instructions.
3. Dry (if using regular polish): Let it dry completely if you’re using traditional nail polish.
Step 3: Building the Syrup Effect – The Magic Layers
This is where the syrup fun really begins!
1. First Translucent Layer: Apply your chosen sheer or jelly polish. Don’t aim for full coverage; the goal is a light wash of color.
Pro Tip: If you only have regular sheer polishes and not jelly ones, you can mix a drop of opaque polish into a sheer polish to create your own custom syrup shade. Start with a tiny amount of opaque polish!
2. Cure or Dry: If using gel, cure under your lamp. If using regular polish, let it dry completely.
3. Second Translucent Layer: Apply a second thin coat of the same polish. This is where you start building depth. You’ll notice the color becoming richer, but still translucent.
4. Cure or Dry: Cure or dry the second layer.
5. Third Layer (Optional but Recommended): For deeper, more vibrant syrup nails, apply a third thin coat. This layer really enhances the “syrupy” feel.
6. Cure or Dry: Cure or dry the final color layer.
Note on Polish Types: Jelly polishes are formulated to be sheer and buildable. If you’re using a regular sheer polish, you may notice it streaks more. Apply thin, even coats and ensure each layer is dry before applying the next. For a more vibrant, opaque jelly effect, some people add a tiny speck of regular opaque creme polish to their jelly polish. Experiment with this carefully!
Step 4: Adding Embellishments (Optional)
Want to add some sparkle or pizzazz? Now’s the time!
Glitter: Apply a glitter polish over your syrup base, or use a fine glitter and a clear top coat to “sandwich” it for a smooth finish.
Chrome Powder: Apply chrome powder over a tacky gel top coat (a “no wipe” top coat is often best for this) for an iridescent, futuristic look.
3D Charms: Use nail glue to attach small charms like pearls, rhinestones, or tiny fruits.
Step 5: Seal with Top Coat
This is the final, indispensable step for that high-shine, long-lasting finish.
1. Apply Generously: Apply a generous layer of your favorite top coat. Make sure to cap the free edge of your nails – this helps prevent chipping.
2. Cure (if gel): Cure the top coat under your UV/LED lamp.
3. Dry (if regular polish): Let your regular polish top coat dry completely. You can use a quick-dry top coat to speed this up.
4. Clean Up: If there’s any polish on your skin, use a small art brush dipped in nail polish remover to clean up the edges for a super neat finish.
Essential Syrup Nail Design Ideas to Inspire You
The beauty of syrup nails lies in their versatility. Here are some stunning design ideas to get your creative juices flowing:
1. Classic Jelly Solids
This is the purest form of the syrup nail trend. Choose one jelly polish shade and apply 2-3 thin coats for a rich, translucent color.
Shades to Try: Berry red, cherry pink, grape purple, juicy orange, or translucent teal.
Why it Works: It’s simple elegance. The focus is on the beautiful, glowing color and the unique translucent finish.
2. Layered Color Syrup Nails
Get creative by layering two different sheer or jelly polishes.
How-To: Apply your base jelly color (e.g., a sheer pink). Once dry, apply a second, slightly different shade (e.g., a sheer coral) over the top. You can also try layering a colored sheer over a clear jelly for a marbled effect.
Look For: A translucent red over a sheer pink for a deeper rosa, or a sheer blue over a mint green for an aquatic glow.
3. Glitter Syrup Nails
Combine the depth of syrup nails with the sparkle of glitter.
Option A: Glitter Sandwich: Apply your syrup base coats. Then, apply a clear top coat, sprinkle a fine iridescent or colored glitter onto the wet top coat, and seal with another layer of top coat.
Option B: Glitter Top Coat: Apply a glitter top coat over your finished syrup base.
Shades: A holographic glitter over a berry syrup, or gold glitter flakes over an orange syrup.
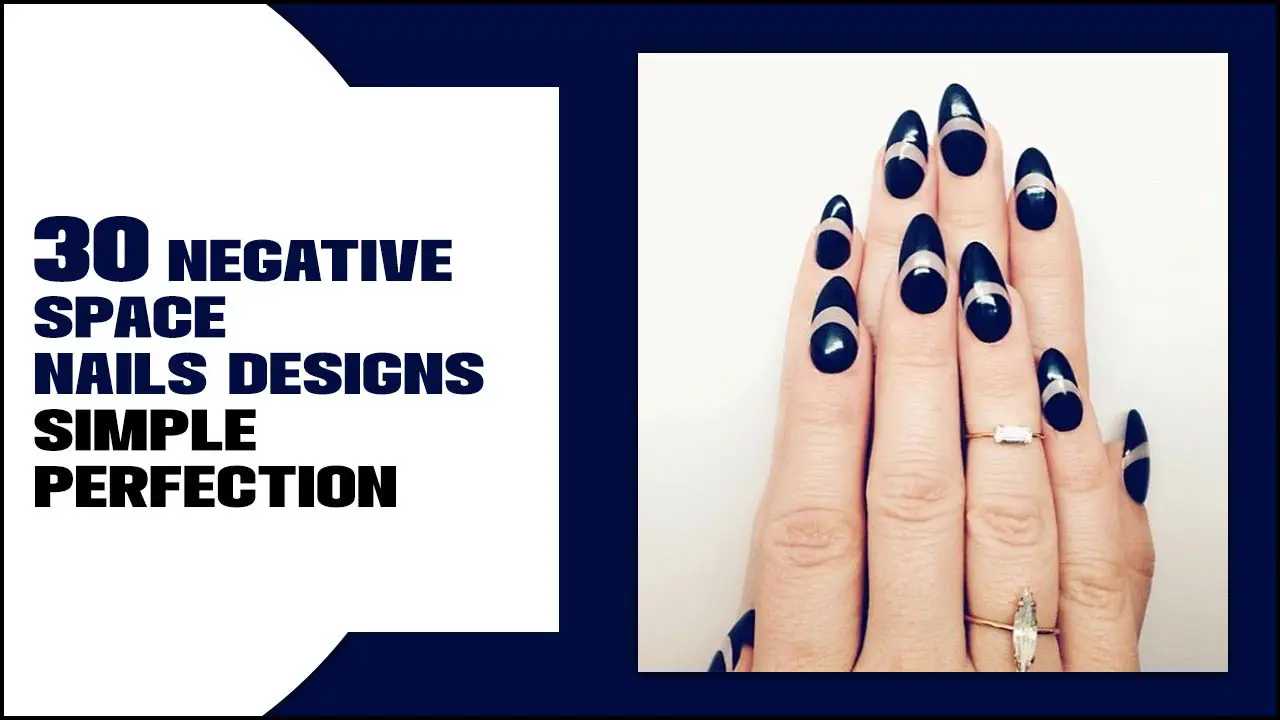
4. Negative Space Syrup Accents
This design is sophisticated and modern.
How-To: Use tape or stencils to create geometric shapes or patterns on your nail. Fill in the desired accent areas with your syrup polish, leaving some nail space “negative” (unpolished or with just a clear base).
Look For: A diagonal line of clear red on a nude base, or a half-moon of translucent blue at the cuticle.
5. Ombre Syrup Nails
Create a smooth gradient effect using two complementary syrup colors.
How-To: Apply the lighter syrup shade to about half of your nail. Then, use a makeup sponge or a fine brush to blend the darker syrup shade into the tips or the other half of the nail. Build up the color with thin coats.
Shades: Peach fading into orange, or lavender fading into pink.
6. Marble Syrup Nails
Achieve an artistic, stone-like effect.
How-To: Apply your base syrup color. Then, using a thin brush and a contrasting syrup color (or even a standard polish), create thin, irregular lines and swirls over the base color. Carefully blend them with a clean brush or a slightly damp sponge before the polish fully sets.
Look For: White swirls on a translucent pink base, or black veins on a deep purple syrup.
7. Chrome Over Syrup
A truly dazzling combination!
How-To: Apply your syrup base colors and top coat (ensure it’s a gel “no wipe” top coat if using chrome powder). Rub your chosen chrome powder onto the tacky surface. Brush off excess and seal with another layer of “no wipe” top coat.
Shades: Rose gold chrome over a pink syrup, or silver chrome on a lavender syrup.
8. French Tip Syrup Nails
A fresh take on the classic French manicure.
How-To: Apply your syrup color to the entire nail. Once dry, use a fine brush or a stencil to create crisp French tips using a contrasting syrup shade or a classic white opaque polish.
Look For: A translucent pink nail with opaque white tips, or a deep berry nail with sheer pink tips.
Syrup Nail Finishes & Effects Table
Different polishes and techniques can give you varying syrup nail results. Here’s a quick guide to what you can expect:
| Effect/Finish | Polish Type Used | Technique | Result |
|---|---|---|---|
| Sheer Glow | Thin-coverage sheer polish, diluted opaque polish, or 1 coat of jelly polish. | 1-2 very thin coats. | Subtle color tint, shows natural nail clearly. |
| Juicy Syrup | Jelly polish, 2-3 coats of sheer/diluted polish. | 2-3 thin to medium coats. | Vibrant, translucent color with noticeable depth. “Candy-like” appearance. | Deep Gemstone | Thick jelly polish, or layering multiple sheer/jelly polishes. | 3-4 coats, or layering different colors (e.g., light blue Jelly + clear blue polish). | Rich, saturated translucent color. Almost opaque but still retains a glow and subtle visibility of nail. |
| Glazed Syrup | Syrup base + Chrome powder. | Apply syrup color, then rub chrome powder over a tacky gel top coat. | A metallic, iridescent sheen over the translucent syrup color. | Sparkle Syrup | Syrup base + Glitter polish or loose glitter. | Apply glitter over syrup base as a top coat, or use the “glitter sandwich” method. | Translucent color with embedded shimmer or distinct glitter pieces. |
Maintaining Your Stunning Syrup Nails
To keep your syrup nails looking their best, follow these simple care tips:
Moisturize: Keep your cuticles and nails hydrated with cuticle oil and hand lotion. Dryness can dull the shine and make polish prone to chipping.
Wear Gloves: When doing household chores, especially those involving water or harsh chemicals (like washing dishes or cleaning), wear rubber gloves. This is the number one way to protect your manicure.
Avoid Harsh Chemicals: Try to minimize contact with acetone-based removers (other than for when you need to remove polish), strong cleaning agents, and even some perfumes or hairsprays, as they can sometimes affect the polish’s integrity and shine.
Gentle Filing: If you need to adjust the shape or length, use a fine-grit file and file gently in one direction to avoid snagging or lifting the polish.
Quick Touch-Ups: For any minor chips or dull spots, a quick application of a clear top coat can often refresh the look.
Syrup Nails vs. Jelly Nails: What’s the Difference?
It’s easy to get syrup nails and jelly nails mixed up, as they are very similar! The main distinction often comes down to intensity and formulation.
Jelly Nails: These typically use polishes specifically formulated to be intensely pigmented yet translucent, giving a very vibrant, “jelly-like” appearance – think gummy bears or brightly colored hard candy. They often have a smoother, more uniform color saturation.
* Syrup Nails: This term is a bit broader and can encompass jelly polishes but also includes looks achieved by layering sheer polishes or even a sheer polish mixed with a tiny bit of opaque polish. The “syrup” effect suggests layers that create a richer, sometimes slightly deeper or more complex translucence, akin to thick syrup or stained glass. The term also leans into a more sophisticated, glossy finish.
Ultimately, for a beginner, the techniques often overlap significantly. If you have a jelly polish, you’re already well on your way to achieving a syrup nail look!
Frequently Asked Questions About Syrup Nails
Here are some common questions beginner nail lovers have about syrup nails:
Q1: Do I need special “jelly” polishes for syrup nails?
While specialty “jelly” polishes make achieving the look easier because they are designed to be translucent and buildable, you can absolutely create a syrup effect with regular sheer nail polishes. You might just need to apply more layers, or you can try mixing a tiny drop of an opaque creme polish with a sheer polish to create your own custom syrup shade.
Q2: How do I avoid streaks with sheer polish?
Streaks are common with sheer polishes! The key is to apply very thin, even coats. Ensure each coat is fully dry (or cured for gel) before applying the next. Work quickly and confidently to avoid over-brushing. The goal of syrup nails is built-up color, so a few subtle brush strokes visible in the light can actually add to the charm!
<h3 id="

