Quick Summary
Mastering sunset nail designs is all about blending warm, gradient colors for a beautiful, fiery effect. This guide breaks down the simple steps, essential tools, and pro tips to help beginners create stunning ombré looks that mimic a vibrant sunset, making your manicure shine!
Ever seen those gorgeous nails that look like a sunset captured on your fingertips? They’re called sunset nails, and they’re not as complicated as they might seem! Many of us admire these vibrant, blended designs but feel a bit intimidated to try them ourselves. It’s easy to think you need pro skills to get that smooth color transition. But here’s the good news: with a few simple tricks and the right approach, you too can create your own breathtaking sunset manicures right at home. We’ll walk you through everything, from choosing your colors to blending them like a dream.
What Exactly is a Sunset Nail Design?
A sunset nail design is a manicure style that mimics the vibrant, multi-colored sky during twilight. The hallmark of this design is the gradient, or ombré effect, where colors blend seamlessly from one shade to another. Think of the most stunning sunset you’ve ever witnessed – the warm oranges, fiery reds, soft pinks, and sometimes even hints of purple or gold. Sunset nails aim to recreate this natural spectacle on your nails, creating a truly eye-catching and artistic look.
The magic lies in the transition. Instead of distinct blocks of color, you see a smooth, melted-together appearance. This effect can be achieved across a single nail (like a gradient from cuticle to tip) or across multiple nails, with each nail representing a different stage of the sunset, from the bright sun to the deeper twilight hues.
Why Are Sunset Nails So Popular?
Sunset nails have soared in popularity for a few key reasons. Firstly, they are incredibly versatile. They can evoke a relaxed, tropical vibe, or a bold, fiery statement, depending on the color palette used. This adaptability makes them suitable for various occasions and personal styles. Secondly, they are visually captivating and unique. The ombré effect naturally draws the eye, making for a sophisticated and artistic nail art choice. Lastly, and perhaps most importantly for many of us, they are surprisingly achievable for DIY enthusiasts.
The appeal also lies in the nostalgic feeling they can evoke. Sunsets are often associated with peace, beauty, and the end of a beautiful day. Wearing them on your nails can be a constant reminder of these positive emotions and a simple way to add a touch of beauty and optimism to your everyday life.
Essential Tools for Your Sunset Nail Design
Getting that smooth, blended sunset effect is made much easier with the right tools. Don’t worry if you don’t have a professional nail kit; most of these items are readily available at drugstores or online beauty supply stores. Here’s what you’ll need:
- Nail Polish Colors: This is your palette! For a classic sunset, you’ll want warm tones like yellow, orange, pink, and red. You can add purple or gold for depth. Consider cream finish polishes for the best blending.
- Base Coat: Essential for protecting your natural nails and ensuring your polish adheres well.
- Top Coat: Seals your design, adds shine, and helps your manicure last longer.
- Cosmetic Sponge or Makeup Sponge: This is your blending tool! A regular makeup sponge or a specific nail art sponge works wonders. Cut it into smaller pieces for easier application and less waste.
- Small Brush or Toothpick: Handy for cleaning up any excess polish around your cuticles.
- Nail Polish Remover: For those inevitable little mistakes.
- Optional: Glitter Polish: To add a touch of sparkle, like the last rays of the sun.
- Optional: White or Nude Nail Polish: A thin layer of white can make your gradient colors pop more vibrantly. A nude can subtly mute colors for a softer look.
Choosing Your Sunset Color Palette
The beauty of sunset nails is that you can customize the colors to your heart’s content! While the classic palette is inspired by the sky, feel free to experiment. Here are some popular color combinations to get you started:
| Vibe | Color Palette Suggestion | Effect |
|---|---|---|
| Classic Warm | Yellow, Orange, Pink, Red | Vibrant, fiery, energetic |
| Soft & Dreamy | Pale Peach, Coral, Soft Pink, Lavender | Muted, romantic, ethereal |
| Bold & Dramatic | Deep Orange, Berry Red, Dark Pink, Plum | Intense, striking, passionate |
| Tropical Twilight | Gold, Teal, Peach, Magenta | Exotic, playful, adventurous |
| Ocean Sunset | Soft Blue, Peach, Pink, Coral | Calm, serene, beautiful contrast |
When selecting your colors, keep in mind how they transition. Colors that are close on the color wheel will blend more easily. For instance, yellow, orange, and pink are natural friends. If you’re feeling brave, you can introduce contrasting colors for a more dynamic effect. A good tip for beginners is to start with 2-3 colors that are already close in shade for your first attempt. This makes the blending process much more forgiving.
Also, consider the finish of your polishes. Cream finishes generally blend better than shimmers or glitters for the main gradient. You can always layer glitter on top! For even brighter colors, applying a thin coat of white or nude polish as a base can make a significant difference. It acts like a canvas, allowing your chosen sunset hues to shine through more intensely.
Step-by-Step: Creating Your Sunset Nail Design
Let’s get to the fun part – creating the magic! Follow these steps to achieve a beautiful sunset effect on your nails. It’s easier than you think!
Preparation is Key
Before you start painting, make sure your nails are prepped. This means ensuring they are clean, dry, and free of any old polish or oils. Push back your cuticles gently with an orangewood stick or cuticle pusher. If needed, file them into your desired shape. Applying a good base coat is crucial. It protects your nails and creates a smooth surface for the polish.
The Ombré Application (Using a Sponge)
This is where the blended magic happens. You can do this on a clean nail or over a thin layer of white polish. If using white, let it dry completely or until it’s tacky.
- Prep Your Sponge: Cut your cosmetic sponge into smaller, manageable pieces. A piece about the size of your nail is ideal. You can also lightly dampen the sponge with water and squeeze out the excess – this can help create a smoother blend.
- Apply Polish to the Sponge: This part requires a little speed! Apply your chosen sunset colors side-by-side directly onto the sponge. For a classic sunset gradient, you might apply yellow first, then orange next to it, then pink, and finally red along the edge. Don’t overthink the lines; the sponge will do the blending. You can also dab the polish onto a palette or piece of foil first and then sponge it onto the sponge.
- Dab, Don’t Swipe: Gently dab the loaded sponge onto your nail. Start from the cuticle and roll or press the sponge down towards the tip of the nail. You want to use a light dabbing motion. Don’t scrub or swipe, as this can create streaks and smudge the colors.
- Reapply as Needed: You might need to reapply polish to your sponge and dab your nail a few times to build up the color intensity and achieve the desired blend. It’s better to do multiple light applications than one heavy one.
- The Blend: As you dab, the colors will start to merge. With each dab, try to overlap the colors slightly to encourage a smooth transition. You might need to reposition the sponge a bit to get the full gradient.
Tip for Beginners: Start with just two colors. For example, a transition from yellow at the cuticle to pink at the tip. This is much easier to control and still looks spectacular!
Creating a Multi-Nail Gradient
If you want each nail to represent a different part of the sunset, or if you prefer a subtler ombré effect across multiple nails, you can adapt the sponging technique.
- Apply Base Colors: Paint each nail with a different color that represents a stage of sunset. For instance, thumb could be bright yellow, index finger orange, middle finger pink, ring finger red, and pinky a deep crimson or purple. Let these dry completely.
- Light Blending (Optional): For a very subtle transition between nails, you could very lightly dab the edge of one color onto the adjacent nail using a clean part of your sponge or a small brush. This is more advanced and might be skipped for a beginner’s look.
Cleaning Up Edges
Once you’re happy with the color blend on your nail, it’s time for a clean-up. Dip a small brush (like a liner brush for nail art) or a toothpick into nail polish remover and carefully trace around your cuticle and sidewalls. This will remove any excess polish that got onto your skin, making your manicure look neat and professional.
Finishing with Top Coat
After cleaning up, let your nail polish dry for a few minutes. Then, apply a generous layer of top coat. This is essential for sealing in your design, adding a beautiful glossy shine, and protecting your manicure from chipping. Make sure to cap the free edge of your nail by running the brush along the tip. This extra step helps prevent polish lifting and makes your manicure last longer.
Adding Embellishments (Optional)
Want to jazz up your sunset nails? Consider adding a touch of glitter polish over the gradient for a shimmering effect that captures the last light of the sun. You could also add small studs, rhinestones, or hand-painted white clouds for a more detailed look. However, for a clean, modern sunset design, sometimes less is more!
Tips for Seamless Blending
Achieving that perfect, smooth gradient can be tricky. Here are some insider tips to help you get a seamless blend:
- Don’t Let Polish Dry on the Sponge: Work quickly! Once the polish starts to dry on the sponge, it won’t transfer well and can cause little bumps or unevenness.
- Build Color Gradually: It’s better to do several light dabs than one heavy press. This allows the colors to meld naturally on the nail.
- Experiment with Sponge Texture: Different sponges have different textures. A sponge with a finer texture might give a smoother finish, while a coarser one can create a more textured, diffused look.
- Use a Clear Polish Barrier: For an advanced technique to get super smooth blends and easy cleanup, you can dab a bit of petroleum jelly (like Vaseline) around your cuticle and sidewalls. This acts as a barrier, so the polish only sticks to the nail. Clean up will be a breeze!
- Practice Makes Perfect: Don’t get discouraged if your first attempt isn’t exactly what you envisioned. Nail art takes practice! Try the technique on a “practice nail” (like a coffee stirrer or a piece of paper) first to get a feel for it.
- Color Choices Matter: As mentioned, colors that are close on the color wheel blend more easily. If you’re struggling, try a simpler two-color gradient. You can find excellent guides on color theory for nail art from resources like My Modern Met, which explain how colors interact beautifully.
Common Sunset Nail Design Mistakes to Avoid
Even with the best intentions, it’s easy to make a few missteps when trying a new nail art design. Here are some common mistakes people make with sunset nails and how to avoid them:
| Mistake | Why It Happens | How to Avoid It |
|---|---|---|
| Stripey or Chunky Gradient | Pressing too hard, not dabbing enough, or polish drying too much on the sponge. | Use a gentle dabbing motion. Reapply polish to the sponge frequently. Ensure your polish is fluid. |
| Muddy Colors | Over-blending or using colors that are too far apart on the color wheel without proper transition. | Be patient with the blending. Consider using a white base. Start with colors that are neighbors on the color wheel. |
| Difficult Cleanup | Not using any cleanup method, or getting polish all over the skin. | Use a cleanup brush dipped in remover, or the Vaseline barrier trick. Clean up immediately after sponging. |
| Colors Not Showing Up | Using a dark nail bed or not using enough polish on the sponge. | Apply a white or nude base coat to make colors brighter. Ensure you are dabbing enough polish onto the sponge. |
| Smudged Design | Touching the wet polish before it’s dry or rushing the top coat application. | Allow each stage of the design to dry sufficiently. Apply top coat gently over the gradient. |
Beyond the Basics: Taking Your Sunset Nails Further
Once you’ve mastered the basic sunset ombré, you might want to explore variations. Here are some ideas:
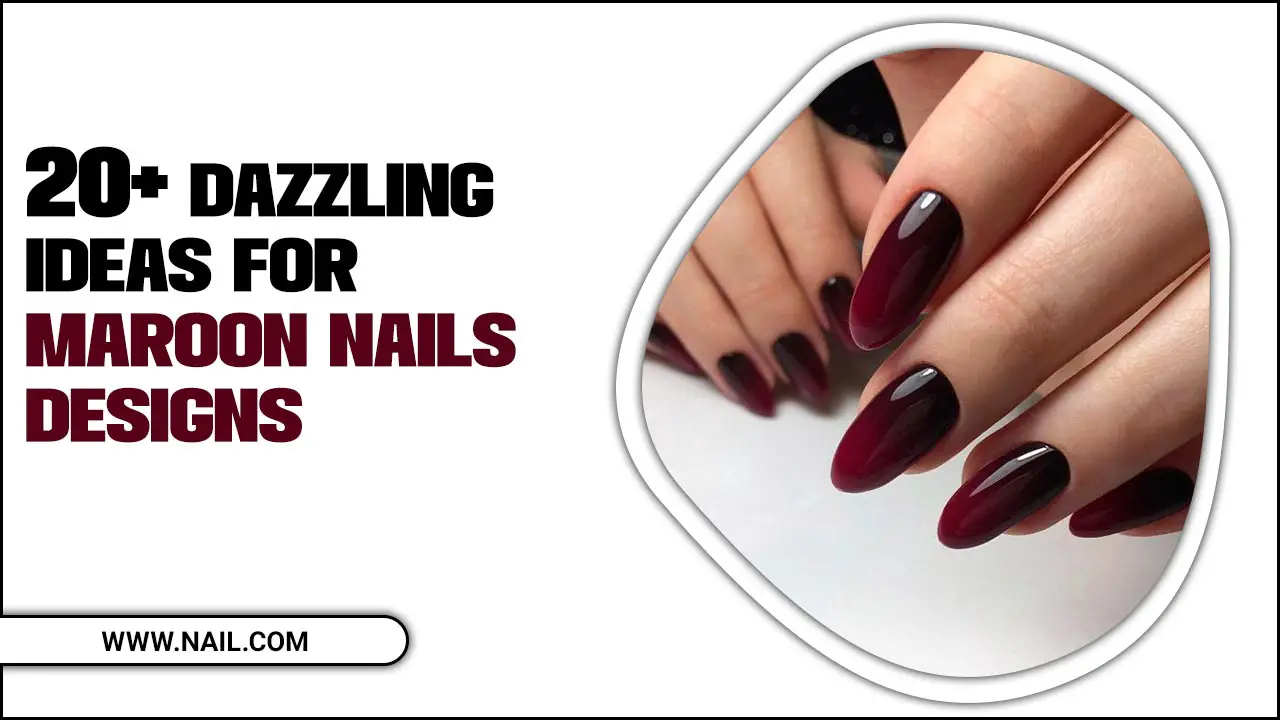
- Reverse Sunset: Instead of going from light to dark from cuticle to tip, try the reverse! A darker shade at the cuticle fading to a lighter shade at the tip can create a unique look.
- Vertical Gradient: Blend colors horizontally across the nail rather than vertically from cuticle to tip.
- Cloud Accents: After achieving your sunset ombré, use a fine brush and white polish to paint small, fluffy clouds.
- Silhouettes: Paint a black silhouette of a palm tree, mountain range, or city skyline over your sunset gradient for a truly dramatic effect. This is a favorite for many nail art enthusiasts.
- Glitter Layers: Experiment with applying different colors of glitter polish over your gradient. A rose gold glitter can add sparkle to pinks and oranges, while an iridescent glitter can catch the light beautifully.
- Matte Finish: Top off your sunset gradient with a matte top coat for a sophisticated, velvety finish that changes the entire feel of the design. This is especially stunning with deeper color palettes.
For inspiration on advanced techniques and different gradient styles, exploring creative platforms like Instagram using the hashtag #sunsetnails can provide a wealth of visual ideas and even short video tutorials from other nail artists.
Frequently Asked Questions (FAQ)
Q1: What if I don’t have a cosmetic sponge?
A1: No worries! You can use a regular kitchen sponge (cut into small pieces), an actual makeup wedge sponge, or even a textured cotton pad lightly dabbed. The goal is to have a porous surface that can absorb and transfer polish.
Q2: How do I make the colors blend better?
A2: The key is working quickly and dabbing gently. Ensure your polishes are not too thick. You can also slightly wet the sponge (and squeeze out excess water) before applying polish; this can help create a smoother blend and prevent the polish from soaking in too much.
Q3: Can I do this with gel polish?
A3: Yes, you can! With gel polish, you’ll need to cure each layer under a UV/LED lamp. Apply your colors side-by-side on the nail (not on the sponge), then use a clean brush to gently blend the edges before curing. You can continue this process until you achieve the desired gradient, then cure a final time.
Q4: My gradient looks streaky. What am I doing wrong?
A4: Streaks often happen if you’re pressing too hard, swiping instead of dabbing, or if the polish on the sponge has started to dry. Try dabbing lighter, reapply polish to the sponge more often, and ensure your polishes are at a good consistency.
Q5: How long should I let each color dry before sponging?
A5: You want them to be wet on the sponge so they can meld. Apply them to the sponge right before dabbing. If you’re applying to the nail first (like a vertical gradient), let them be tacky but not fully dry before blending with a brush.
Q6: What’s the best way to clean up the excess polish around my nails?
A6: A small, stiff brush (like a liner brush or concealer brush) dipped in nail polish remover is fantastic for precision cleanup. Alternatively, a toothpick can be used to carefully pick up excess polish. For a mess-free approach, try the Vaseline barrier


