Get ready for gorgeous summer nails! This guide reveals the hottest, easiest-to-create trendy summer nail art designs, perfect for beginners to elevate their manicure game with fun, seasonal styles.
Summer is here, and it’s the perfect time to let your nails shine with vibrant colors and playful designs! Are you looking to update your look with some fresh, trending summer nail art but feel a little intimidated by complicated techniques? You’re not alone! Many of us love the idea of stylish nails but worry about the execution. The good news is that achieving beautiful, on-trend summer manicures is totally doable, even if you’re just starting out. We’ll break down some of the most popular and easy-to-follow summer nail art trends, giving you the confidence to create stunning looks right at home. Get ready to be inspired and discover how simple it can be to express your personal style with your fingertips!
Summer Nail Art: Your Ultimate Beginner-Friendly Guide to Trendy Designs
Welcome to the sunny season! As the days get longer and the temperatures rise, our fashion, beauty, and yes, even our nail choices, tend to shift towards brighter, more cheerful vibes. Summer nail art is all about embracing fun, playful, and eye-catching designs that reflect the season’s spirit. Whether you’re heading to the beach, a backyard BBQ, or just want to add a pop of color to your everyday, there’s a trendy summer nail art design waiting for you. This guide is designed with beginners in mind, focusing on techniques and looks that are achievable without a professional salon.
Why Summer Nail Art is a Must-Try
Summer is the ultimate season for experimentation. Think about it: the warm weather often means more opportunities to show off your hands, whether you’re holding a refreshing drink, applying sunscreen, or simply gesturing during conversation. Vibrant colors, playful patterns, and nature-inspired motifs make summer nail art the perfect accessory. It’s a fantastic way to boost your mood, express your creativity, and even match your outfit or mood. Plus, mastering a few simple techniques can save you money and give you a sense of accomplishment.
Essential Tools for Your Summer Nail Art Journey
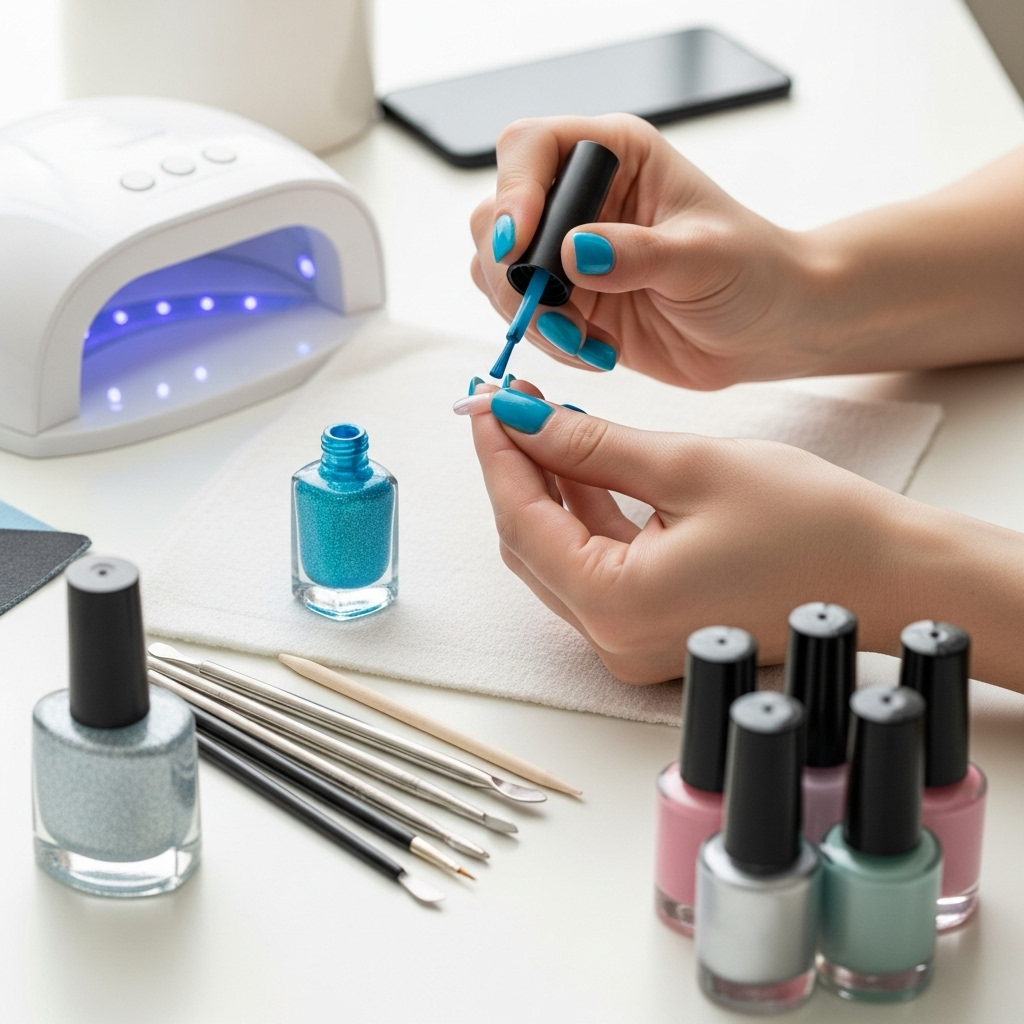
Before we dive into the designs, let’s gather our essential tools. Don’t worry; you don’t need a professional kit to start!
Base Coat: Protects your natural nails and helps polish adhere better.
Top Coat: Seals your design, adds shine, and increases longevity.
Nail Polish Remover: For quick cleanups and correcting mistakes.
Cotton Pads/Balls: For applying polish remover.
Colored Nail Polishes: Choose a few of your favorite summer shades!
Thin Nail Art Brush or Dotting Tool: For creating fine lines, dots, and details. A toothpick can also work in a pinch!
Tweezers: Helpful for placing small embellishments like rhinestones.
Sticky Tape (Optional): Great for creating clean lines and geometric patterns.
Nail File and Buffer: To shape and smooth your nails.
Trendy Summer Nail Art Designs for Beginners
Let’s get to the fun part! Here are some of the hottest summer nail art trends that are perfectly suited for DIY enthusiasts.
1. Tropical Fruit Fun
Who can resist juicy watermelons, vibrant pineapples, or zesty lemons? Fruit-themed nails are a classic summer staple and surprisingly easy to replicate.
How-To: Watermelon Slices
1. Prep: Apply a base coat and let it dry completely.
2. Base Color: Paint your nails a bright, grassy green. Let it dry.
3. Pink Layer: On the tips of your nails, apply a stroke of bubblegum pink polish, mimicking the flesh of the watermelon. You can freehand this or use tape for a cleaner line.
4. Darker Green Outline: With a thin brush, carefully outline the pink section with a darker green polish.
5. Seeds: Use a dotting tool or the tip of your thin brush to add small black dots as seeds on the pink area.
6. Top Coat: Seal everything with a shiny top coat.
Tips for Other Fruits:
Pineapple: Use yellow polish as a base, add brown dots or lines for texture, and a simple green leaf shape on one side of the nail.
Lemon: Yellow base, a few small white dots for texture, and a tiny green leaf.
2. Ocean Waves and Beach Vibes
Capture the essence of the sea with blue and white swirling designs. These offer a relaxing, artistic feel.
How-to: Simple Ocean Waves
1. Prep: Apply a base coat.
2. Base Color: Paint your nails a serene ocean blue or a sandy beige. Let dry.
3. White Waves: Using a thin white polish and a fine brush, create gentle, curved lines across your nails, mimicking ocean waves. Don’t aim for perfection; organic lines look more natural.
4. Accent Nail (Optional): On one nail, you can add a few tiny white dots to represent sea foam or a shimmering glitter polish for sparkle.
5. Top Coat: Apply a clear top coat to seal and add depth.
3. Sunshine Yellow & Ombre
This trend is all about warmth and brightness. Sunshine yellow is the quintessential summer color, and an ombre effect can make it look sophisticated and stylish.
How-To: Sunshine Yellow Ombre
1. Prep: Apply base coat.
2. Color Gradient: You can achieve a simple ombre using a makeup sponge.
Paint a thin layer of bright yellow polish onto a makeup sponge.
Gently dab the sponge onto the nail, starting from the tip and working down. You might need a couple of passes.
Alternatively, for a simpler version, paint your whole nail yellow and then use a sponge to dab a lighter yellow or white polish only on the tips.
3. Clean Up: Use a nail art brush dipped in nail polish remover to clean up any smudges around your cuticles.
4. Top Coat: Finish with a top coat.
Pro Tip: For a softer ombre, blend a sheer white or nude polish with yellow onto the sponge.
4. Fiery Sunset Colors
Recreate those breathtaking summer sunsets on your fingertips with gradients of orange, pink, and purple.
How-To: Sunset Gradient
1. Prep: Apply base coat.
2. Color Application: The easiest way to do this is over a white base.
Paint your nails white and let them dry completely. This makes the other colors pop.
On a makeup sponge, apply stripes of your chosen sunset colors (e.g., pink, orange, yellow, purple).
Gently dab the sponge onto your white-painted nail, layering the colors. Blend slightly as you dab.
3. Repeat: You might need a few layers to build up the color intensity.
4. Clean Up: Use your cleanup brush with remover to neaten the edges.
5. Top Coat: Seal your masterpiece with a gleaming top coat.
5. Minimalist Dots and Lines
Sometimes less is more, especially when aiming for an effortlessly chic look. Simple dots and clean lines are incredibly versatile and easy to master.
How-To: Chic Polka Dots
1. Prep: Base coat.
2. Base Color: Choose a light, airy color like white, pastel blue, or soft pink. Let it dry.
3. Dotting: Use a dotting tool (or the non-writing end of a ballpoint pen or even a bobby pin!) dipped in a contrasting color (like gold, black, or a bright color) to create dots.
Place dots randomly across your nail.
For a more uniform look, create a pattern like a single row of dots along the free edge or a cluster in one corner.
4. Top Coat: Seal with a top coat.
How-To: Simple Lines
1. Prep: Base coat.
2. Base Color: Any color you love!
3. Line Work: Using a very fine nail art brush and a contrasting polish, draw thin, straight lines or French tips in a different color.
Horizontal lines can elongate the nail.
Vertical lines add a graphic element.
You can also use nail vinyls or tape for super-straight lines. Just paint over applied tape, let it set slightly, and peel carefully.
For the cleanest lines, ensure your polish is not too thick and that your brush is well-loaded but not overloaded. A good tip is to dry-brush excess polish off the brush onto a paper towel before making your delicate marks.
6. Glitter & Glam
Summer nights call for a touch of sparkle! Glitter polish is your best friend for an instant dose of glamour.
How-To Style Glitter:
Full Glitter: Simply apply a glitter polish over your base coat. Two coats usually provide good coverage.
Glitter Accent: Paint your nails a solid color and then apply glitter polish only on the accent nail (usually the ring finger).
Glitter Gradient: Apply a solid color base, then use a sponge or dabbing motion with a glitter polish to concentrate the glitter at the tips of your nails, fading downwards.
Glitter French Tip: Paint your nails a solid color, and then use a fine brush with glitter polish to create a shimmering French tip.
Many nail experts suggest that a good quality glitter polish can hide minor imperfections on the nail surface, making it a forgiving yet dazzling choice for beginners.
7. Floral Accents
Tiny, delicate flowers can add a touch of romance and femininity to any summer manicure.
How-To: Easy Daisy or Flower
1. Prep: Base coat.
2. Base Color: A light pastel or nude.
3. Petals: Use a dotting tool to create five small dots in a circle, or a slightly larger dot with smaller dots around it, to form petals. A fine brush can also be used to draw curved petal shapes.
4. Center: Add a tiny dot of yellow or a contrasting color in the center of your flower.
5. Placement: You can put a single flower on an accent nail or scatter a few smaller ones across all nails.
6. Top Coat: Seal carefully.
8. Abstract Swirls and Blobs
Embrace artistic freedom with abstract designs. These don’t require precision and look effortlessly cool.
How-To: Abstract Swirls
1. Prep: Base coat.
2. Base Color: A light, neutral shade like white, cream, or a sheer pink.
3. Swirls: With a fine nail art brush and a contrasting color (or multiple colors!), freehand gentle, flowing swirls and lines. Think of organic shapes, not perfect circles.
4. Color Blocking: You can also lay down blocks of color randomly and then add thin lines over them.
5. Top Coat: Seal your abstract creation.
Maintaining Your Summer Nail Art
To keep your beautiful summer nails looking fresh, follow these simple tips:
Apply a Top Coat Regularly: Reapply your top coat every 1-2 days to maintain shine and prevent chipping.
Moisturize: Hydrated cuticles are key! Use cuticle oil daily and hand lotion frequently throughout the day. This also helps prevent your polish from looking dry and dull.
Wear Gloves: Protect your nails when doing household chores, gardening, or anything involving prolonged water exposure.
Avoid Using Nails as Tools: Don’t use your nails to open cans, scrape labels, or pick at things.
Beginner Mistakes to Avoid (And How to Fix Them!)
Every nail artist, pro or beginner, makes mistakes. The key is knowing how to recover!
Smudged Polish: If you smudge a wet nail, try to gently nudge it back into place with a clean brush tip or toothpick. If it’s a bigger smudge, a dab of remover on a fine brush can help clean it up, but you might need to repaint.
Wobbly Lines: Embrace them! Sometimes wobbly lines add character. If you really can’t stand it, clean it up with a precise brush and remover, let it dry, and try again.
Wrong Color Choice: Don’t have the perfect shade for your design? A nude base coat can often make most colors pop. Or just let it dry and paint over it! That’s the beauty of polish.
Too Much Polish: Using too much polish on your brush can lead to thick, uneven coats and messy application. Wipe off excess polish on the bottle neck before applying.
Impatient Drying: This is the number one cause of smudges! Be patient. Consider using a quick-dry top coat or a nail drying spray.
Transitioning Your Nails for Different Summer Occasions
Your summer nail art can adapt to any event!
Beach Day: Think sea-inspired blues, sandy beiges, seashell decals, or simple wave patterns.
Outdoor Wedding/Party: Go for elegant pastels, delicate floral accents, subtle glitter, or a chic French tip with a pop of color.
Casual Brunch/Day Out: Bright fruit designs, fun polka dots, or vibrant abstract patterns are perfect.
Evening Soirée: Metallics, deeper jewel tones with subtle shimmer, or a minimalist design with a touch of gold or silver can add sophistication.
FAQ: Your Summer Nail Art Questions Answered
Here are some common questions beginners have about summer nail art:
What are the most popular summer nail polish colors?
Bright corals, sunny yellows, vibrant blues, emerald greens, hot pinks, and classic whites are always popular for summer. Pastels also make a comeback for a softer look.
How can I make my nail art last longer?
Start with a good base coat, apply thin, even coats of polish, let each coat dry completely, and finish with a high-quality top coat. Reapply top coat every couple of days. Moisturizing your cuticles daily also helps prevent chipping.
What’s the easiest way to do nail art at home?
Simple techniques like polka dots using a dotting tool, clean lines with tape, or glitter gradients are very beginner-friendly. Focusing on one or two accent nails can also make it less overwhelming.
Do I need special nail art brushes?
Not necessarily to start! A toothpick, the tip of a bobby pin, or even different sized ballpoint pens can create dots and lines. However, fine-tipped nail art brushes offer more control and precision for detailed work.
How do I clean up messy nail polish application?
Dip a small, stiff brush (like an old eyeliner brush) or a toothpick into nail polish remover. Carefully trace around your cuticle and the edges of your nail to remove stray polish. This makes a huge difference in the finished look.
What’s the difference between a base coat and a top coat?
A base coat goes on first to protect your natural nail from staining and provide a smooth surface for polish. A top coat goes on last to seal the color, add shine, and protect your manicure from chipping and wear.
Can I achieve ombre nails without a sponge?
Yes! You can use a fine brush to blend two colors together directly on the nail while they are still wet. Another method is to paint your nails white, then use vertical strokes of your gradient colors with a brush on a palette, and gently blend them together on the palette before applying to the nail with the brush.
Conclusion: Your Summer, Your Style, Your Nails!
You’ve got this! Summer nail art is all about having fun and expressing yourself. From delicious fruit designs to serene ocean waves and vibrant sunsets, there’s a trendy, achievable look for everyone. Remember to start with the basics: prep your nails, gather your simple tools, and be patient with the drying process. Don’t be afraid to experiment with different color combinations and patterns. Every mistake is a learning opportunity, and soon you’ll be creating stunning manicures that reflect your unique summer spirit. So go ahead, pick your favorite design, grab your polishes, and let your creativity shine through your fingertips all season long! Happy polishing!