Get ready for stunning summer bright nail art! Easy, essential designs for vibrant, fun nails that capture the season’s energy. Perfect for beginners, these looks will make your fingertips pop with color and style all summer long.
Summer is here, and that means it’s time for an explosion of color! If your nails are feeling a little dull, you’re not alone. We all want those trendy, eye-catching manicures that scream sunshine and good vibes. But diving into nail art might seem a bit intimidating, right? Don’t worry! We’re going to break down some super fun and easy summer bright nail art designs that anyone can do. Get ready to transform your nails into a canvas of pure joy. Let’s make this summer your most colorful nail season yet!
Your Ultimate Guide to Summer Bright Nail Art Designs
Summer is the season for boldness, for stepping out of your comfort zone, and for embracing all things vibrant. And what better way to express this than through your nails? From sunny yellows and electric blues to fiery oranges and watermelon pinks, the summer palette is practically begging to be splashed across your fingertips.
Whether you’re heading to a beach party, a backyard BBQ, or just want to add a pop of cheer to your everyday look, summer bright nail art designs are your secret weapon. They’re not just pretty; they’re a form of self-expression that’s both fun and accessible. Ready to dive into a world of dazzling color and creative possibilities? Let’s get started!
Why Summer is the Perfect Time for Bright Nails
Think about it: the longer days, the warmer weather, the carefree spirit. Everything about summer invites us to be a little louder, a little bolder, and a lot more colorful.
Embracing Vibrant Hues: Summer is synonymous with bright, saturated colors found in nature – think tropical flowers, ocean blues, and sunset skies. Your nails are the perfect tiny canvas to mirror this natural beauty.
Instant Mood Booster: Studies have shown that color can significantly impact our mood. Wearing cheerful, bright colors on your nails can literally brighten your day and boost your confidence.
Perfect for Occasions: From tropical vacations to summer weddings, bright nail art can be the perfect accessory to complement your outfits and the festive atmosphere.
Easy Self-Expression: Nail art is a fantastic, low-commitment way to play with trends and express your personality. It’s your personal style statement, right at your fingertips!
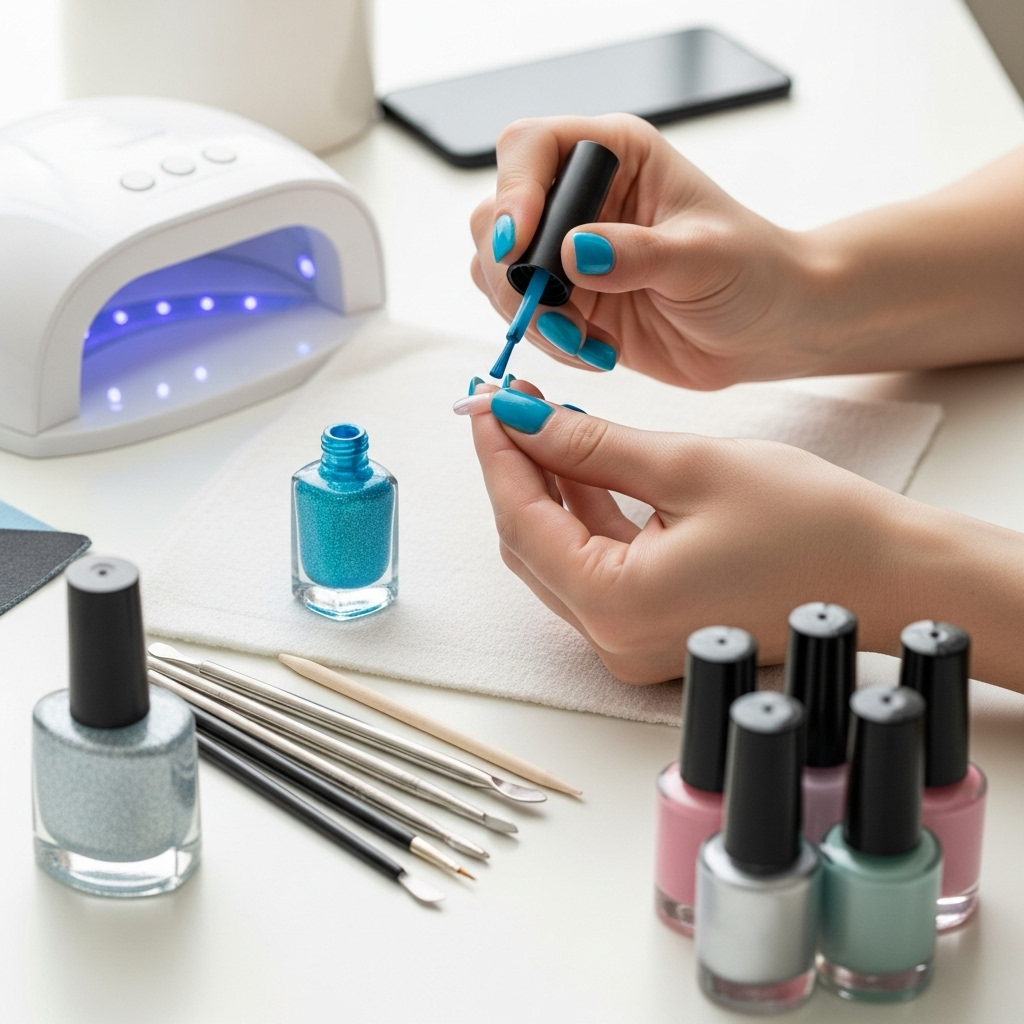
Essential Tools for Your Summer Nail Art Adventures
Before we jump into the fun designs, let’s make sure you have the basic toolkit. You don’t need a professional salon setup to create amazing looks at home!
Base Coat: Crucial for protecting your natural nails and helping polish adhere better.
Top Coat: Seals your design, adds shine, and makes your manicure last longer. A quick-dry top coat is a lifesaver!
Nail Polish Colors: This is where the fun begins! Stock up on a range of bright, summery shades. Think neons, pastels with a punch, and shimmery finishes.
Dotting Tools: These come in various sizes and are perfect for creating dots, flowers, and other simple patterns. You can find them in sets online or at beauty supply stores.
Fine-Tipped Nail Art Brushes: Essential for delicate lines, swirls, and intricate details. A few different sizes will give you versatility.
Painter’s Tape or Stencils: Great for creating clean geometric lines and patterns.
Toothpicks or a Thin Brush (for cleanup): For those inevitable little smudges, a toothpick dipped in nail polish remover is your best friend for tidying up edges.
Nail Polish Remover & Cotton Pads: For mistakes and full removal.
Orange Stick or Cuticle Pusher: To clean up the cuticles before and after painting.
Here’s a handy list to keep track:
| Tool | Purpose | Beginner Tip |
|---|---|---|
| Base Coat | Protects nails, creates smooth surface | Apply one thin layer and let it dry completely. |
| Top Coat | Seals design, adds shine, prevents chips | Apply a generous layer to cover the entire nail, including the tip (the edge) to prevent lifting. |
| Dotting Tools | Creating dots of various sizes, small flowers, simple designs | Dip the ball end into polish and gently press onto the nail. Clean between colors! |
| Nail Art Brushes | Drawing lines, swirls, detailed patterns | Use very little polish on the brush for thin lines. Practice on paper first if needed. |
| Painter’s Tape | Achieving crisp geometric shapes and lines | Ensure tape is firmly adhered to the nail to prevent polish bleeding underneath. Let the base color dry completely before applying tape. |
| Cleanup Brush/Toothpick | Removing excess polish around the cuticle | Dip in polish remover and gently swipe away any stray polish. |
Easy & Essential Summer Bright Nail Art Designs
Let’s get to the fun part! These designs are perfect for beginners and use simple techniques to achieve stunning results.
Design 1: Rainbow French Tips
A classic twist on a classic design. Say goodbye to plain white and hello to a spectrum of color!
What You’ll Need:
Base coat
Sheer nude or white polish (optional, for the base)
Small nail art brushes or dotting tool
Bright nail polish colors (e.g., red, orange, yellow, green, blue, purple)
Top coat
How-To:
1. Prep Your Nails: Start with clean, dry nails. Apply a base coat and let it dry. You can opt for a sheer nude or a clean white as your base color for extra pop, or go straight to the tips.
2. Pick Your Rainbow Order: Decide which colors you want to use and in what order. A classic ROYGBIV works well!
3. Paint the First Tip: Using a fine-tipped brush or a small dotting tool, carefully paint a curved tip with your first color (e.g., red). Don’t worry about perfection; we’ll layer.
4. Add the Next Color: Moving to the next color (e.g., orange), paint another curved tip right next to or slightly overlapping the first one.
5. Continue the Spectrum: Repeat this process with each of your chosen rainbow colors, layering them along the free edge of your nail until you’ve created a vibrant stripe.
6. The Cleanup (Optional but Recommended): Use a fine brush dipped in nail polish remover to clean up any uneven lines or stray polish.
7. Seal the Deal: Once completely dry, apply a generous layer of top coat to smooth everything out and add shine.
Pro-Tip: If you find freehanding the curves tricky, you can use French tip guides or even cut small pieces of regular painter’s tape into a curve, applying it below the tip line before you paint.
Design 2: Fruity Fun Accent Nail
Emojis and summer fruits are a match made in heaven! This is a super cute way to add personality.
What You’ll Need:
Base coat
A bright base color (like yellow for pineapple, pink for watermelon, orange for orange)
White, black, green, and other accent colors for details (e.g., brown for pineapple dots, seeds for watermelon)
Fine-tipped nail art brush or a toothpick
Top coat
How-To:
Let’s create a mini watermelon slice on one accent nail!
1. Base Color: Apply your base color (e.g., bright pink) to all your nails. For the accent nail, once the pink is dry, paint a thin layer of white polish on the tip, forming a crescent moon shape. This will be the “rind”.
2. The Rind: Once the white is dry, use a fine brush or a toothpick and a green polish to paint a thin line just above the white tip, creating the watermelon rind. You can even add a slightly thicker green stripe further down the nail if you want a more defined rind.
3. Adding Seeds: With a fine brush or toothpick and black polish, carefully add a few small dots or tiny ovals within the pink section to resemble watermelon seeds.
4. Finishing Touches: Let everything dry thoroughly. Apply a top coat over all nails, including the accent nail, to seal the design.
Variations:
Pineapple: Use yellow as the base. Create diamond patterns with brown or dark yellow lines, and add green leaf-like shapes at the tip.
Strawberry: Use red as the base. Add tiny black seeds, and green leaves at the tip.
Design 3: Ombré Sunset Gradient
Capture the magic of a summer sunset right on your nails! This design looks complex but is surprisingly achievable with a little patience.
What You’ll Need:
Base coat
3-4 bright, coordinating polish colors (e.g., yellow, orange, pink, purple)
Cosmetic sponge (the kind for makeup application works great!)
Top coat
Nail polish remover and a stiff brush for cleanup
How-To:
1. Prepare Your Sponge: Cut a small piece of a makeup sponge. You want it to be just wide enough to cover your nail.
2. Apply Base Color (Optional): Apply a thin layer of your lightest color (e.g., yellow) to your nail as a base and let it dry. This helps the gradient colors blend more smoothly.
3. Load the Sponge: On a piece of paper or a palette, paint stripes of your chosen colors next to each other, from lightest to darkest (e.g., yellow, orange, pink, purple).
4. Start Blending: Gently press the sponge onto the polish stripes, picking up the colors onto the sponge.
5. Tap, Tap, Tap: Lightly and repeatedly tap the sponge onto your nail. Start from the cuticle and work your way to the tip. Reapply polish to the sponge and repeat tapping until you achieve the desired color blend.
6. Repeat for Each Nail: Repeat the process for each nail. You might need to re-apply polish to the sponge several times.
7. Cleanup Time: This is where the cleanup brush comes in handy! Dip a stiff brush (an old, clean makeup brush works well) into nail polish remover and carefully paint around your cuticles and sides of your nails to remove any excess polish transferred from the sponge.
8. Seal the Glow: Once the polish is dry, apply a generous top coat to blend the color gradient further and add a beautiful, glossy finish.
Tip: Don’t press too hard with the sponge, or you’ll get harsh lines. Gentle tapping is key for a smooth blend.
Design 4: Geometric Block Party
Clean lines and bold color blocking are trendy and super chic for summer. Perfect for a minimalist vibe that still packs a punch.
What You’ll Need:
Base coat
2-4 contrasting bright nail polish colors
Painter’s tape or nail art tape
Fine-tipped brush or cuticle pusher for pressing tape
Top coat
How-To:
1. Base Color: Apply your first color all over the nail and let it dry completely. This will be the background for your blocks.
2. Apply Tape: Carefully apply strips of painter’s tape or nail art tape onto the dried polish. Create geometric shapes by dividing the nail into sections (e.g., diagonal lines, triangles, squares). Press the tape down firmly to prevent color bleeding.
3. Color Block: Paint the exposed sections of your nail with your other bright colors. You can use just one new color or different colors for different sections.
4. The Crucial Step (Tape Removal): While the new polish is still WET, carefully peel off the tape. If you wait for it to dry, you risk peeling off the polish underneath or getting jagged lines.
5. Let it Dry: Allow the newly painted sections to dry completely.
6. Add More Layers (Optional): If you want more complex geometric patterns, repeat the taping and painting process on the dried sections.
7. Seal Your Masterpiece: Apply a top coat to seal all the colors and lines.
External Resource: For more inspiration on geometric nail art and tape techniques, visit NailPolicies.com’s guide on using nail tape for designs.
Design 5: Polka Dot Pop
A playful and timeless design that’s incredibly simple to master. Experiment with color combinations to make it uniquely yours.
What You’ll Need:
Base coat
A neutral or bright base color
A contrasting bright color for the dots
Dotting tool (or the round end of a toothpick/pen)
Top coat
How-To:
1. Start with a Clean Canvas: Apply base coat and your chosen base color to each nail. Let it dry thoroughly.
2. Get Doting: Dip your dotting tool into the contrasting polish color. Make sure to get a good bead of polish on the tip.
3. Place Your Dots: Gently press the dotting tool onto your nail to create a perfect circle. Start from one edge and work your way across, creating rows of dots. You can make them uniform or random.
4. Mix and Match: Vary the dot colors on different nails or even on the same nail for a fun, eclectic look. Try white dots on a bright pink nail, or neon yellow dots on a blue background.
5. Precision Cleaning: If you make any mistakes, use a toothpick dipped in nail polish remover to gently clean up any smudged dots.
6. Shine On: Finish with a layer of top coat to protect your design and add extra gloss.
Mastering Dot Sizes:
If your dotting tool has different ball sizes, use the smaller ones for more intricate designs and the larger ones for bigger, bolder polka dots.
Advanced (but still doable!) Summer Bright Ideas
Once you’ve mastered the basics, why not try these slightly more involved, but equally stunning, designs?
Neon French Tips: Instead of bright colors, use neon shades for a vibrant, electric twist on the classic French tip.
Watermarble Magic: This technique involves swirling polishes in water to create intricate patterns that you then transfer to your nail. It looks incredibly complex but is surprisingly rewarding! You can find many tutorials online for this popular technique.
Glitter Gradient: Apply a bright base color, and then use a sponge or brush to apply glitter polish from the tip downwards, fading it into the base color. This adds instant sparkle and dimension.
Tropical Leaves: Use a fine brush to paint simple leaf shapes in green or other tropical colors over a bright base. Think palm leaves or monstera leaf outlines.
Maintaining Your Summer Bright Manicure
You’ve put in the effort to create these gorgeous designs, so let’s make them last!
Reapply Top Coat: Every 2-3 days, apply a fresh layer of top coat. This reinforces the seal and adds shine, helping to prevent chips.
Use Gloves: When doing chores that involve water or harsh chemicals (like washing dishes or cleaning), wear rubber gloves. Water and chemicals are the enemies of nail polish.
Moisturize: Keep your hands and cuticles hydrated with cuticle oil or a good hand cream. Healthy skin and nails make any manicure look better and last longer. A popular choice for cuticle care is Jojoba oil, known for its excellent moisturizing properties. The American Academy of Dermatology Association recommends regular hand washing and recommends avoiding harsh soaps too.
Avoid Using Nails as Tools: Resist the urge to use your nails to open cans, scrape labels, or any other task that could cause them to chip or break.
Frequently Asked Questions (FAQ)
Here are some common questions beginners have about summer bright nail art.
Q1: How do I stop my nail polish from chipping so quickly?
A1: Ensure your nails are clean and free of oils before applying polish. Always use a base coat and a good quality top coat. Seal the free edge of your nail (the tip) with your top coat by painting a thin line along it. Reapplying top coat every few days also helps significantly.
Q2: My nail polish always pools around my cuticles. How can I avoid this?
A2: Apply polish in thin coats. When applying a coat of polish, try to avoid letting the brush touch your skin/cuticles. Leave a tiny gap (about the width of a hair). If polish does get on your skin, use a cleanup brush dipped in nail polish remover immediately to carefully clean the edges before the polish dries.
Q3: I’m terrible at freehanding lines. Are there any easy ways to get crisp edges?
A3: Yes! Painter’s tape or specialized nail art tape is your best friend. Cut it into the shapes you want, or use strips for straight lines. Ensure the tape is pressed down very firmly on a completely dry nail color before applying your next polish over it. Remove the tape while the new polish is still wet for the cleanest lines.
Q4: What are the best polish colors to use for a summery vibe?
A4: Think vibrant and cheerful! Corals, turquoise, sunny yellows, hot pinks, electric blues, lime greens, and bright oranges are all fantastic choices. Don’t be afraid of neons, pastels with a