Suede nail designs offer a sophisticated, velvety finish that’s surprisingly easy to achieve at home, transforming your nails into chic, textured art.
Ever wished your nails had that luxe, soft-touch feel? Suede nail designs are the trendy secret to achieving just that! They bring a unique, elegant texture that looks incredibly professional, but guess what? You don’t need to be a nail guru to get this stunning effect. If you’ve ever felt intimidated by complicated nail art, you’re in the right place. We’re going to break down how to get gorgeous suede nails with simple steps and clever tricks. Get ready to elevate your mani game easily and effortlessly!
What Exactly Are Suede Nails?
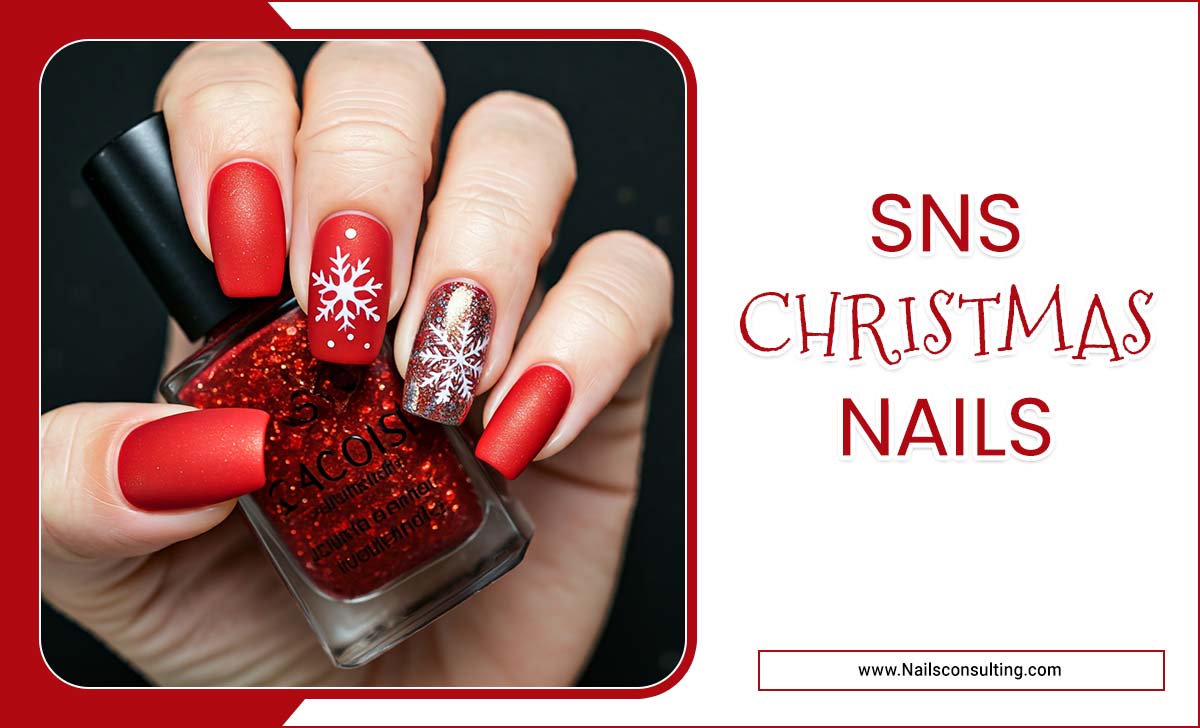
Suede nails, also known as flocking powder or velvet nails, are a nail art technique that creates a soft, fuzzy, matte finish mimicking the texture of suede fabric. It’s a way to add a luxurious, tactile dimension to your manicure that’s totally different from glossy finishes. Think of it as giving your nails a cozy, chic makeover!
Why You’ll Love Suede Nail Designs
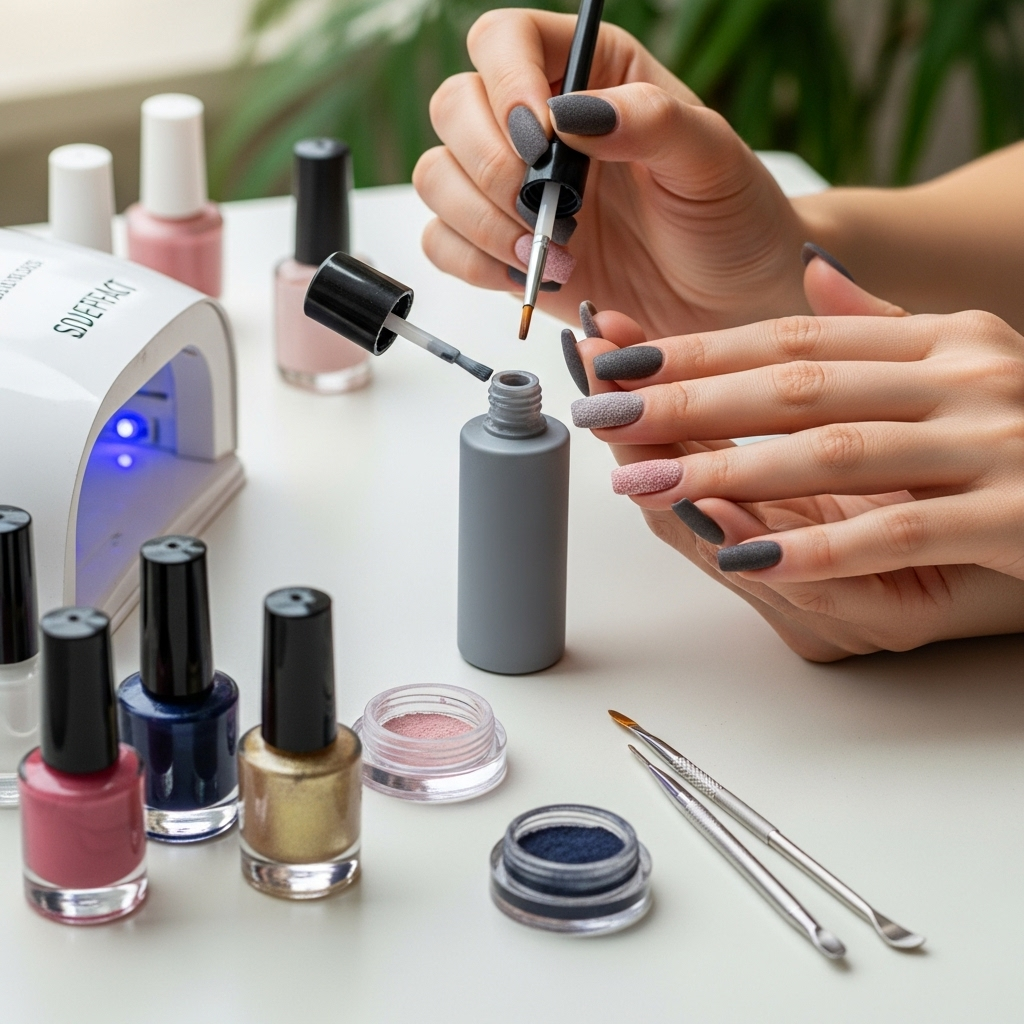
Suede nails aren’t just about looking good; they’re about feeling good too. The texture adds a subtle sophistication that’s perfect for any occasion, from a casual day out to a special event. Plus, they’re surprisingly versatile! Here’s why you’ll want to try them:
- Unique Texture: It stands out from traditional glossy manicures.
- Elegant Finish: The matte, soft feel is incredibly chic.
- DIY Friendly: Easier to achieve than many other 3D nail art.
- Versatile: Works with solid colors, simple patterns, and accent nails.
- Wow Factor: They get compliments!
Essential Tools & Materials for Suede Nails
Before we dive into the “how-to,” let’s gather your supplies. You don’t need a salon’s worth of gear; just a few key items will do.
- Nail Polish: Your base color.
- Top Coat (No-Wipe is Best!): Crucial for the process. A no-wipe top coat prevents transferring color from the flocking powder and ensures the texture isn’t ruined.
- Flocking Powder (Suede Powder/Velvet Powder): This is the magic ingredient! It comes in tons of colors and can be purchased online or at beauty supply stores. Look for fine-textured powder for the best results. You can find tutorials using everyday bath bombs for a DIY flocking powder, but ensure they are finely ground and safe for cosmetic use!
- Small Brush or Applicator: For dusting off excess powder. A fluffy makeup brush or even a clean, dry paintbrush works well.
- Tweezers (Optional): For handling small design elements.
- Clean-up Brush (Optional): For tidying edges.
The “How-To”: Creating Your Suede Nail Design
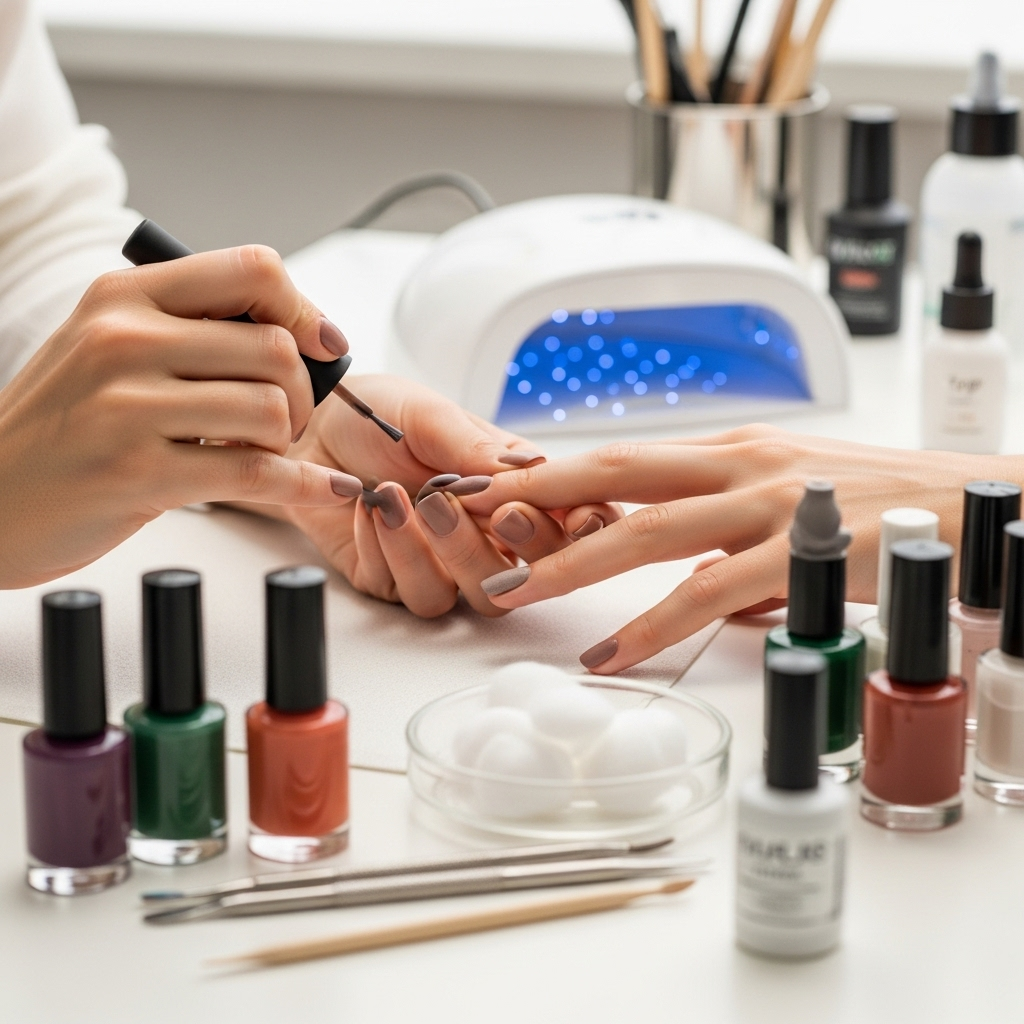
Let’s get to the fun part! This step-by-step guide will help you create beautiful suede nails. We’ll cover a basic solid color suede design and then touch upon creating simple patterns.
Method 1: Full Suede Nails (Solid Color)
This is the easiest way to achieve the suede effect and is perfect for beginners.
- Prep Your Nails: Start with clean, dry nails. File them to your desired shape and gently push back your cuticles. Apply a base coat and let it dry completely.
- Apply Your Base Color: Paint your nails with your chosen nail polish color. Let this layer dry until it’s almost, but not fully, cured – it needs to be slightly tacky. This is key for the powder to adhere.
- Apply a Layer of No-Wipe Top Coat: This might seem counterintuitive, but it’s essential! Apply a thin, even layer of your no-wipe top coat over the slightly tacky base color. Don’t cure this layer in the lamp yet. The tacky base underneath helps it adhere, while the uncured top coat is what the flocking powder will stick to.
- Apply the Flocking Powder: While the top coat is still wet (uncured!), carefully sprinkle a generous amount of your flocking powder over the nail. Ensure you cover the entire surface where you want the suede effect. You can do this over a tray or piece of paper to catch excess powder for reuse.
- Gently Press and Cure: Lightly press the powder into the wet top coat with your fingertip or a clean, dry brush to ensure it adheres evenly. Then, cure your nails under a UV/LED lamp according to the lamp manufacturer’s instructions (usually 30-60 seconds).
- Brush Off Excess: Once cured, use your soft brush to gently sweep away any loose flocking powder. You should be left with a beautifully soft, velvety texture!
- Repeat if Needed: For a more intense texture or if you missed any spots, you can repeat steps 3-6. However, be cautious as too many layers can make the texture feel uneven or bulky.
Method 2: Suede Accent Nails & Simple Designs
Want to mix and match? Suede is fantastic for accent nails or simple geometric patterns.
For Suede Accent Nails: Follow the steps above for Method 1, but only apply the flocking powder to one or two accent nails. Leave the other nails with their regular polish finish.
For Simple Patterns (e.g., stripes, dots):
- Apply Base Color: Paint your nails with your base color and let it dry completely.
- Apply “Glue” with Top Coat: Apply a layer of your no-wipe top coat ONLY where you want the suede effect to appear. For example, if you want suede stripes, apply top coat only in stripe-like lines.
- Sprinkle Powder: Carefully sprinkle the flocking powder onto the areas with the wet top coat.
- Cure and Clean: Gently press the powder, cure under the lamp, and then brush away the excess as described in Method 1.
This method allows for creative placement of the suede texture, adding a sophisticated touch to any manicure. You can even use fine-tipped brushes to apply the top coat for more intricate designs.
Advanced Suede Nail Techniques & Ideas
Once you’ve mastered the basics, you might be curious about taking your suede nail designs to the next level. Here are a few ideas:
- Ombre Suede: Apply flocking powder in gradient shades for a beautiful ombre effect. This can be achieved by carefully applying different colors of powder section by section or by using a very fine brush to blend colors as you apply them.
- Two-Tone Texture: Combine a full suede nail with a glossy nail in a complementary color for a striking contrast.
- Suede French Tips: Apply your base and then use a fine brush to paint just the tips with your no-wipe top coat, followed by flocking powder, for a textured French manicure.
- Geometric Play: Use striping tape or stencils to create sharp lines. Apply your no-wipe top coat in the taped-off areas for suede accents. Ensure the tape is removed before curing the top coat with powder!
- Textured Gem Accents: Apply a small dab of top coat to where you want a gem, place the gem, and then apply flocking powder around the base of the gem for a textured setting.
Suede Nail Finishes: Matte vs. Glossy Accents
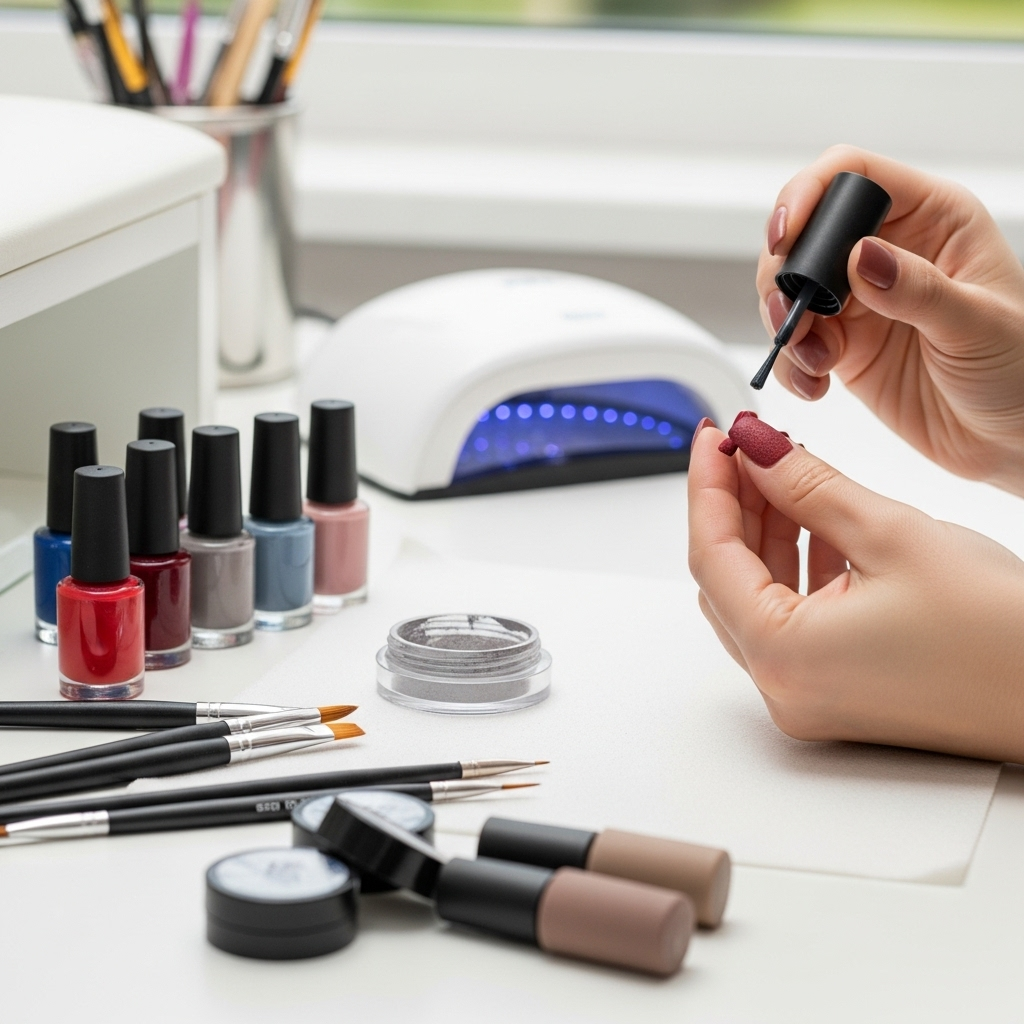
The beauty of suede nails is how they play with texture and finish. While the suede itself is inherently matte, you can choose to contrast it with glossy elements.
Full Matte Suede: This is the classic look. The entire nail has that soft, velvety texture. It’s sophisticated and subtle.
Glossy Accents on Matte Suede: For a more dramatic effect, you can create a suede nail and then strategically apply a glossy top coat over certain parts of the design (e.g., a stripe, a dot, or a French tip) after the suede powder has been applied and cured. This creates a beautiful contrast that really highlights the textures. Remember, you’ll need a regular glossy top coat for this, and it won’t affect the suede part.
Suede Accents on Glossy Nails: Conversely, you can have a completely glossy manicure and add suede details. This is achieved by applying your no-wipe top coat only in the areas you want to be suede, then applying the flocking powder, curing, and dusting off. This is how you achieve those stunning textured patterns on a smooth surface.
Color Combinations That Shine with Suede
While any color can look stunning in a suede finish, some shades particularly excel. Deep jewel tones, earthy neutrals, and soft pastels often look incredibly elegant in velvet texture.
| Color Palette | Suggested Shades | Why It Works |
|---|---|---|
| Jewel Tones | Emerald Green, Sapphire Blue, Ruby Red, Amethyst Purple | These rich colors become even more opulent and deep with the matte texture of suede, giving them a gem-like quality. |
| Earthy Neutrals | Beige, Taupe, Mocha Brown, Olive Green | The soft texture enhances the natural, sophisticated feel of these shades, making them perfect for everyday chic. |
| Pastels | Baby Pink, Sky Blue, Mint Green, Lavender | Softening these gentle hues even further, suede powder gives them a delicate, dreamy, and almost powdery appearance. |
| Classic Black & White | Deep Black, Pure White, Cool Grey | These timeless shades offer a striking, high-contrast look with suede texture. Black is especially dramatic, while white can feel very clean and modern. |
Maintaining Your Suede Nails
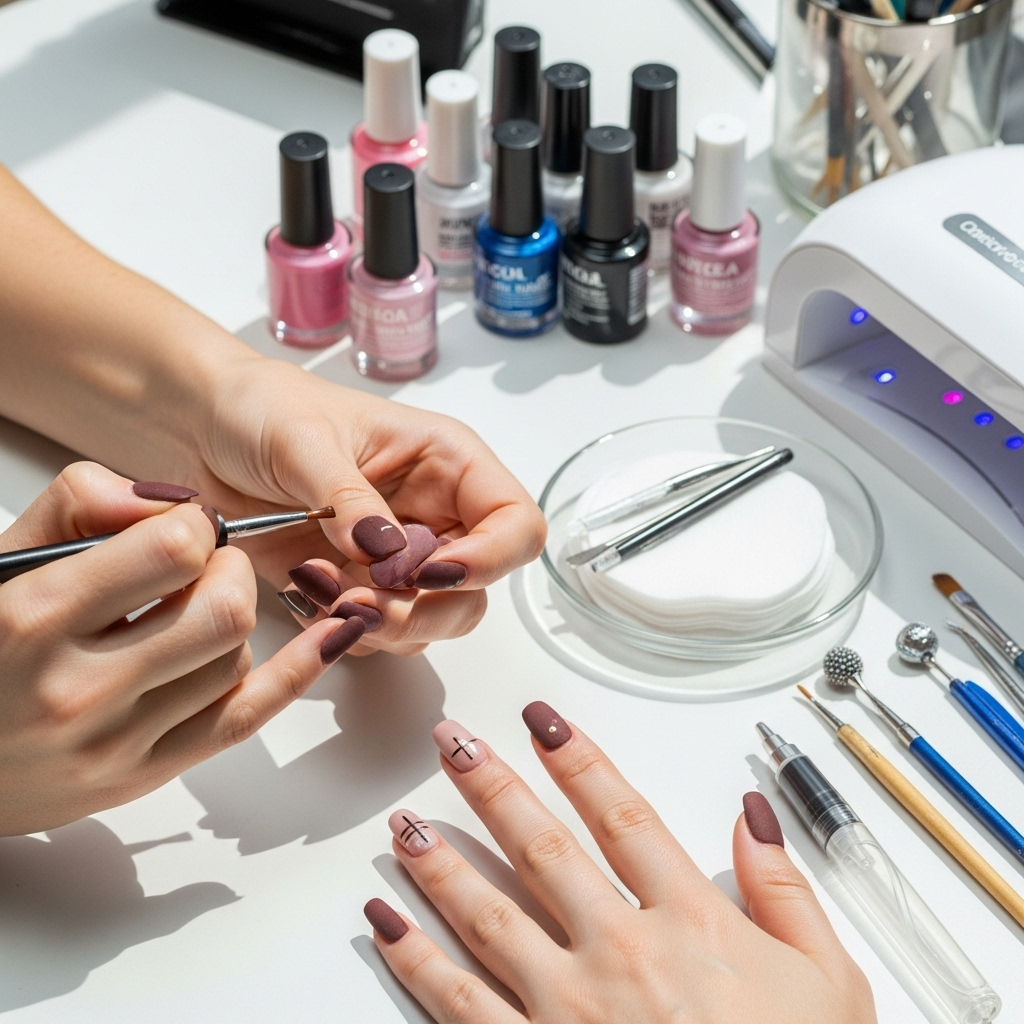
Suede nails are a bit more delicate than standard polished nails, but with a little care, you can keep them looking fabulous.
- Avoid Harsh Chemicals: Just like with any manicure, try to minimize contact with strong cleaning agents, solvents, or prolonged exposure to water, as this can affect the texture.
- Gentle Cleaning: If you need to clean your hands, use a mild soap.
- Skip Hand Sanitizer (if possible): Alcohol-based hand sanitizers can sometimes dry out or slightly alter the flocked surface. If you must use it, try to avoid direct contact with the suede areas as much as possible.
- Pat Dry: When washing your hands, gently pat them dry with a towel rather than rubbing vigorously.
- Reapplying Top Coat (with caution): You generally don’t want to reapply a regular top coat over the suede, as it will likely ruin the texture and make it glossy. However, if a small area loses its flocking, you might be able to carefully re-apply the no-wipe top coat and powder to just that spot and cure it. Test on an inconspicuous area first if possible!
Troubleshooting Common Suede Nail Issues
Even the most experienced nail enthusiasts can run into small hiccups. Here are some common issues and how to fix them.
- Patchy Suede: This usually happens if you didn’t apply enough flocking powder, or if the top coat wasn’t adequately wet for proper adhesion. You can try applying another thin layer of no-wipe top coat over the patchy area, sprinkle generously with powder, press, and re-cure.
- Powder Not Sticking: Ensure you are using a no-wipe top coat. Regular top coats often cure too quickly to allow the flocking powder to adhere properly. Also, make sure your base color was slightly tacky before applying the top coat, as this helps the whole system stick.
- Uneven Texture: This can happen if too much powder was applied or if it wasn’t pressed in evenly. Gently buffing the surface with a very fine-grit buffer (like a 3000+ grit) can sometimes help smooth out minor imperfections, but do this with extreme care not to remove all the flocking.
- Suede Looks “Flat”: Sometimes, if the flocking powder is too fine or applied too sparsely, the suede effect might not be as pronounced. Try applying a second layer of flocking powder (over a fresh layer of no-wipe top coat) to build up the texture without making it clumpy.
The Role of a No-Wipe Top Coat in Suede Nails
You might have noticed the emphasis on a “no-wipe top coat.” This isn’t just a suggestion; it’s vital for achieving successful suede nails. A traditional gel top coat creates a sticky inhibition layer after curing, which needs to be wiped away with a cleanser. If you apply flocking powder to this sticky layer, it will likely get trapped, making the suede look clumpy or embedded. A no-wipe top coat, on the other hand, cures without leaving a sticky residue. This allows the flocking powder to adhere directly to the uncured surface of the top coat, creating that true fuzzy texture when cured. If you don’t have a specific no-wipe top coat for gel polish, certain quick-dry top coats for regular polish can sometimes work in a pinch, but they are generally less reliable for achieving a smooth, durable suede finish.
For more information on gel polish and top coats, the Nail Pro website offers excellent insights into different finishes and their applications.
FAQ: Your Suede Nail Questions Answered
Q1: Can I use regular nail polish for suede nails?
Yes, you can! While gel polish and a UV/LED lamp give you the most durable and professional-looking results, you can achieve a similar effect with regular nail polish. The trick is to apply a layer of the polish, let it become tacky (not fully dry), then apply a very thin, clear top coat (like a quick-dry or even a clear polish) and immediately sprinkle on the flocking powder. It won’t be as long-lasting as gel, but it’s a great way to experiment.
Q2: How do I clean flocking powder off my tools?
For brushes, a quick way to clean them is to gently brush them against a paper towel or lint-free cloth to remove most of the powder. If your tools are very clogged with powder, you can try washing them with a little soap and water and drying them thoroughly. For stray powder on surfaces, a vacuum cleaner with a brush attachment can be very effective.
Q3: Can I apply glitter over suede nails?
You generally cannot apply traditional glitter polish over a cured suede nail without ruining the texture. However, you can apply suede powder over a glitter base if you wish! Apply your glitter polish, let it dry partially tacky, add your no-wipe top coat, sprinkle flocking powder, and cure. The glitter will be under the suede layer.
Q4: How long do suede nails typically last?
With gel polish and proper application, suede nails can last as long as a standard gel manicure, typically 2-3 weeks. However, the texture can be more prone to wear and tear than a smooth finish, especially with hard-wearing activities. If using regular polish, expect them to last only a few days.
Q5: What is the difference between flocking powder and velvet powder?
There is no difference! “Flocking powder” and “velvet powder” are interchangeable terms for the same product used to create the suede nail effect. They both refer to the fine, fuzzy fibers that give nails their soft texture.
Q6: Can I use flocking powder without investing in a UV/LED lamp?
You can try with regular nail polish as described in Q1. However, the flocking powder adheres best to uncured gel polish or a gel top coat. While some craft powders are designed to adhere to air-dry polish more effectively, the results are usually less durable and the texture might not be as pronounced as with a gel curing process. Investing in a small UV/LED lamp is highly recommended for the best suede nail experience.
Conclusion
And there you have it! Suede nail designs are a fantastic way to add depth, texture, and a touch of luxury to your manicures without requiring advanced artistic skills. Whether you opt for a full velvet effect on all your nails or use suede accents to highlight specific areas, the result is always sophisticated and eye-catching. Remember the golden rule: a no-wipe top coat is your best friend for this technique! Play with different colors, experiment with simple patterns, and embrace the unique, tactile beauty of suede nails. You’ve got this!

