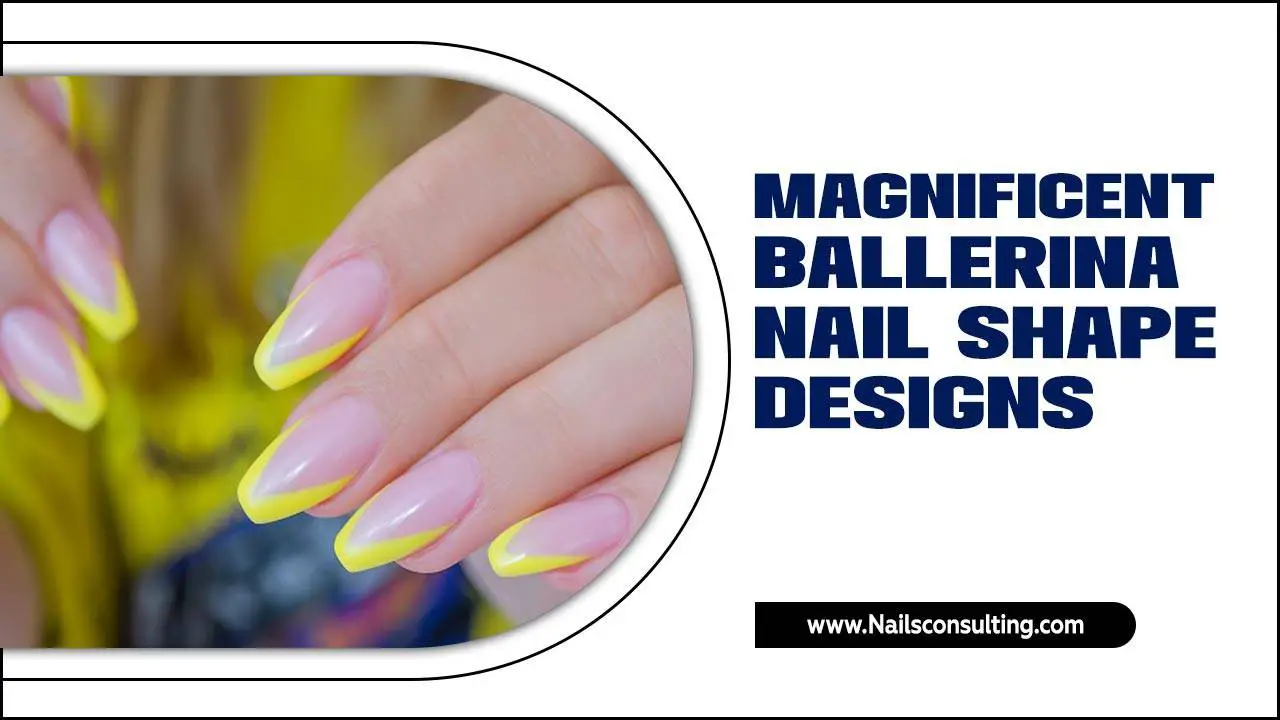
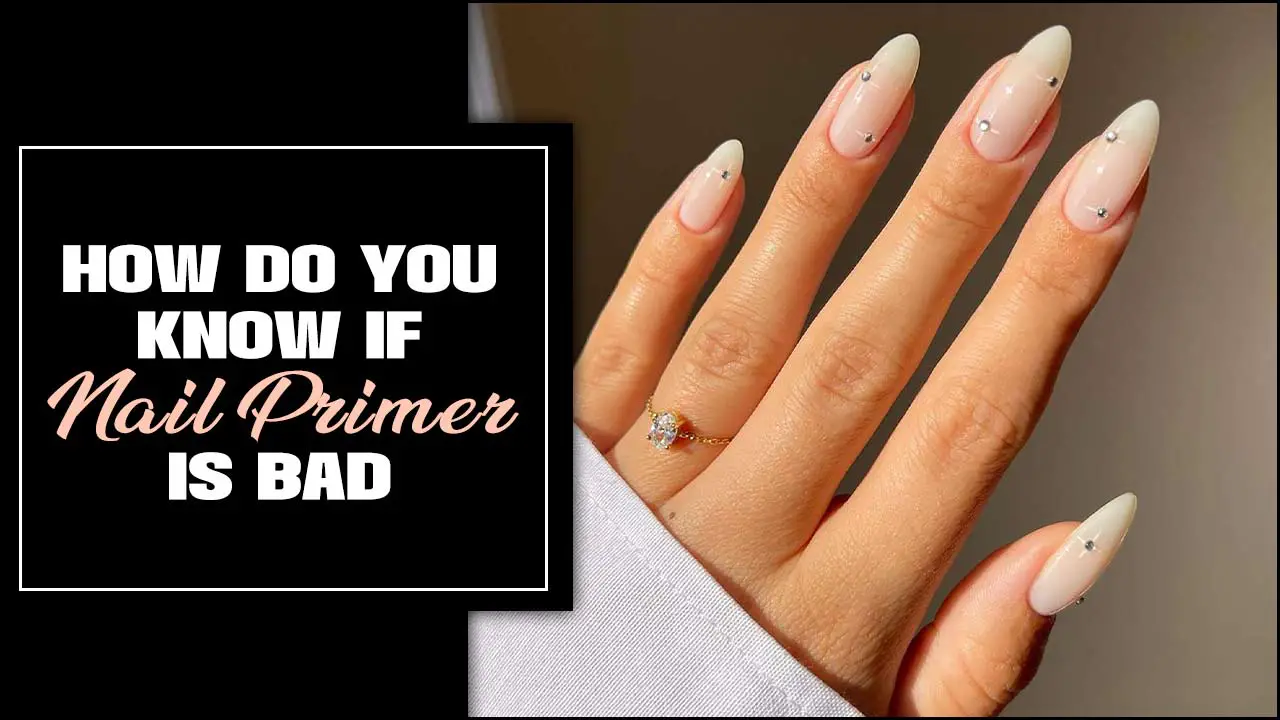
Stripe tape nail designs are an easy and chic way to add geometric flair to your manicure. Even beginners can use nail tape to create clean lines and modern looks with a few simple steps and the right tools. This guide will show you how!
Painting your nails is a fun way to express yourself! Sometimes, though, a plain color can feel a little… plain. You might look at pro nail art and think, “Wow, that’s beautiful, but I could never do that myself!” Well, I’m here to tell you that you can! One of the simplest yet most effective ways to elevate your manicure is with stripe tape. It’s like a magic wand for creating crisp, clean lines and stylish geometric patterns that look super professional, even if you’re just starting out. Forget messy freehand painting; nail tape is your secret weapon for salon-quality designs at home. Keep reading, and I’ll walk you through everything you need to know to master stripe tape nail designs.
What is Stripe Tape for Nails?
Nail stripe tape, also known as striper tape or striping tape, is a special kind of thin, adhesive tape designed specifically for nail art. It comes in various widths, from super-fine to a bit wider, and in a dazzling array of colors and finishes, including metallic shades like gold, silver, and rose gold, as well as matte, holographic, and even glitter options. The adhesive is strong enough to stick to your nail polish without damaging it, but gentle enough to be peeled off cleanly once your polish is dry, leaving behind a perfect, sharp line. It’s a game-changer for achieving clean, precise designs that would be incredibly difficult, if not impossible, to do with a nail brush alone.
Why Choose Stripe Tape for Your Nail Designs?
If you’re looking for ways to add some pizzazz to your nails without needing a degree in art school, stripe tape is your best friend. Here’s why it’s such a popular choice for DIY manicures:
Effortless Precision: This is the biggest win! Stripe tape creates incredibly sharp, clean lines every time. No more shaky hands or uneven edges.
Beginner-Friendly: Seriously, if you can peel a sticker, you can use nail tape. It’s that simple to get impressive results.
Versatile Designs: From minimalist chic to bold geometric statements, the possibilities are endless. You can create French tips, accent lines, grids, and so much more.
Time-Saving: While intricate nail art can take ages, using tape significantly speeds up the design process.
Affordable: A roll of nail tape is inexpensive, and a single roll can last for many manicures, making it a budget-friendly way to get creative.
Professional Finish: Your nails will look like you just stepped out of a high-end salon.
Essential Tools for Stripe Tape Nail Designs
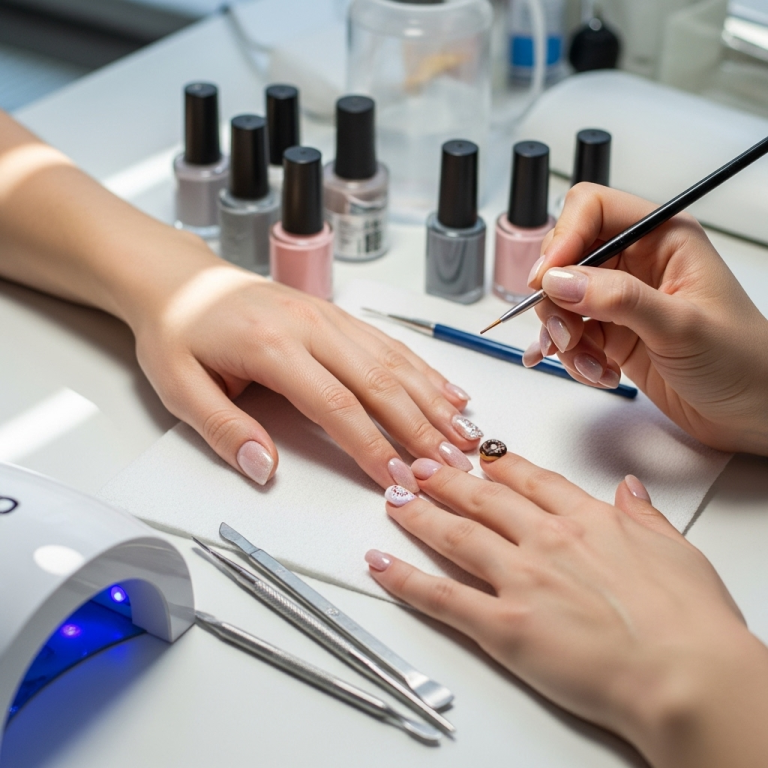
Before we dive into the fun part, let’s gather your supplies. Don’t worry; you probably have most of these items already!
Nail Polish: Your base colors and top coat.
Stripe Tape: Choose your colors and widths! For beginners, starting with a medium width (around 1-2mm) is often easiest.
Nail File and Buffer: To shape and smooth your nails.
Cuticle Pusher/Orange Stick: To clean up the edges around your nails.
Tweezers: Essential for precise placement and lifting the tape.
Small Scissors or Nail Art Clippers: To cut the tape to the desired length.
Rubbing Alcohol or Nail Polish Remover: To ensure your nails are clean and free of oils.
(Optional) Dotting Tool: For adding small accents or embellishments.
(Optional) Clear Top Coat or Nail Glue: For securing gems or glitter if you decide to add them.
Choosing Your Stripe Tape
The variety of stripe tape can be a little overwhelming at first, but here’s a quick guide to help you pick:
Width:
Fine (0.5mm – 1mm): Great for delicate accents, creating fine lines within larger designs, or adding a thin outline. Can be trickier to handle for absolute beginners.
Medium (1mm – 2mm): The sweet spot for most designs. Perfect for creating distinct stripes, geometric shapes, or modern French tips. This is where most beginners should start.
Wide (3mm+): Good for making bold statements or as a base for other nail art elements, but less common for intricate stripe designs.
Color & Finish:
Metallics (Gold, Silver, Rose Gold): Classic, chic, and versatile. They add instant glamour.
Holographic: For a dazzling, color-shifting effect.
Glitter: Adds sparkle and texture.
Matte: Offers a sophisticated, toned-down look.
Neon/Bright Colors: For a fun, playful pop.
A good starting point is a roll of metallic gold or silver tape in a 1mm or 2mm width.
Step-by-Step: Easy Stripe Tape Nail Designs for Beginners
Ready to create some magic? Let’s get started with a few simple but stunning designs. The key to all these is ensuring your base polish is completely dry before applying the tape. This prevents lifting and ensures clean lines.
Design 1: The Classic Diagonal Stripe
This design is super simple and looks incredibly chic.
1. Prep Your Nails: Start by filing your nails to your desired shape and gently pushing back your cuticles. Cleanse your nails with rubbing alcohol to remove any oils.
2. Apply Base Color: Apply one or two coats of your chosen base polish color. Allow it to dry completely. This step is crucial! If it’s still tacky, the tape will stick and peel off with the polish.
3. Cut the Tape: Using your scissors or clippers, cut a piece of stripe tape slightly longer than the width of your nail.
4. Apply the Tape: Carefully peel the tape from its backing (tweezers are helpful here!). Using your tweezers, press the tape diagonally across your nail. Smooth it down firmly, ensuring there are no bubbles or lifting edges.
5. Seal the Edges: Gently run your finger or a cuticle pusher along the edges of the tape to ensure it’s completely adhered to the nail surface.
6. Apply Top Coat (Over the Tape): Apply a thin layer of clear top coat over the tape and the exposed nail. This helps to seal the tape and prevent it from snagging later. Let it dry slightly.
7. Remove the Tape: Using your tweezers (or a gentle tug), carefully peel off the tape while the top coat is still a little wet. Peeling while slightly damp helps prevent the tape from taking off any polish. If the tape is stubborn, you can use a fine-grit file to lightly score the edge before peeling.
8. Apply Final Top Coat: Once the tape is removed, apply another layer of top coat over your entire nail. This smooths out any slight imperfections and locks everything in place.
Design 2: The Horizontal Accent Line
This is another minimalist design that can add a sophisticated touch.
1. Prep and Base Coat: Follow steps 1 and 2 from the “Classic Diagonal Stripe” design. Ensure your base color is thoroughly dry.
2. Cut the Tape: Cut a piece of stripe tape to the width of your nail.
3. Apply Horizontally: Carefully place the stripe tape horizontally across your nail, about one-third or halfway down from the cuticle. Press down firmly and smooth out any air bubbles.
4. Seal and Top Coat: Apply a thin layer of top coat over the tape and nail.
5. Remove Tape: Gently peel off the tape while the top coat is still slightly wet.
6. Final Top Coat: Apply a final layer of top coat to seal the design.
Design 3: The Geometric Grid
This design looks complex but is surprisingly easy with stripe tape!
1. Prep and Base Coat: Complete steps 1 and 2 for the “Classic Diagonal Stripe.” Dry completely.
2. First Set of Lines: Apply two pieces of tape horizontally across your nail, spaced evenly apart. You can also add two pieces vertically, creating a grid. Make sure they are pressed down very firmly.
3. Fill the Sections (Optional): If you want a multi-colored grid, you can now paint the different sections created by the tape with different polish colors. Let each color dry completely before proceeding to the next section – this is extra important here. A helpful tip: Use a thin brush dipped in nail polish remover to clean up any polish that might have seeped under the tape edges.
4. Apply Top Coat: Apply a thin layer of top coat over your entire nail, making sure to cover the tape and the painted sections.
5. Remove the Tape: Carefully and slowly peel off all the pieces of tape while the top coat is still slightly wet.
6. Final Top Coat: Apply a final layer of top coat to seal everything.
Design 4: The “Negative Space” Stripe
This modern design plays with showing off your natural nail.
1. Prep Nails: File and push back cuticles as usual. Cleanse with alcohol.
2. Apply One Stripe of Tape: Cut a piece of stripe tape and apply it to your nail. This tape piece will remain there. You can place it anywhere – horizontally, diagonally, or even in a V-shape at the tip. Press down firmly and smooth out all edges.
3. Apply Polish: Paint your nail with your chosen polish color, going over the tape. You can do one coat or multiple coats, depending on opacity.
4. Top Coat Before Removing Tape: Let the polish dry a bit until it’s no longer super wet, but still pliable. Apply a thin layer of top coat over the entire nail.
5. Remove the Tape: While the top coat is still slightly wet, carefully use your tweezers to peel away the stripe tape. This will reveal the “negative space” underneath where the tape was, creating a clean line against your colored polish.
7. Final Top Coat: Apply a final layer of top coat to seal the design and your natural nail.
Pro Tips for Flawless Stripe Tape Manicures
Even the simplest technique benefits from a few tricks! Here are some tips to help you achieve salon-worthy results every time:
Patience is Key: The most important rule for stripe tape designs is to ensure each layer of polish is completely dry before applying the tape. This might mean waiting longer than you’re used to, but it’s essential for clean lines and preventing lifting.
Press Firmly: Once the tape is in place, press down firmly along all its edges to ensure a good seal. Any lifting can lead to polish bleeding underneath.
Tweezers, Tweezers, Tweezers: Invest in a good pair of pointed tweezers. They make picking up, placing, and removing the tape so much easier and more precise. For removal, a good pair can help you get a clean edge.
Cut with Precision: Use sharp scissors or specialized nail art clippers to cut the tape. Dull tools can stretch or snag the tape, making it difficult to apply neatly.
Peel at the Right Time: The best time to remove the tape is when your polish is dry to the touch but still slightly pliable, and the top coat you just applied is still a little wet. This helps the tape release cleanly without pulling up the underlying polish.
Work Against the Grain: When removing the tape, try to peel it back from the edge you just painted or top-coated, rather than pulling it straight up. This reduces the risk of lifting.
Use a “Sticky Dot” Hack: If your tape’s adhesive feels too strong and you’re worried about lifting the base coat, try this trick: press the tape onto your fingertip or the wrong side of your clothes a few times before applying it to your nail. This will slightly reduce its stickiness.
Keep a Clean-Up Brush Handy: A small brush dipped in nail polish remover is invaluable for cleaning up any stray polish or tape messes around your cuticles.
Consider a Gel Top Coat (with caution): For extra durability and a super glossy finish, you can use a gel top coat. However, ensure your base polish is fully cured (if using gel polish) and that the tape is applied perfectly. Some people find that gel top coats can sometimes make the tape adhere too strongly, making removal tricky. If using regular polish, a good quality quick-dry top coat works wonders and is easier to manage.
Creative Stripe Tape Design Inspirations
Once you get the hang of the basics, you can really let your creativity shine! Here are some ideas to spark your imagination:
Color Blocking: Use tape to section off parts of your nail and paint each section a different color. You can play with contrasting colors or a harmonious palette.
French Tip Variations: Instead of a white curve, use stripe tape to create sharp, geometric French tips in metallic colors or bold hues.
Stiletto Stripes: Apply tape vertically or diagonally on stiletto-shaped nails for a dramatic, elongating effect.
Minimalist Accents: A single thin stripe near the cuticle or along the side of the nail can add a subtle, sophisticated touch.
Negative Space Designs: Combine stripe tape with geometric shapes, leaving some areas of the nail bare. This looks super modern and chic.
Layered Stripes: Apply one set of horizontal stripes, let dry, then apply another set of vertical stripes over them to create a grid.
All-Over Patterns: Cover your entire nail with a pattern of taped-off sections and different polish colors for a bold, statement look.
Combining with Other Art: Use stripe tape as a base for other nail art. For instance, apply tape for a clean line, paint another color above it, and then add small dots or rhinestones along the tape line.
Resources for Nail Health & Care
While we’re focused on designs, remembering nail health is always important! A strong, healthy nail bed provides the best canvas for any nail art.
National Institutes of Health (NIH) – Nail Health: The NIH offers insights into the biology and common conditions affecting nails, which can help you understand how to keep them healthy. https://www.nih.gov/ (Search for “nail health” on their site for relevant articles.)
American Academy of Dermatology (AAD) – Nail Care: The AAD provides expert advice on how to properly care for your nails, including tips on preventing damage and recognizing problems. https://www.aad.org/ (Search for “nail care”.)
Taking care of your nails ensures they are strong and look their best for any design you choose.
Frequently Asked Questions About Stripe Tape Nail Designs
Q1: What kind of polish works best with stripe tape?
A1: Both regular nail polish and gel polish can work. The key is that the polish must be completely dry and cured before you apply the tape. Regular polish needs ample drying time, while gel polish needs to be fully cured under a UV/LED lamp.
Q2: My stripe tape is lifting my nail polish when I remove it. What am I doing wrong?
A2: This is a common issue! It usually means your base polish wasn’t fully dry, or you waited too long to remove the tape. Try removing the tape when the top coat is still slightly wet. Also, ensure you’re pressing the tape down very firmly to create a good seal. Gently scoring the edge of the tape with a fine file before peeling can also help.
Q3: Can I reuse stripe tape?
A3: No, stripe tape is designed for single use. Once removed from the nail, it loses its adhesive quality and often stretches or tears, making it unsuitable for reuse.
Q4: What’s the best way to cut stripe tape?
A4: Use sharp scissors or small, dedicated nail art clippers. Dull tools can snag and stretch the tape. Cut your desired length before you peel it from the backing paper.
Q5: How do I get super fine lines?
A5: Use the thinnest available tape (0.5mm or 0.8mm). Apply it carefully and press down firmly. For an even finer line, you can try applying a thin coat of a contrasting color over the tape and then removing the tape. Alternatively, a very fine nail art brush dipped in polish can achieve a similar effect, but tape offers more precision for beginners.
Q6: Can I use stripe tape with glitter polish?
A6: Yes, but glitter polish can be tricky. The glitter particles can make it hard to get a smooth, even surface for the tape to adhere to. If you’re using glitter as a base, let it dry completely and potentially add a smooth, clear top coat over it first to create a flatter surface before applying the tape.
Q7: How do I get stripe tape to stick to my curved nails?
A7: Pressing the tape firmly along the edges is crucial. If you have very curved nails, you might need to cut the tape into smaller sections or use a flexible tape product specifically designed for nail art. Applying a bit of pressure with a dotting tool or orange stick along the edges can also help mold it to the curve.
Conclusion
See? Mastering stripe tape nail designs is totally achievable for anyone! With a little patience and the right technique, you can transform your nails into mini works of art. From subtle accents to bold geometric statements, the possibilities are endless. Remember to let your polish dry completely, press that tape down firmly, and use your tweezers and scissors with care.
This guide has given you the tools, the steps, and the inspiration to start creating your own stunning stripe tape manicures. Don’t be afraid to experiment with different colors, widths, and patterns.


