Strawberry nail designs are a delightful and surprisingly simple way to add a pop of fun and fruity flair to your manicure. With a few basic tools and techniques, even beginners can create adorable strawberry-themed nails that are sure to get compliments!
Hey there, nail lovers! Lisa Drew from Nailerguy here. Are you ready to add some sweetness to your fingertips? Strawberry nail designs are one of the cutest trends out there, and the best part? They’re totally doable, even if you’re new to nail art. Say goodbye to boring nails and hello to a fun, fruity manicure that’s as easy as pie (or should I say, as easy as strawberry picking!). We’ll walk through everything you need to know to create these adorable designs yourself, making your nails the freshest on the block. Get ready to unleash your inner artist and have a fantastic time transforming your nails!
What You’ll Need to Get Started
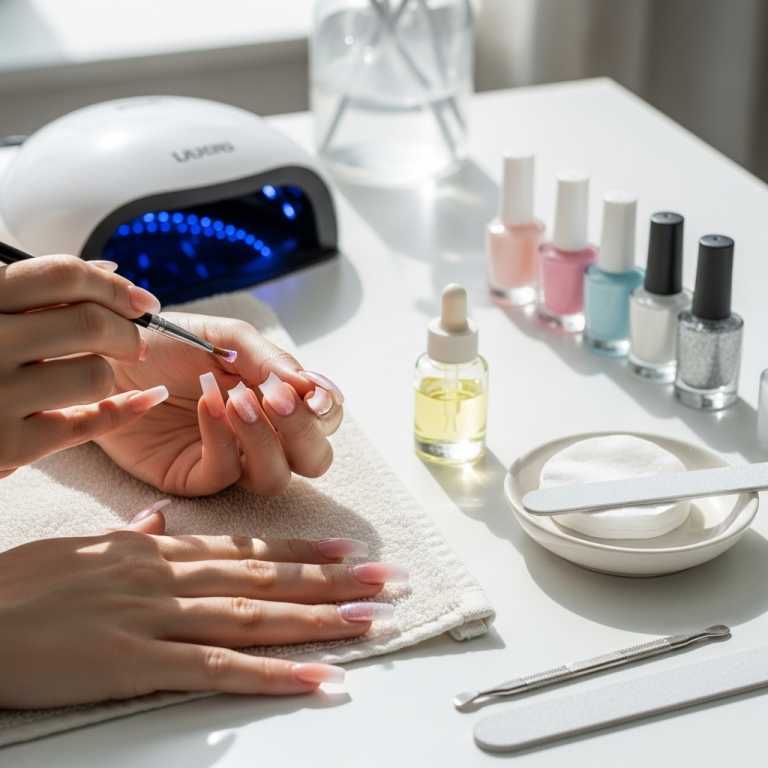
Before we dive into the fun part, let’s gather our strawberry-picking essentials. You don’t need a whole professional salon setup to achieve amazing strawberry nails. Most of these items are likely already in your nail polish collection, or they’re super easy to find!
Essential Nail Polish Colors
Red: This is your main berry color. A classic, bright red is perfect for the strawberry body.
Green: You’ll need a vibrant green for the leaves and stems.
White or Off-White: Great for adding highlights or creating simple dots for seeds.
Black or Dark Brown: Optional, but useful for fine details, outlines, or even subtle dotting for seeds.
Base Coat: Crucial for protecting your natural nails and helping your polish last longer.
Top Coat: This seals your design, adds shine, and prevents chips.
Helpful Tools for Strawberry Perfection
Thin Nail Art Brush (or a Toothpick): For drawing the green leaves and any outlining. A toothpick can work in a pinch for small details!
Dotting Tool: Perfect for creating those tiny, cute strawberry seeds. If you don’t have one, the ball end of a bobby pin or even a fine-tipped pen can work.
Sponge (Optional): A makeup sponge can be used for a gradient effect if you want to get fancy, but it’s not necessary for simple strawberry designs.
Nail Polish Remover and Cotton Swabs: For cleaning up any little mistakes. We all make them!
Nail Prep Basics
File and Shape: Make sure your nails are filed to your desired shape and length.
Clean Nails: Ensure your nails are clean and free of any old polish or oils. A quick swipe with nail polish remover can help.
Cuticle Care (Optional but Recommended): Gently push back your cuticles. Healthy cuticles make for a beautiful canvas!
Easy Strawberry Nail Design #1: The Classic Berry
This is the quintessential strawberry look – simple, sweet, and instantly recognizable. It’s perfect for beginners and looks fantastic on any nail length.
Step-by-Step Guide
1. Apply Base Coat: Start with a thin layer of your clear base coat. Let it dry completely. This is your nail’s protective shield!
2. Paint Reds: Apply two thin coats of your chosen red nail polish. Let each coat dry thoroughly. Patience is key for a smooth finish.
3. Create the Strawberry Shape: This is where the fun begins! With your thin nail art brush or a toothpick, dip it into your red polish. On each nail, paint a slightly rounded, upside-down triangle shape. Think of the natural shape of a strawberry. You can make them as prominent or as subtle as you like. Some people prefer to paint the whole nail red and add a little green tip, while others paint individual strawberries. For this classic design, let’s focus on painting the whole nail red and adding details.
4. Add the Green Top (Calyx): Using your green nail polish and the thin brush/toothpick, carefully paint a small cluster of leaves at the top of each red nail. This represents the strawberry’s cap. You can do three or four little pointy leaf shapes coming from the base of the nail.
5. Dot the Seeds: Now for the seeds! Grab your dotting tool (or toothpick/bobby pin end) and dip it into your white or brown polish. Place small dots all over the red part of your “strawberry” nails. Be creative with the spacing – they don’t need to be perfectly uniform!
6. Outline (Optional): If you want your strawberries to really pop, use a very fine brush and black or dark brown polish to add a thin outline around the red shape and the green leaves. This adds definition.
7. Apply Top Coat: Once everything is completely dry, seal your masterpiece with a generous layer of top coat. This protects your design and gives it a beautiful, glossy finish.
Tips for This Design
Vary the Red: Try using a slightly different shade of red on a few nails for added interest.
Asymmetrical Leaves: Don’t worry about making the green leaves perfectly symmetrical. Real strawberries have irregular leaves, so a little asymmetry looks natural!
Seed Placement: If dotting tools seem tricky, try using the tip of your polish brush to make tiny dots.
Easy Strawberry Nail Design #2: Strawberry Dots and Dashes
This design is super minimal and chic. It’s perfect for those who love a subtle nod to the strawberry trend without going full-on fruit.
Step-by-Step Guide
1. Base Coat: Apply your base coat and let it dry.
2. Color Choice: Paint your nails with a sheer nude, a soft pink, or even a crisp white polish. These lighter colors make the strawberry details stand out beautifully. Apply one or two coats as needed for opacity.
3. The Strawberry Dash: Using a thin nail art brush and your bright red polish, paint a single, slightly curved line about halfway down each nail. This line should be thin and represent the curve of a strawberry.
4. The Tiny Stem: With your green polish and the same thin brush, add a tiny little green “dash” or a very small leaf shape just above the red line, at the top edge of the nail.
5. Subtle Seeds: Using your dotting tool and white polish, add a few very small, sparse dots around the red dash. You don’t need a lot – just a hint to suggest seeds.
6. Top Coat Magic: Finish with your favorite top coat for shine and protection.
Tips for This Design
Accent Nail: Try this design on just one or two accent nails and keep the rest of your nails a solid color.
Color Blocks: For a bolder look, try painting the bottom half of your nail red, the top half green, and then adding the dots.
Matte Finish: This design looks especially chic with a matte top coat!
Easy Strawberry Nail Design #3: French Tip Strawberries
Give the classic French manicure a fruity twist! This is a stylish and sophisticated way to rock the strawberry theme.
Step-by-Step Guide
1. Base Coat and Nude Polish: Apply your base coat, then a sheer pink or nude polish for your base color. Let it dry completely.
2. The Red Tip: Now, instead of white, use your red polish and a thin brush to create a French tip. Follow the natural curve of your nail tip, painting a solid red line.
3. Add the Green Leaves: Carefully paint a small cluster of green leaves at the “corners” where the red tip meets the nude part of your nail. Think of them as peeking out from your tips.
4. Tiny Red Seed Dots: With a dotting tool and red polish, add a few small dots within the red tip area. This mimics the seeds in a strawberry slice. You can also use white or even a darker red for contrast.
5. Optional Outline: For extra definition, you can outline the red tips and green leaves with a fine black or dark brown brush.
6. Seal with Top Coat: Finish with a clear top coat.
Tips for This Design
Reverse French: Try a reverse French by painting the red tip at the cuticle line and the green leaves there, leaving the rest of your nail clear or nude.
Half-Moon Shape: Instead of a straight tip, try a rounded half-moon shape with your red polish for a softer look.
Glitter Tip: For a glam twist, use a red glitter polish for the French tip!
Easy Strawberry Nail Design #4: Full Strawberry Accent Nail
This design is all about making one nail the star of the show! It’s a bit more detailed but still super achievable.
Step-by-Step Guide
1. Base Coat: Apply your base coat.
2. Solid Red Nail: Paint your chosen accent nail a solid, vibrant red. Apply two coats for full coverage.
3. Paint the Calyx: Once the red is dry, use a medium-sized round brush or a striper brush with green polish. Paint a domed shape at the base of the nail (your cuticle area) to represent the strawberry’s leafy cap. You can create a slightly jagged edge to mimic leaves. For a more realistic look, consider using a darker green for shading or a lighter green for highlights within the leaves.
4. Add the Seeds: Using a fine-tipped toothpick or a dotting tool and white or yellow polish, carefully place small dots all over the red area of the nail. Don’t overcrowd them; aim for a natural scattering.
5. Highlight and Shadow (Optional): For a bit of dimension, you can take a tiny bit of white polish on a very fine brush and add a small speck of highlight near the top curve of the strawberry. Likewise, a touch of brown or a darker red polish in a few strategic spots can add depth.
6. Outline (Optional): A thin, dark outline can really make the strawberry pop. Use a black fine liner brush with extreme care.
7. Top Coat: Apply a generous layer of top coat to set everything.
Tips for This Design
Practice on Paper: Before trying this on your nail, practice painting the leaf shape and dots on a piece of paper with your polish.
Smaller is Easier: Start with smaller strawberries and fewer details if you’re feeling unsure.
Different Seed Colors: Try using a mix of white, yellow, or even light pink dots for seeds for a more textured look.
Strawberry Nail Art Tips for Beginners
Even the simplest designs can have a few tricks up their sleeve to make them look extra pro. Here are some tips to elevate your strawberry nail game.
Mastering the Details
Thin is In: Always use thin coats of polish. Thick coats take longer to dry and are more prone to smudging.
Clean Up Like a Pro: Keep nail polish remover and a clean-up brush (a small, flat brush dipped in remover) handy. Wipe away any wobbles or accidental smudges immediately. This makes a HUGE difference!
Work Slowly: There’s no rush! Take your time with each step, especially when drawing details.
Let it Dry: This is the most important rule of nail art. Ensure each layer of polish is completely dry before moving to the next. If you’re impatient, try a quick-dry top coat or a nail drying spray. You can also try the cold water trick (submerging your nails in a bowl of cold water for a few minutes) to help speed up the drying process, though this is more effective when the polish is mostly set.
Nail Health for the Best Canvas
Having healthy nails makes any nail art look better. For strong, beautiful nails that are ready for any design, consider these practices:
Moisturize: Use cuticle oil and hand cream regularly. Healthy cuticles and skin frame your nails perfectly.
Avoid Harsh Chemicals: Wear gloves when doing chores.
Hydration is Key: Drink plenty of water! It helps keep your nails strong from the inside out.
Consider a Nail Strengthener: If your nails are prone to breaking, a good nail strengthener can be a lifesaver. You can find some excellent ones at your local drugstore, like OPI Nail Envy or Essie’s Millionails. For government-recommended advice on nail health, the NHS website offers great insights into common nail issues and prevention.
Fun Variations to Try
Once you’ve mastered the basics, get creative!
Strawberry Gradient: Use a sponge to create a gradient from pink to red on your nails before adding green leaves and dots.
Strawberry Accents: Paint a few small strawberries in the corner of an otherwise solid-colored nail.
3D Strawberries: For the truly adventurous, try using acrylic or 3D gel to sculpt tiny strawberries on your nails! This is more advanced but looks incredible.
Combine with Other Fruits: Why stop at strawberries? Create a whole fruit salad on your nails!
| Design Style | Difficulty Level | Time Commitment | Best For |
|---|---|---|---|
| Classic Berry | Beginner | 15-30 minutes | Everyday wear, noticeable fruity theme |
| Dots and Dashes | Super Beginner | 10-20 minutes | Subtle trend, minimalist chic |
| French Tip Strawberries | Beginner-Intermediate | 20-35 minutes | Sophisticated take, elegant twist |
| Full Strawberry Accent | Intermediate | 25-45 minutes | Statement nail, detailed art |
Maintaining Your Strawberry Manicure
Keeping your adorable strawberry nails looking fresh is all about a little TLC.
Reapply Top Coat: Every 2-3 days, add another thin layer of top coat. This is the secret to making your manicure last.
Be Gentle: Try to avoid using your nails as tools (e.g., scraping, prying).
Moisturize! Keep those hands and cuticles hydrated. Dry skin around the nails can make even the best designs look less polished.
Frequently Asked Questions About Strawberry Nails
| Question | Answer |
|---|---|
| What colors are best for strawberry nails? | A bright, true red is ideal for the strawberry body. A vibrant green is perfect for the leaves. White, off-white, or even a light yellow can be used for seeds, and black or dark brown for optional outlines. |
| Can I do strawberry nails with short nails? | Absolutely! Strawberry designs look charming on short nails. You might need to adjust the size of your red “berry” shape and the number of dots, but the style is very adaptable. French tip and dots-and-dashes styles are particularly great for shorter lengths. |
| How long do nail designs typically last? | With a good base coat, quality polish, careful application, and regular top coat touch-ups, most nail designs can last 5-7 days, sometimes even longer, without chipping. |
| What if I’m not good at painting small details? | Don’t worry! You can use toothpicks, the tip of a ballpoint pen (cleaned thoroughly!), or even small nail art stickers for details like seeds and leaves. Simple dotting is also very forgiving. Practice on paper first can help build confidence. |
| Can I use gel polish for strawberry nails? | Yes, you can! Gel polish offers longer wear and a super-hard finish, which is great for detailed nail art. You’ll need
|

