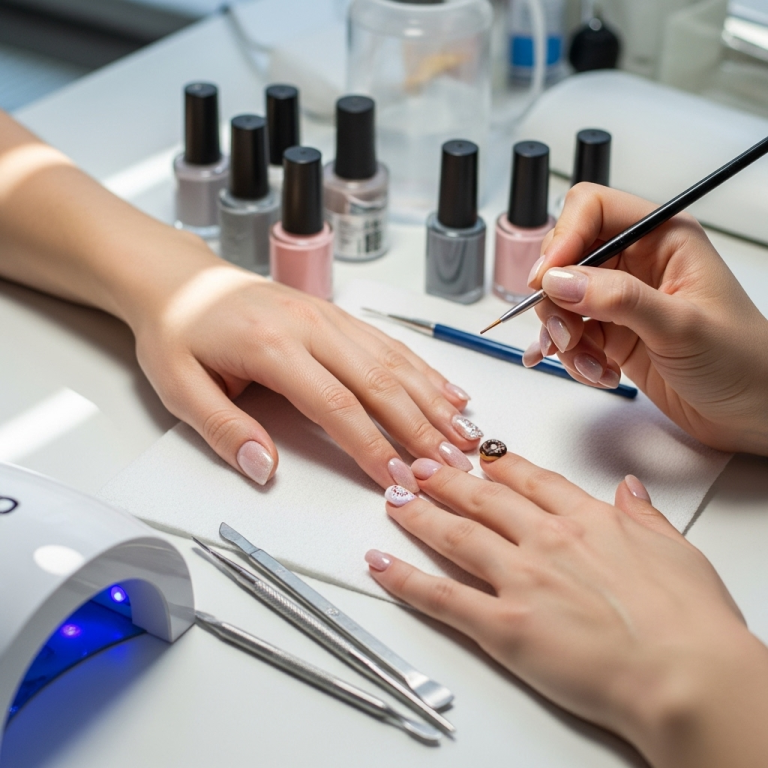
Strawberry nail designs are a super cute and fun way to add a pop of summer sweetness to your manicure. Whether you love simple dotted strawberries or intricate fruit art, you can totally rock this trend at home! Get ready for easy tips and trendy ideas perfect for beginners.
Thinking about adding a playful touch to your nails? Strawberry nail designs are bursting onto the scene, and for good reason! They’re adorable, cheerful, and surprisingly easy to create. But if you’re new to nail art, the idea of drawing tiny fruit might seem a little daunting. Don’t you worry! We’re here to break it all down, from the simplest dots to trendy interpretations. You’ll be painting delightful strawberries on your fingertips in no time, adding a sweet flair to your everyday style.
Your Ultimate Guide to Strawberry Nail Designs: Tips, Tricks & Trends
Hey nail lovers! It’s Lisa Drew from Nailerguy, and I am so excited to dive into one of the sweetest nail trends out there: strawberry nail designs! These little bursts of fruity fun are perfect for spring and summer, but honestly, who says you can’t have a little sweetness all year round? Whether you’re a total beginner looking for your first nail art project or you’re a seasoned pro wanting fresh ideas, this guide is for you. We’ll cover everything from essential tools to the latest trends, making sure your strawberry nails are absolutely berry-licious!
Strawberry Nail Designs: Why They’re So Sweet
Strawberry nails have this magical ability to instantly brighten your mood and your look. They’re playful, vibrant, and have a universally loved charm. From the classic red and black dot combination to more abstract interpretations, there’s a strawberry nail design to fit every personality and occasion. Plus, they’re incredibly versatile – think delicate accents, full nail art, or even just a single statement nail.
Essential Tools for Berry-Good Nails
Before we get our art on, let’s gather our supplies. You don’t need a whole salon’s worth of gadgets to create amazing strawberry nails. Here are a few key items that will make your DIY nail art journey much smoother:
- Base Coat: Essential for protecting your natural nails and making your polish last longer.
- Top Coat: Seals in your design and adds a glossy finish.
- Red Nail Polish: Your primary strawberry color!
- White or Cream Nail Polish: For those cute seed dots.
- Black or Dark Brown Nail Polish: For the tiny seeds and details.
- Green Nail Polish: For the stems and leaves.
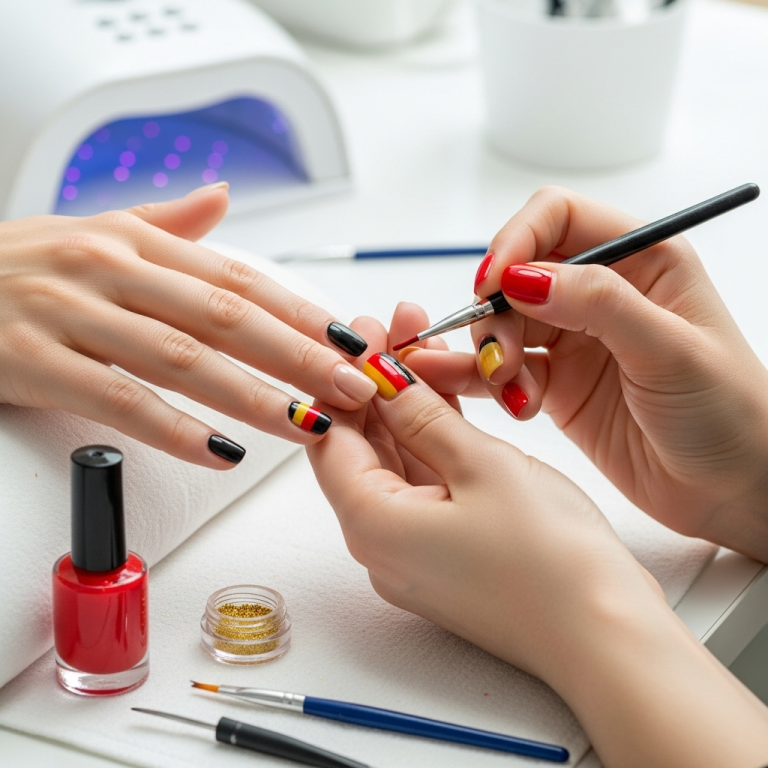
- Dotting Tools: These are your best friend for creating those perfect little seeds and details. They come in various sizes. You can find a great set on Amazon if you need to stock up!
- Thin Nail Art Brush: For drawing stems, leaves, and any fine lines.
- Toothpick or Nail Art Pen: A handy alternative if you don’t have dotting tools.
- Nail Polish Remover & Cotton Swabs: For cleaning up any little mistakes.
Beginner-Friendly Strawberry Nail Designs: Step-by-Step
Ready to paint? Let’s start with some super easy designs perfect for beginners!
1. The Classic Strawberry Dot Mani
This is the simplest and most iconic strawberry nail design. It’s all about those cute little dots!
- Prep Your Nails: Start with clean, dry nails. Apply a base coat and let it dry completely.
- Color Foundation: Apply one or two coats of your favorite red nail polish. Let it dry thoroughly. This is your strawberry canvas!
- Dotting Time: Dip a dotting tool (or the tip of a toothpick) into white or cream polish. Gently place small dots all over your red nails to resemble strawberry seeds. Don’t worry about perfection; real strawberries have uneven seeds!
- Add a Touch of Green: With a thin brush or a toothpick, add a tiny dash of green polish at the top of one edge of each “strawberry” for the stem.
- Seal the Deal: Once everything is dry, apply a clear top coat to protect your artwork and add shine.
2. The Strawberry French Tip
A fun twist on the classic French manicure!
- Prep and Base: Apply base coat, then paint your nails in a sheer nude or a soft pink polish. Let it dry.
- Strawberry Tips: Using a thin brush, carefully paint a curved line of red polish across the tip of each nail, just like you would for a French tip.
- Seed Details: While the red is still wet (or after it dries, if you prefer), use a dotting tool with white polish to add tiny seed marks onto the red tips.
- Stem Accent: Add a small green dot or line at the base of the red tip on one or two nails for a hint of a stem.
- Top Coat: Finish with a clear top coat.
3. Simple Strawberry Accent Nail
Perfect for when you want just a hint of strawberry sweetness.
- Pick Your Nail: Choose one accent nail (like your ring finger) for the strawberry design.
- Base Color: Paint all your nails your desired base color – maybe a soft pink, white, or even a pale green.
- Strawberry Shape: On your accent nail, use a fine brush to paint a simple, slightly oval red shape. You can also paint the whole nail red and then use white/cream polish to add seeds.
- Seeds and Stem: Add white or cream dots for seeds and a small green stem at the top.
- Finish: Apply top coat to all nails.
Level Up Your Strawberry Designs: Trendy Ideas
Once you’ve mastered the basics, why not explore some popular strawberry nail trends?
1. Strawberry Milk Nails
This trend is all about soft, milky, almost pastel shades with subtle strawberry elements. Think a pale pink or milky white base with delicate white seeddots and maybe a tiny, abstract strawberry shape on one nail.
2. Strawberry Glitter Accents
Add some sparkle! You can use a red glitter polish over your red base, or apply a clear glitter topcoat. For extra flair, add a few small red or pink rhinestones to mimic strawberry seeds or dew drops.
3. Strawberry French Tips with a Twist
Instead of just red tips, try layering! Paint your tips red, add seed dots, and then create a fine green line separating the red tip from the base color, mimicking the top of the strawberry.
4. All-Over Strawberry Pattern
This is for the bold! Use a stencil or freehand to create tiny repeating strawberry patterns all over your nails. This can be time-consuming but looks stunning.
5. Negative Space Strawberries
This modern take involves leaving parts of your natural nail visible. You can paint a strawberry shape and leave the “seed” areas clear, or paint a french tip where the tip is a strawberry shape with negative space. This is a chic and artistic way to wear the trend.
6. Gradient Strawberry Nails
Start with a deep red at the base of your nail and fade into a lighter pink or white towards the tip. Then, add your strawberry seed dots and green stems. This creates a beautiful ombre effect.
Quick Tips for Flawless Strawberry Nails
Here are some pro secrets to make your strawberry nails look polished and professional, even if you’re just starting out:
- Patience is Key: Let each layer of polish dry completely before adding the next. This prevents smudging and makes the process much easier.
- Less is More with Polish: Don’t overload your brush or dotting tool. A little polish goes a long way for those tiny details.
- Clean Up As You Go: Dip a small brush or cotton swab in nail polish remover to clean up any stray marks around your nail bed or cuticle. It makes a huge difference!
- Use a Good Base and Top Coat: I can’t stress this enough! They protect your nails and make your beautiful designs last.
- Experiment with Tools: If dotting tools feel tricky, try using the tip of a straightened paperclip or even the rounded end of a bobby pin for dots.
- Consider Nail Shape and Length: Strawberry designs look fabulous on all nail shapes and lengths, from short and practical to long and dramatic.
Strawberry Nail Trends Compared
Let’s quickly look at how some of these trends stack up for ease and impact.
| Design Trend | Beginner Friendly? | Visual Impact | Time Investment |
|---|---|---|---|
| Classic Strawberry Dot Mani | Yes, very! | Sweet & Subtle | Low |
| Strawberry French Tip | Yes, with practice | Chic & Playful | Medium |
| Strawberry Milk Nails | Yes | Soft & Dreamy | Low |
| All-Over Strawberry Pattern | No, requires skill | Bold & Statement | High |
| Negative Space Strawberries | Medium, requires precision | Modern & Artistic | Medium |
Maintaining Your Strawberry Manicure
To keep your strawberry nails looking fresh and fabulous:
- Reapply Top Coat: Every 2-3 days, add another layer of top coat to boost shine and chip resistance.
- Moisturize: Keep your cuticles and hands hydrated with cuticle oil and hand cream. Healthy nails hold polish better!
- Be Gentle: Avoid using your nails as tools. This can chip your polish and damage your nail art.
The Science of Nail Polish Longevity
Did you know that nail polish adheres best to a clean, dry, and smooth nail surface? The oils on your nail bed can interfere with adhesion. That’s why starting with a clean nail and a good base coat is crucial. A quality top coat, like those with UV protection, also helps prevent fading and chipping, keeping your beautiful strawberry designs intact for longer. For more on nail health and polish science, organizations like the U.S. Food & Drug Administration (FDA) offer valuable information on cosmetic safety and ingredients.
FAQ: Your Strawberry Nail Questions Answered
Q1: What colors do I need for strawberry nails?
You’ll primarily need red for the fruit, white or cream for the seeds, and green for the stem and leaves. A good base coat and a shiny top coat are also essential!
Q2: Can I do strawberry nails if I have short nails?
Absolutely! Strawberry designs look adorable on short nails. The dotting method is especially easy and looks great on any length.
Q3: How long does strawberry nail art usually last?
With a good base coat, careful application, and regular top coat touch-ups, your strawberry nails can last anywhere from 5-7 days, sometimes even longer!
Q4: What if I’m bad at drawing? Can I still do strawberry nails?
Yes! Using dotting tools for the seeds is super easy, and you can paint simple stem shapes with a small brush or even a toothpick. There are also nail stickers and water decals if you want a no-paint option.
Q5: How do I make my strawberry polish dots look like real seeds?
Don’t aim for perfect circles! Real strawberry seeds are small, varied, and irregular. Mix up the size and placement of your white/cream dots slightly for a more natural look.
Q6: Can I combine strawberry nails with other nail art?
Of course! You can pair strawberry accent nails with a simple pastel solid color, a glitter accent nail beside it, or even a subtle floral design on other fingers.
Conclusion: Get Your Berry On!
And there you have it! Strawberry nail designs are a delightful way to express your style and add a touch of fun to your look. From the simplest dots to trendy new interpretations, there’s a strawberry design for everyone, no matter your skill level. Remember to have fun with it, experiment with colors and techniques, and don’t be afraid to let your creativity shine. Grab those polishes, a dotting tool, and get ready to enjoy the sweetest manicure trend!

