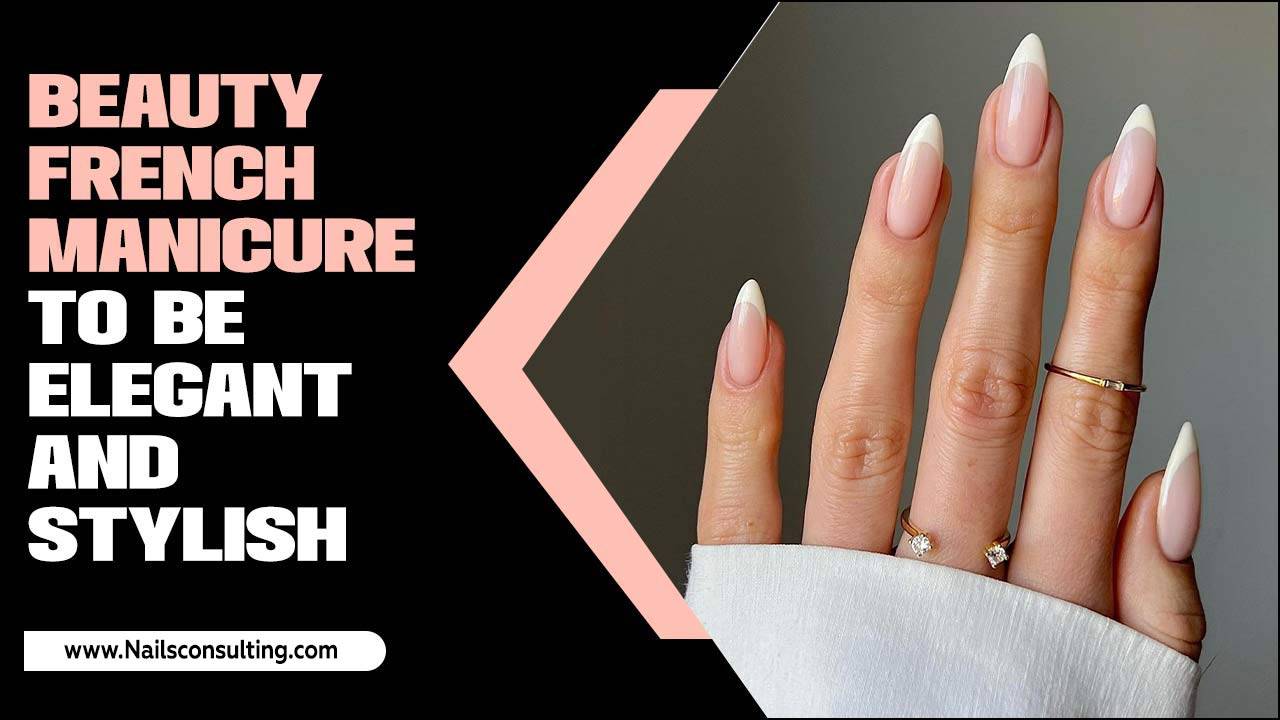
Stiletto pink nails offer a chic, elongating look that’s surprisingly easy to achieve, adding a touch of playful elegance to any outfit. This guide breaks down how to select the perfect shade, shape your nails into the iconic stiletto, and apply pink polish for a flawless, confidence-boosting manicure.
Dreaming of nails that are both sophisticated and fun? Stiletto pink nails are the answer! They give your hands a beautifully long and elegant look, and the pop of pink adds a playful touch. Many people think achieving this trendy style is complicated, but I’m here to show you how simple it can be. With a few easy steps, you can get gorgeous, stiletto pink nails right at home, no matter your skill level. Ready to transform your nails into a stylish statement? Let’s dive in!
Why Stiletto Pink Nails are a Must-Have
Stiletto pink nails are more than just a trend; they’re a confidence booster and a versatile style choice. The sharp, pointed shape of the stiletto nail is incredibly flattering, creating an illusion of longer, slimmer fingers. Pink, in its many beautiful shades, is universally appealing – from soft pastels to vibrant fuchsias. This combination offers endless possibilities for expressing your personality, whether you’re going for a demure, feminine look or a bold, eye-catching statement. They’re perfect for any occasion, from a casual day out to a special event, making them a truly effortless way to elevate your beauty game.
The appeal of stiletto pink nails lies in their unique ability to blend sophistication with a hint of playful charm. The stiletto shape, with its natural elongation, creates a visually striking effect that can make hands appear more slender and graceful. This dramatic silhouette pairs wonderfully with the universally loved color pink. Whether you prefer a subtle baby pink for a soft, romantic vibe or a bold hot pink to make a statement, this manicure screams confidence and style. It’s a look that’s feminine without being fussy, and chic without being unapproachable. For anyone looking to step up their nail game with an easy yet impactful design, stiletto pink nails are an absolute winner. They’re adaptable to any personal style and suitable for almost any event, proving that effortless beauty is achievable for everyone.
Choosing Your Perfect Pink Shade
The world of pink is vast and beautiful! Selecting the right shade is the first step to rocking your stiletto pink nails. Think about your skin tone and the overall vibe you’re going for. Here’s a little guide:
- Pastel Pink: Soft, delicate, and oh-so-dreamy. These shades, like baby pink or blush, are perfect for a subtle, elegant look and complement fair to medium skin tones beautifully. They evoke a classic femininity.
- Classic Pink: Think bubblegum or rose pink. These are cheerful and vibrant, working well with a wide range of skin tones. They offer a fun, flirty feel without being overpowering.
- Hot Pink/Fuchsia: Bold, bright, and impossible to ignore! These electric shades are fantastic for making a statement and look stunning on deeper skin tones, but anyone can pull them off with confidence. They exude energy and fun.
- Nude Pink: Your nails but better! This sophisticated shade offers a clean, polished look that elongates the fingers even further. It’s a timeless choice for any occasion and suits virtually all skin tones.
Consider the season too! Lighter pinks feel fresh for spring and summer, while deeper, mauvy pinks can be gorgeous for fall and winter. Don’t be afraid to grab a few shades and see what makes your heart sing!
Understanding the Stiletto Nail Shape
The stiletto nail is characterized by its long, tapered sides that meet at a sharp, pointed tip. It’s a dramatic shape that draws attention and elongates the fingers. While naturally very long, this shape can be achieved with both natural nails and acrylics or gel extensions. The key is the gradual arch and the sharp, defined point.
There are a few variations to consider:
- Classic Stiletto: The traditional sharp point.
- Almond Stiletto: A slightly softer, blunter point than the classic stiletto, often considered more practical for everyday wear.
- like the stilettos you see on runways. For a more wearable style, aiming for a slightly rounded point (similar to an almond shape) can be more practical.
It’s crucial to remember that the stiletto shape requires a certain length to be truly effective. If you have naturally short or brittle nails, achieving a true stiletto shape might be challenging without extensions. However, you can create a similar visual effect with clever filing and polish techniques on shorter lengths, focusing on bringing the sides in towards a defined tip.
Essential Tools and Supplies
To create your stiletto pink nails, you’ll need a few basic tools. Many of these are staples for any home manicure, but having them handy will make the process smooth and successful.
For Shaping:
- Nail File: A medium-grit file (around 180-240 grit) is ideal for shaping natural nails without causing damage. A coarser grit can be used for artificial nails.
- Nail Clippers: For trimming excess length before filing.
- Buffer Block: To smooth the nail surface and remove ridges.
For Polishing:
- Base Coat: Protects your natural nails and helps polish adhere better.
- Pink Nail Polish: Your chosen shade!
- Top Coat: Seals the polish, adds shine, and prevents chipping.
- Cuticle Oil: To nourish your cuticles after the manicure.
- Lint-free Wipes or Cotton Pads: For cleaning nails.
- Nail Polish Remover: For any mistakes or cleanup.
Optional (for extensions/enhancements):
- Nail Glue: If you’re using nail tips.
- Artificial Nail Tips: Pre-shaped stiletto tips.
- Acrylic/Gel System: If you’re skilled in applying these enhancements.
Having these tools ready will ensure you have everything you need for a professional-looking stiletto pink nail application.
Step-by-Step Guide to Stiletto Pink Nails
Let’s get those fabulous stiletto pink nails ready! Follow these simple steps for a salon-worthy look at home.
Step 1: Prepare Your Nails
Start with clean, dry nails. Remove any old polish with a good nail polish remover. Gently push back your cuticles using an orangewood stick or a cuticle pusher. Avoid cutting them aggressively, as this can lead to infection. If your nails are uneven or you want to shorten them, use your clippers to trim them down to your desired starting length – remember, stilettos look best with some length!
Step 2: Shape Your Stilettos
This is where the magic happens! Take your nail file and begin to shape each nail. Imagine a gentle curve from the side wall of your nail leading to a central point. File from the side towards the center, using long, smooth strokes. Don’t saw back and forth, as this can weaken the nail. Gradually bring both sides inward until you achieve a sharp, graceful point. If you’re aiming for a stiletto-almond blend, make the point slightly less sharp. Aim for symmetry between all your nails. It’s better to file a little at a time and check your progress.
To achieve the stiletto shape:
- Start with nails that have at least a quarter-inch of free edge (the part of your nail that extends past your fingertip).
- Using a medium-grit file, begin filing the sides of the nail. Angle the file inwards, creating a gradual slope from the widest part of your nail towards the center tip.
- Use light pressure and make smooth, consistent strokes. Work on one side, then the other, gradually refining the point.
- Periodically check the symmetry and ensure both sides meet at the desired sharpness.
- Once you have the basic shape, gently buff the surface of the nail to smooth out any ridges and create a good base for polish. For a stronger, more uniform shape, consider using nail tips or a gel/acrylic overlay, which can provide more structure for the stiletto form. Reputable sources like the Professional Nail Technicians Guild offer extensive guides on safe filing techniques.
Step 3: Apply Base Coat
Apply one thin layer of clear base coat to each nail. This protects your natural nail from staining from the colored polish and provides a smooth surface for the polish to adhere to, helping it last longer. Let it dry completely.
Step 3: Apply Your Pink Polish
Now for the fun part! Apply your chosen pink nail polish. Start with a thin coat, painting from the base of the nail to the tip. Avoid going too close to the cuticle to prevent flooding. Let this coat dry for a minute or two before applying a second, slightly thicker coat for full opacity. Most polishes require two coats to achieve a rich, even color. Ensure each coat is applied smoothly and evenly.
Step 4: Perfect the Edges
Once your polish is almost dry, take a small brush (an old, clean makeup brush works great or a specialized cleanup brush) dipped in nail polish remover. Carefully trace around your cuticles and along the sidewalls of your nails. This cleans up any stray polish and gives your manicure a super neat, professional finish. Dip your brush in remover frequently.
Step 5: Add Shine with Top Coat
Once your pink polish is completely dry, apply a generous layer of top coat. Make sure to cap off the free edge by running the brush horizontally along the very tip of your nail. This helps prevent chipping and adds a beautiful high-gloss shine. Let your nails dry thoroughly – this can take 15-30 minutes for a hard dry. You can speed this up with quick-dry drops or by using a fan.
Step 6: Final Touches
Once your nails are dry to the touch, gently massage a bit of cuticle oil around your lower nail area. This rehydrates your skin and makes your manicure look even more polished and cared for. Plus, it feels amazing!
Tips for Long-Lasting Stiletto Pink Nails
Want your gorgeous stiletto pink nails to last as long as possible? Here are some pro tips to keep them looking fabulous:
- Re-cap the Tip Daily: Each morning, swipe your top coat over the edge (free edge) of your nails. This simple step seals the polish and prevents chipping, especially on the sharp stiletto point.
- Wear Gloves: When doing chores like washing dishes, cleaning with harsh chemicals, or gardening, always wear gloves. Water and chemicals are the biggest enemies of nail polish.
- Avoid Using Nails as Tools: Resist the urge to open cans, scrape stickers, or type aggressively with your nail tips. This will inevitably lead to chips or breaks.
- Gentle Filing: If you notice a small snag or chip, don’t just ignore it. Gently file it smooth. A small repair is better than letting a chip ruin your whole nail.
- Hydrate, Hydrate, Hydrate: Keep your hands and cuticles moisturized with lotion and cuticle oil. Healthy nails and skin mean polish is less likely to peel or lift.
- Speed Dry Products: Invest in a quick-dry top coat or quick-dry drops. These can significantly reduce drying time and the risk of smudging.
Stiletto Pink Nail Variations and Embellishments
Once you’ve mastered the basic stiletto pink nail, you can have a ton of fun experimenting with variations and embellishments! The stiletto shape itself is a statement, but a little extra flair can take it to the next level.
Ombre Pink Stilettos
Create a beautiful gradient effect by blending two shades of pink, or even pink with white or nude. This adds depth and sophistication.
Glitter Pink Stilettos
Add a touch of sparkle! You can go for a full glitter polish, apply glitter only to the tips (like a glitter French manicure), or sprinkle fine glitter over a wet coat of polish for a subtle shimmer. A glitter Ombre is also stunning!
French Tip Stilettos
A classic with a twist! Instead of a white tip, try a contrasting pink, a metallic shade, or even a french tip in a darker pink. This looks incredibly chic and elongates the nail even further.
Accent Nail Magic
Keep most nails a solid pink but decorate one or two accent nails. This could be with rhinestones, 3D nail art charms, delicate hand-painted designs (like flowers or geometric patterns), or a completely different color or finish like chrome.
Matte Finish
Switch up the shine! A matte top coat can give your pink stilettos a velvety, sophisticated look that’s incredibly chic and modern.
Adding Length with Tips or Extensions
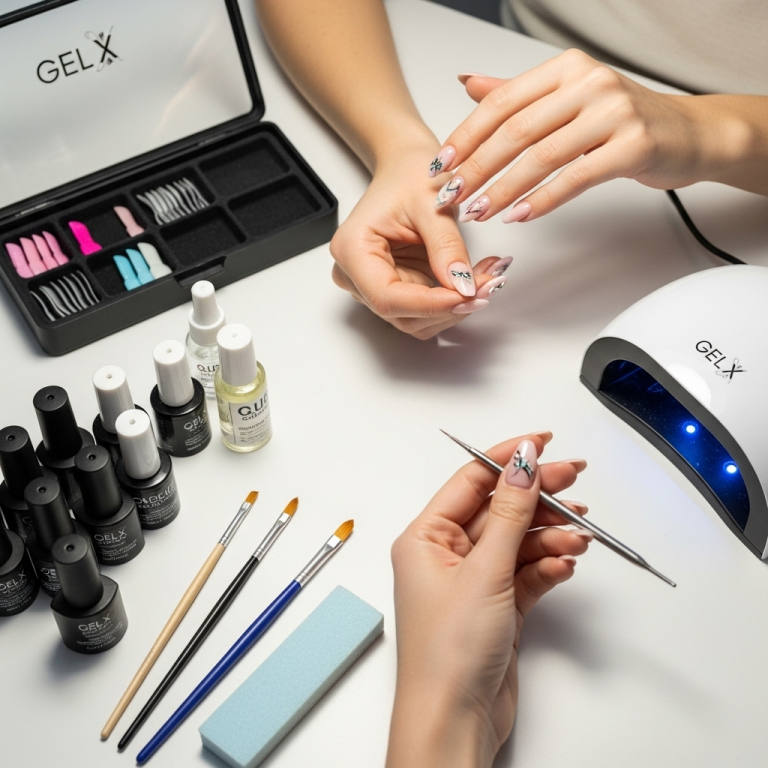
For those who want maximum length and the perfect stiletto point, consider using artificial nail tips or getting gel or acrylic extensions. This provides a sturdy base to sculpt the sharp stiletto shape. Many salons offer these services, or you can find DIY kits for at-home application, though these require practice. Reputable sources on artificial nail applications can guide you on best practices and safety, such as those found on the National Library of Medicine database regarding potential health considerations.
Marble Pink Stilettos
Achieve a luxurious marble effect using different shades of pink and white. This intricate look is surprisingly achievable with a bit of practice and the right tools.
Remember, the stiletto shape is quite dramatic, so even simple embellishments can have a big impact. Have fun experimenting and finding what you love!
Common Stiletto Pink Nail FAQs
Q1: Can I achieve stiletto pink nails if I have weak or short nails?
A: It can be challenging to achieve the classic stiletto shape with very short or weak natural nails, as it requires significant length. However, you can create a similar visual effect by filing the sides of your nails to come to a gentle point while maintaining a practical length. For dramatic length and the sharpest point, consider using artificial nail tips or gel/acrylic enhancements designed for the stiletto shape.
Q2: How do I prevent my stiletto nails from breaking?
A: Stilettos can be prone to breaking due to their sharp tips. Always ensure your nails are well-filed and that the polish is fully dry. Wearing gloves for household chores is crucial. Avoid using your nails as tools, and keep your nails and the surrounding skin hydrated with cuticle oil and hand lotion to maintain flexibility and strength.
Q3: My stiletto tips are too sharp and catch on things. What can I do?
A: If your tips feel too sharp for comfort or function, you can gently file them down to a slightly softer point. An “almond stiletto” is a popular variation that offers a less extreme, more wearable point while still retaining the elongating effect. Use your best judgment and file until the point feels comfortable for your lifestyle.
Q4: What pink shades look best for stiletto nails?
A: The beauty of pink is its versatility! Pastel pinks offer a soft, elegant look, while hot pinks and fuchsias make a bold statement. Nude pinks are sophisticated and subtly elongating. Ultimately, the best shade is one that you love and feel confident wearing, and that complements your skin tone.
Q5: How often should I reapply top coat to my stiletto pink nails?
A: To maintain shine and prevent chipping, it’s recommended to reapply your top coat every 2-3 days, or whenever you feel the shine is diminishing. Don’t forget to cap the free edge (the tip of the nail) with each application for maximum durability.
Q6: Is it hard to apply pink polish on stiletto nails?
A: Applying polish to stilettos is much like any other nail shape, but the long, tapered sides require a bit more careful strokes. Ensure your brush is not overloaded. Start from the base, use smooth strokes towards the tip, and clean up any mistakes with a cleanup brush for crisp lines. Practice makes perfect!
Table: Stiletto Pink Nail Pros and Cons
To help you decide if stiletto pink nails are your next perfect manicure, consider these points:
| Pros | Cons |
|---|---|
| Elongating & Flattering: Visually slenderizes fingers and hands. | Prone to Breaking: The sharp tip can be fragile and catch on things. |
| Chic & Trendy: A stylish, modern nail shape that’s always
|

