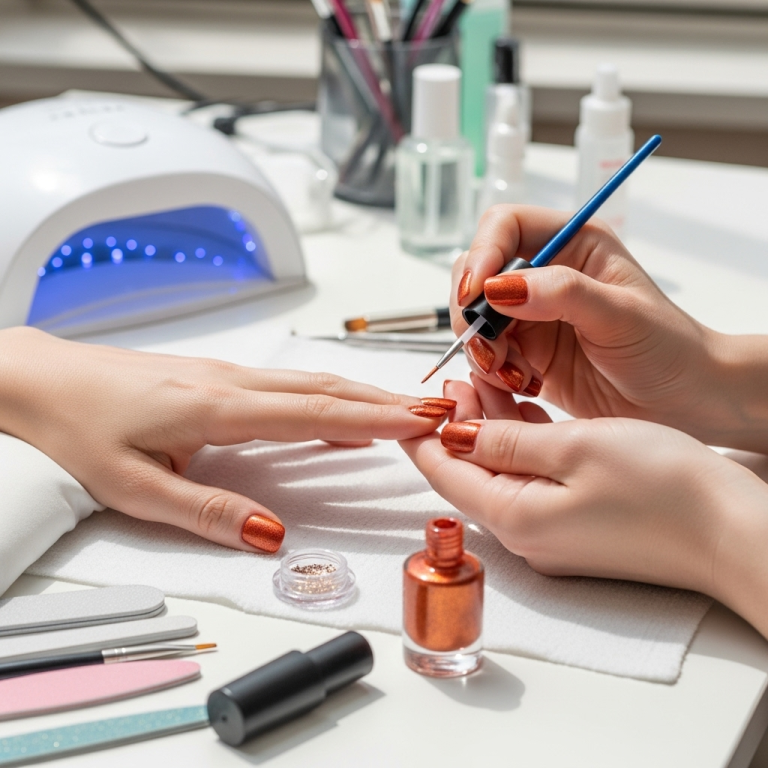
Stiletto nude nails offer a sophisticated, flattering look that elongates fingers and pairs with everything. Discover easy, essential designs perfect for beginners, from minimalist chic to subtle sparkle. Learn how to achieve this elegant style with simple tips and genius ideas to boost your confidence and personal style!
Hello, nail lovers! Are you ready to elevate your nail game with a look that’s both chic and incredibly versatile? Today, we’re diving into the world of stiletto nude nails. This iconic shape and color combination is a total game-changer, making your fingers look longer and more graceful. But what exactly are stiletto nude nails, and how do you get them looking runway-ready without a pricey salon trip? If you’ve ever felt a little lost in the world of nail shapes or thought “nude” was just one boring color, you’re in the right place! We’re going to break it all down, from understanding the shape to simple, genius designs that are perfect for beginners. Get ready to feel inspired and empowered to create your own stunning manicure!
What Are Stiletto Nude Nails?
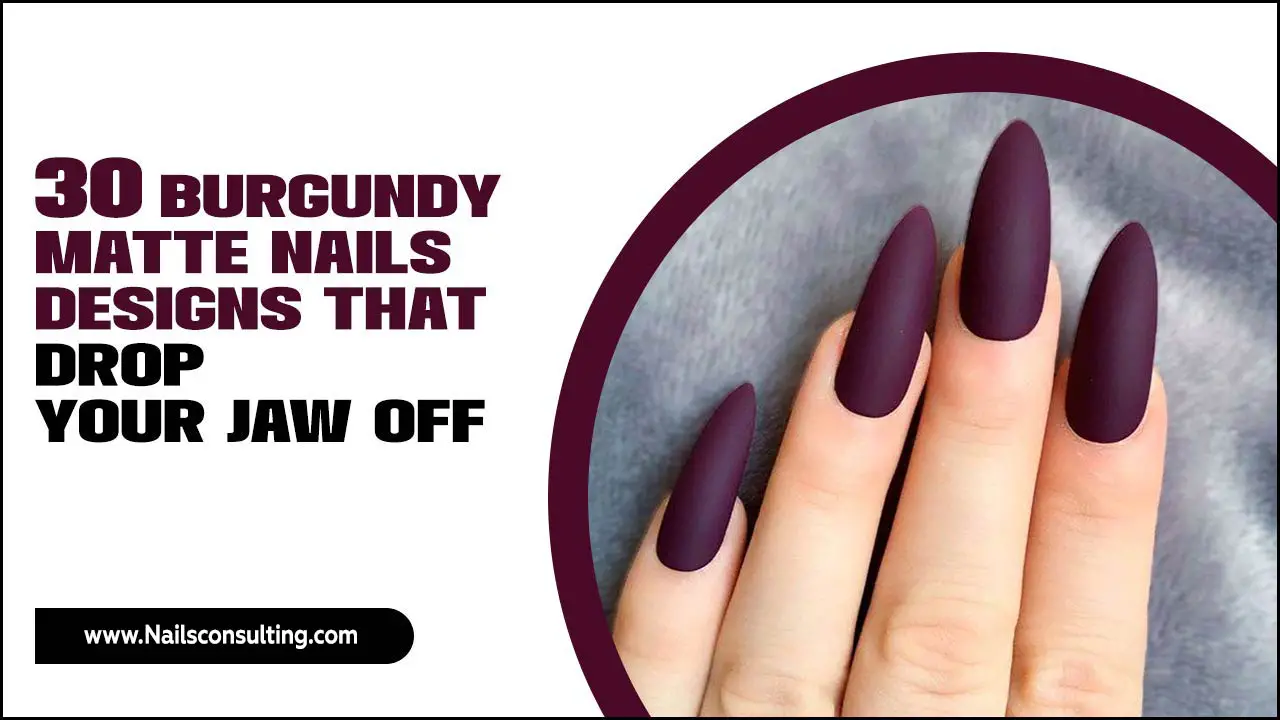
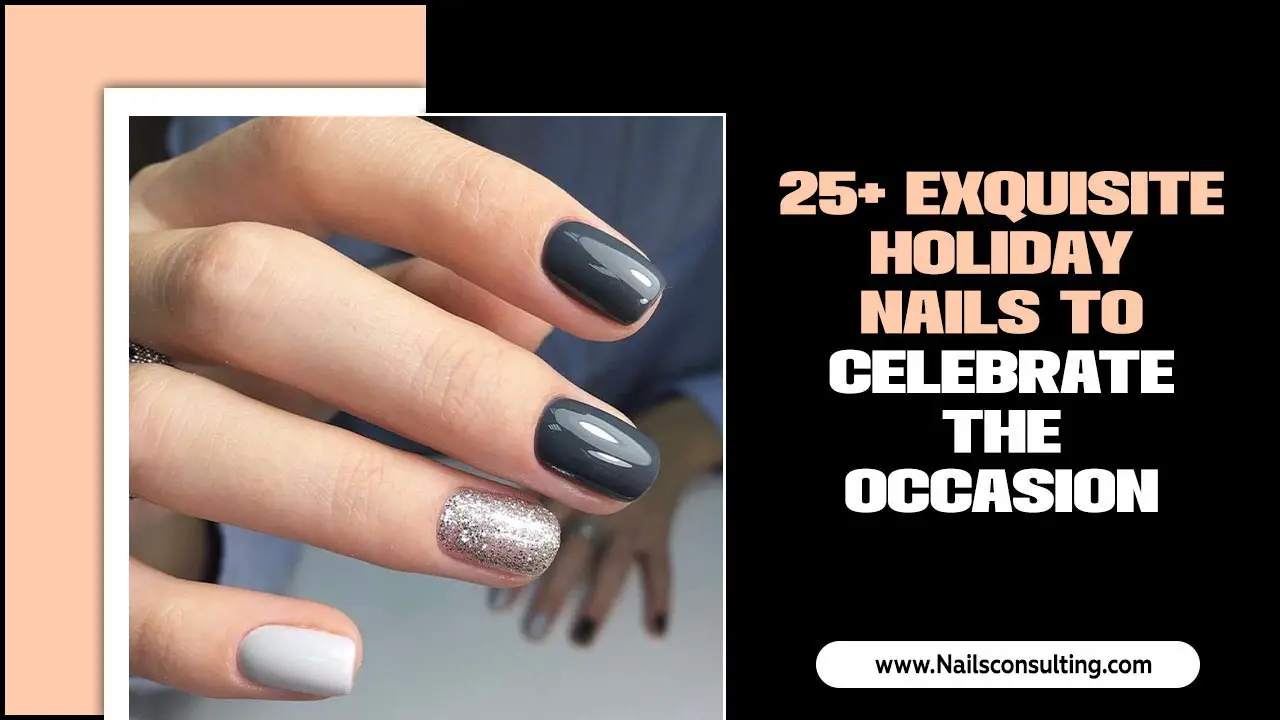
Let’s start with the basics. Stiletto nails are characterized by their long, pointed shape, resembling a stiletto heel. They dramatically taper to a sharp, but not necessarily sharp-edged, point. “Nude” in nail terms is a broad spectrum of neutral colors that mimic the natural skin tone. Think soft beiges, creamy ivories, warm caramels, muted pinks, and even subtle taupes. When you combine the elegant stiletto shape with a flattering nude shade, you get stiletto nude nails – a look that’s universally flattering, sophisticated, and incredibly adaptable. It’s like a little black dress for your fingertips!
Why Choose Stiletto Nude Nails?
This style isn’t just a trend; it’s a staple for so many reasons:
Universally Flattering: Nude shades are chosen to complement your individual skin tone, creating a seamless, elongating effect.
Chic & Sophisticated: The stiletto shape inherently brings an air of elegance and high fashion.
Super Versatile: Nude nails go with absolutely everything. Seriously, everything. From casual jeans to formal evening wear, they are the perfect finishing touch.
Lengthens Fingers: The sharp, tapered shape visually elongates the fingers, creating a slender and graceful appearance.
Minimalist Appeal: They offer a clean, polished look that’s both understated and impactful.
Understanding Stiletto Nails: The Shape Explained
Before we get to the dazzling designs, it’s essential to understand the stiletto shape itself. It’s all about creating that dramatic taper.
The Anatomy of a Stiletto Nail
The stiletto nail starts with a natural or artificial nail bed that is gradually filed down on the sides, creating a sharp point at the tip. The length can vary, but true stilettos are typically medium to long. The key is the aggressive inward filing from the sides of the nail towards the center tip.
Is the Stiletto Shape Right for You?
While stilettos are gorgeous, they require a bit of commitment. Here’s a quick rundown:
Pros: Creates a dramatic, eye-catching look; elongates fingers; offers a sophisticated silhouette.
Cons: Can be prone to breaking if too long or not properly cared for; may take some getting used to for daily activities; requires regular filing to maintain shape.
Choosing Your Perfect Nude Shade
The beauty of “nude” is its diversity! The key is finding a shade that best complements your undertones.
Matching Nude to Your Skin Tone
Fair Skin with Cool Undertones (Pink/Blue): Look for pale pinks, soft creams, and light beiges with a cool undertone. Avoid shades that are too yellow or orange, as they can look stark.
Fair Skin with Warm Undertones (Yellow/Peach): Opt for peachy nudes, light caramels, and warm ivories.
Medium Skin with Neutral Undertones: You have a lot of flexibility! Milky pinks, creamy tans, and soft taupes will look beautiful.
Medium Skin with Warm Undertones: Rich caramels, warm beiges, and honey tones will be stunning.
Deep Skin with Cool Undertones: Consider mauves, deep rose nudes, and rich berry-toned nudes.
Deep Skin with Warm Undertones: Deep chocolates, rich caramels, and warm terracotta nudes will be incredibly flattering.
Pro Tip: If you’re unsure, a good starting point is a shade that’s one to two shades lighter than your natural skin tone for a seamless look, or a shade slightly darker for a bolder contrast.
Genius Stiletto Nude Nail Designs for Beginners
Ready to get creative? These designs are simple, elegant, and perfect for mastering the stiletto nude nail look. We’ll keep it easy so you can feel confident trying them at home!
1. The Classic Monochromatic Magic
This is the queen of understated elegance. A single, perfectly applied nude polish in your chosen shade.
Why it works for beginners: It’s all about technique and precision. Once you nail the application, it looks incredibly professional.
How to achieve it:
1. Prep: Ensure your nails are clean, shaped, and buffed smooth. Apply a good quality base coat.
2. Apply Nude Polish: Carefully apply 2-3 thin coats of your chosen nude polish, allowing each coat to dry fully between applications. Work from the cuticle to the free edge.
3. Clean Up: Use a small brush dipped in nail polish remover to clean up any wiggles around the cuticle and sidewalls. This makes a HUGE difference!
4. Top Coat: Finish with a glossy, chip-resistant top coat.
2. Subtle French Fade (Ombre)
A modern twist on the classic French manicure. Instead of a stark white tip, we’re using a soft, blended transition from nude to a lighter shade or sheer white.
Why it works for beginners: The blending hides imperfections and looks effortlessly chic.
How to achieve it (using a makeup sponge):
1. Base: Apply your nude polish as your base color and let it dry completely.
2. Sponge Prep: Take a makeup sponge and apply a small amount of sheer pink or white polish to one edge.
3. Dab: Gently dab the sponge along the tip of your stiletto nail, focusing the color on the very edge and blending downwards slightly.
4. Repeat & Blend: Repeat dabbing until you achieve your desired gradient. You might need to reapply polish to the sponge as you go.
5. Clean Up: Carefully clean up any smudges.
6. Seal: Apply a generous layer of top coat to smooth out the texture from the sponge and seal the design.
3. The Minimalist Accent Nail
Keep most nails classic nude and add a simple, tasteful detail to one or two nails.
Why it works for beginners: You practice the basic nude application on most nails, and the accent nail is a simple addition.
Design Ideas for Accent Nails:
A Single Stripe: A thin vertical or horizontal line of metallic gold, silver, or rose gold polish down the center or off to the side. Use a striping brush or nail art tape.
Tiny Dot: A single, small dot of glitter polish or metallic color placed strategically near the cuticle or at the tip.
Geometric Shape: A simple triangle or square outline at the base of the nail using fine line tape and a contrasting polish.
4. Sheer Nude with a Touch of Sparkle
A sheer nude polish offers a polished, “your nails but better” look. Adding a hint of glitter elevates it without being overwhelming.
Why it works for beginners: Sheer polishes are more forgiving with application. The glitter adds fun without complexity.
How to achieve it:
1. Apply Sheer Nude: Apply 2-3 coats of your chosen sheer nude polish.
2. Add Sparkle: While the last coat is still slightly wet, very carefully place a few tiny specks of fine glitter polish or loose cosmetic glitter near the cuticle or along the free edge. Alternatively, apply a clear coat and then sprinkle glitter onto it, tapping off the excess.
3. Seal: Cap with a thick, glossy top coat to embed the glitter and create a smooth finish.
5. Half-Moon Nude with a Contrast Tip
This design uses negative space and a contrasting color for a modern, geometric look.
Why it works for beginners: It uses simple lines and shapes that are easy to achieve with nail art tape.
How to achieve it:
1. Base Coat: Apply your nude polish and let it dry completely.
2. Tape Application: Decide where you want your “half-moon” or accent shape. Typically, this is a curve at the base of the nail or a sharp line across the middle. Apply nail art tape precisely.
3. Apply Contrast Color: Paint the section of the nail above the tape with your chosen contrasting color (e.g., white, black, metallic).
4. Remove Tape: Carefully remove the tape while the new polish is still slightly wet to avoid peeling.
5. Clean Up & Top Coat: Clean up any bleeding and apply a top coat.
Essential Tools for DIY Stiletto Nude Nails
You don’t need a professional salon to achieve salon-quality nails. Here are some essential tools that will make your DIY experience smoother and more successful:
| Tool Name | Purpose | Beginner Tip |
| :—————– | :————————————————————– | :————————————————————————— |
| Nail File | Shaping and refining the stiletto point. | Use a medium-grit file (180-220 grit) for shaping natural nails, finer for refining. |
| Nail Buffer | Smooths out ridges and preps the nail surface for polish. | A 4-way buffer block is versatile and easy to use. |
| Cuticle Pusher | Gently pushes back the cuticle for a cleaner nail appearance. | Don’t force it; push gently after applying cuticle remover. |
| Nail Polish Remover | Correcting mistakes and cleaning up edges. | Non-acetone remover is gentler on the nail and surrounding skin. |
| Small Detail Brush | For precise clean-up around the cuticle and sidewalls. | A clean, fine-tipped makeup brush or a dedicated nail art brush works well. |
| Top Coat | Seals the polish, adds shine, and prevents chipping. | Look for a quick-dry or gel-like top coat for longevity and gloss. |
| Base Coat | Protects natural nails from staining and helps polish adhere. | Essential for any manicure, especially with darker or vibrant colors. |
| Nail Art Tape/Stencils | For creating clean lines and geometric designs. | Apply firmly to the nail surface to prevent polish from seeping underneath. |
| Small Makeup Sponge | For creating ombre or gradient effects seamlessly. | A dense sponge will give a more controlled application. |
Files and Grit Explained
When it comes to nail files, the grit number matters. Grit refers to the coarseness of the abrasive material.
Lower Grit Numbers (e.g., 80-120): Coarse and used for shaping artificial nails or significantly shortening nails. Too rough for natural nails.
Medium Grit Numbers (e.g., 180-240): Ideal for shaping natural nails and refining edges without causing damage. This is what you’ll likely use most for stiletto shaping.
Higher Grit Numbers (e.g., 400+): Very fine and used for smoothing, buffing, and adding shine to the natural nail.
For shaping natural nails into a stiletto, start with a 180-grit file to establish the shape, then refine with a 240-grit to ensure smooth sides.
A great resource for understanding nail health and care, including the importance of proper filing, can be found at the American Academy of Dermatology’s section on nail problems.
Step-by-Step Guide: Shaping Your Stiletto Nails at Home
Achieving the perfect stiletto shape at home takes a little practice, but it’s totally doable!
Tools You’ll Need:
Nail clippers (optional, if nails are very long)
Medium-grit nail file (180-240 grit)
Fine-grit nail file or buffer
Cuticle pusher
Nail polish remover
Cotton pads or balls
The Process:
1. Start with Clean Nails: Remove any old polish. Wash your hands and push back your cuticles gently.
2. Trim (If Necessary): If your nails are very long, you might want to trim them down slightly to make shaping more manageable. Aim for a uniform length across all nails.
3. Establish the Center Point: Mentally or lightly mark a center point at the tip of your nail. This is where the sides will meet.
4. File the Sides: Holding your file at an angle, begin filing the sides of your nail inward towards the center point you envisioned. Work from the edge of your nail bed towards the tip. Crucial Tip: File in one direction only, not back and forth, to avoid weakening the nail.
5. Shape the Tip: Continue filing from each side until they meet at the center point, creating a sharp peak. You can make this point sharper or slightly more rounded, depending on your preference.
6. Refine the Shape: Once you have the basic stiletto shape, use a finer grit file or buffer to smooth out any rough edges and perfect the point. Ensure both sides are symmetrical.
7. Smooth and Buff: Gently buff the surface of your natural nail to create a smooth canvas for polish.
8. Clean Up Polish: Apply your base coat, color, and top coat as usual, using a detail brush and remover for any polish that gets on the skin.
Remember, patience is key! Your first few attempts might not be perfect, but with practice, you’ll get the hang of it.
Elevating Your Nude Stilettos: Beyond Basic
Once you’ve mastered the shape and the monochromatic look, you can start experimenting with simple enhancements.
Adding a Touch of Glamour
Micro-Glitter Accents: Instead of a full glitter nail, try a fine glitter polish just on the very tip for a “glitter fade” within the nude.
Metallic Foil Accents: Apply a small piece of metallic foil tape across the nail or diagonally for a modern shimmer.
Subtle Chrome Dust: A light dusting of nude or rose gold chrome powder over a nude base can add a sophisticated sheen that’s stunning in any light.
Playing with Textures
Matte Finish: Swap your glossy top coat for a matte one! This instantly changes the feel of nude stilettos, making them more edgy and modern.
Velvet Nail Powder: After applying your nude color and a special magnetic top coat, use the velvet powder to create a plush, suede-like texture.
Combining Forces: Nude Stilettos with Other Colors
Nude & White: Crisp white accents – a thin stripe, a tiny geometric shape, or a delicate French tip – pair beautifully with nude.
Nude & Gold/Rose Gold: These metallic shades are natural companions for nude, adding a touch of luxury.
* Nude & Black: For a bolder contrast, black accents can provide a striking graphic element.
Frequently Asked Questions About Stiletto Nude Nails
What is the best nude shade for my skin tone?
The best nude shade is one that complements your undertones. For cool undertones (pink/blue), opt for nude with pinkish or grayish hues. For warm undertones (yellow/peach), choose nudes with beige, caramel, or peachy tones. If you have deep skin, rich chocolates and warm caramels work beautifully. It’s often about finding a shade that is one or two tones lighter or darker than your natural skin for a flattering effect.
Are stiletto nails bad for my natural nails?
Any nail shape can be detrimental if filed too aggressively or if nails are consistently being hit or snagged. Stiletto nails, due to their pointed nature and often longer length, can be more prone to breakage if not cared for properly or if made too sharp. However, when shaped gently and carefully, and especially when using artificial nail enhancements like gel or acrylics, they can be worn safely. Always use a good base coat and top coat to protect your natural nails.
How do I prevent my stiletto nails from breaking?
To prevent breakage, ensure you file your nails from cuticle to tip in one direction, avoiding sawing motions. Keep them moisturized with cuticle oil. Avoid using your nails as tools for prying or scraping. If you wear them very long, consider gel or acrylic overlays for added strength. For DIY shaping, start with a shape that is comfortable for your lifestyle.
Can I achieve the stiletto shape with short nails?
The classic stiletto shape is most dramatic and easiest to achieve on medium to long nails because there needs to be enough length

