Stiletto leopard print nails are a fierce, fashionable choice that blends the dramatic shape of stilettos with the wild allure of leopard spots. Mastering this trend is easier than you think, and this guide will show you how to achieve salon-worthy results at home, turning heads with your bold new manicure.
Hey, nail lovers! Are you ready to unleash your wild side? Stiletto heels are iconic, and leopard print is a timeless classic. Put them together on your nails, and what do you get? Pure, unadulterated fabulousness! If you’ve admired those fierce stiletto leopard print nails but thought they were too complicated to try yourself, I’m here to tell you that’s not the case. Getting this chic look is totally achievable, and it’s more fun than you can imagine. We’ll walk through everything, from choosing your colors to shaping those perfect stilettos and painting on those wild spots. Get ready to transform your nails into a statement piece that screams confidence and style. Let’s dive in and create some runway-ready leopard nails!
The Allure of Stiletto Leopard Print Nails
Why are stiletto leopard print nails such a sensation? It’s a potent combination of form and flair. The stiletto shape itself is inherently dramatic, elongating the fingers and exuding a sense of power and sophistication. Think fierce catwalker, think confident diva. Then, layer on the iconic leopard print – a pattern that’s been a symbol of boldness and a touch of primal energy for decades. It’s a print that never truly goes out of style, continuously reinvented across fashion runways and street style alike.
When these two elements unite, they create a manicure that’s not just a beauty accessory, but a declaration. It’s for the person who isn’t afraid to stand out, who embraces their daring side, and who loves to make a statement with every detail. Whether you prefer a classic black and brown leopard print or a more contemporary take with vibrant colors, stiletto leopard print nails offer an incredible canvas for self-expression. They’re perfect for a night out, a special event, or simply for adding a jolt of glamour to your everyday look. The drama of the shape and the boldness of the print work in perfect harmony to create a truly unforgettable nail design.
Essential Tools and Materials for Your Stiletto Leopard Nails
Before we get our paws on the polish, let’s gather our arsenal. Having the right tools makes the whole process smoother, especially for beginners. Don’t worry if you don’t have everything at once; many of these are staples for any nail art enthusiast!
Here’s what you’ll need:
- Nail File: A good quality nail file (180-240 grit is ideal for shaping natural nails or acrylics) is crucial for achieving that signature stiletto point.
- Nail Clippers: For trimming excess length before shaping.
- Base Coat: To protect your natural nails and help polish adhere.
- Top Coat: For shine and protection, making your design last longer.
- Nail Polish Colors:
- Base color: The main color for your nails (e.g., cream, white, beige, pink, or even black for a bold look).
- Leopard print colors: Typically brown and black for classic spots, but you can experiment with other hues like pink, teal, or gold!
- Detail Nail Art Brushes: A fine-tipped brush is essential for painting the leopard spots. A set with various tip sizes can be helpful.
- Dotting Tool: For creating smaller, perfectly round spots or accentuating the leopard print.
- Cuticle Oil: To keep your nail beds hydrated and looking polished.
- Nail Polish Remover & Cotton Pads: For cleanups and mistakes.
- Optional: Nail Glue & Tips (if using press-ons or extensions): To help achieve the stiletto shape if your natural nails aren’t long enough.
- Optional: Acrylic or Gel Kit: If you’re going for a more permanent stiletto shape.
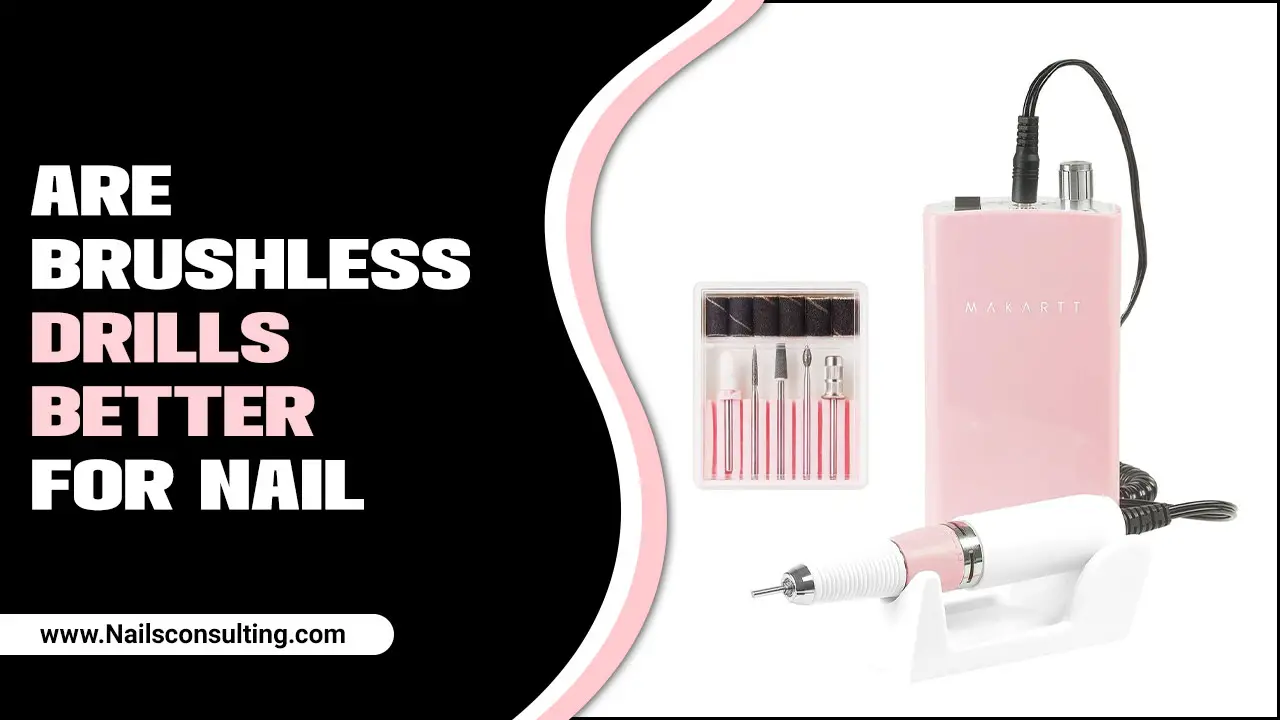
Choosing the right nail file is key. For shaping natural nails, a medium-grit file (around 180-240 grit) is best. You can find excellent options from brands like Sally Hansen or Tweezerman, which are reputable for their quality and durability.
Achieving the Perfect Stiletto Shape
The stiletto shape is all about creating a dramatic, pointed tip that gradually tapers. It’s striking and elongates the fingers beautifully. Here’s how to get there:
- Prep Your Nails: Start with clean, dry nails. Push back your cuticles gently and trim any excess. Ensure there’s no old polish or oils on the nail surface.
- Trim to Length: If your nails are long, trim them down a bit so you have a manageable length to shape.
- Define the Center Apex: Imagine a straight line running down the center of your nail from the cuticle to the free edge. This will be your guide.
- File One Side: Take your nail file and begin filing from the side of the nail base towards the center point at the tip. Keep the file moving in one direction to avoid weakening the nail.
- File the Other Side: Repeat the process on the other side, filing towards the same center point. Use gentle, even strokes.
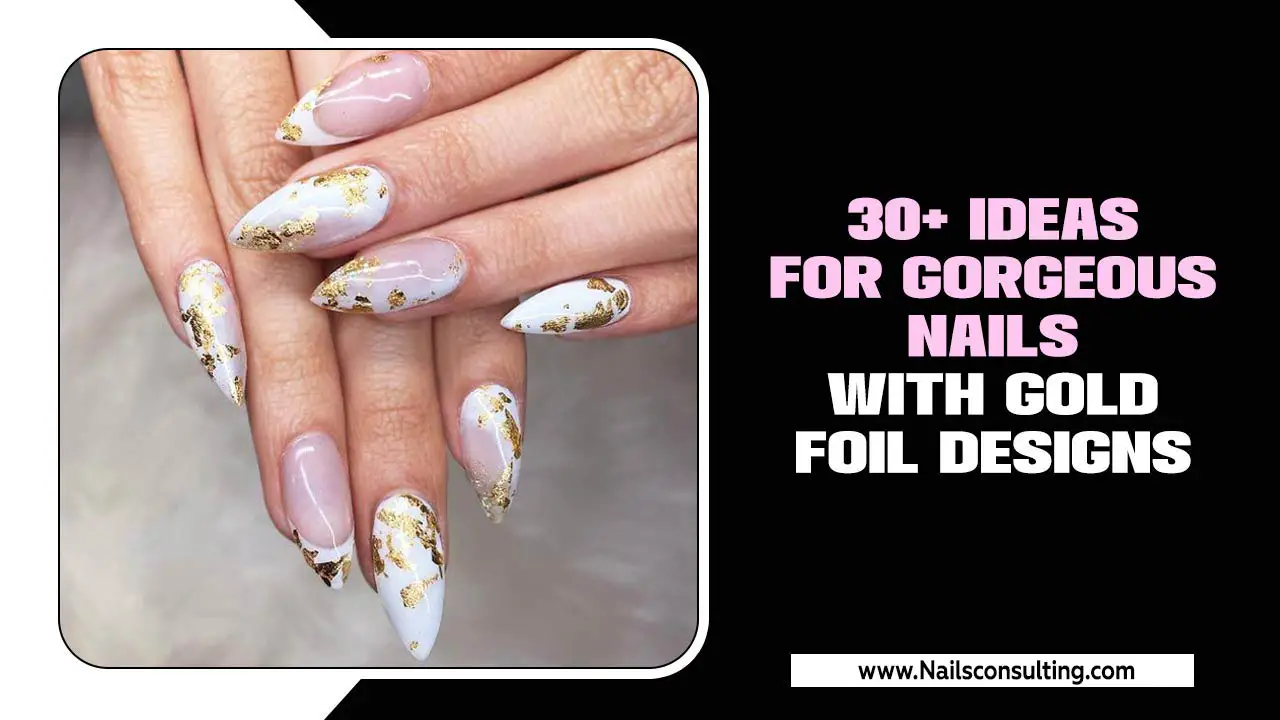
- Create the Point: Continue filing until the two sides meet at a sharp, defined point at the tip of your nail. Don’t make the point too fine, or it might break easily. Aim for a sharp but sturdy tip.
- Refine and Smooth: Once you have the basic shape, re-file lightly to ensure both sides are symmetrical and the tip is smooth. Check the angle and ensure it looks balanced.
- Buff (Optional): A gentle buff can smooth out any rough edges on the nail surface before you apply polish.
If your natural nails aren’t long enough to achieve the stiletto shape, you can use nail tips and glue to create the desired form. Alternatively, consider gel or acrylic extensions, which offer more stability for this dramatic shape. For more on nail shaping techniques, resources like the Professional Nail Technicians Association offer extensive guidance on best practices.
Tips for Creating Stunning Leopard Print
Now for the fun part – the leopard spots! There are a few ways to approach this, depending on your artistic comfort level. The key is to create irregular shapes with a bolder outline.
Classic Leopard Print
This is the most traditional and recognizable leopard look.
- Apply Base Coat: Paint your nails with your chosen base color (e.g., cream or beige). Let it dry completely.
- Paint Irregular Spots: Using your brown polish and a fine-tipped brush or dotting tool, create small, irregular “splashes” or “humps” of color. Don’t make them too uniform. Think of random shapes, clusters, and individual marks. Vary the size and placement.
- Outline the Spots: Once the brown spots are dry, grab your black polish and your detail brush. Carefully outline some of the brown spots with thin, broken black lines. You don’t need to outline every single spot, and the lines shouldn’t be perfectly connected. Some spots might just have a few black dashes on their edges.
- Add Smaller Black Dots: For extra dimension, you can add a few very small black dots adjacent to some of the outlined shapes. This mimics the natural variation in leopard spots.
- Clean up Edges: Use a detail brush dipped in nail polish remover to clean up any stray marks around your cuticles and nail edges.
- Apply Top Coat: Once everything is completely dry, apply a thick layer of top coat to seal the design and add shine.
Fruity Leopard Print (A Fun Twist!)
Want to switch things up? Try leopard print in vibrant, unexpected colors!
- Base Color: Instead of neutral tones, use a bright base like a coral, teal, or hot pink.
- Spot Colors: For leopard spots, use contrasting colors. For example, on a teal base, use pink and black spots. On a coral base, try yellow and brown.
- Technique: Follow the same painting and outlining steps as the classic leopard print, but use your chosen vibrant color palette. This creates a modern, playful take on the trend.
One-Stroke Leopard Print
This technique uses a single brushstroke to create a more organic and blended look.
- Load Your Brush: Dip your fine-tipped brush into your black polish, then dab it onto a paper towel to remove excess. Then, dip one side of the brush into your brown polish. You want a gradient effect on your brush – black on one side, brown on the other.
- Create the Marks: With a single stroke, press down and flick your brush to create irregular “C” or “U” shapes. The colors will blend slightly as you paint, giving a natural, textured look.
- Vary the Shapes: Continue creating these marks across your base-colored nail, varying the size and direction.
- Add Accents: You can go back with a touch of pure black or brown to add small dots or deepen an outline if needed, but the goal here is a more blended, painterly effect.
- Top Coat: Finish with a protective top coat.
Stiletto Leopard Print Nail Variations & Ideas
The beauty of stiletto leopard print nails lies in their versatility. Here are some ways to play with the concept:
Color Combinations to Sizzle
Classic Chic: Cream or nude base with black and deep brown spots. Timeless and sophisticated.
Bold & Bright: White base with electric blue and hot pink spots. Edgy and eye-catching.
Monochromatic Mood: Black base with grey and silver spots. Sleek and modern.
Pretty in Pink: Baby pink base with hot pink and black spots. Girly with an edge.
Golden Goddess: Black base with metallic gold and bronze spots. Glamorous and opulent.
Autumn Hues: Tan base with rust orange and deep brown spots. Warm and cozy.
Accent Nail Magic
You don’t have to go full leopard on every nail. Consider using leopard print as an accent:
One Fierce Finger: Paint one or two nails with the full stiletto leopard design and keep the rest a solid color that complements the print (e.g., black, cream, or a bold accent color).
Tips Only: Apply a solid base color and add just the leopard print tips, leaving the rest of the nail bare or a sheer nude.
Half-and-Half: Divide a nail diagonally or horizontally, applying a solid color to one half and leopard print to the other. This creates a really modern, graphic look.
Texture Play
For an elevated touch, consider adding texture:
Matte Finish: A matte top coat can give leopard spots a sophisticated, velvety appearance, softening the wildness.
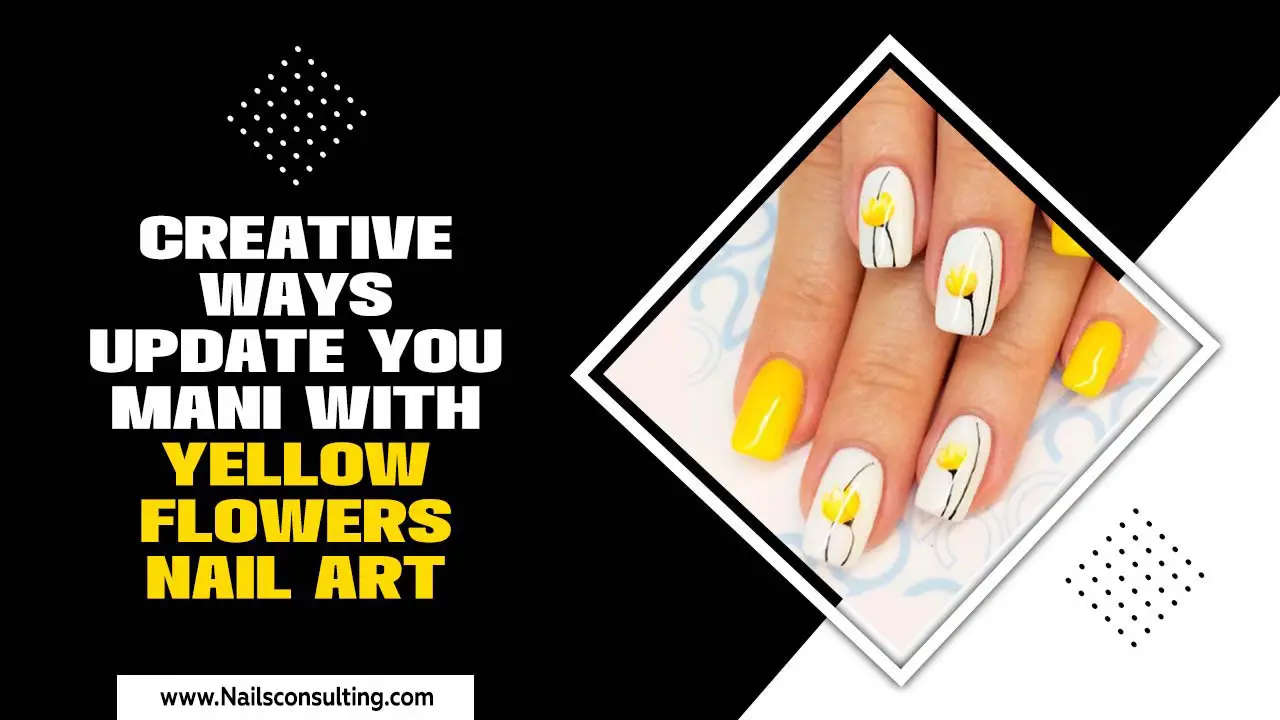
Glitter Accents: Add a touch of fine gold or silver glitter to the center of some spots or as a French tip accent for extra sparkle.
3D Elements: For the truly adventurous, consider tiny 3D bows or studs placed strategically on some nails.
Here’s a quick way to visualize some popular color pairings:
| Base Color | Spot Colors | Vibe |
|---|---|---|
| Cream/Nude | Black, Deep Brown | Classic, Elegant, Timeless |
| White | Hot Pink, Teal | Bold, Playful, Trendy |
| Black | Metallic Gold, Dark Grey | Luxurious, Edgy, Mysterious |
| Pastel Blue | Purple, Black | Whimsical, Unique, Dreamy |
| Coral | Yellow, Brown | Fun, Energetic, Summery |
Maintenance: Keeping Your Stilettos Fierce
Once you’ve got your stunning stiletto leopard print nails, you’ll want them to last! With a little care, you can keep them looking fabulous.
Wear Gloves: Always protect your hands and nails when doing household chores, washing dishes, or gardening. Wear rubber gloves to prevent water damage and exposure to harsh chemicals.
Be Gentle: Stiletto nails are inherently more prone to snagging or breaking due to their pointed shape. Avoid using your nails as tools to pry, scrape, or open things.
Reapply Top Coat: Every 2-3 days, apply a fresh layer of top coat. This will refresh the shine and help seal in the design, preventing chips and wear.
Keep Cuticles Moisturized: Regularly apply cuticle oil to keep the skin around your nails healthy and prevent dryness or peeling. Healthy cuticles contribute to the overall polished look of your manicure.
File Away Snags Immediately: If you notice a snag or a rough edge, gently file it smooth right away to prevent further damage or peeling.
Touch-Ups: For minor chips or wear, you can carefully touch up with a bit of polish and top coat.
If you notice any significant lifting or damage, it’s best to remove and reapply or seek professional help to avoid further nail damage. For in-depth nail care advice, be sure to check resources from organizations like the American Academy of Dermatology on healthy nail practices.
Frequently Asked Questions About Stiletto Leopard Print Nails
Q1: Can beginners really do stiletto leopard print nails at home?
A1: Absolutely! While achieving a perfect stiletto shape might take practice, the leopard print itself is quite forgiving. Start with simpler spot patterns and focus on having fun. You can always clean up mistakes with nail polish remover.
Q2: How do I make sure my stiletto nails don’t break easily?
A2: Proper shaping is key – avoid making the tip too sharp. Also, ensure you build strength with a good base coat and top coat. If using acrylics or gels, getting them done professionally can provide extra durability. Always be mindful of how you use your hands to prevent snags.
Q3: What’s the secret to making leopard spots look natural?
A3: The trick is imperfection! Don’t aim for perfectly round dots or connected outlines. Vary the size and shape of your spots, and use broken lines for the outline. Think of irregular “C” shapes or scattered dashes. Looking at real leopard fur up close can give you great inspiration.
Q4: My leopard spots look messy. What am I doing wrong?
A4: It’s common when you’re starting! Make sure your detail brush isn’t overloaded with polish for the outline. Use a light touch. If a smudge happens, don’t panic! Dip a small brush or a cotton bud in nail polish remover and carefully clean up the edges. Patience is your best friend here.
Q5: How long do stiletto leopard print nails typically last?
A5: If done professionally with gel or acrylic, they can last 2-4 weeks. If you’re doing them at home with regular polish, expect them to start showing wear after 5-7 days, especially with daily activities. Consistent top coat application will help extend their life.
Q6: Can I combine leopard print with other nail art designs?
A6: Definitely! Leopard print pairs wonderfully with solid colors, glitter accents, or even subtle marble effects. An accent nail with leopard print while the others are solid or glittered is a very popular and chic combination.
Q7: What’s the difference between using a dotting tool and a brush for leopard spots?
A7: A dotting tool is great for creating rounder, more uniform dots, which can be a good starting point. A fine-tipped brush offers more control for painting the irregular, organic shapes and the defining outlines that give leopard print its characteristic look. Many people use both!
Conclusion: Unleash Your Inner Fashionista
There you have it! Stiletto leopard print nails are more than just a trend; they’re a powerful style statement that blends fierceness with undeniable glamour. From choosing the perfect color palette to mastering the stiletto shape and painting those iconic spots, we’ve covered all the essential steps to help you rock this look with confidence. Remember, nail art is all about self-expression and having fun. Don’t be afraid to experiment with different colors, accent nail ideas, and finishes. With a little practice and the right tools, you can create stunning, salon-worthy leopard stiletto nails right at home that will undoubtedly turn heads. So, go ahead, embrace your wild side, and let yournails do the talking. Happy

